If you are wondering how to crop a photo in InDesign without spending much time on this task, read this detailed tutorial. Here, I will share useful tips on how you can crop your images to various shapes.
You can select any method that is more suitable for your project. For instance, you can trim down the edges of your photo and create an output image with a set resolution. You can also cut out any object from a large photo with many objects in the frame. Depending on your needs, you can use a range of tools available in InDesign to solve this task more efficiently.
If you don’t need to perform complex manipulations with your image and just want to change its size, you can read one of the most useful InDesign tutorials to learn how you can do it in four steps.
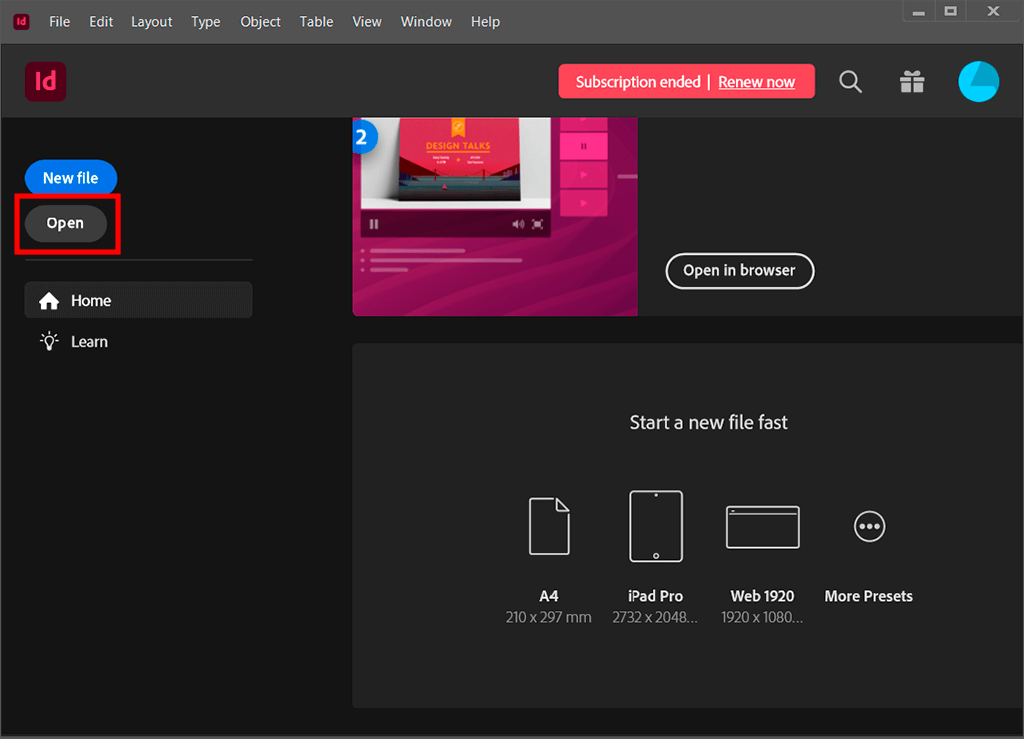
First, you need to open the image that you are going to crop. You can quickly create a new document for your project by selecting the New option in the File menu. In the drop-down menu, select the Document option. You can choose a custom page size and select the type of your layout. Then, click OK.
After creating the document, import the picture that you need to crop. To do it, go to File, select Place and choose a suitable option in the new window. Once you have selected a file, click on Import to add it to your document. The mouse cursor will turn into the image thumbnail. Click on any area of your layout where you want to add the picture, and it will appear there.
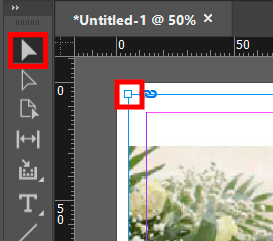
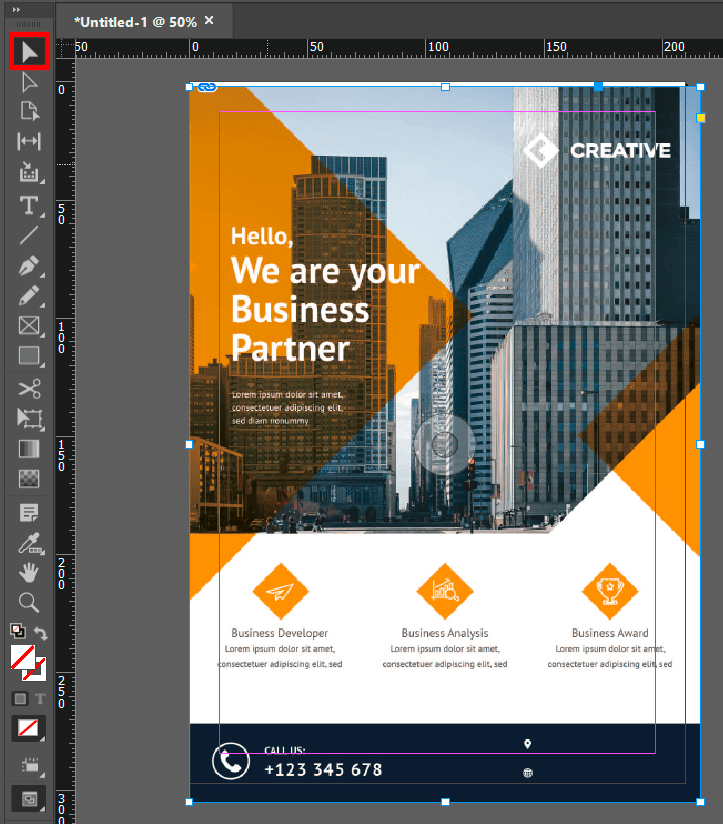
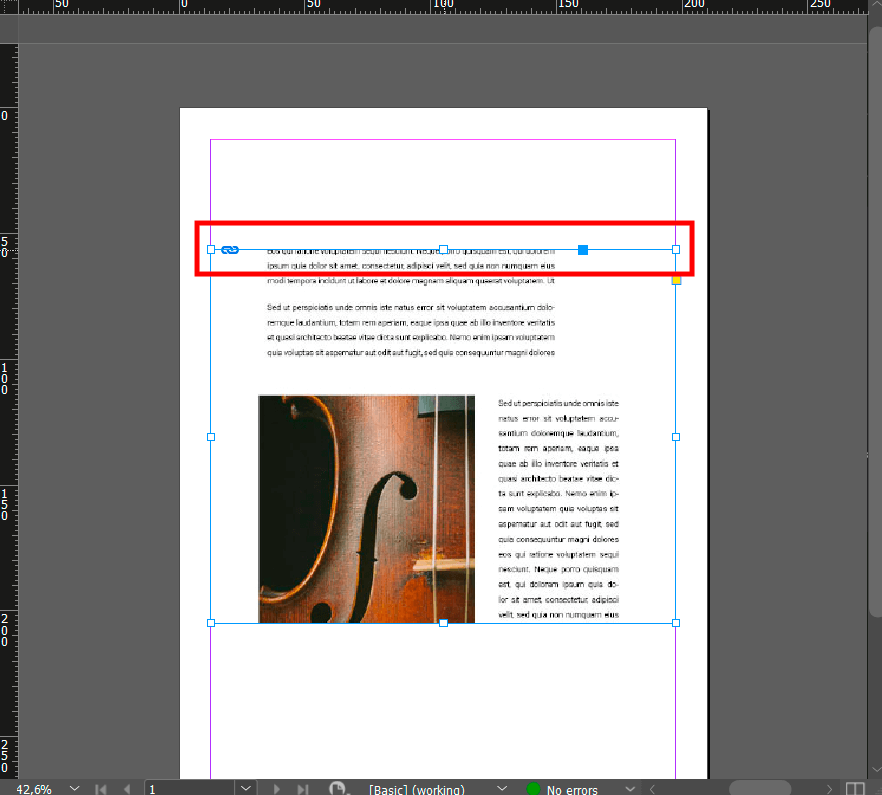
To crop image in InDesign, find the Selection tool in the Tools panel. With it, you can select the frame around a picture that you need to crop. After selecting the frame, you can move it around to crop the image the way you see fit.
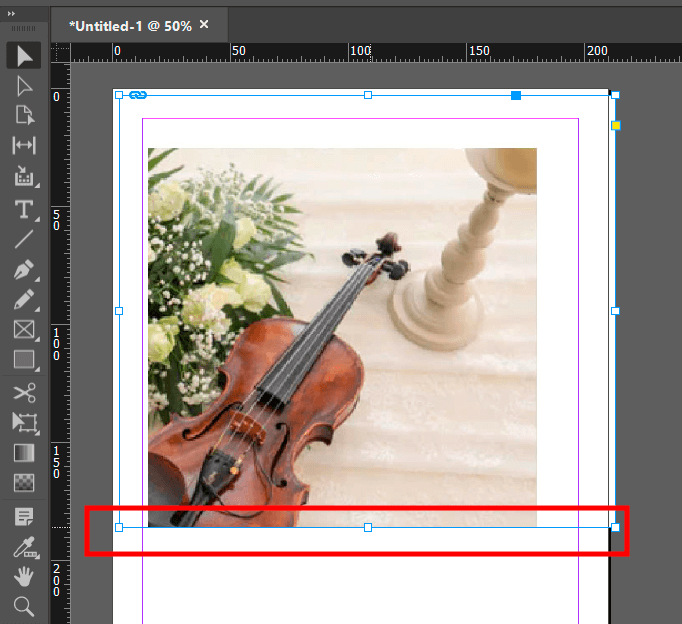
To crop your image to a custom shape, click on any of the 8 handles along the edges of the frame and drag them as you like.
For instance, if you need to remove the top part of the image, you can drag the top-center handle downward. If you want to crop two sides of your image, use the corner handles to achieve a quick result.
After cropping a frame, you can drag your image to any area inside the frame. To make this task easier, use the Direct Selection option from the Tools menu. When you click on it, your cursor will turn into a hand icon. With it, you can move your image to any area to ensure that it fits perfectly into the frame. For instance, you can drag it to the center, right or left if it’s necessary. The Direct Selection option is perfect for moving an image to any area quickly.
If you see that your image requires editing and you don’t have enough time, you can contact professional service.
Another method of cropping your photos to a custom size involves using the Scissors Tool available in this book design software. It allows you to crop your image using a path and anchor points. This way, you can make your image fit the style of your layout.
First, you need to create a new document in the same way you did it when using the first method.
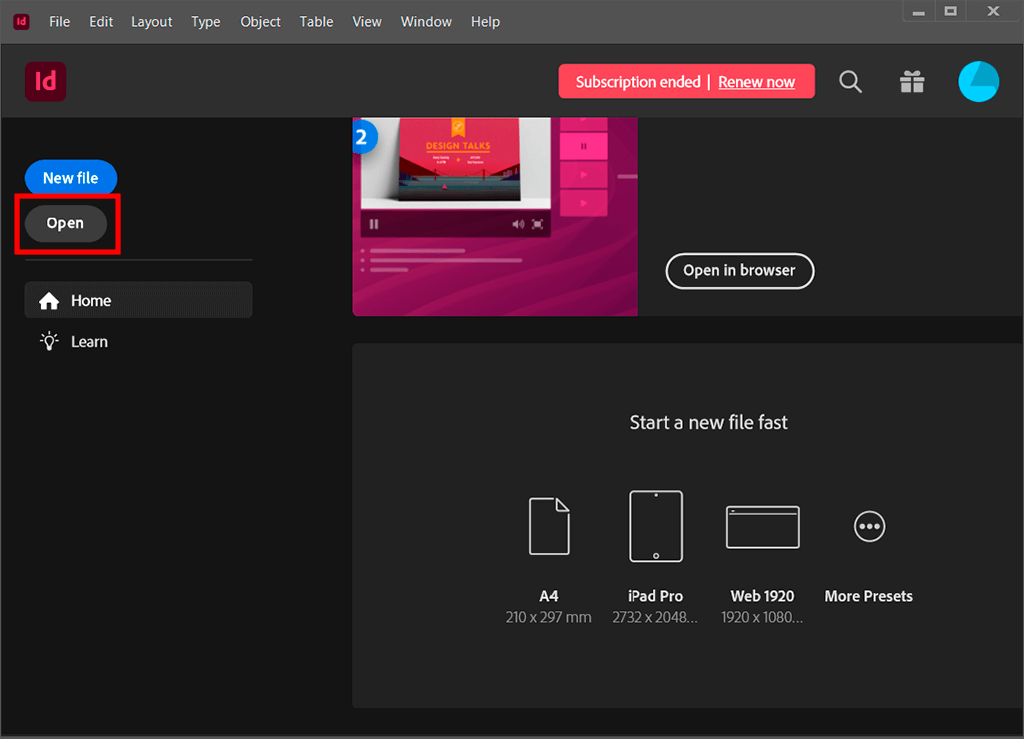
Go to the Tools panel and choose the Selection tool to add a frame to your image.
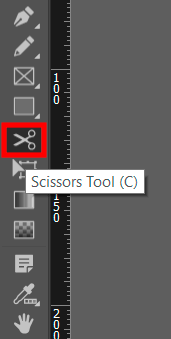
After adding a frame, go to the Tools panel once again and select the Scissors tool.
Now, you need to click on a point in the area of the image that you want to cut out and then click on the point on the path to start cutting the part of the image that you want to crop.
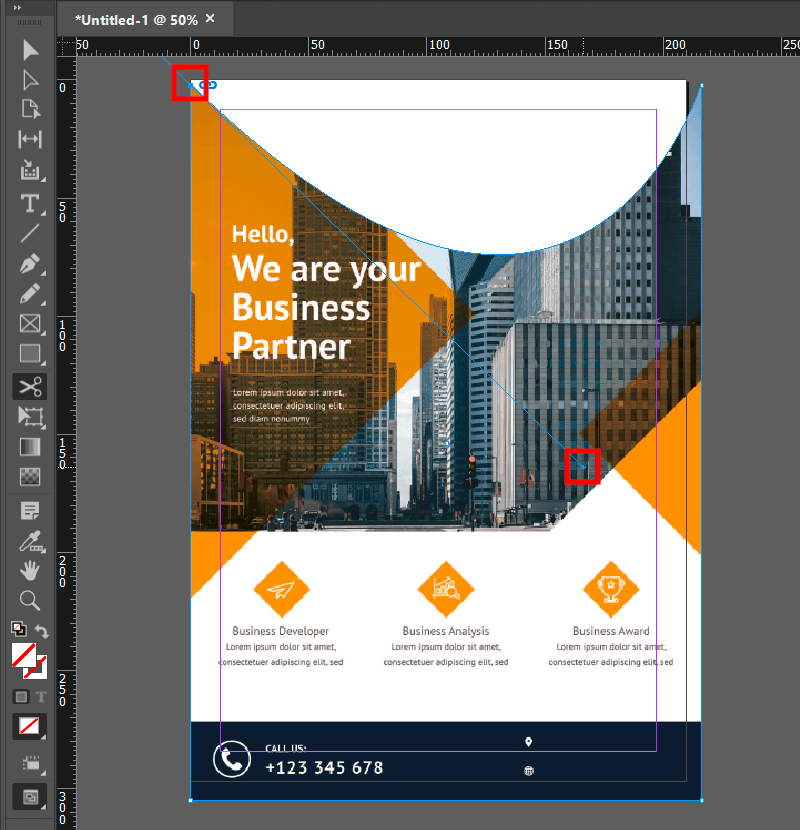
After selecting the necessary points on the path, you will see that the area of the image that you need to cut is fully selected. Then, you need to return to the Tools menu and click on the Selection tool. Use it to drag the area that you want to delete from your image. If you need to adjust the intensity, make sure to learn how to change transparency in InDesign.
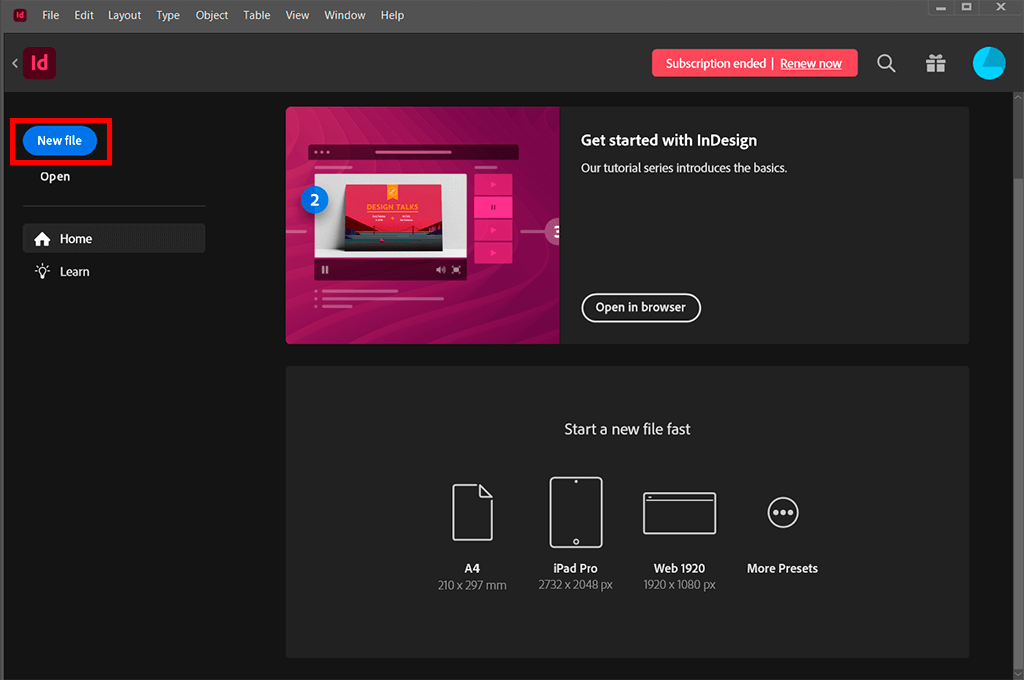
Create a new working area using the New File option in the start menu.
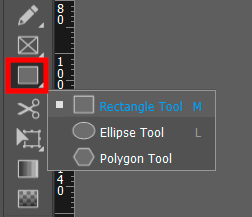
In the Tools panel, select a shape that you want to use to crop your photo. In this example, I will use a rectangle, but you can also use a Polygon or Ellipse.
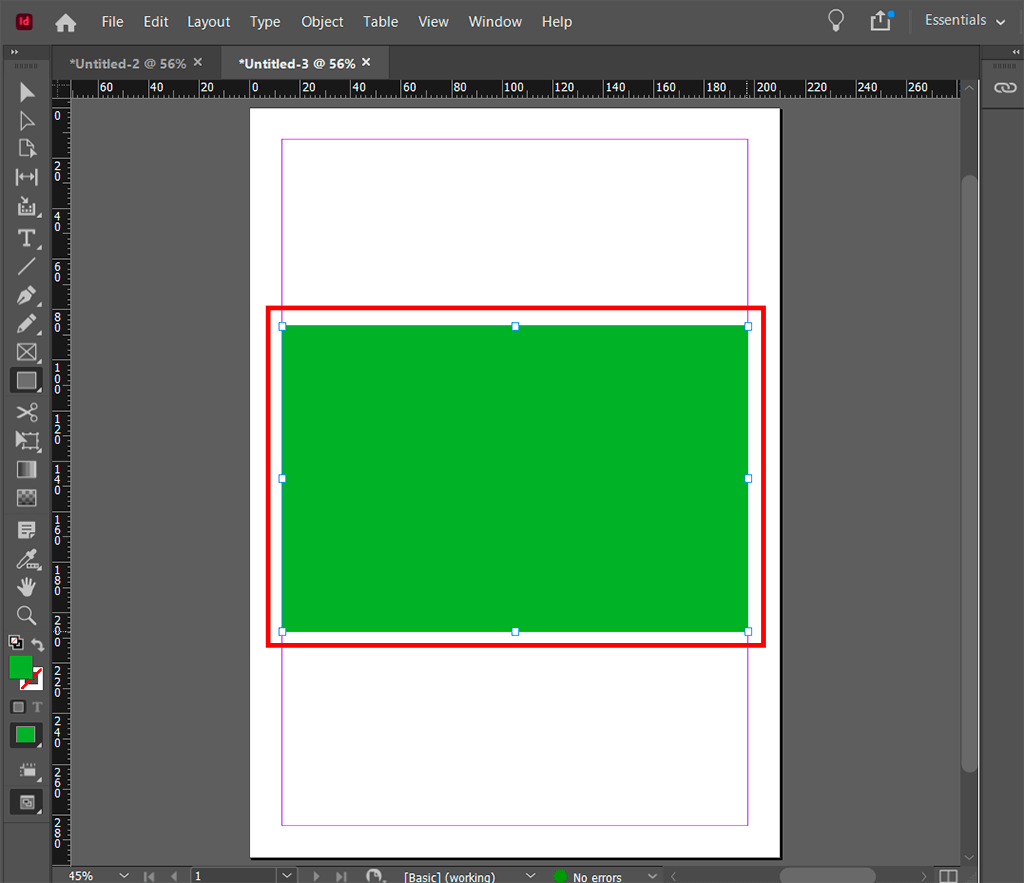
Drag your image and place it over the shape that you have created.
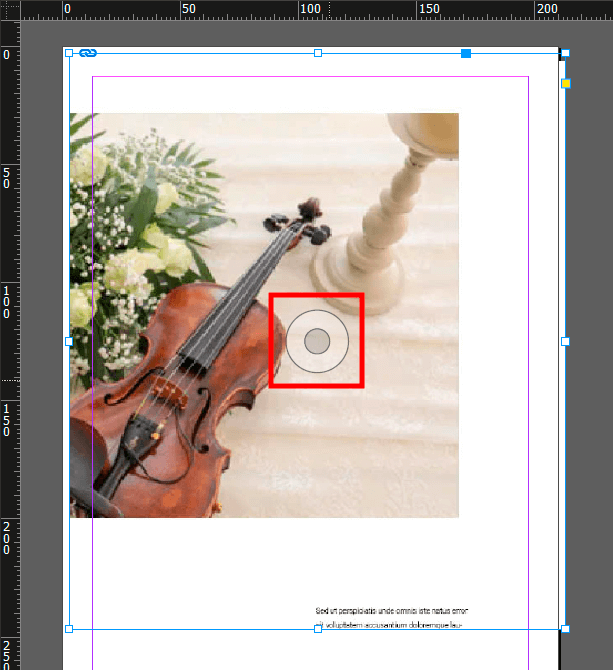
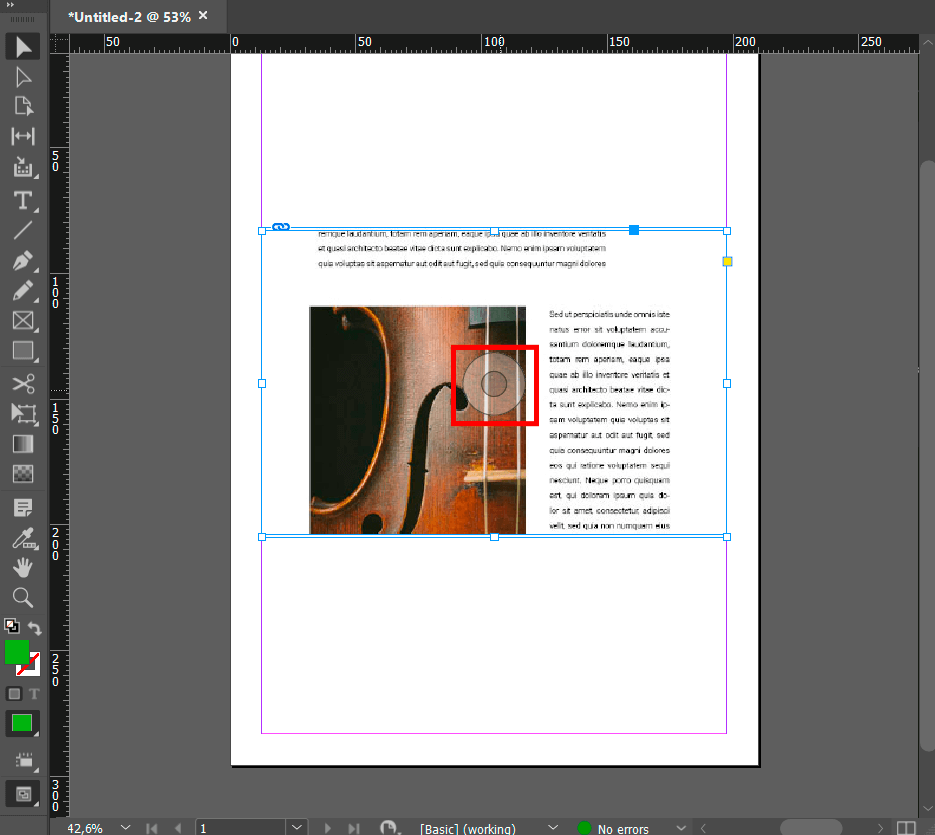
After placing the image onto the frame, you will see the mask that you have created. In the center, you will see a circle that will help you adjust a visible area of the image.
If after adding an object you see that you need to make the rectangle bigger or smaller, you can quickly resize it. Drag the control points at the edges to change the size of your object.

Now that you know how to crop images in InDesign, you can also prepare your photos for printing. To do it, use these ready-made InDesign templates that will help you create beautiful booklets or invitations. You can customize them by selecting colors and adding text. If you want to make your layout unique and visually appealing, you can also use handy InDesign plugins.