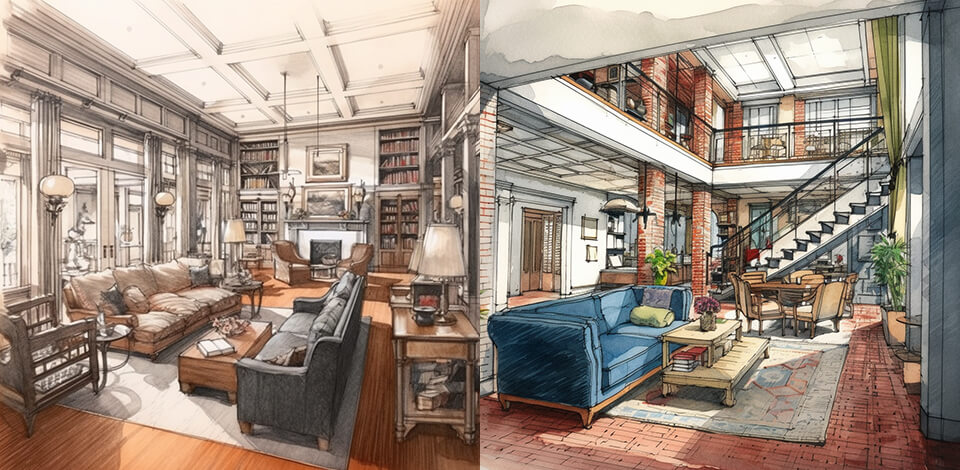
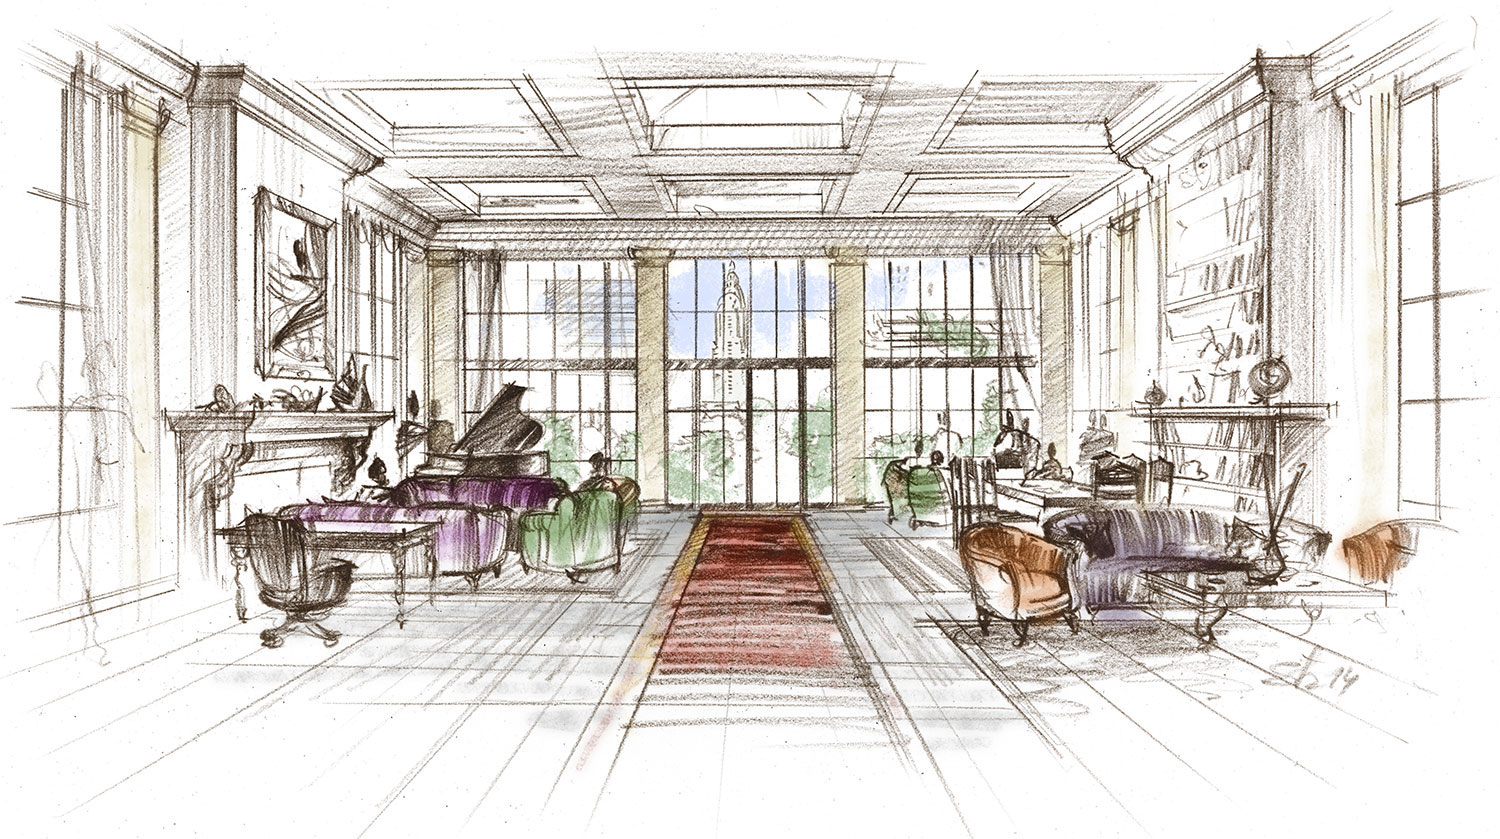
Hand rendering is a classic in the industry of design sketches and other visuals that artists create with their own hands using traditional artist tools from pencils and pens to various types of paints.
In today’s world, designers increasingly prefer rendering software to create their designs and 3D models, however, a physically hand-drawn design will always be more valuable, as it has the soul of the artist and a special vibe invested in it.
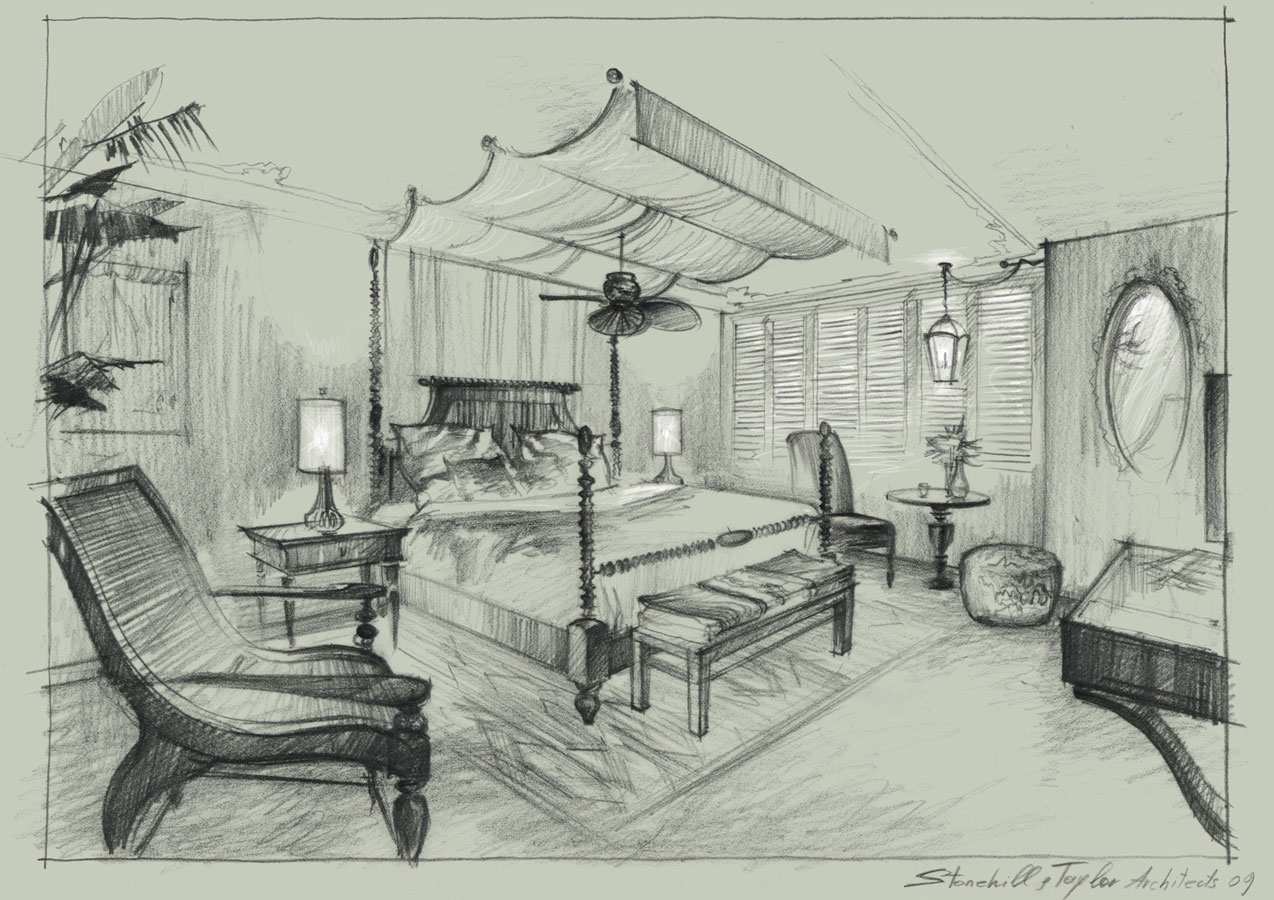
Hatching is a drawing technique that is actively used by artists when creating their hand-made renders. The bottom line is to draw parallel lines, which create shading and tone in the picture. Here the number, thickness, and distance between the lines play an important role, changing the overall tonal value of the artwork.
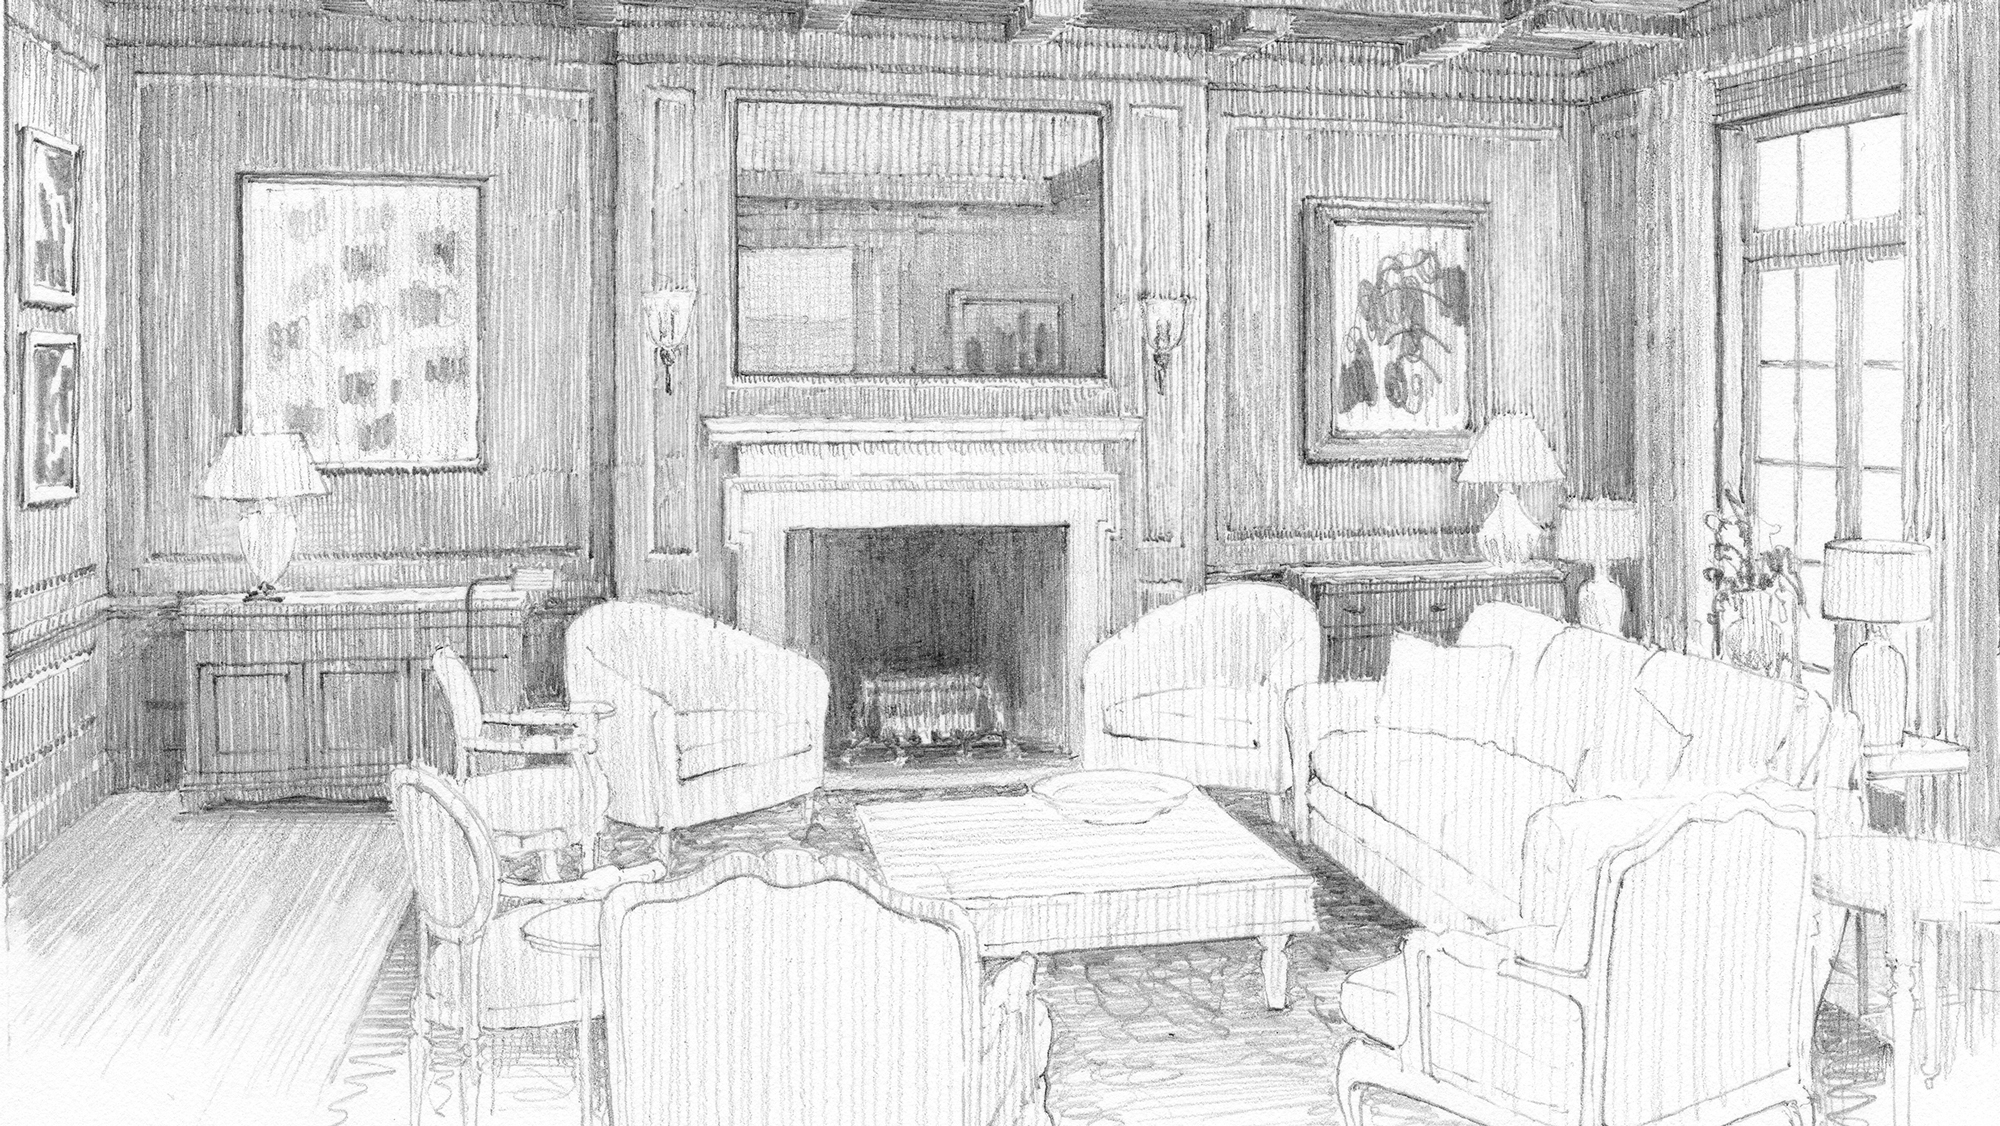
The closer you draw the lines to each other, the darker the area will be, and vice versa, by drawing them further apart, you will end up with a lighter area.

Crosshatching is somewhat similar to the previous interior design hand rendering technique, but here shading and depth are achieved by overlapping or changing the direction of parallel lines. You can draw lines in a vertical, horizontal, or diagonal direction.

This method allows you to achieve a variety of effects in the picture, both light and airy shading, and dense and solid. Experiment with the density, direction, and thickness of the lines to finish in a wide variety of patterns and tones of your designs.

Stippling is a painting technique where shading and depth are achieved by drawing many dots. To get more or less dense and dark areas, you can experiment with the sizes and distances between points. To achieve a darker effect, place the dots as close to each other as possible and vice versa.

This is one of the most spectacular-looking drawing methods, especially when viewed from afar. At the same time, it is also the most time-consuming. This method is often preferred by artists as it does not require blending or shading techniques to shade a drawing or create a specific pattern.

Scribbling is one of the easiest and fastest ways to fill in your design while still looking great. Free from detail with the advantage of speed, this handcrafted design rendering method is more often sketchy, yet detailed and exquisite work is also often embellished with scribbles.
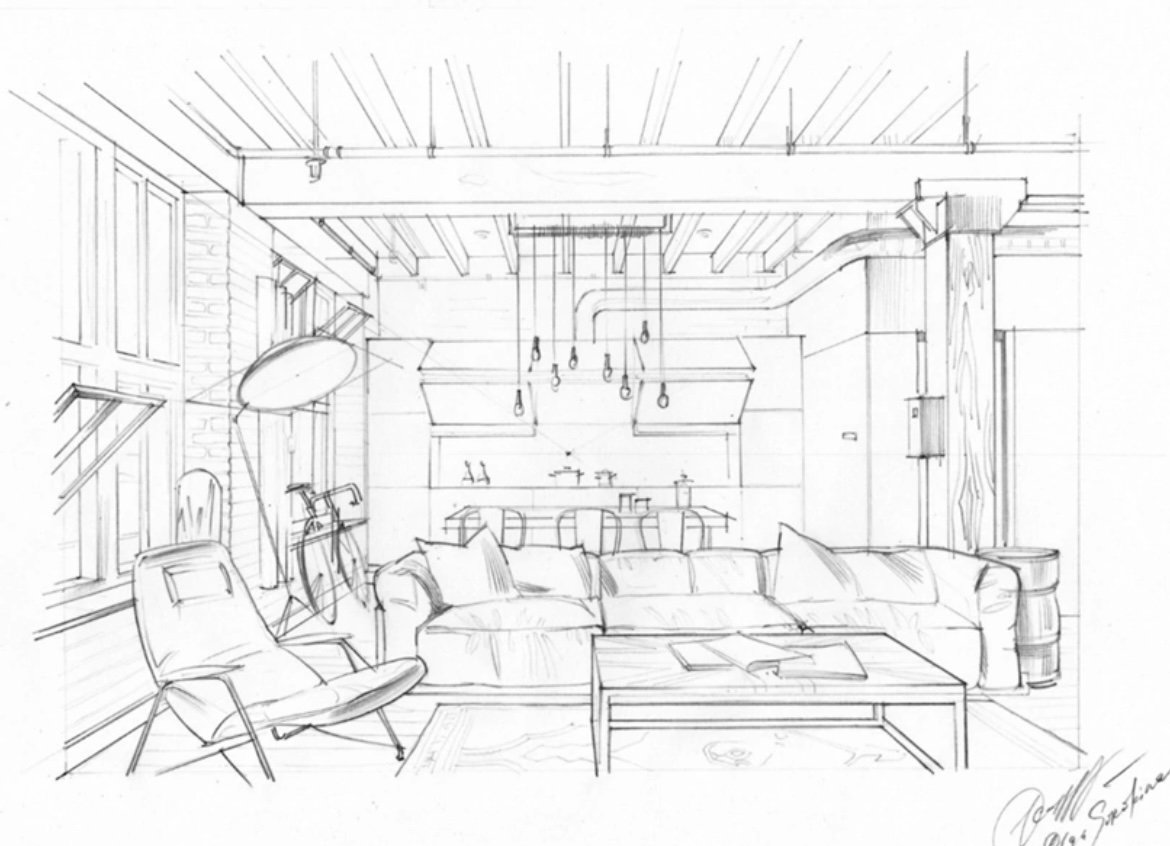
Generally, artists prefer circular scribbles, but this method gives you the freedom to choose the thickness, length, and color of your lines.

Drawing with charcoal sticks to create tonal values in a hand rendering is another effective way to sketch your future design. Charcoal hallmark is its softness and richness of black color. Most often, charcoal is found on drafts depicting the essence of your project.

Concerning the shortcomings, I should mention the challenging handling of charcoal and the works of art drawn with it. This is because it’s easy to get dirty with this material and therefore it requires special storage conditions.


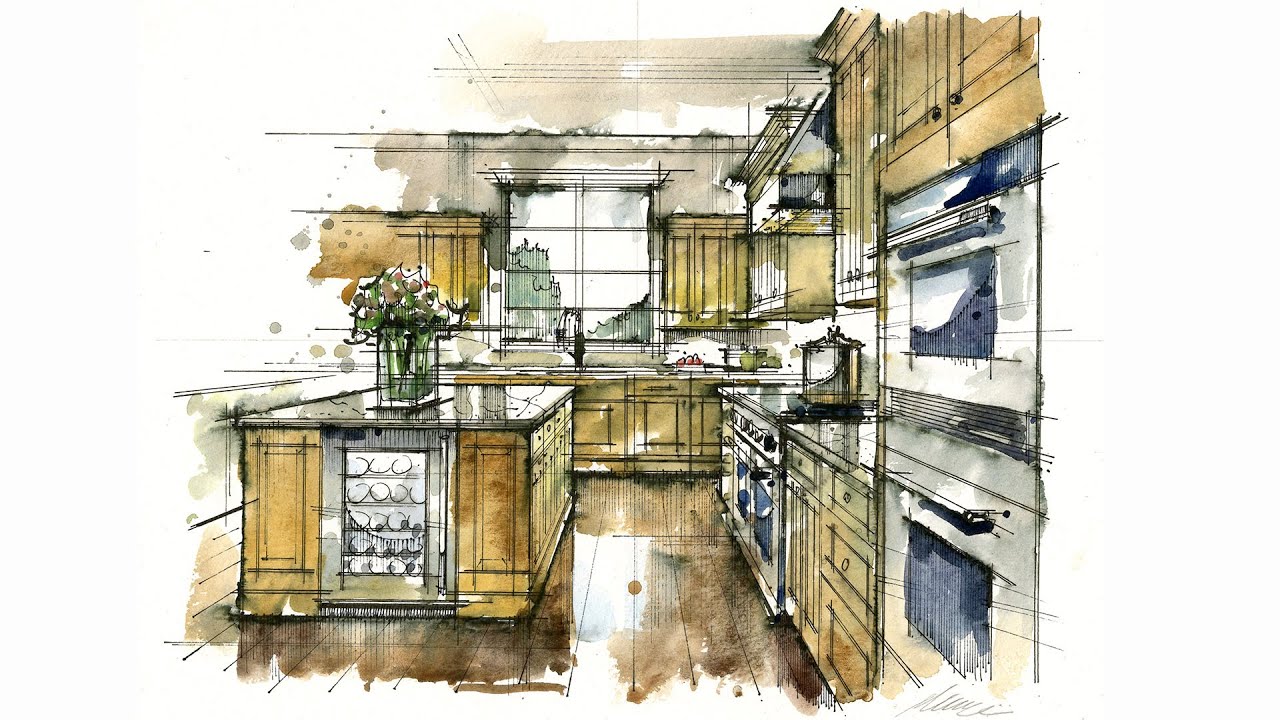
Watercolor is a great option for those who want to make their handmade interior design renderings light, airy, and colorful. The combination of subtle strokes and high transparency gives your sketch lightness and elegance. The most common watercolor techniques are wet-on-dry, dry-on-dry, dry-on-wet, flat wash, and gradated wash.

Watercolor has an advantage over other interior design techniques because it allows using paper as a light source. You can leave some parts of your drawing unpainted, thereby making them brighter and more luminous than others. It looks impressive for depicting light pouring from a lamp or other light source.

Markers are one of the most convenient and easy-to-use tools for creating interior design hand rendering, which cannot be said about watercolors or oil paints. It’s fast and practical and allows you to create full renderings full of vibrant, impressive colors.

The markers come with a very rich pigment that dries quickly. Due to this, the pictures are clean, and the lines are clear and saturated.

Oil painting is one of the oldest hand-rendering techniques that has been popular among artists of the past centuries. Using oil paints, they created their lifelike-looking and detailed masterpieces, reminiscent of today’s visualizations that we can develop in interior design apps.
This is a complex and long process that requires skills because to achieve a certain color and texture in your painting, sometimes you need to layer the paint several times.
Painting with oil paints is a versatile technique suitable for most purposes. This is because mixing and layering paints leads to a variety of results – new colors and shades, smooth compelling gradients, bizarre textures, and the overall saturation of the picture.
With the help of such paints, you can also make your visualizations as detailed and accurate as possible.

Colored pencils are another easy way to create colorful interior design renderings. It does not take much time, and the result grabs attention. Ease of use and transport is all about colored pencils.
Colored pencils take up little space, so you can always carry them with you to sketch on the go. They also require virtually no preparation before starting to draw. Pencils are also versatile – use them for sketching or a detailed drawing of a design and the result will please you.
Water ink is also a popular technique, but not as common as the previous ones, as it’s a rather messy process.
The artist must have sufficient knowledge and feel of the process to find the balance between the amount of ink and water and achieve the desired result. However, the colors and shades of this method look very attractive.
Hand rendering is something about uniqueness, exclusivity, and individual approach. It does not limit you in the flight of fancy and embodiment of ideas, as is the case with digital visualization. It may also be more affordable, as digital options are not possible without a powerful computer and cutting-edge dedicated software. Digital renderings involve the use of Photoshop for architectural renderings or other interior design software, while manual renderings require only suitable art supplies and a bit of imagination.
There is no one-size-fits-all answer, as it all depends on the chosen painting technique and the complexity and size of your render. Sketches and drafts will typically take you hours, while detailed, crisp, and large-scale projects will take you days or even weeks.
To get the best of both worlds, designers often combine these two different rendering types. The best option is to sketch the project by hand in pencil or watercolor, scan it and download it to free architectural design software, where you can make digital changes and complete the project.
Of course, drawing skills will greatly simplify your start in this industry but do not give up if you don’t have these skills. With a qualified teacher and frequent practice, you can master this skill and start creating your own amazing architectural renderings.
The basic set is paper, pencils, an eraser, and a ruler. If you want to work on other techniques, then you need to get watercolors, charcoal, oil paints, etc.


