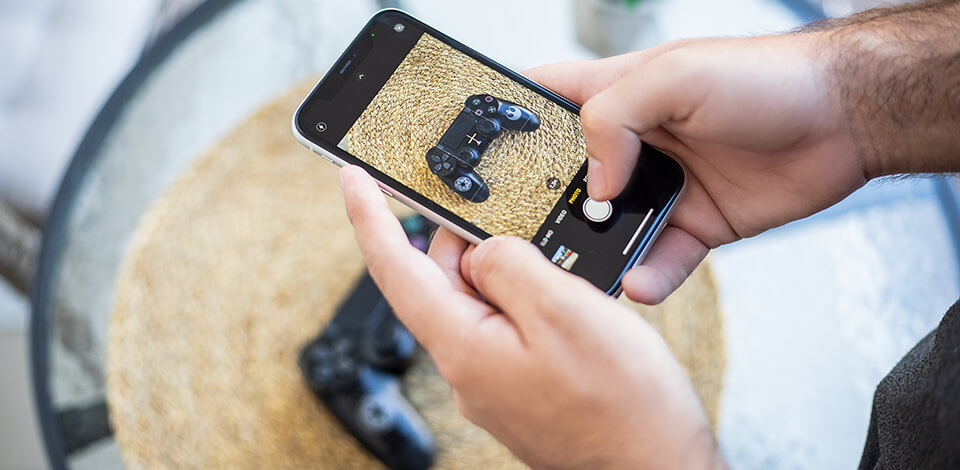
If you have decided to sell something on Etsy, you need to learn more about Etsy product photography requirements to boost your sales. When a person wants to make an order, they can base their decision only on a photo.
According to surveys, 90% of Etsy users claim that high-quality photos make it easier for them to decide which product to buy.
This is why you need to pay more attention to your photos. Don’t worry, since there is no need to use the expensive gear. The only thing you need is your smartphone and natural lighting.

If you have just started selling products on Etsy, look through listings created by other people who sell similar products. For example, I decided to check how other users take photos of the PS4 Controller that I am trying to sell. Many of them use a neutral background and take photos from the front and back of the item.
Those who are selling a unique product that can’t be found on Etsy need to rely on their taste to take eye-pleasing photos. Make sure to learn more about the photo requirements for marketplace to figure out what format you should use for your Etsy images.
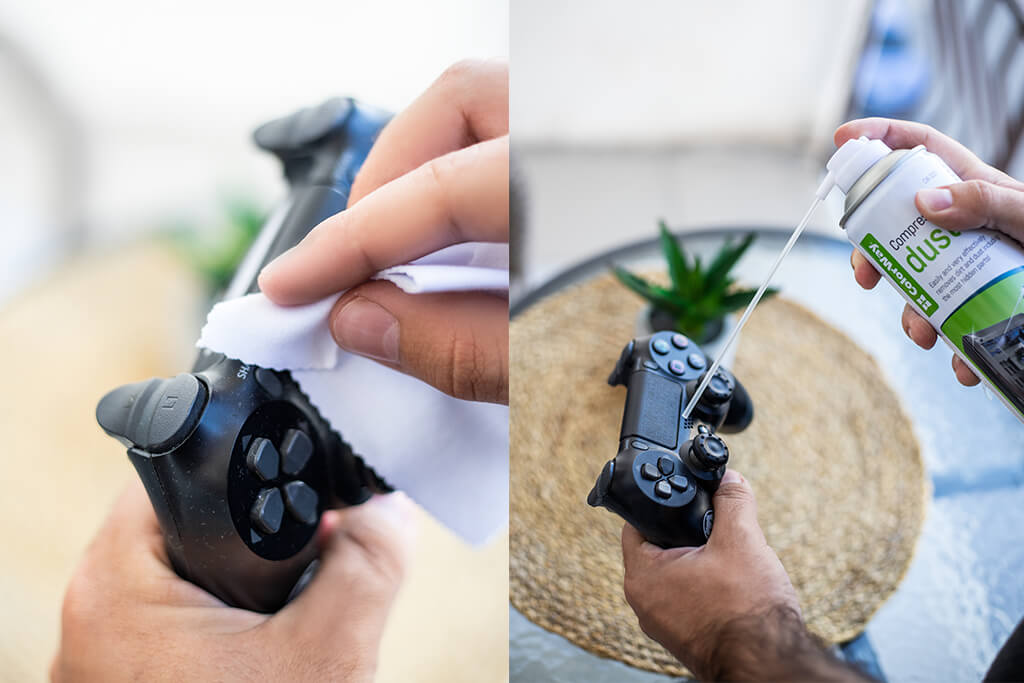
If you are selling used items or products that have been stored for a long time, you need to make them presentable. I used my controller a couple of times a week, so there was some dirt and dust on its buttons and plastic seams.
Before taking pictures for Etsy, take wet tissue paper and clean your product. Don’t use a cloth made of pile fabric since it might leave stains. You can use compressed air to clean the dust that is difficult to remove manually.
If you have a big window in the room, take photos near it. The main advantage of daylight is that it’s dispersed and doesn’t create sharp shadows. If you can take photos outside, it’s even better. I took them on the balcony since open spaces with lots of light are perfect for lifestyle product photos.
You can also use a light box if you want to take studio-quality shots. However, it’s not a must for platforms like Etsy, so there is no need to make it hard on yourself.
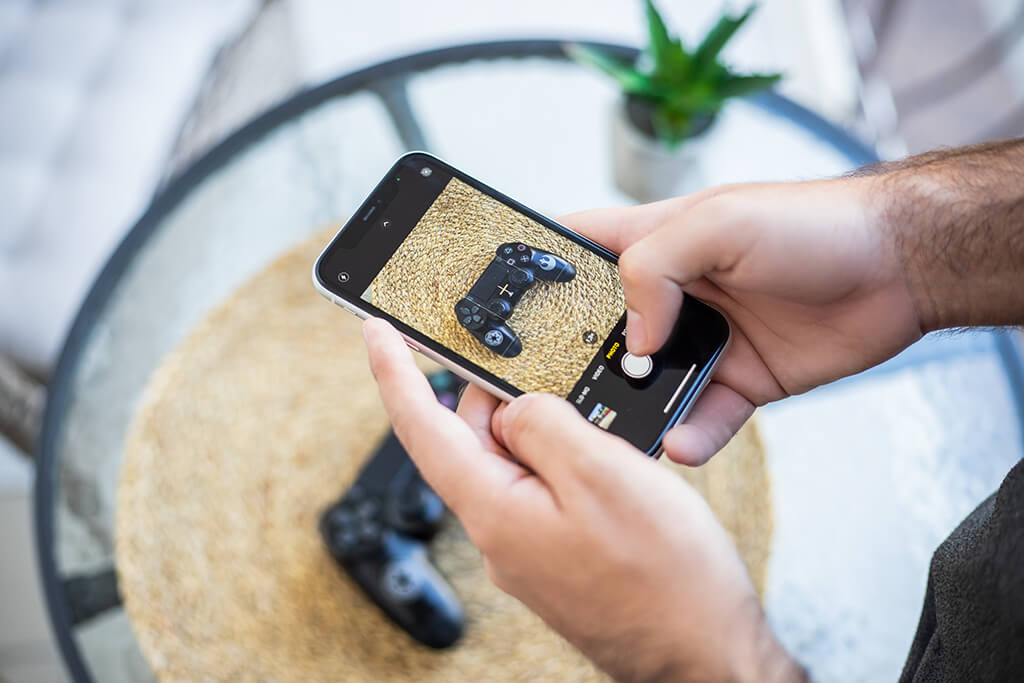
There is no need to use the best camera for product photography to take high-quality photos of a product you are selling since a smartphone will suffice.
I used my iPhone 11 when taking pictures for Etsy. This platform allows you to add up to 10 photos to your listing, so make sure to take as many photos from different angles as possible. In my case, I decided to take photos from 2 angles.
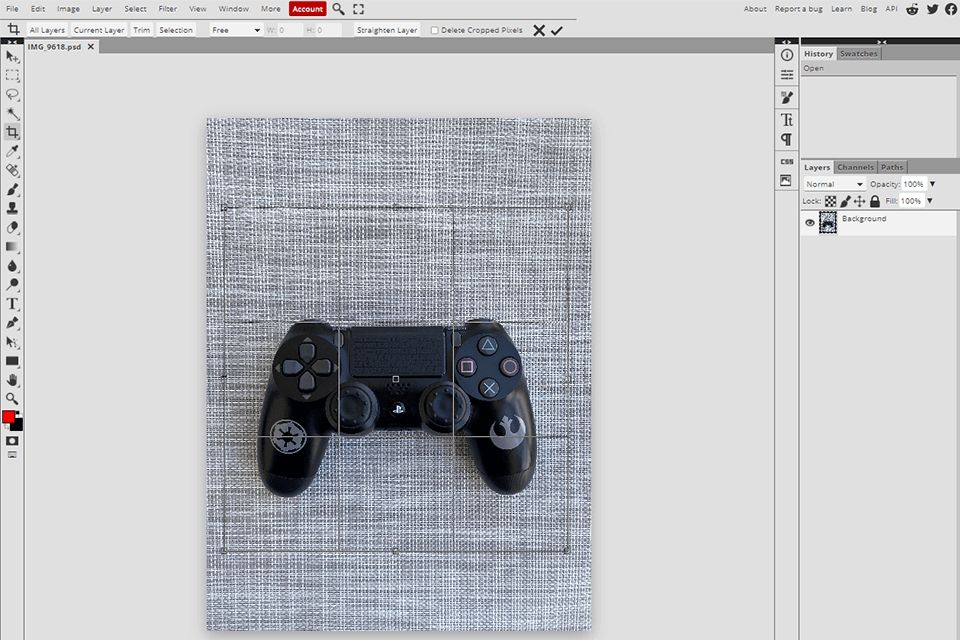
With the help of a photo editor or photo editing app for smartphone, you can enhance your image by fixing various issues. For instance, you can adjust colors, crop your photos and remove dust in the frame.
Most Etsy images have a 1:1 aspect ratio. You can use adjustment layers to fix white balance, color and exposition. I recommend adjusting Curve, Hue/Saturation and Exposure. Besides, you may refer to experts and outsource your photos for further color correction and editing.
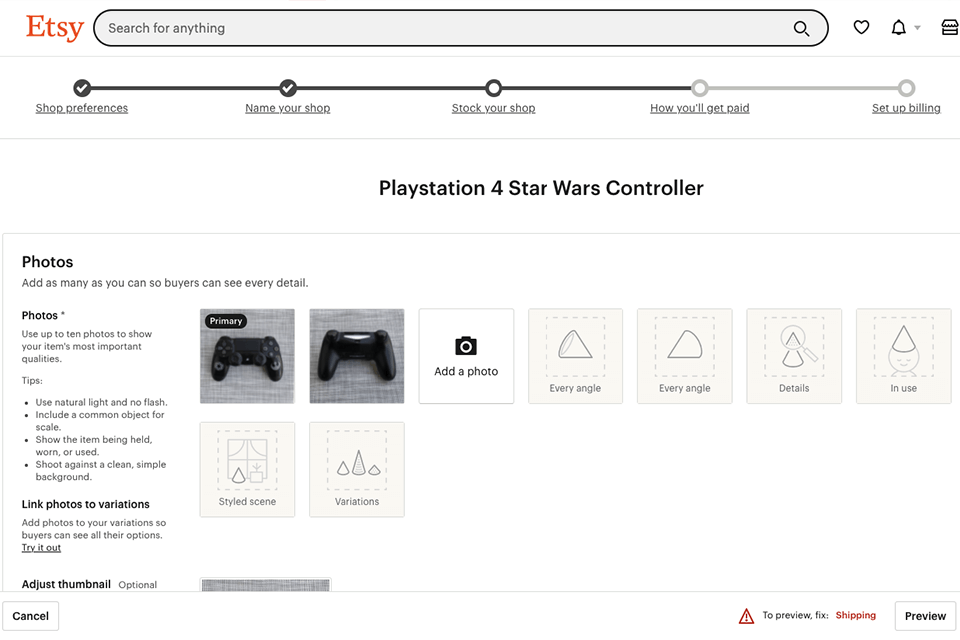
After clicking on the Shop Manager icon near your profile icon, you can create a new listing. Add photos and select the Primary image that will become a cover for your listing. Write a product description, take a look at other ads if you don’t know what to write.
It’s better to describe a product in detail, however, avoid writing long descriptions. Fill out the information about shipping and check whether you have added all the tags. Before publishing your listing, click on the Preview button to check whether your ad has any mistakes.
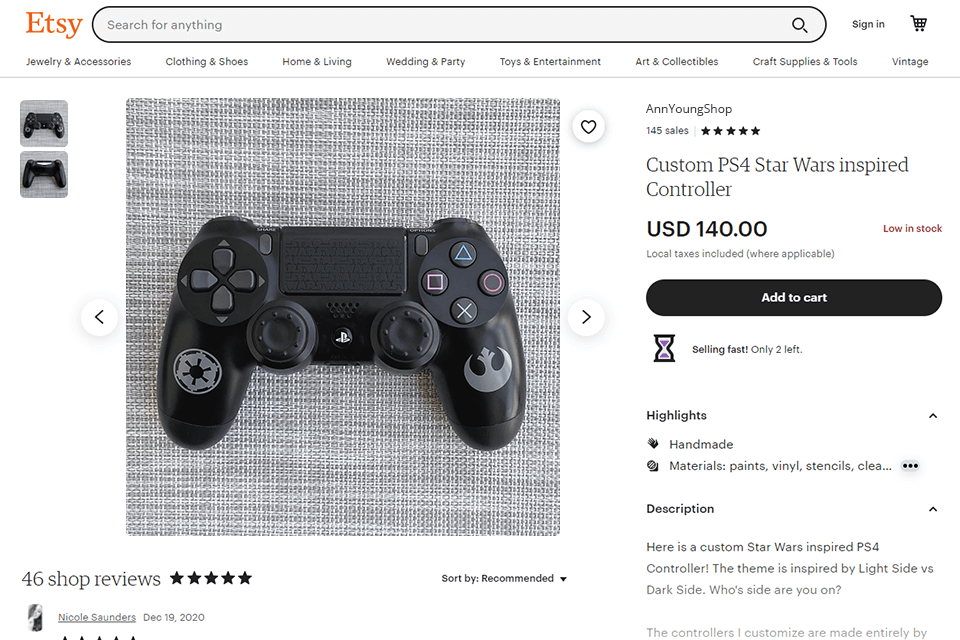
If you followed these Etsy photography tips and did all the steps, now, your listing can be seen by other users. In some cases, it’s might be not enough to take photos of your product against a neutral background. If it’s clothing photography, it’s better to take flat lay photos or pictures of a model wearing the outfit.
Look through different product photography ideas to select the one that suits you best. The better photo you will take, the more clients you will find.

If you don’t have much time on enhancing your photos and just want to do it in one click, you can download these effects. With them, you can embellish your photos manually by fixing the white balance, making colors look more saturated, and removing flare. You can install them in the program that I mentioned when describing the fifth step.