Working as a freelance photographer, I sometimes need to use graphic design tools to give my photos a professional feel. When preparing images for social media, creating client presentations, or designing event invitations, I often need to add a border to them to make them look more attention-grabbing. Even though I did not consider them necessary at first, I discovered that they could improve the overall look of an image and focus a viewer’s attention on important details.
When I recently started to work on a project for a local wedding planner, I was asked to frame their portfolio by adding elegant borders consistent with their brand. I had to use creamy white and soft gold tones with delicate patterns and process 200 pictures in 2 weeks. This is when I decided to find the best software for photo borders to achieve consistency when adjusting thickness, color, and style depending on the atmosphere in each photo.
When looking for add borders to photos software, I focused on the following things:
Yes, photo frames are still important nowadays. They are widely used by digital photographers and designers. Frames were created to emphasize a specific style of a photo, show context, and highlight emotions.
These days, you can see them on social media, in online portfolios, or in web-based stores. Besides, they are used by those who want to enhance their pics and give them a polished feel.
Here are the most popular styles of photo frames today:
Why frames are still important:
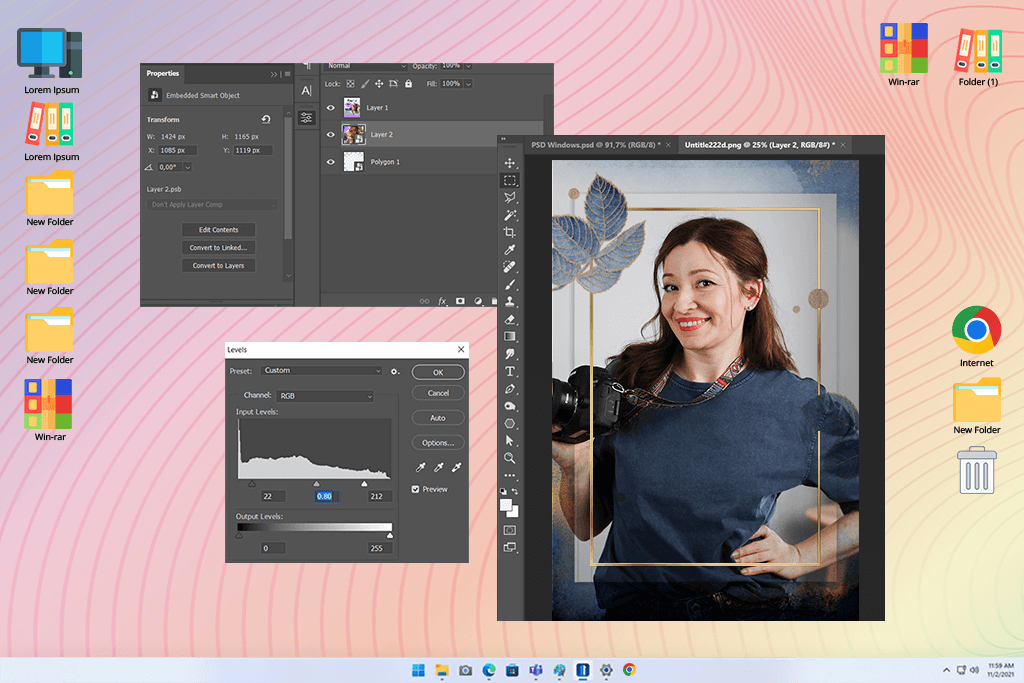
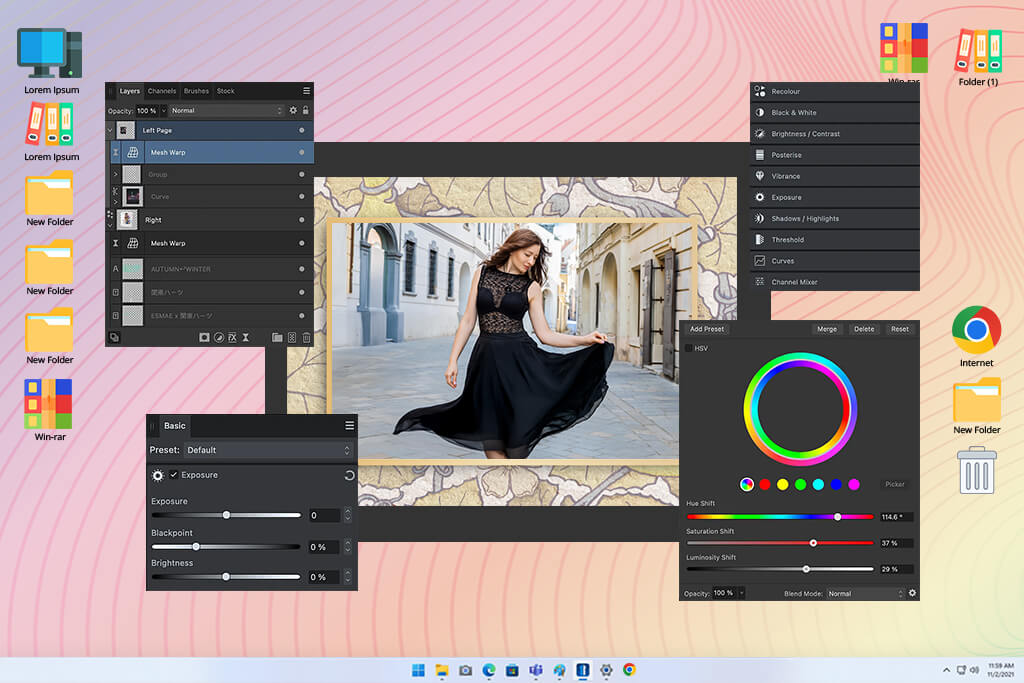
When working on photography projects, I use free Adobe software daily, so Photoshop was my first choice when I started to look for the best software for photo borders. I decided to create a simple white border first. My approach was quite streamlined: after resizing the canvas so that it became a bit larger than the image, I filled the extra space with white color.
Photoshop supports layer editing. It helped me add patterned borders, textured overlays, and hand-drawn details. Using the Stroke layer style, I drew accurate outlines and used various blending modes to see which one was more suitable for my pictures. I was impressed with the high precision of my edits. I was able to change thickness and opacity as well as apply a gradient effect to achieve a modern look.
To give my borders a creative feel, I chose brushes with irregular textures. They are best suited for creative tasks. Masking and clipping path tools helped me add borders to specific areas and achieve a high-quality output using this photo editing software for PC.
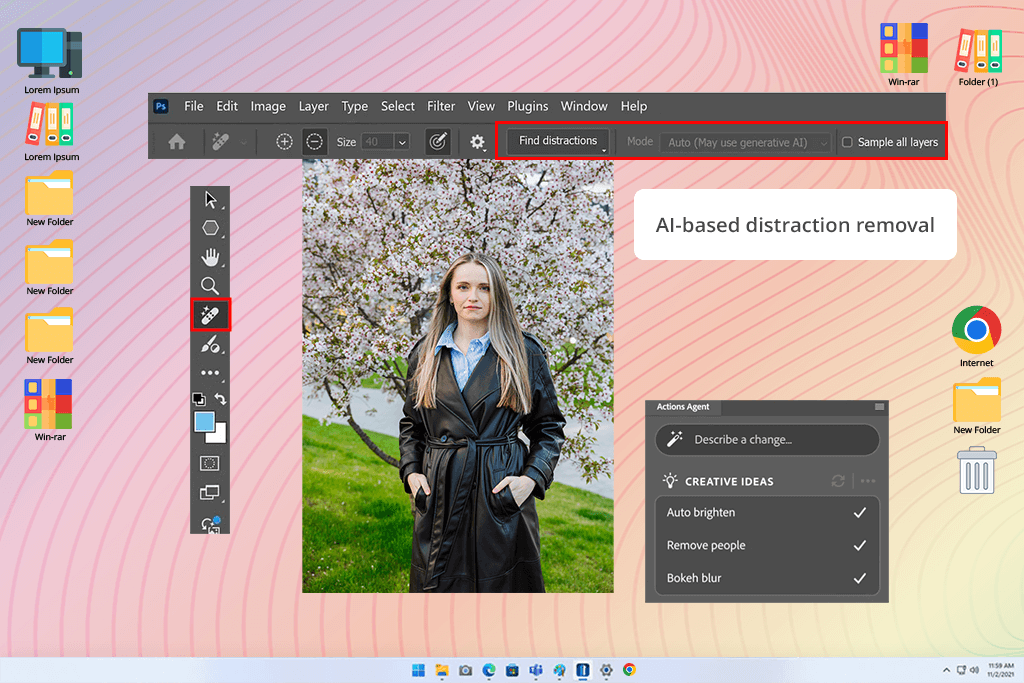
After the recent upgrade, Adobe Photoshop got the following features:
“The Adjustment Brush Tool makes it easier to make edits with higher accuracy by performing selection, masking, and adjustments simultaneously. I was able to control the output better and achieve the desired results in no time.”

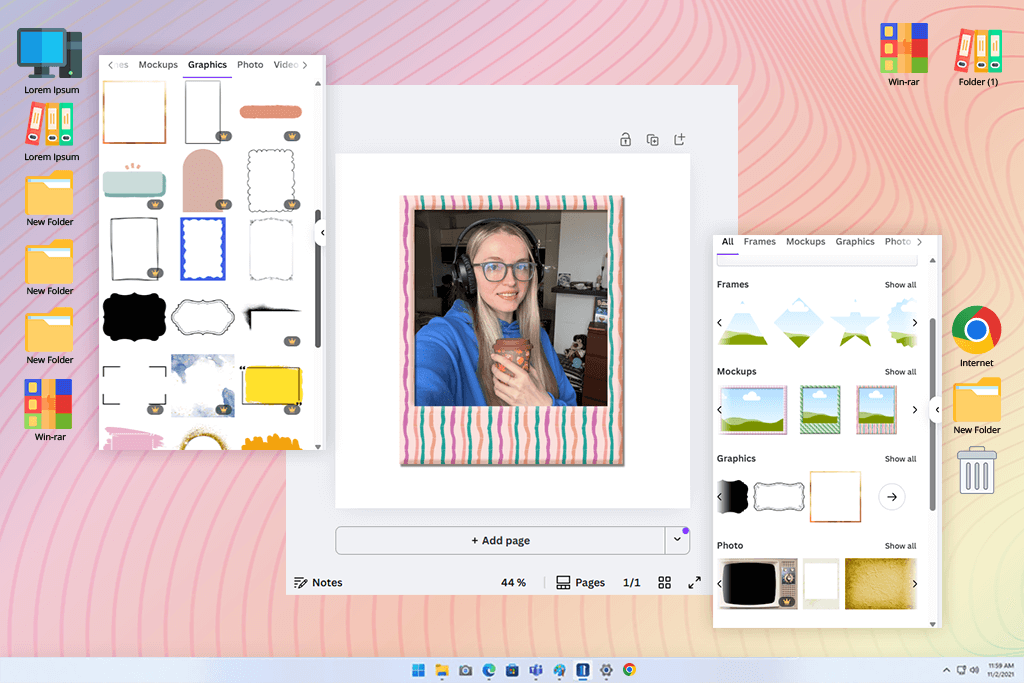
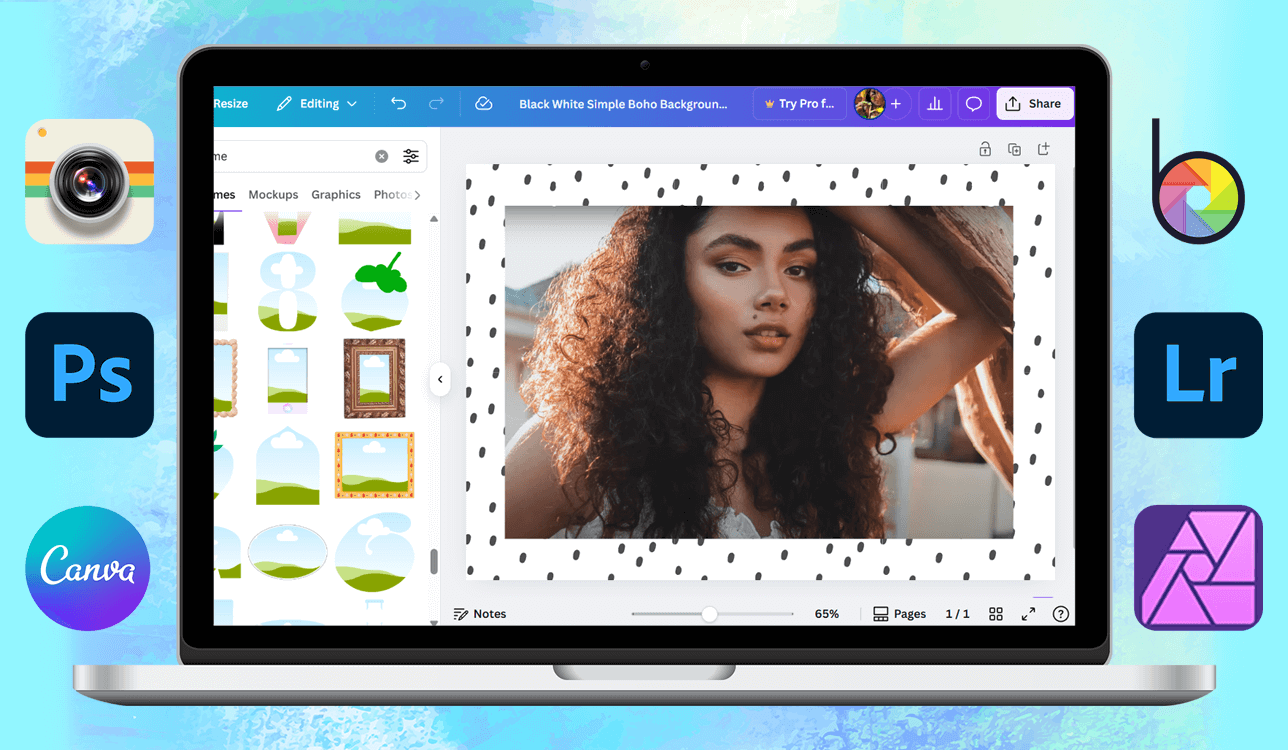
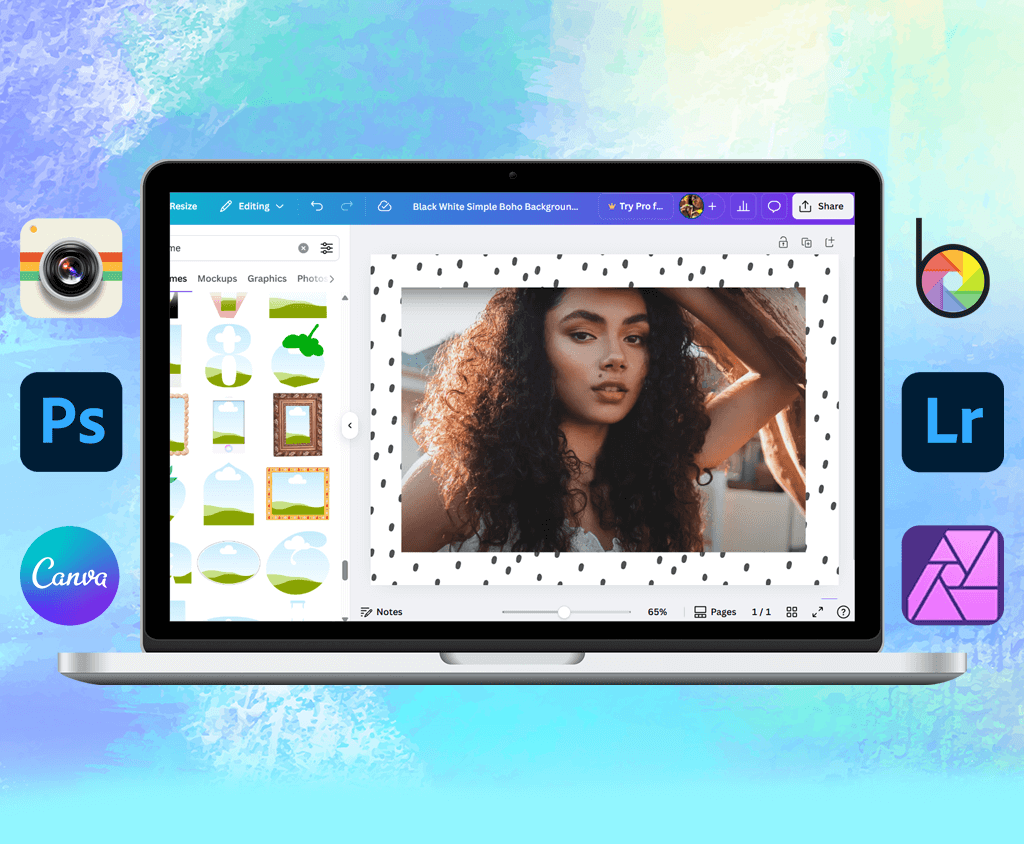
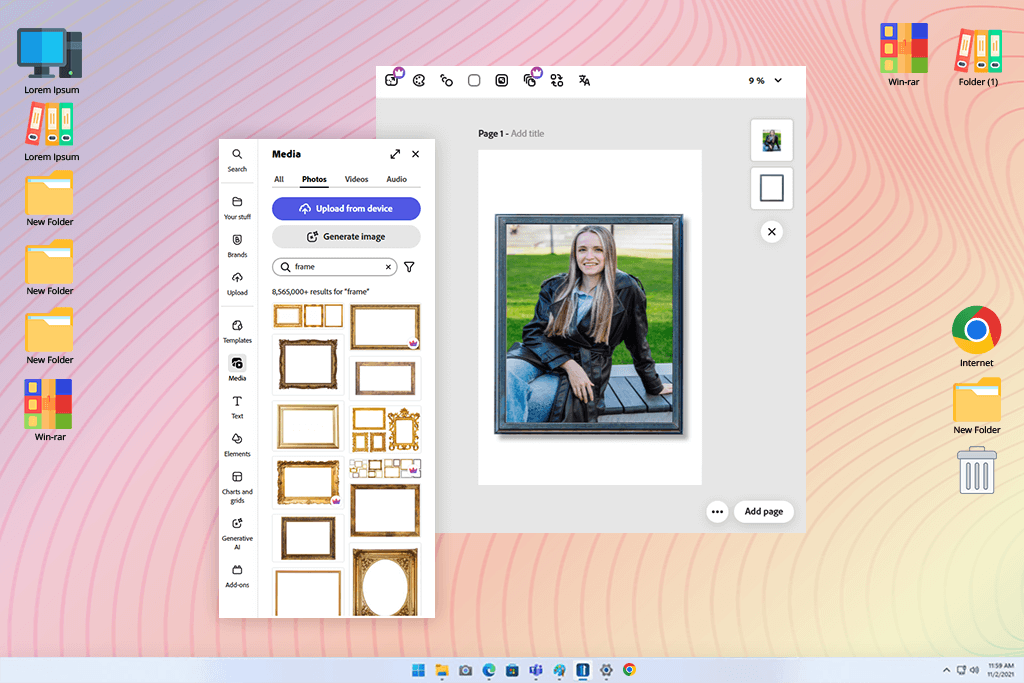
Canva stands out for its easy-to-navigate UI. It allows users with little to no experience to find the tools they need to use with ease. I was impressed by the large selection of frames. You can browse the catalog to find any option you need, from basic white outlines to more complex borders with beautiful patterns. I liked the Polaroid-style frame, as it helped me achieve a retro effect when editing my travel photos.
Canva allows you to change the size, thickness, and colors of your borders. With it, I added frames that had the same style as my photos, which allowed me to achieve consistency. Besides, I used a variety of other creative options. I was able to apply color-blocking effects to blend borders and give my photos a professional feel.
Nonetheless, I had to deal with some limitations. Even though this free photo borders software has helpful tools, I discovered that more polished frames were available only to those who paid for a premium subscription. For example, you will need to upgrade to apply the Polaroid frame effect and save your picture as a PNG file.

As I was wondering which software is used to put borders for photos with high accuracy, I decided to test BeFunky. This web-based photo editor allows users to add borders with little to no effort. As I often work on multiple creative projects at once, I decided to test it out. I liked how simple it was to use.
I did not have to register to access its tools, making it perfect for those who need to meet tight deadlines. After opening the Photo editor menu, I uploaded my photo and found a frame I wanted to use.
However, the collection of frames seems a bit limited, especially if you compare it with frame catalogs available in other software. You will need to pay around $5 a month for a premium subscription to access more professional frames like ArtDeco, Rustic, or Lace. This program is suitable for those who want to add frames to their pics while staying on a budget.
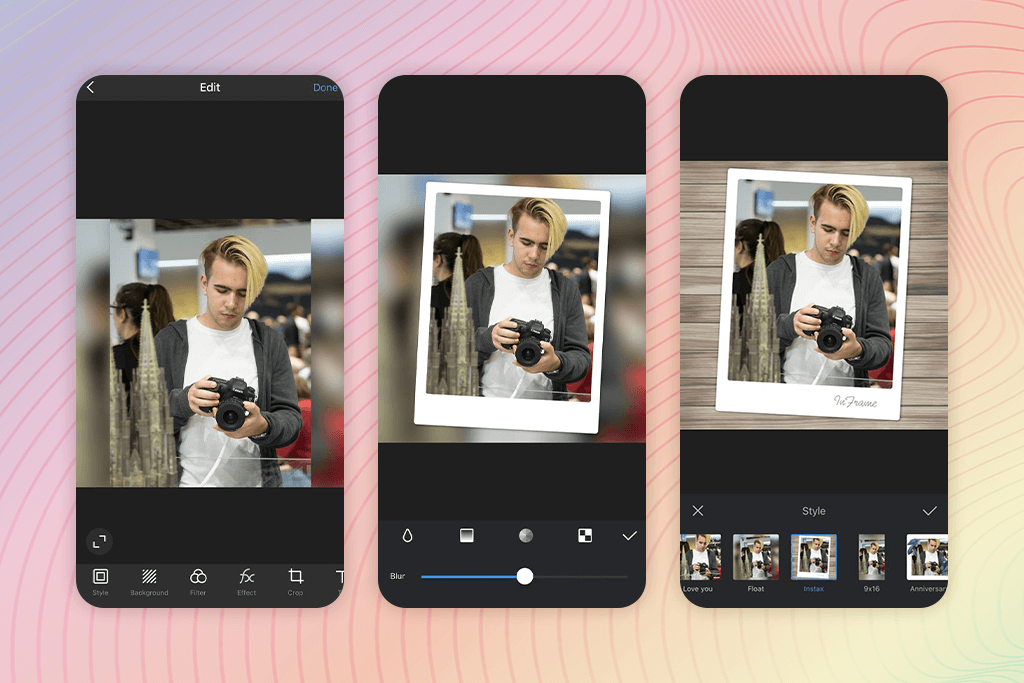
When I started to test InFrame, I chose a picture and explored a collection of textures and frames. This software for adding borders to photos has a large collection of frames, from simple to textured ones. They allow users to achieve an artistic effect.
I was also pleased with a collection of filters. Using them, I was able to fully transform the atmosphere in my photos in a few clicks. I applied vintage filters, made tones look warmer, and even tested black-and-white effects. They blended perfectly with the border, allowing me to achieve a more consistent result.
Besides borders and filters, this photo collage app also allows users to perform color adjustments, add stickers, and access editing tools. I liked the fact that I was able to customize brightness, contrast, and saturation to make the frame look natural. I did not have much use for the stickers, though, as they are more suitable for casual users.
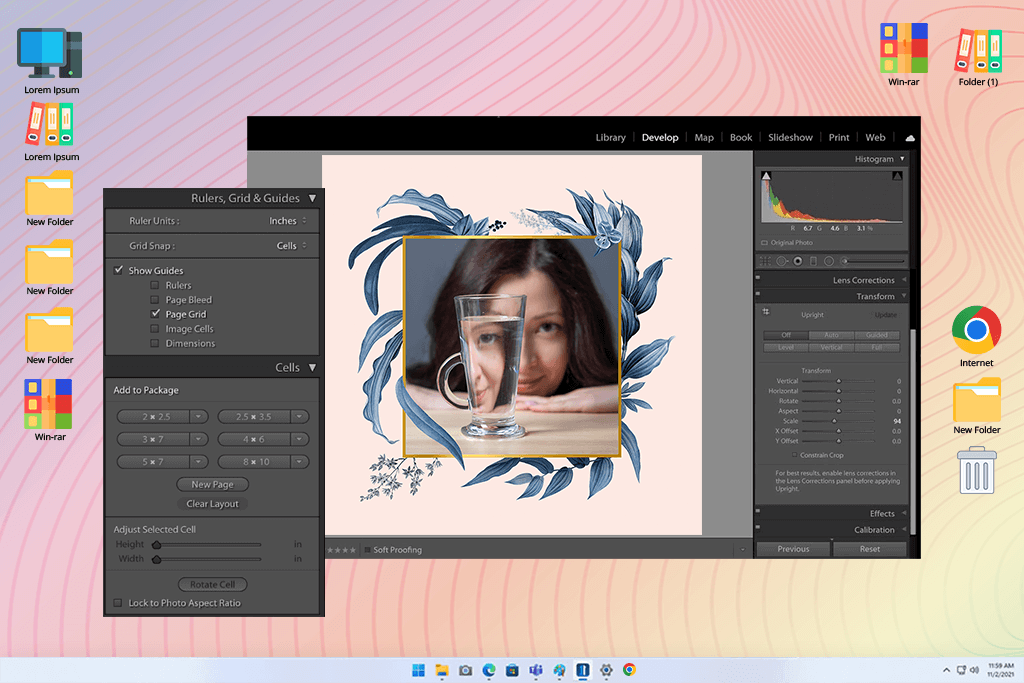
When I started using Lightroom, I instantly noticed that it did not have a dedicated “Add border” tool like other programs I tested. However, after testing its features, I learned how to add borders to photos using vignette and export settings.
For instance, the vignette settings helped me add soft and hard edges to my pics. With the help of the Post-Crop Vignette slider, I was able to achieve the desired border effect. This tool allows users to change the size, shape, and color of the border.
I was able to create a more noticeable border by adjusting export settings. This approach allowed me to add a black or white border to my images and give photos from my portfolio a professional feel. Even though these methods might seem difficult to implement, they allowed me to achieve the desired result with ease when I mastered them.
I enjoyed using Lightroom, as the borders looked perfect. Whether I wanted to add a border to a sunset photo with high saturation or a black-and-white portrait, it looked like a natural extension of the image. It was challenging for me to achieve the same result with other software I used.
Downloading Lightroom allows users to get regular updates and access the newest features available in this software.
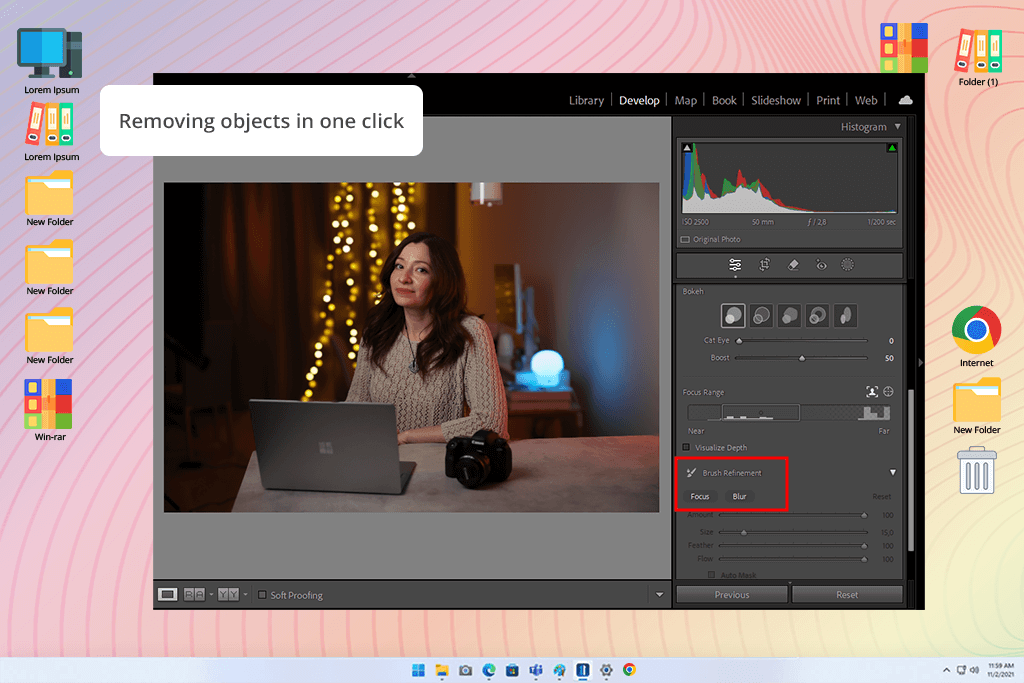
Generative Remove feature allows photographers to remove unwanted elements with one touch:
Lens Blur - Pro-quality photos in a few taps:
AI-driven Masking and Adaptive Presets have helped me optimize my photography workflow.
“I was happy with the performance of the Generative Remove tool. It is simply marvelous. I was editing this street photo and decided to remove a distracting trash can. I was able to delete it with one click.”

I was able to quickly add borders when using Affinity Photo. After opening the Layer Effects panel, I created a simple border and then changed its size, color, and opacity. It allowed me to make it more unique. When working on more advanced projects, I created textured and patterned borders with the help of masks and layers.
What I liked about this free photo editing software for Mac and Windows was that it had helpful guides and snapping features. Using them, I was able to align my borders with high precision without distorting their proportions. As I often need to work on complex projects, I use this software to put borders on photos. It allows me to achieve higher accuracy and improve customer satisfaction.
Affinity Photo has an impressive choice of options for those who want to try out various frame styles. With its brush and shape tools, I created stylish borders with unusual textures and patterns. I even created Polaroid-style borders for portrait photos. Its collection of digital assets helped me significantly expedite my workflow.
When I started using Adobe Express, I was pleasantly surprised by its user-friendly interface. As it’s completely online-based, I did not have to install any software on my device. I was able to start using it after logging into my Adobe account. The UI is quite streamlined, making it easy to find the necessary tools. It makes this solution quite intuitive.
Adobe Express stands out among other programs, as it has an impressive choice of templates. I discovered a lot of customizable borders in its collection. I just needed to drag and drop them into templates and change their style, color, and thickness.
Another thing that pleased me about Adobe Express is that it had a nice choice of design tools. It allowed me to add text, icons, and filters to borders to create engaging posts or promotional materials. As it integrates seamlessly with other Adobe software, I was able to use it together with other programs I use frequently, including Photoshop and Lightroom.
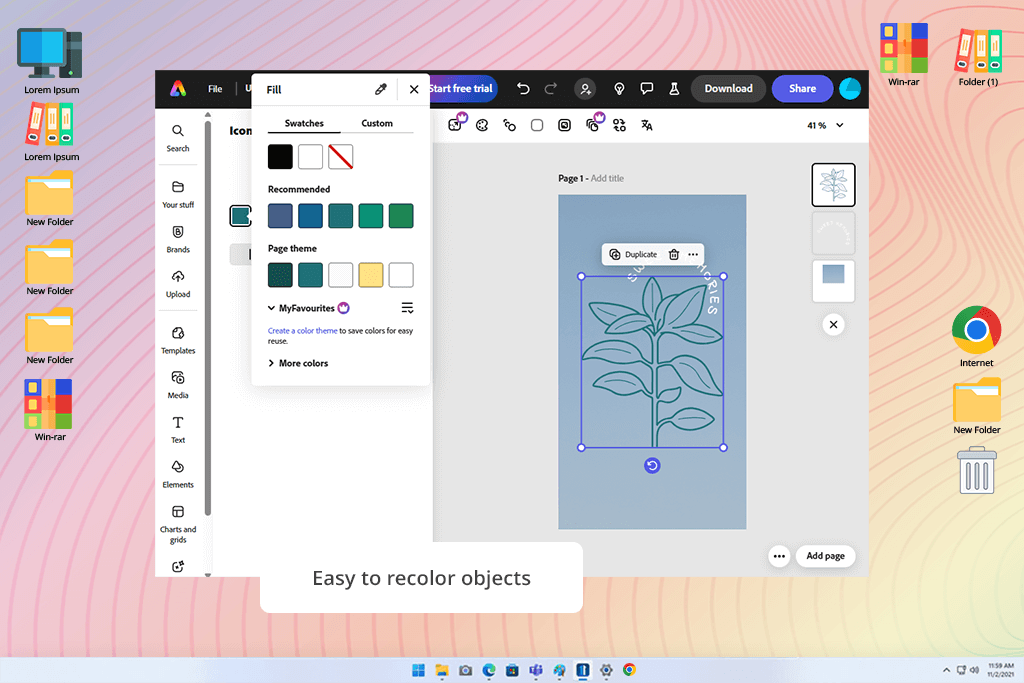
Adobe Express was also recently updated. The recent version of this software allows users to perform the following tasks:
“I turned a poster into an Instagram story layout in a few clicks. It helped me achieve a professional result without using advanced editing tools. I was extremely pleased with the re-color tool. It helped me to use a consistent color palette across multiple designs.”

My colleagues from the FixThePhoto team and I decided to test software for photo borders using well-defined criteria. We focused on ease of use, assessed performance, checked whether the software supported customization, and compared different programs in terms of the available choice of border designs.
Each of us tested specific programs from this list to form an objective opinion. Nataly Omelchenko thoroughly tested advanced software like Photoshop and Affinity Photo to see whether these programs were suitable for creating complex border designs for pro-level projects.
Ann Young tested Canva and Adobe Express to see whether they had intuitive UI and convenient border templates. As Tetiana Kostylieva enjoys experimenting, she tested apps like InFrame and BeFunky to assess their performance and understand whether they could become an alternative to dedicated software.
As we tested each of these solutions, we assessed whether they were suitable for professionals with different levels of experience. We wanted to learn whether they could be used by novice photographers who wanted to add a basic border and experienced professionals who needed to create artistic frames to make their work stand out. When testing each program, we performed a variety of tasks, from creating basic white frames to designing layered and textured borders.
Our approach helped us create a list of the best programs for creating photo borders available today and get a comprehensive overview of the advantages and shortcomings of each software.


