HTML5 animation software facilitates designing banners with interactive elements, creating animated graphics, and adding dynamic web elements to projects without using Flash and other outdated plugins. Using such programs, you can quickly create smooth, perfectly responsive animations that can be viewed in different browsers and on different devices.
Working as a content creator, I often need to use such tools to create professional tutorials, present my design projects in the best light, or enhance my web content. As many of our readers have been asking me about the best software, my team and I tested 15+ HTML5 animation software available today to assess their usability, tools, and performance in real-world situations.
During the past year, I’ve tested both AI-driven animation programs and traditional software with manual tools. Each has its advantages, but they are best suited for different scenarios.
| AI-powered tools | Manual HTML5 animation |
|---|---|
|
✔️ Save time on repetitive tasks |
✔️ A variety of creative possibilities |
My takeaway: I prefer to use manual HTML5 animation tools when I need to better control the outputs. They allow me to create custom infographics, make my portfolio presentations more professional, and focus on details when working on client projects. At the same time, I occasionally use AI tools to expedite ideation or create quick drafts for social media.
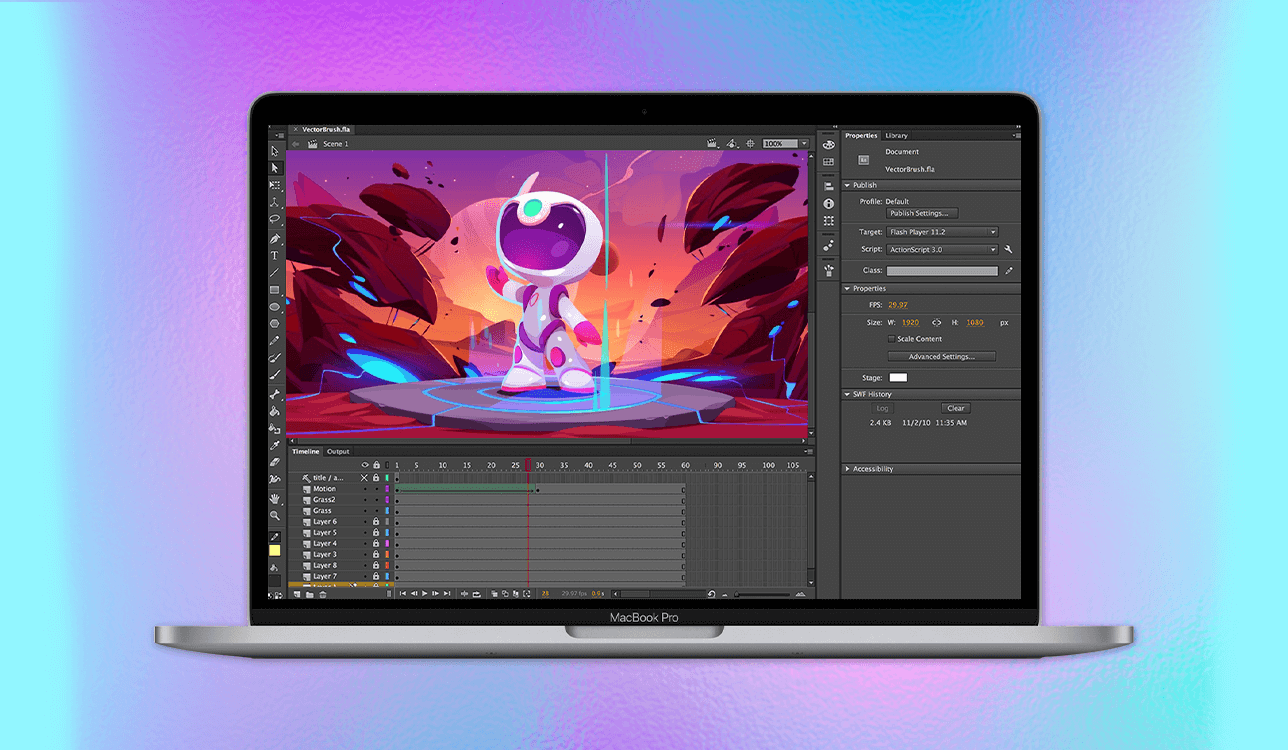
Most of my colleagues use Adobe Animate for creating web animations. After testing, I fully support their choice. After the last update, the program has better HTML5 Canvas support, responsive publishing options, and seamless CreateJS integration. It became even more convenient to use.
When I opened the new HTML5 Canvas document type, I was pleased with the timeline, as it was similar to the tools I had used before. I was able to create interactive banners without using a new environment.
What impressed me about this software is that I can use JavaScript snippets in the Actions panel. As I do not have extensive coding experience, I liked code hints and syntax coloring. It helped me create an animation in HTML5 format quickly. For instance, I was able to add hover animations and click events to photo thumbnails on the demo page. The effects looked the same across different browsers.
When working on one of my projects, I created an animated slideshow with text overlays for a photography tutorial. The result looked nice on desktop and mobile versions. I did not have to tweak a lot of settings manually.
Even though Animate is more difficult to master than some basic HTML5 programs, it allows me to achieve consistent, professional-level outputs. Besides, you can use a variety of Adobe Animate tutorials to learn how to use this software.
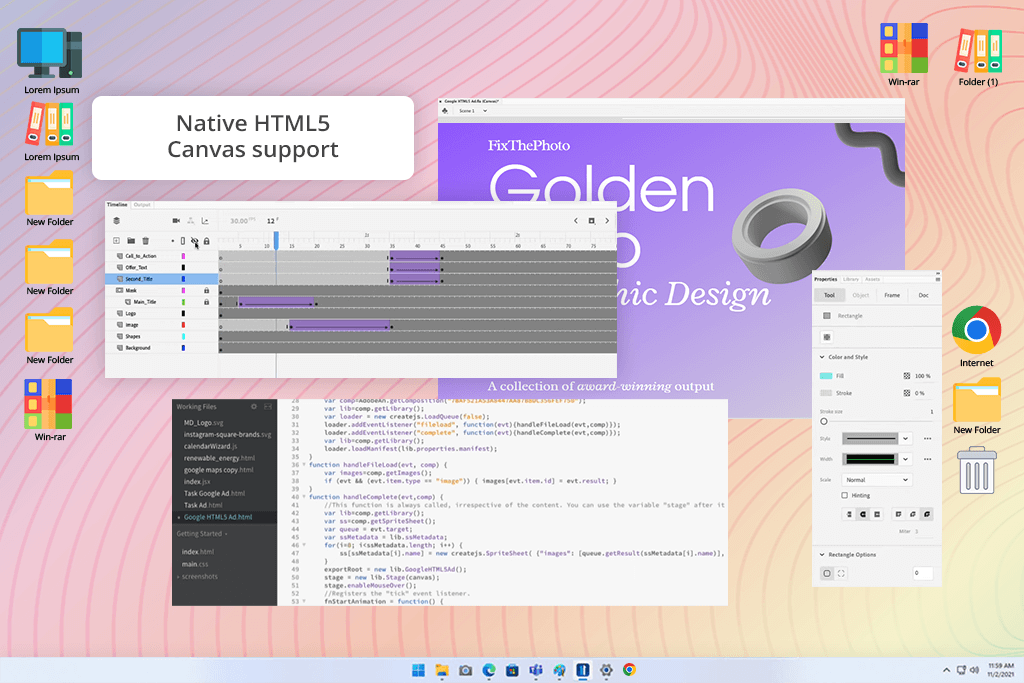
I was struck that Google Web Designer is available for free. It has powerful tools for creating HTML5 animation clips and ads. When I started to use it, I worked in Quick mode to put several animated photo cards together for a blog.
Then, I used Advanced mode to achieve accurate timing on the timeline. Controlling the movement of each element was simple with motion paths and custom easing. As every element was responsive, I did not have to make manual adjustments.
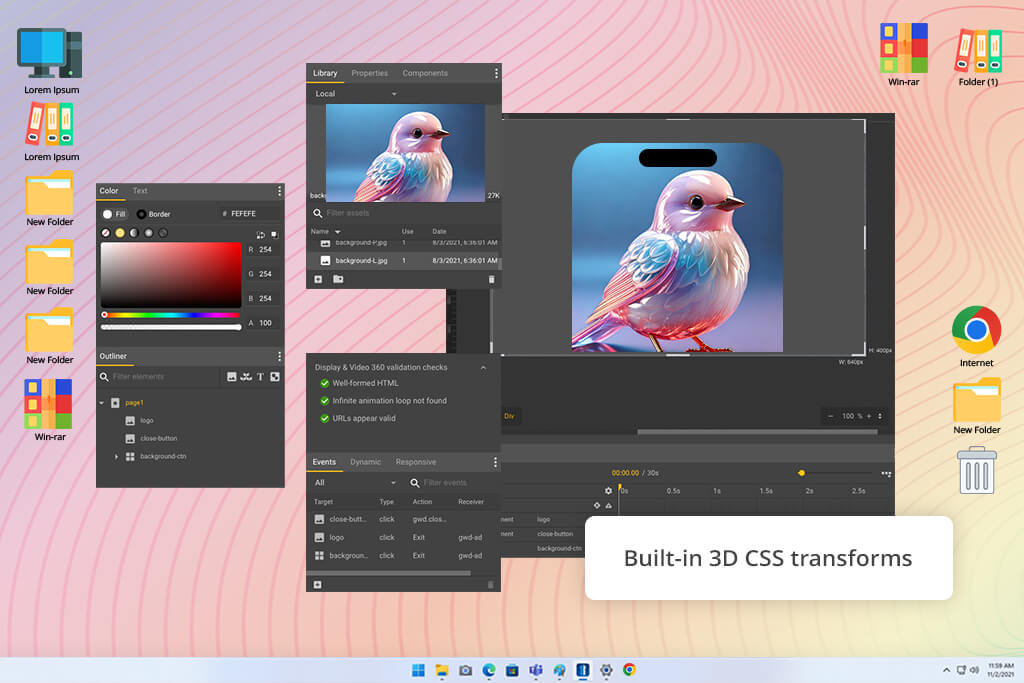
I was also pleased with the integrated Google Fonts library. I tested various typefaces on the go without downloading them to my device. It helped me expedite my workflow. What I like the most about this free web design software is that it makes it easy to experiment with 3D transformations when creating a rotating image carousel for a client demo.
The CSS3-driven 3D effects are displayed seamlessly in every browser. I did not need to have advanced coding skills to apply them. As I wanted to achieve better interactivity, I applied the “swipe to change image” event for those who accessed the platform from their mobile phones.
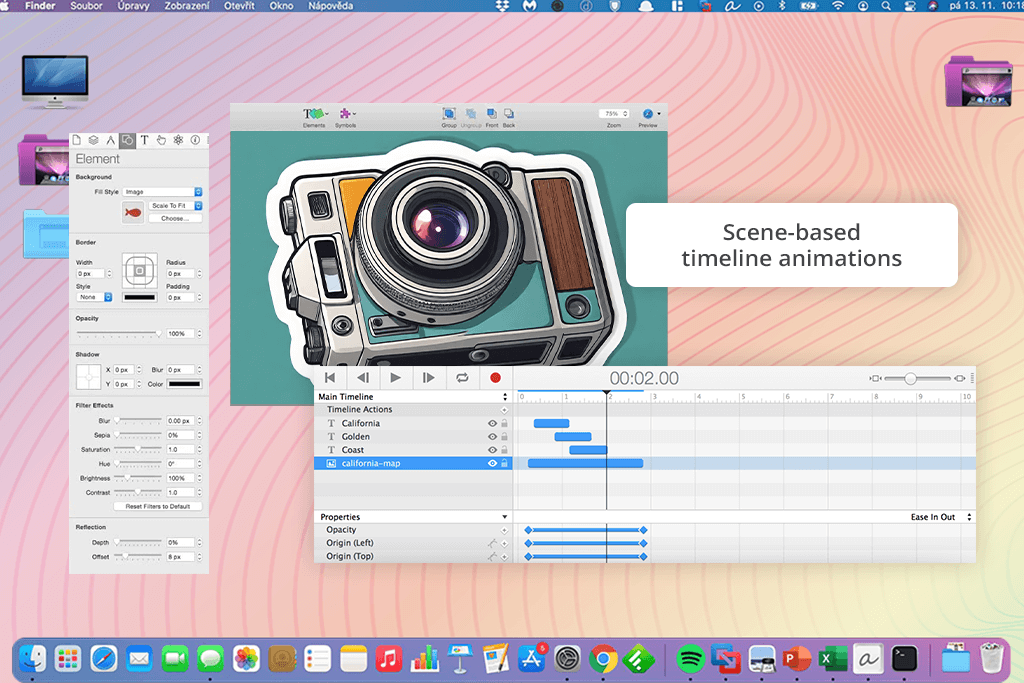
If you prefer to create animations on your Mac, I recommend taking a closer look at Tumult Hype. This HTML5 animation tool has a convenient timeline, which helped me optimize my workflow.
The “Record” button was especially useful when I wanted to create keyframes without using manual tools. I decided to create an interactive gallery page for my portfolio. The program helped me achieve an effect when hovering over thumbnails triggered smooth transitions between the scenes.
I was able to bend motion paths using bézier curves and create professional animations that looked as if they were created manually. I can achieve a similar effect only when using advanced software.
I was happy with the simplicity of export options. I was able to embed the result on my site with ease. Hype created a self-contained folder. I uploaded it to the server and added several lines of code to animate the animation into my platform. When I opened my site in different browsers, including some outdated ones, I was pleased with the consistency of the output.
However, I noticed that the program has a UI that looks a bit outdated if you compare it to other popular software. Nonetheless, I often use Tumult Hype when I need to create professional-level HTML5 animations on a Mac.
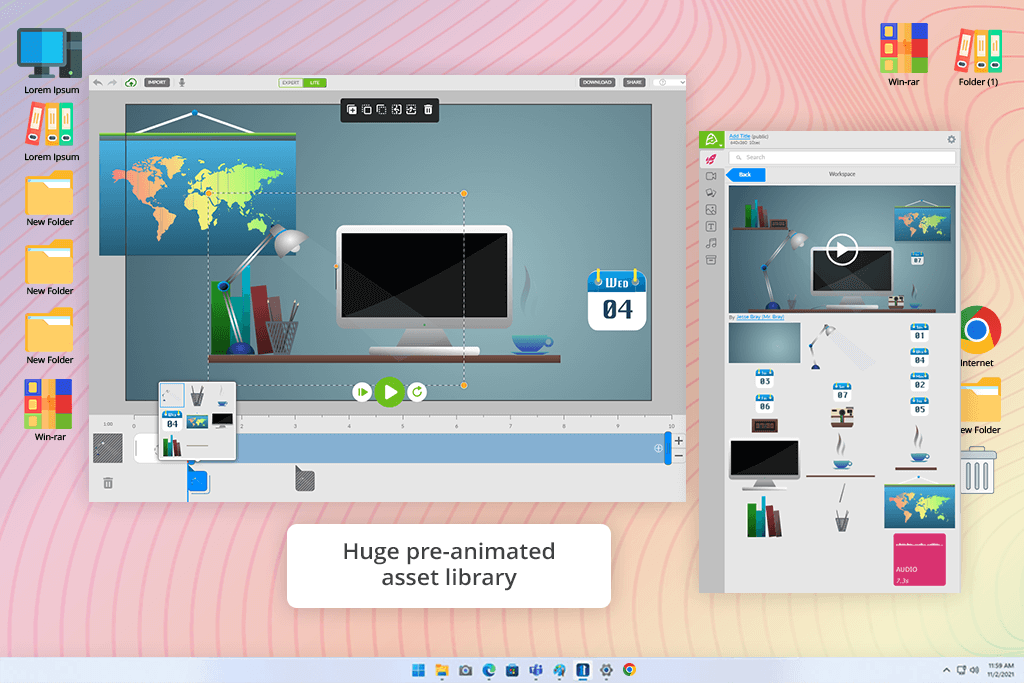
My colleague Robin advised me to take a look at this software, as she has been using Animatron for her HTML5 animation projects. After testing this HTML5 animator, I was impressed by its large library of pre-animated characters, icons, and backgrounds. It allowed me to create test scenes for my tutorials without delays.
In addition, I imported some pics from my gallery and added text to them to create a short video introduction. Animatron is perfectly suitable for such tasks. As I often use various text animation software, I was pleased that this program allowed me to animate typography elements without performing complex coding tasks.
I was also impressed with the available customization options. I recolored and reshaped the available assets to ensure that they match my brand’s palette. I was able to export my files with ease. I published the infographic-style animation I have created on social media without any issues.
The only shortcoming I noticed is that the program slowed down when I was trying to upload large files. However, if you are looking for a program that allows you to access HTML5 tools and perform creative tasks, Animatron is an excellent option to consider.
As I also wanted to find a program for a Windows-based PC, I decided to test Express Animate. I started with a short intro for a video. After importing a brand’s logo, I added moving text and several decorative elements from the built-in clipart library.
It did not take me long to create an HTML5 animation block. I was able to embed it on a website quickly without converting it into another format.
Then, I used this program to create a short promo animation for social media and others. I imported audio and applied black-and-white and sepia filters to some objects. If you take a look at HTML5 animation examples created with this solution, you will be impressed with their quality. The program allows users to adjust object positions and rotate them as they see fit.
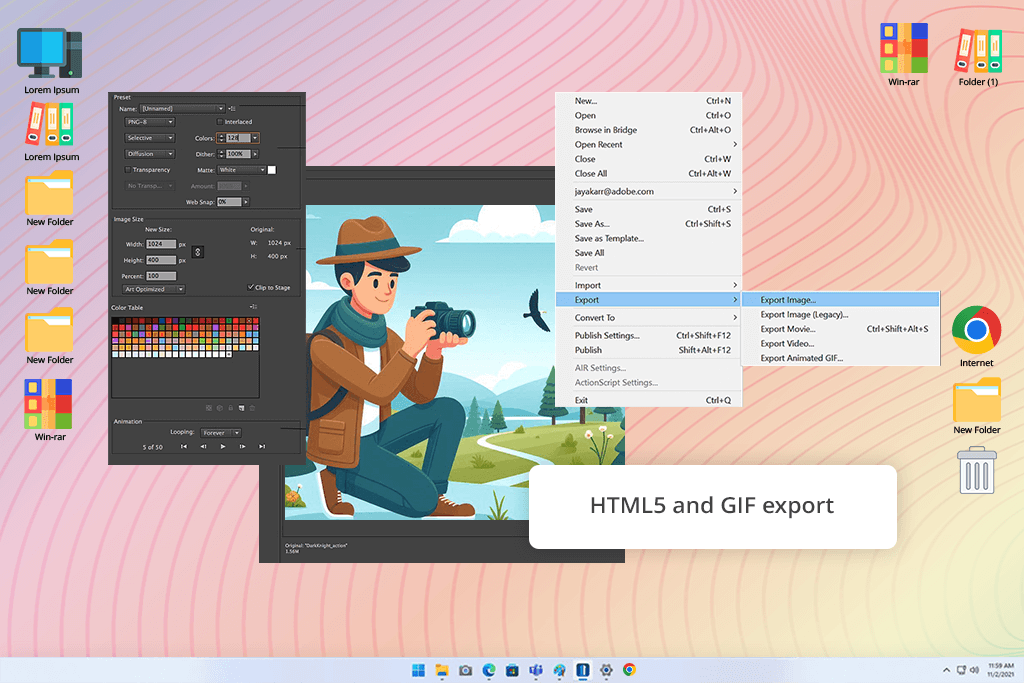
The program supports HTML5 and GIF exports. Besides, I was able to preview my animations in browsers and on mobile devices. However, I was a bit disappointed that the interface was a bit outdated.
The FixThePhoto team and I decided to write a comprehensive review with handy tips and thoroughly tested each HTML5 animation tool when working on real projects. We weren’t satisfied with installing these programs and taking a quick look at their interfaces. Instead, we used each program to perform two tasks.
The first one involved creating a short banner animation for a web platform. The second was more complex, as we needed to create interactive image galleries, add text transitions, and design small infographics. This approach allowed me to understand how well each program and in-browser animation software coped with basic and more advanced tasks.
We focused on assessing ease of use. As many of our readers are beginners, it was important to check whether these programs were intuitive enough. Due to this, Kate was looking for animation software for beginners. She wanted to check whether a program had intuitive timelines, handy code snippets, or useful templates. If she had to spend a lot of time mastering the software to get quality results, she wrote detailed notes on the tools that required more practice.
Besides, we wanted to check responsiveness and compatibility. I exported my projects as HTML5 files to see whether they looked the same across different devices, including my desktop computer, tablet, and mobile phone.
In addition, we assessed playback as we wanted to find programs and browser-based animation software that did not glitch. I tried scaling content when using different programs to understand how they would fare. It helped me narrow down the selection and exclude tools that produced outputs that looked great in the editor but had lower quality when they were published online.
Ann’s main priority was workflow efficiency. She was looking for drag-and-drop asset libraries, in-built audio controls, or Google Fonts integration. Such programs are more convenient to use when working on real projects. She decided against including the programs that slowed down during large file uploads and had a limited choice of templates.
Finally, we tested the available export options and checked whether it was possible to share files quickly. I wanted to export animations in HTML5, GIF, and video formats. The best programs allowed me to preview my files live. I tried uploading some test videos to YouTube to see whether a program generated the right embed code.


