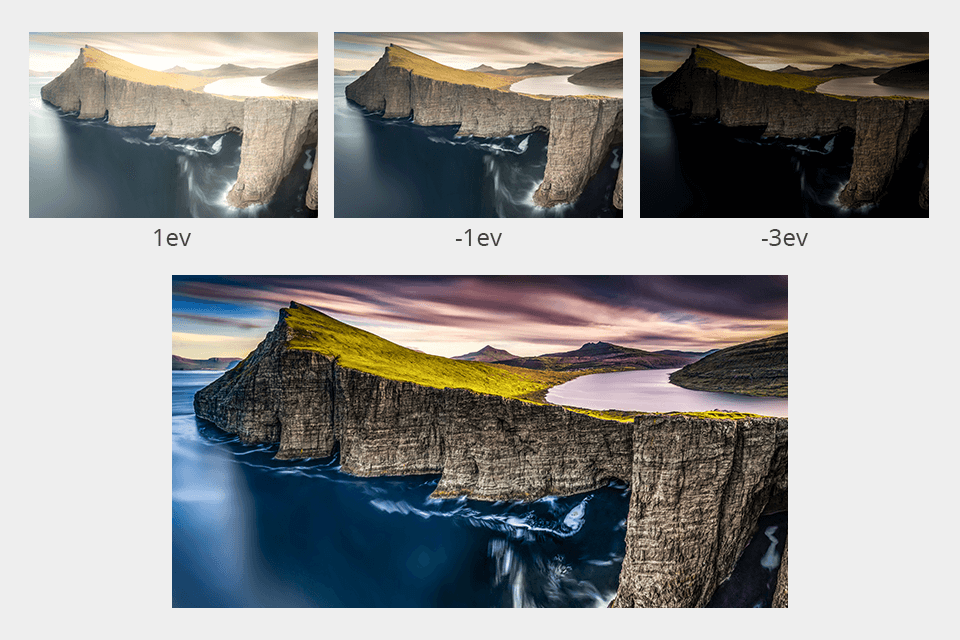
How do 8-bit and 16-bit images differ? This is actually an important question to answer if you want to get photos of proper size and of high quality. Though many people think that higher numbers are better, that isn’t always the case.
In fact, both 8-bit and 16-bit images have pros and cons, and the choice usually depends on the situation and your needs. This review is actually the 8 bit vs 16 bit comparison, so you’ll learn about the peculiarities of these files to understand when you should use each of them.
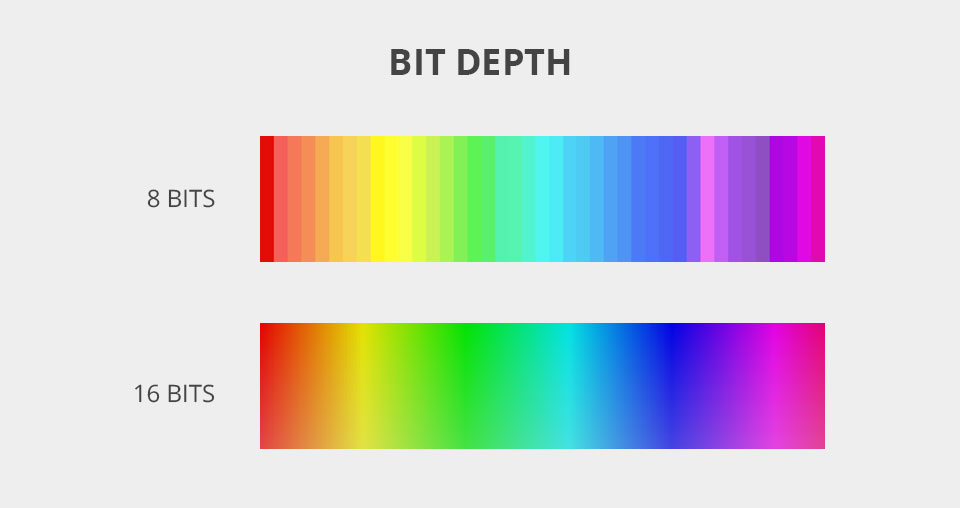
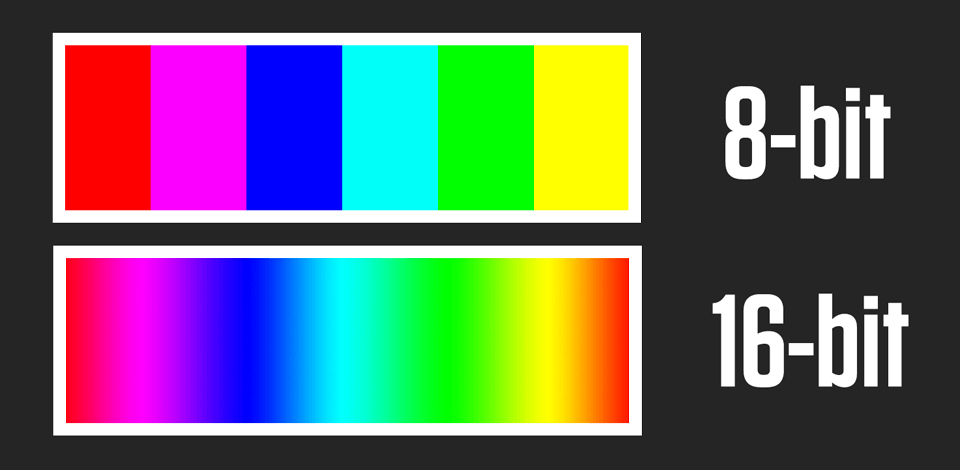
Talking about bit depth we mean the amount of color info available for every pixel in an image. The higher the number the more colors are presented there and the more precise color reproduction is. However, this parameter directly affects the size of a file. In other words, the more color info stored in each pixel, the larger the size.
Every new portion of info results in the growth of color depth. To learn how many tones are available in a picture, just multiple 2 by the exponent of bit. For instance, the calculation for a 16-bit images is 2x2x2x2x2x2x2x2x2x2x2x2x2x2x2x2 = 65 536.
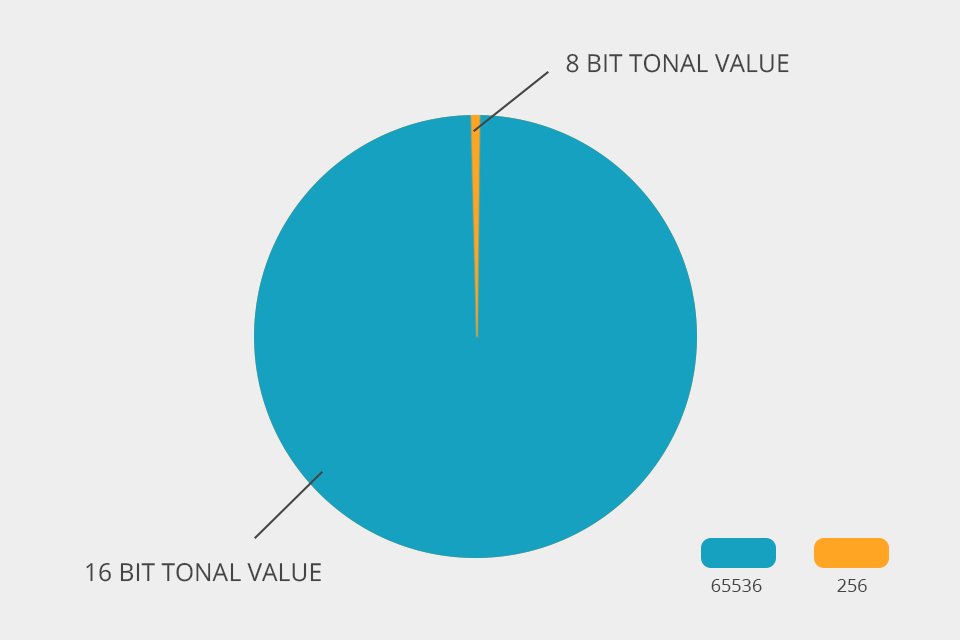
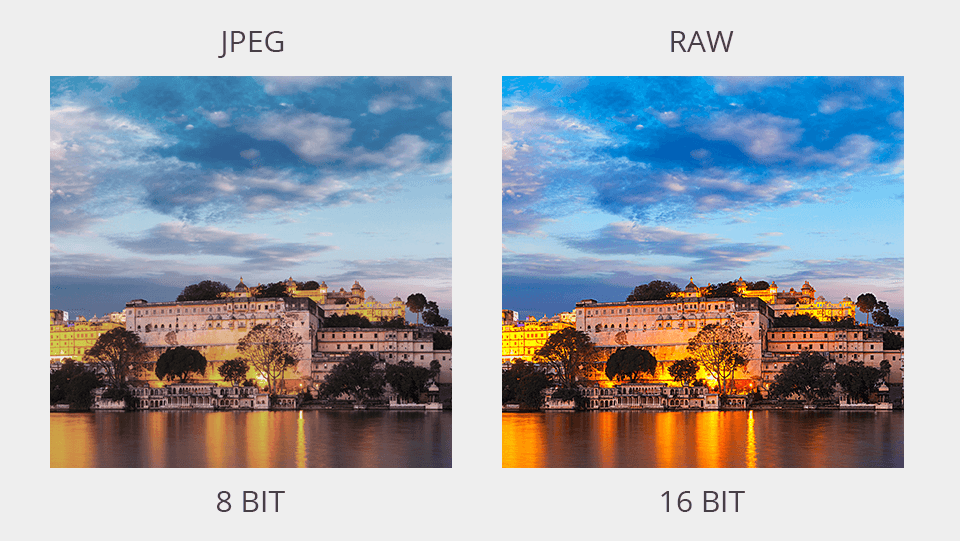
Every 8-bit image consists of 256 shades in 3 different channels (red, green, and blue). This means that such an image has 256 shades of magenta, and so on. In total, there are 4.29 billion different color shades. Photographers often shoot in JPEG to end up with an 8-bit image.
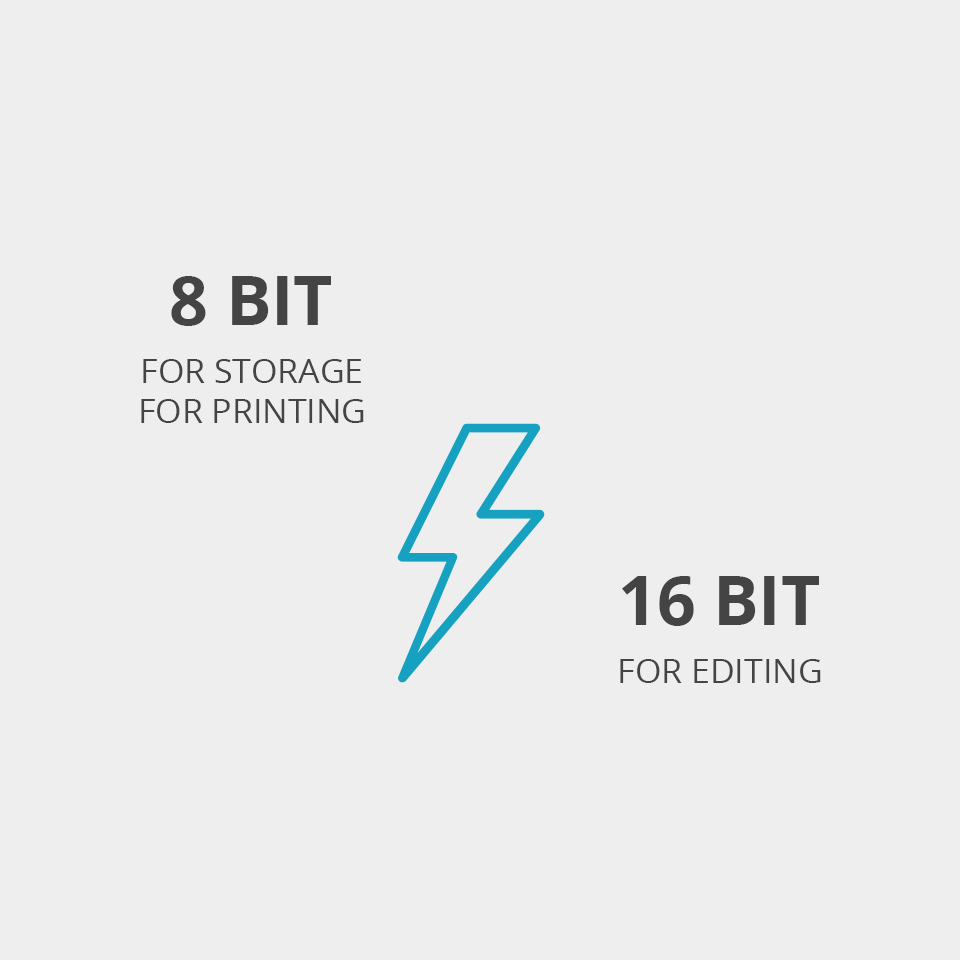
This is a great file format as you can edit such photos in almost all existing image editing programs. Such files aren’t too cumbersome but preserve lots of details. Moreover, JPEG is recognized as one of the best image format for printing.
Every 16-bit image has more shades for every color, which is a decisive point for some people curious about the 8bit vs 16 bit battle. Thus, using a CMYK profile, we get 65,536 tones in 3 channels, which in total, gives 28 billion color shades. The bit depth in such files increases noticeably.
To get 16-bit files, photographers usually take images in RAW. However, this format can also be used for 12-bit images. RAW files provide more possibilities for photo editing, but they occupy more space.
In addition to 8- and 16-bit images, you can also take 32-bit photos, especially if you plan to conduct serious modifications in Photoshop. For instance, such files are ideal for creating HDR Photoshop effect.
Since they contain info from 3+ 14-bit images, you can perform more experiments with colors. Besides, in this case, you can retrieve more details from highlights and shadows. If you want to work with special effects or think of trying extreme editing, opt for 32 bits/channel pictures.
Though the main difference between 8-bit and 16-bit images is obvious, there are still many users, who have doubts about what files to choose. The main question is which image offers the best bit depth? In fact, both file types.
To play it safe, I recommend taking images in RAW format whenever it is possible. Of course, such files are rather large, but the amount of data they contain totally justifies the size. If you perform photo editing on your own, you’ll understand how important it is to have all that data at your disposal.
JPEGs are smaller, but they get muddy too fast, which is a real problem for image post-production. When you open JPEG files are 8-bit images, you settle for compressed info and less freedom during photo processing.
16-bit images are a delight to work with as you get access to the abundance of colors, details, and tones. Besides, the quality of such photos is amazing. The good news is that you can easily convert RAW (16-bit) images to a smaller type without compromising their quality.
Comparing 8 bit vs 16 bit pictures, keep in mind that the former:
Thus, a bigger bit depth isn’t a win-win option in all situations. Though 16-bit images are unmatched when it comes to editing, people usually convert them to a smaller type for storing and printing.
Photoshop allows working with all 3 types of files – 8-bit, 16-bit, and 32-bit images. Think carefully about what option suits you most because it will define the range of edits you can make and how good the quality of a picture will be. In case you don’t know what the bit depth of your photo is, you can easily check it in the program. Changing the bit depth is also a breeze.
There is also a wealth of user-friendly RAW file converters, which cope with the task in virtually no time.
Launch Photoshop and import an image. Choose Open in the File tab to upload a file. Alternatively, you can use Photoshop keyboard shortcuts: press Ctrl + O.
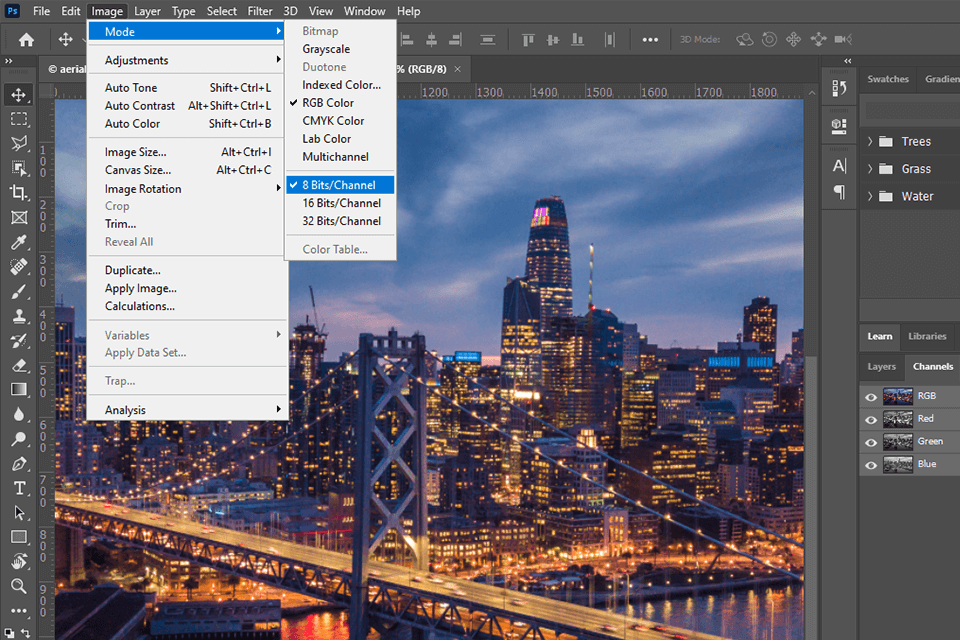
In the top menu find Image > Mode. The current bits/channel type of your image is check-marked (in total, there are 3 options).
To turn a 16-bit image into an 8-bit image, click on 8 Bits/Channel option. Such manipulation is instant, but you can’t convert files the other way round. A 16-bit photo can store 16 bits amount of info.
Converting 8-bit images to a larger size is impossible because there is no info you can add to a new file. Thus, there are 8 bits of file with info and the rest of the section is empty.
In general, 16-bit > 8-bit conversion is a common thing among photographers, retouchers, and other specialists working with visuals. The process is fast and intuitive, while the resulted file isn’t subject to quality degradation. The only exception is if a source file has a very high level of gradients.

Do you want your photos to look beautiful and have rich color regardless of their bit depth? Download this collection of actions and forget about the problem. Using them, you can give your images a professional look, correct colors, fix lighting defects, and improve sharpness in several clicks.


