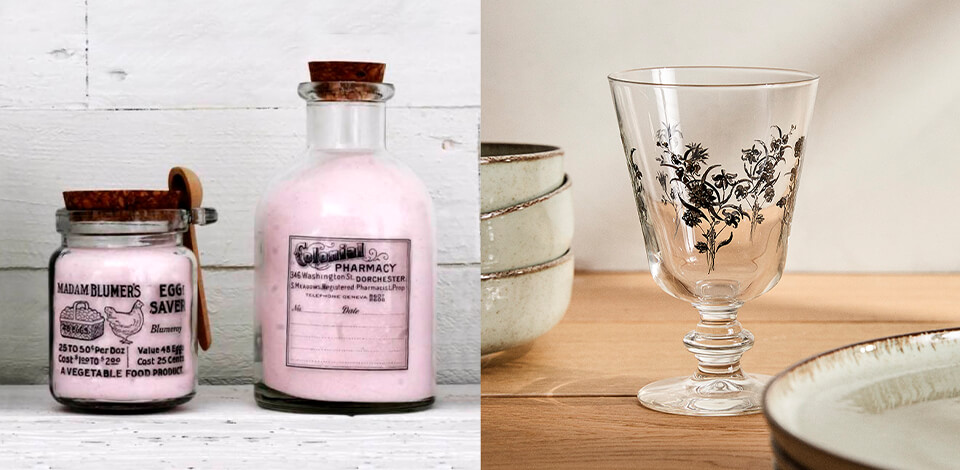
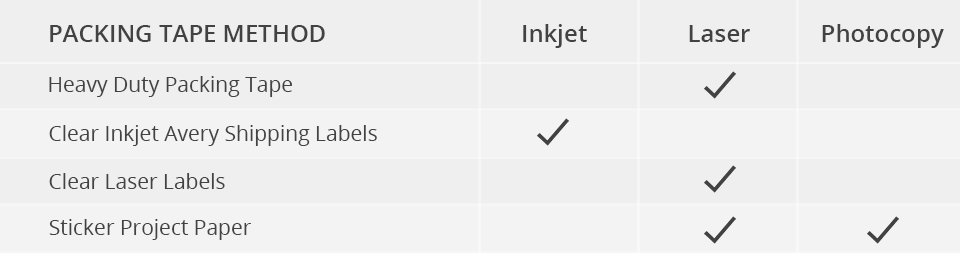
Do you have a favorite drawing or photo that you’d like to transfer to glass objects in order to decorate your space? Or maybe you want to make a personalized gift for a friend without breaking your bank?
The technique of transferring pictures to glass is relatively simple and doesn’t require a lot of time and tools. The biggest advantage is that anyone can afford it.
I have prepared two simplified methods of transferring photos to glass, depending on the items you have at hand.
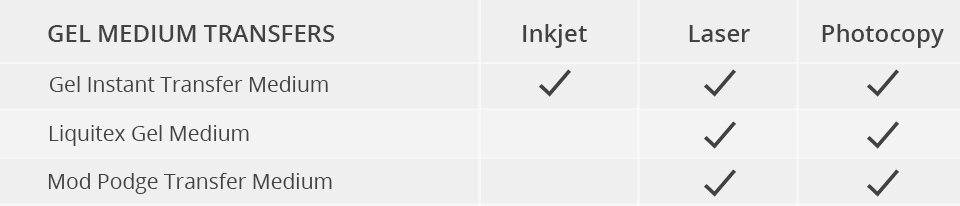
Here is probably the simplest way to transfer pictures to glass since packing tape is usually found in everyone’s place. Besides, the picture doesn’t turn out to be mirror-inverted when being transferred.
It is transferred to the glass using a sticky layer of packing tape. For a trial run, prepare a small picture of a regular or elongated shape, a packing tape of the appropriate width and a glass item with a flat surface.

Transfer a picture from a magazine or newspaper page by simply cutting it out – mind that the base should be paper one and not too glossy. If the picture for transfer is in digital form, you need to print it on regular printer paper.
If you have a physical photo, then photo paper isn’t suitable. So, be ready to print photos on printer papers using a laser printer.
Tip: When you transfer photos to glass, don’t use photo paper. This won’t let the photo be transferred to the glass surface once you need to remove most of the paper, leaving a thin layer with paint.
The use of an inkjet printer may lead to distortion of the graphics during the transfer. The inkjet printer employs wet ink, which is smeared by moisture. In a laser printer, powder ink (toner) is pressed by heated rollers and melted into the paper. Pictures printed on the best laserjet printers for crafters won’t be ruined in case they get wet.

When figuring out how to edit night sky photos in Lightroom, don’t forget about contrast. If you set the Blacks option to a negative value, you will make the colors and starlight more prominent. The black areas in the shot will be darkened. For the similar effect of brighter stars and darker skies, play around with the Whites value until you achieve an appropriate contrast of dark and light regions.
To additionally enhance the contrast, tweak the contrast value bar as soon as you are done adjusting the Blacks and Whites sliders. Although the picture with raised contrast appears vivid and bold, it may seem too obscure for some. If that is the case, raise the value of the Exposure option to make the shot lighter. Mind not to go overboard, otherwise, the result will be completely washed out.

Begin by cutting off the excess paper from the printed photo. Then carefully cut out the picture itself if it has a particular shape. In case the picture comes with curves or sharp corners, carefully cut them off to leave only the picture for transfer, which is sealed with tape.
Don’t use complex polygonal or end-to-end images unless you are skilled enough. On your first try, take a rectangular or elongated shape that corresponds to the shape of the tape’s cut strip: it will be easier for you to cut it and smooth it on the surface.

Immerse the picture in a container with warm water so that it is entirely covered. Water will help transfer the picture to the sticky surface of the tape. Let the glued picture immerse itself in warm water for 5 – 6 minutes.
The water should be warm, but not hot. Hot water can melt or deform the tape and the picture. To see if the picture is ready, check a tiny corner of the piece. If the paper is scraped off using a nail without difficulties, then you may go further.

Pull the picture out of the water and spread it flat on the surface with the paper base facing up. Using your fingers, rub the paper from edge to edge, while smoothing the tape until the paper rolls off and peels off from the tape.
If the paper isn’t entirely erased, immerse it again in warm water and let it soak for another couple of minutes. Then pull out the image and resume rubbing. Don’t go overboard, otherwise, you may erase the paint from the tape or even tear it.

After removing the paper, a strip of packing tape with the transferred picture will remain. Flatten the tape on a flat surface and let it dry completely in the air for about 30 minutes (not in direct sunlight or in a draft). When the tape dries, you will notice that one side has become sticky again.
Place the tape over the glass surface in the desired position with the adhesive side down. Then stick the picture until it is entirely pressed against the glass while smoothing it with your fingers from the center to the edges in order to avoid air bubbles.
Tip: To quickly and completely dry the strip of tape, a hairdryer with a non-hot but weak stream of air. This way, you won’t dry out the sticky layer and it won’t lose its adhesive properties.
If you are only learning how to transfer photos to glass, don’t use curved glass surfaces. A flat plate is enough for the first attempt. If the picture is large, start at the edge of the tape and move your fingers to the other side in order to prevent bubbles. In case bubbles still appear, squeeze them out from under the edge of the tape using the edge of a plastic card.
Another widespread way to transfer images to glass is the decal method. It is based on the transfer of paint with a universal polymer for photo transfer containing water-based polyvinyl acetate. Glossy or matte gel, Mod Podge, works as an adhesive, sealant and finisher for gluing paper. It can be purchased at a hardware or hobby store. Prepare a brush or foam sponge for application beforehand.

Transfer a picture from a magazine or newspaper page by simply cutting it out – mind that the base should be paper one and not too thick. If the picture is in digital form, you need to print it on regular printer paper. As for photos, print them on printer paper and using only a laser printer. Take advantage of the ideas from the best stained glass design software for non-trivial pictures.
Tip: When you transfer picture to glass, pre-edit the text so that your words are turned upside down like in a mirror (backwards). Otherwise, you will get an inscription like in Alice through the Looking Glass. The same is true with pictures if you need their vertical reflection.
Remember not to use inkjet printers, photo paper and thick paper for printing or source materials.
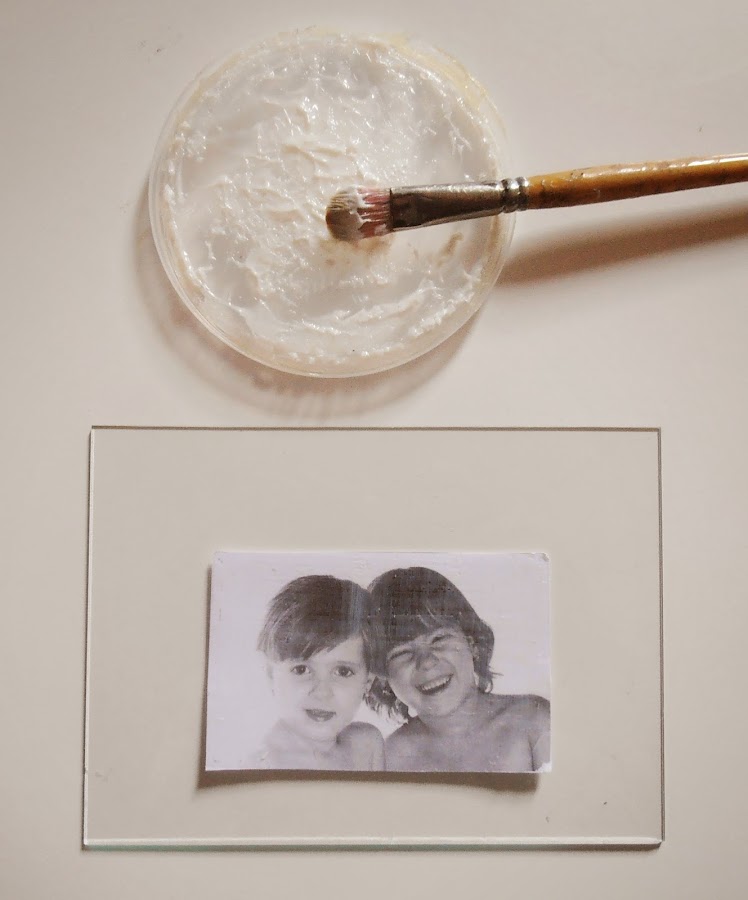
Use a brush or a handcraft sponge to distribute the transfer medium so that the fingers remain clean. Apply a rich layer of transfer material to the dry and clean part of the glass on which you will transfer the picture.
Tip: The layer should be slightly larger than the picture so that the picture is transferred entirely. It is better to apply a slightly thicker layer. Once you try doing this more than twice, you will understand how thick a layer should be for different paper types.
Don’t use a brush that strongly absorbs or loses lint. The best option is a wedge-shaped handcraft brush made of foam rubber on the handle. It applies precisely and doesn’t absorb the photo transfer medium formula.
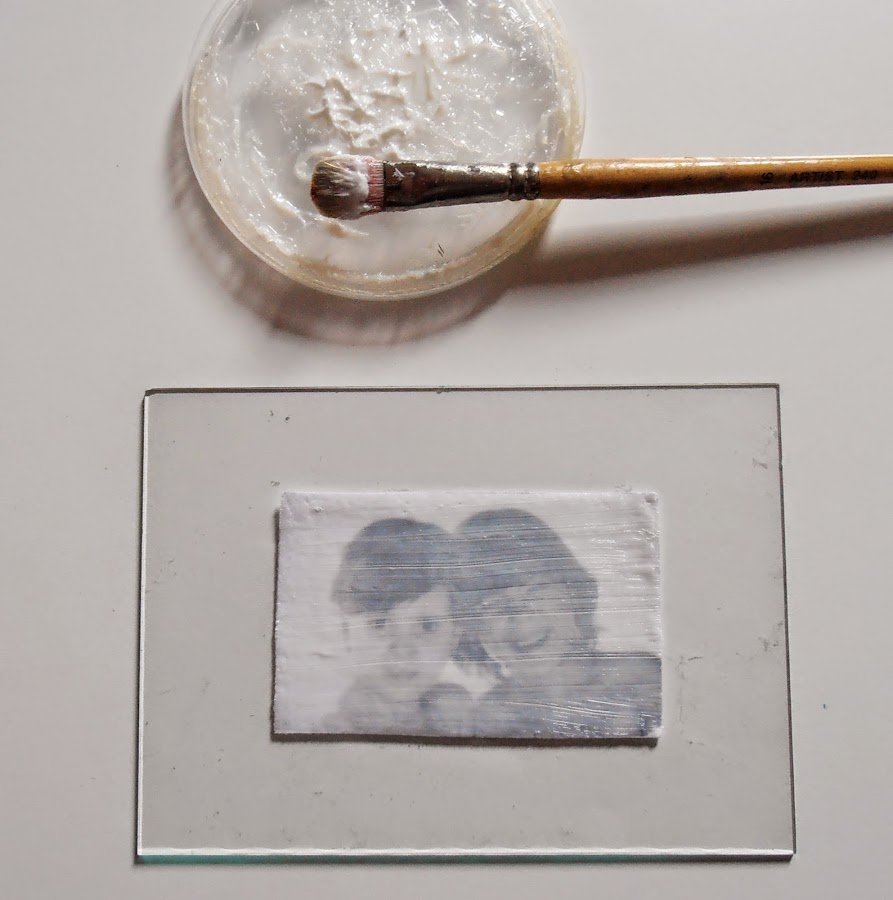
Place the picture with the non-printed base up on the processed area of the glass carefully and precisely. After placing the picture onto the glass, try to press the picture evenly into the gel with your fingers so that it is entirely pressed against the glass. The larger the one-time pressure area – the better the result. After placing the picture, don’t move it from side to side in order to put it in the center. Otherwise, you may deform it.
Tip: If air bubbles have formed, gently squeeze them out from under the edge of the picture with a finger, cloth or a non-sharp flat surface. Take care not to damage the paper and hold the rest of the picture in a fixed initial position.
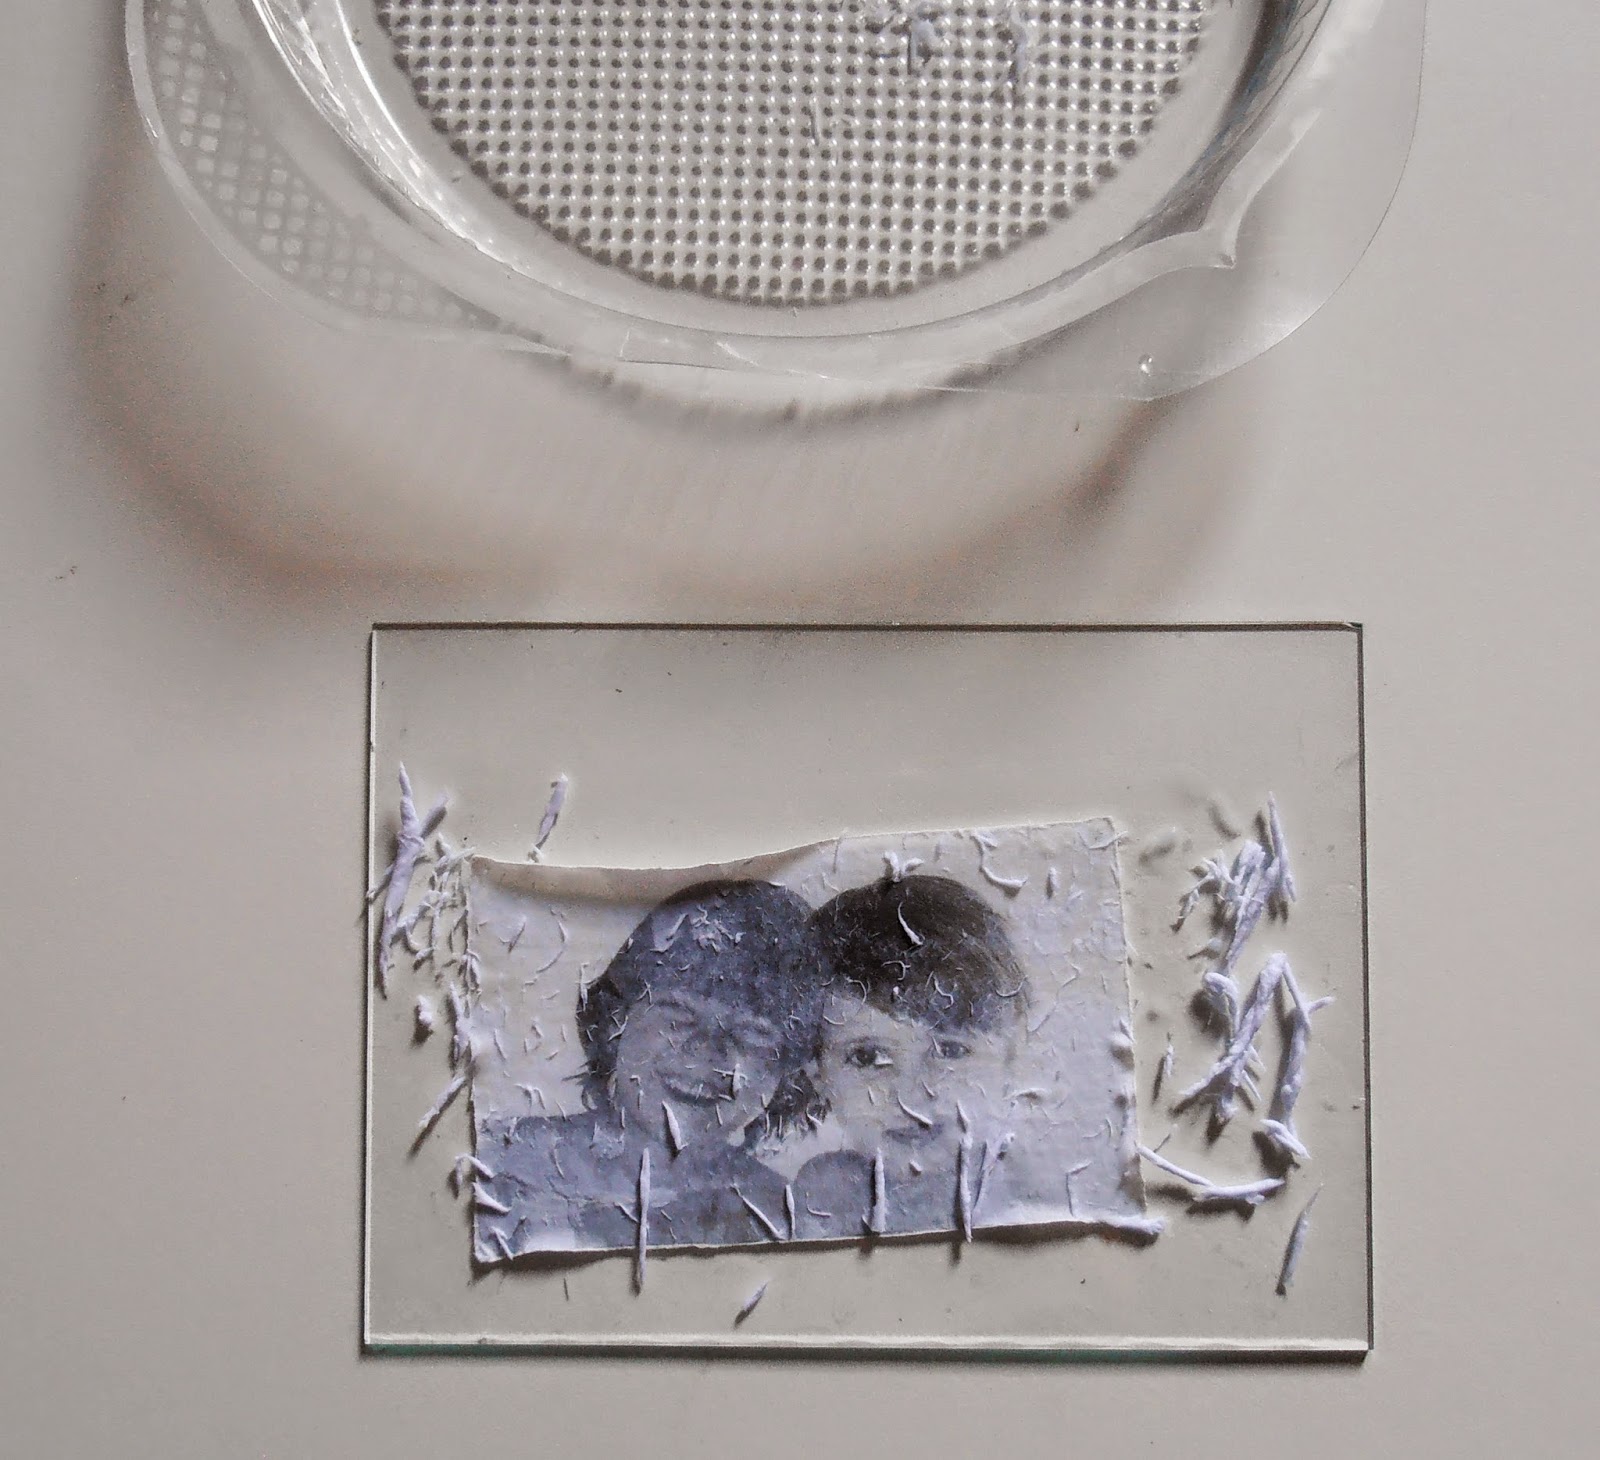
Let the transfer gel dry as long as indicated in the product instructions. After it is completely dry, wet the back of the paper with a sponge or a damp cloth with tapping movements. The water will soak into the paper so that you can wipe it off the glass.
Tips: The image transfer to glass will be disrupted if you attempt to remove the paper before it is entirely dry. If you have a humid environment, the drying time may be longer than specified. It is better to overdo it rather than underdo it.
Be sure to squeeze out the sponge before getting it wet since excess water may be harmful. Also, don’t rub the sponge along the surface in order to avoid tearing the paper. If nothing is indicated in the instructions, you can use warm water in case you are impatient.
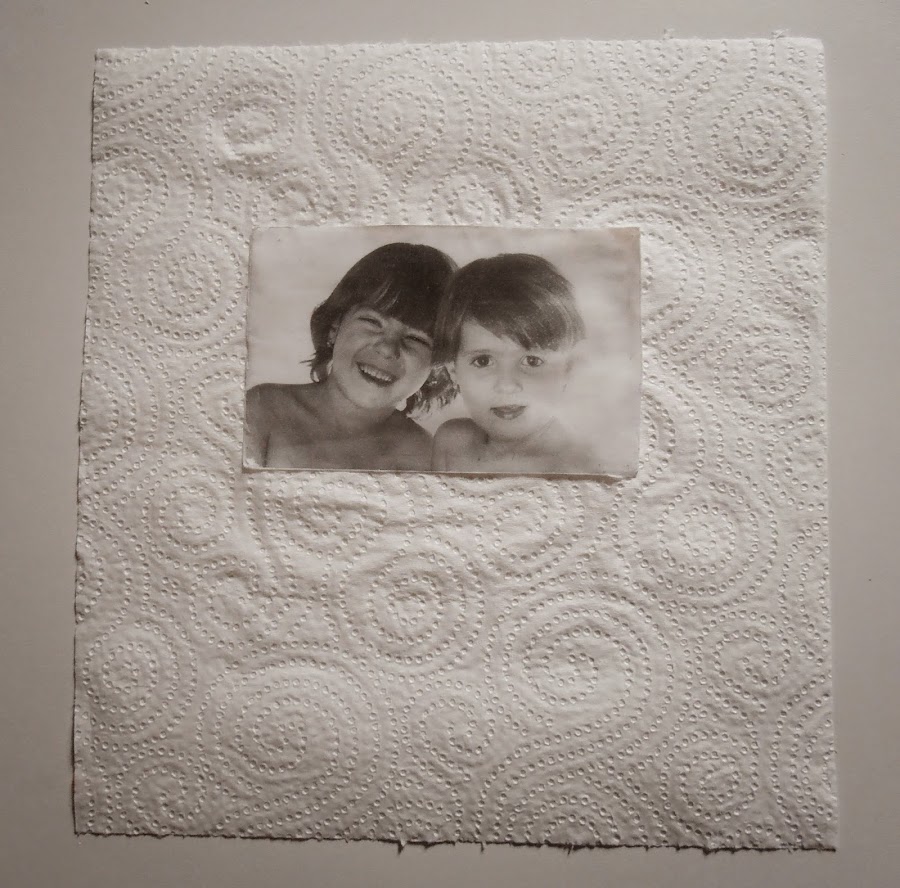
Work on the surface of the soaked paper, making small circular movements with your thumb to loosen and roll it up. Repeat until the paper is entirely removed, and until the cleared picture appears on the glass in full. If the paper isn’t completely erased, again pat the surface with a squeezed-out sponge until the paper is entirely softened and the finished picture is cleared.


