Since the launch of macOS Sierra, we’ve got Optimize Storage Mac feature for increasing the storage space. However, this is not the only method for gaining more free space on your Mac. Nowadays, professional cameras capture pictures of top-grade quality. However, such files are usually weighty. Therefore, saving as much space as possible is very important for photographers who need to work on multiple projects simultaneously.
If you have installed macOS Sierra or an even fresher OS version, then you can use automatic options for freeing up your computer memory. They allow detecting similar documents or multimedia downloads using Safari browser, deleting outdated and rarely used fonts, languages, and dictionaries, getting notifications about the necessity to delete app installation files. These options are great for removing caches, logs, and other data you do not require anymore. Their features for managing storage are difficult to underestimate.

To discover what storage optimization options you can use, go to the window for managing the system memory. You will need to fulfill such actions.
Step 1. From the Apple menu ![]() in the corner of your screen, choose About This Mac;
in the corner of your screen, choose About This Mac;
Step 2. Click the Storage tab to see the amount of storage space available for your data;
Step 3. Click the Manage button. Take a look at the recommendations, such as Store in iCloud, Optimize Storage, and Reduce Clutter.
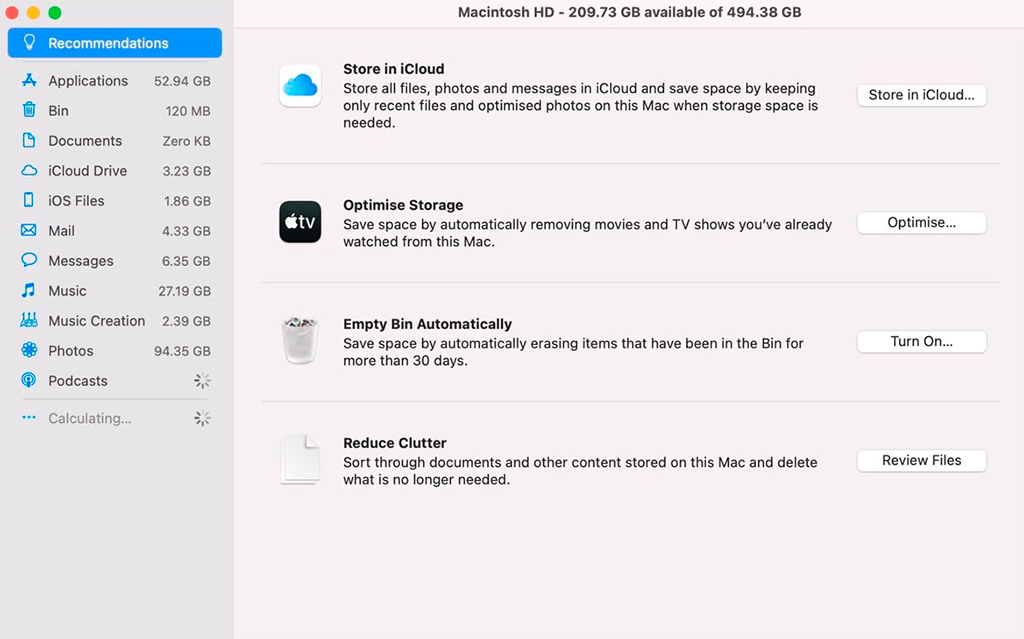
Advice: Wait until all categories are finished being calculated. Rely on the amount of storage space shown as “available” in About This Mac or at the top of the storage-management window.
One more handy recommendation is to send multimedia from your computer folders to their corresponding iCloud partitions, retaining only recently imported documents. When a user opens a file that they have decided to save on the web, macOS fetches it from iCloud before opening it.
Pictures and clips in excellent quality will be sent to the iCloud Photos library, whereas their compressed versions will be preserved on Mac. However, you can use only the first 5GB for free. The process of the complete version extraction may be time-consuming. You can modify or perform other operations with an extracted file before viewing it.
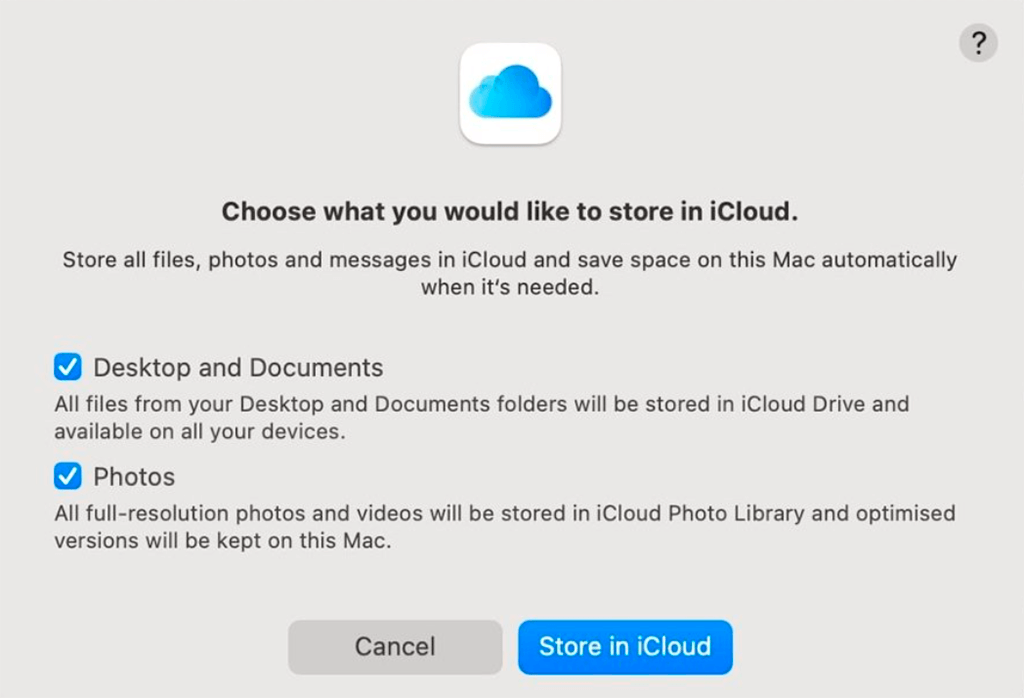
After clicking the Store in iCloud button, you will see a new window with options. Mark every option you want to activate, then click Store in iCloud.

Advice: You can disable the synchronization via Apple menu ![]() -> System Preferences -> Apple ID, select iCloud in the sidebar, then click Options next to iCloud Drive. Uncheck Desktop & Document Folders; for photos, uncheck Photos. Enter your account credentials to make changes if asked.
-> System Preferences -> Apple ID, select iCloud in the sidebar, then click Options next to iCloud Drive. Uncheck Desktop & Document Folders; for photos, uncheck Photos. Enter your account credentials to make changes if asked.

To optimize storage on your Mac, you need to send all the purchased multimedia content and mail attachments to the Cloud. All the movies and podcasts from Apple TV that you have already viewed will be erased. Your computer system will only contain the email attachments you've recently received.
The content you've watched will be automatically wiped out from your Mac, but you can download it whenever you need it again. This also concerns email attachments. To switch this option on, go to the Optimize tab and click Optimize in the new dialog box.
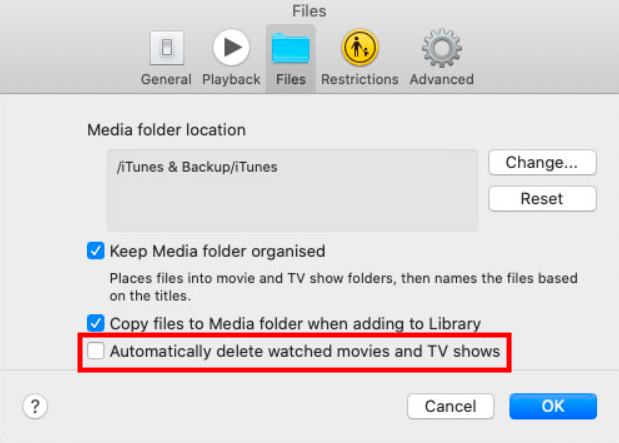
Advice: You can disable the synchronization via Click TV in the menu followed by Preferences. Click the Files tab and uncheck Automatically delete watched movies and TV shows box.
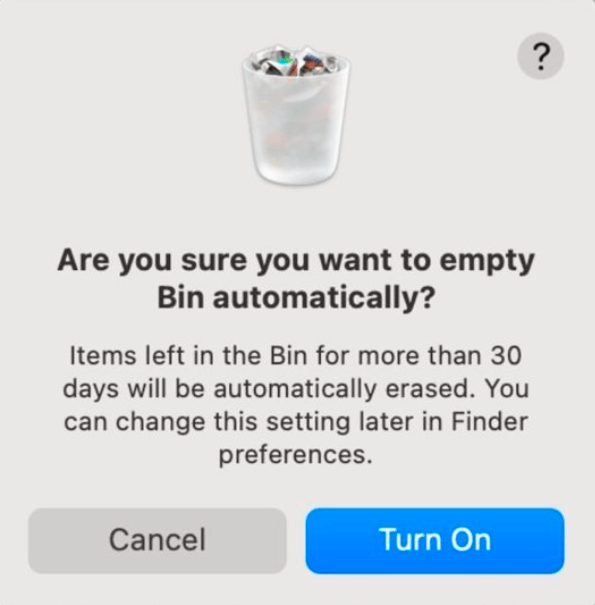
The Bin can come in handy as it presents one of the most effective solutions for restoring the files that were erased by mistake. However, the Bin is not very convenient for complete data removal. Besides, not all users take the time to remove all the digital garbage from the Bin.
Unlike the real one, the Bin on your computing machine cannot get overloaded, so the fact that you have preserved the digital garbage for the whole month is unlikely to bother you.
Click Turn On button and double-click to verify the activation of the Automatic File Removal feature from the Recycle Bin after thirty days.
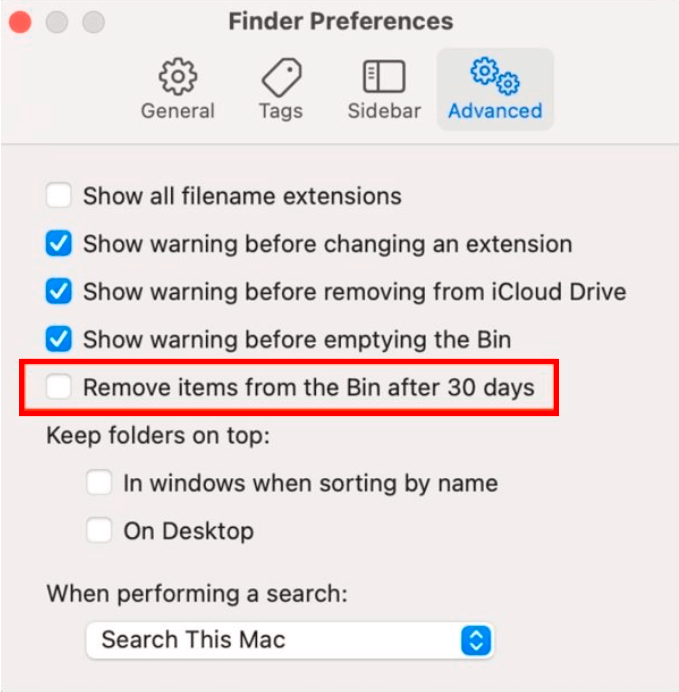
Advice: You can disable this feature and clean up the Bin manually employing Finder. Go to Preferences -> Advanced. Uncheck the box next to Remove items from the Trash after 30 days.
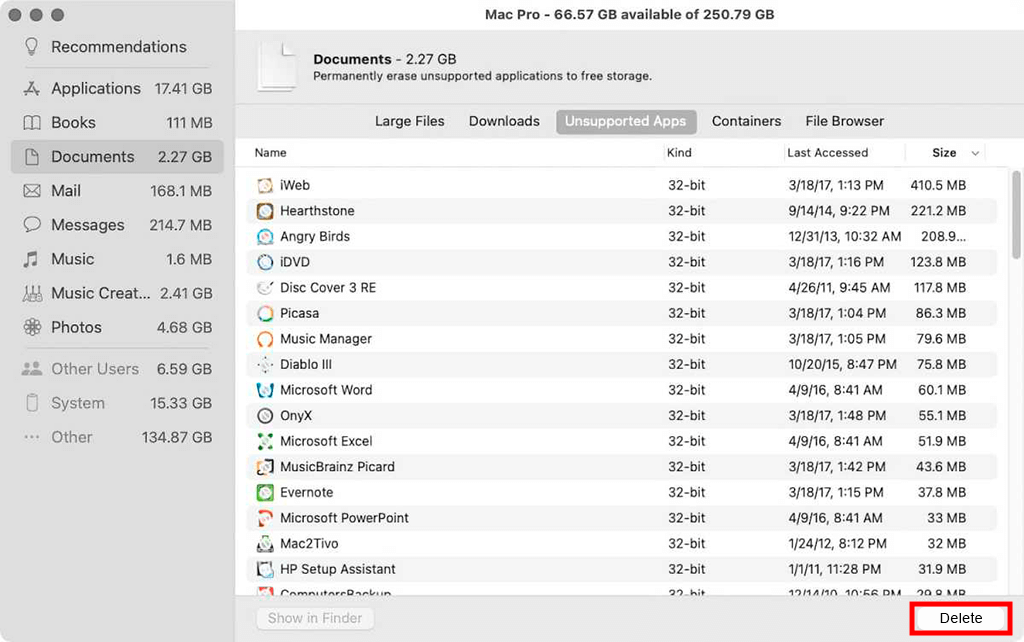
Select Reduce Clutter in Recommendations to accelerate the search of useless multimedia files. Use this feature for grouping files manually and defining the ones that should be deleted or relocated to another medium.
This is more convenient than opening numerous windows and viewing their content in Finder. Besides, you will see when you’ve last dealt with the file, and your system will show the outdated versions of the applications that you can delete to free up some space.
The operation system unclutters memory importing all older documents of iCloud Drive into a Cloud creating more room for preserving other significant data. If your iCloud storage is not full and your web connection is speedy, Optimize Mac Storage is one of the best methods for optimizing your Mac's memory.
Step 1. From the Apple menu ![]() in the corner of your screen, choose System Preferences;
in the corner of your screen, choose System Preferences;
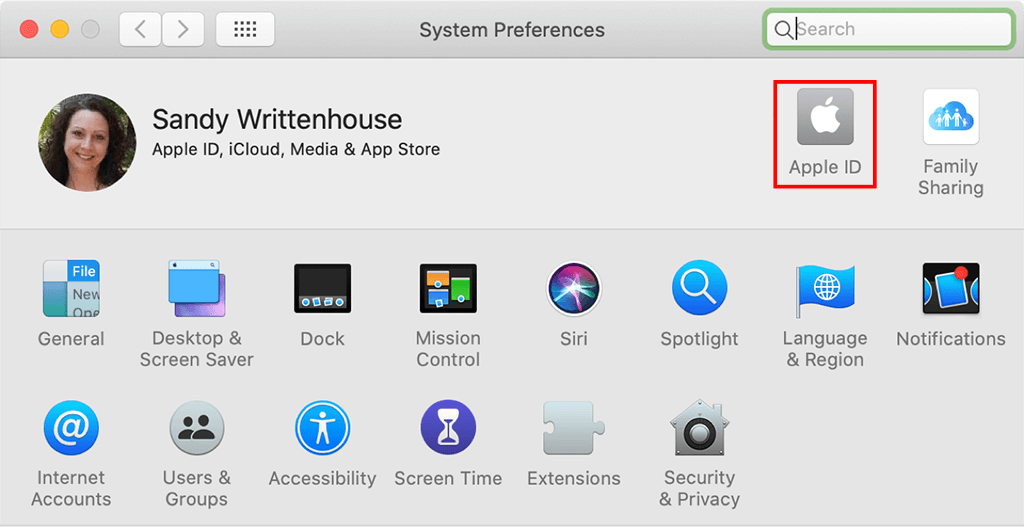
Step 2. Click the Apple ID preference panel;
Step 3. Select iCloud in the sidebar, then click the checkbox next to Optimize Mac Storage at the bottom of the window to enable/disable it.
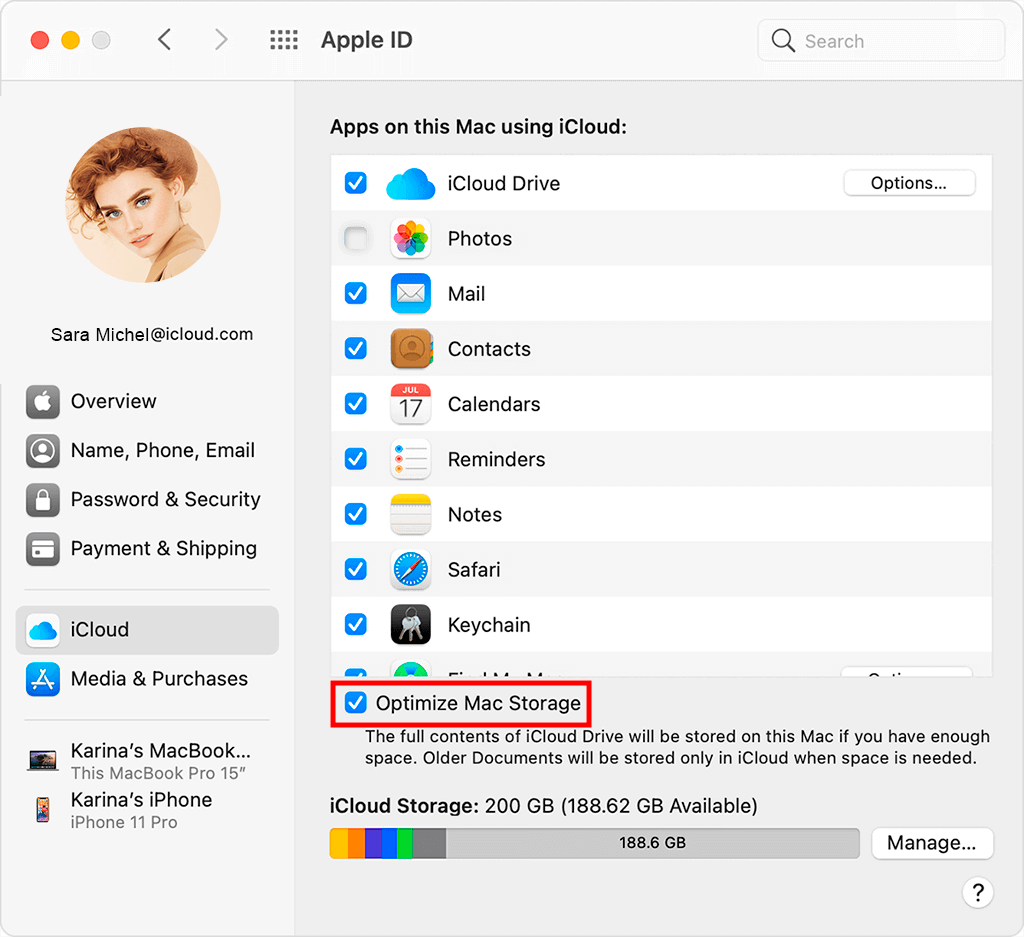
Advice. In case you are running out of iCloud storage or your connection to the web is much to be desired, the activation of this feature can deteriorate the performance of your Mac. Take into account that activation/deactivation of this feature requires some time.
Apple encourages its employees to follow the standard procedure of app installation. You can get rid of any app that hasn’t been bought in the App Store with all its components, without leaving temporary files.
MacOS has three types of cache. The users' cache, including cache data from PDF apps for Mac, serves to accelerate access to frequently visited pages and can be cleared without any consequences. Afterward, you won’t even notice that the query is processed a bit slower, and the only issue you might notice after removing cache is that you might need to reenter your data to access some resources.
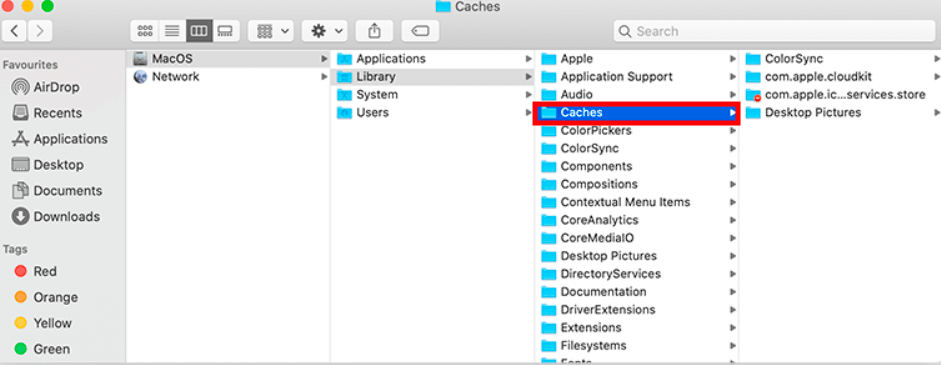
In order to go through the main folders where the leftovers are located, use the Go to Folder feature in Finder and enter ~/Library/Caches. Now you will see all the folders that contain the cache files; you can either select and destroy all the folders at once or keep the ones that you need and go through them individually.
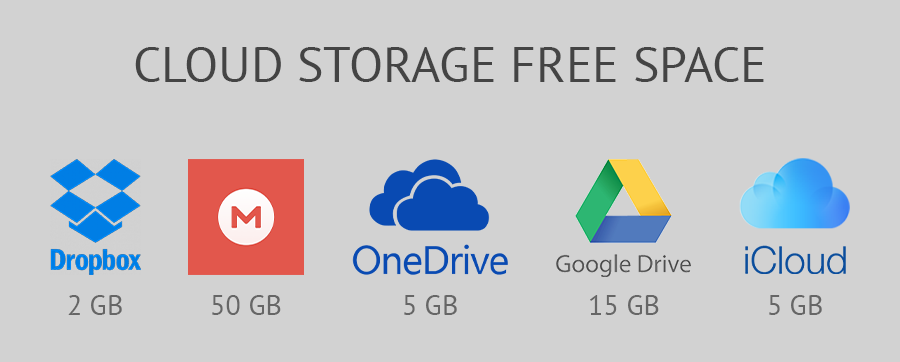
Since our article is targeting primarily Mac users, we would recommend that you use iCloud Photo Library as one of the solutions to keep your photographs safe. Once you are registered with iCloud, you will get 5GB of free storage from the start.
You can always synchronize it with your devices, making it much more convenient to upload your images. Just $9.99 a month will give you 2TB worth of space. There are also other plans you can upgrade to.
As you see the ecosystem of macOS is quite flexible. It prioritizes saving the disc space by exporting rarely used elements to the Cloud. Another prime concern is strict data security, as all the files located in the Cloud are duplicated. To achieve this without using the Optimize Mac Storage feature, use several extra solutions.
All devices that we own have an expiry date, which we are generally not aware of until they die on us. The hard drive that you purchased a week ago may not live up to next year, and the worst-case scenario is that file restoration will not be an option.
The second risk you unwittingly take when buying electronics is thieves. Laptops, phones and tablets are stolen on a daily basis, and you never know if this will happen to you one day. To prevent this from happening you can use various cloud-based services.
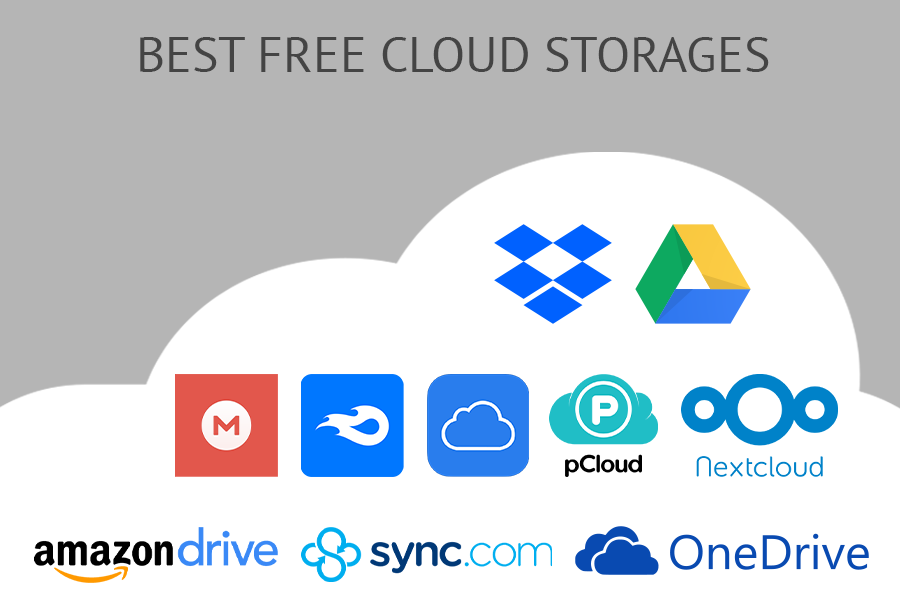
If you are not too fond of paying Apple, you can always try another best cloud storage for photos with similar price plans, like Google Drive, Dropbox or Amazon Prime Photos. All in all, whichever company you choose to entrust and store your photos with, you can be pretty confident that they will keep your data safer than any conventional local storage.
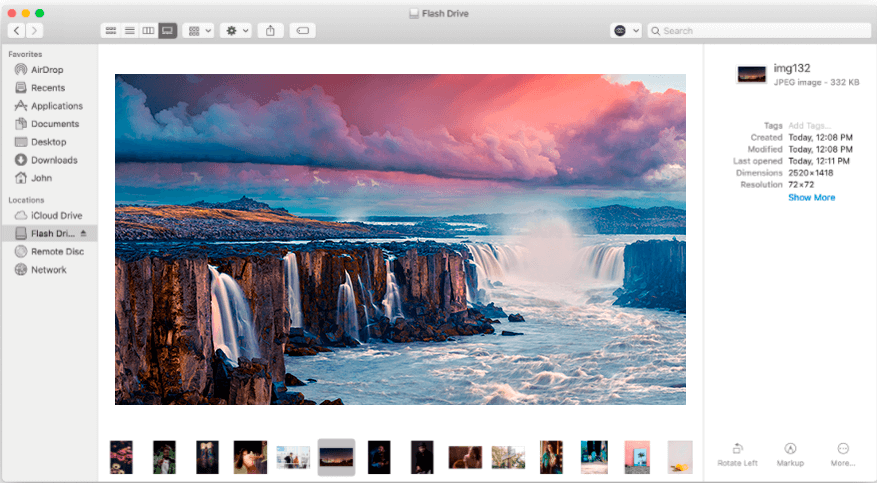
Another great way to save space would be to choose the best external drive for storing your photos. There are plenty of portable hard drive solutions, such as SSDs, that you can take with you on adventures because they are easy to carry. It’s also worth mentioning that many external drives, such as the Samsung 860 EVO, come with a warranty in case of failure, which means that you can get your money back.
However, they won’t be compensating you for your lost data. In this case, we would recommend that you backup all of your files, even if you decide to purchase a hard drive. Besides that, we would also suggest that you utilize a RAID array to store your photos in different places on multiple hard disks. By doing so, you can be confident that your data is protected in the case of a hard disk failure.
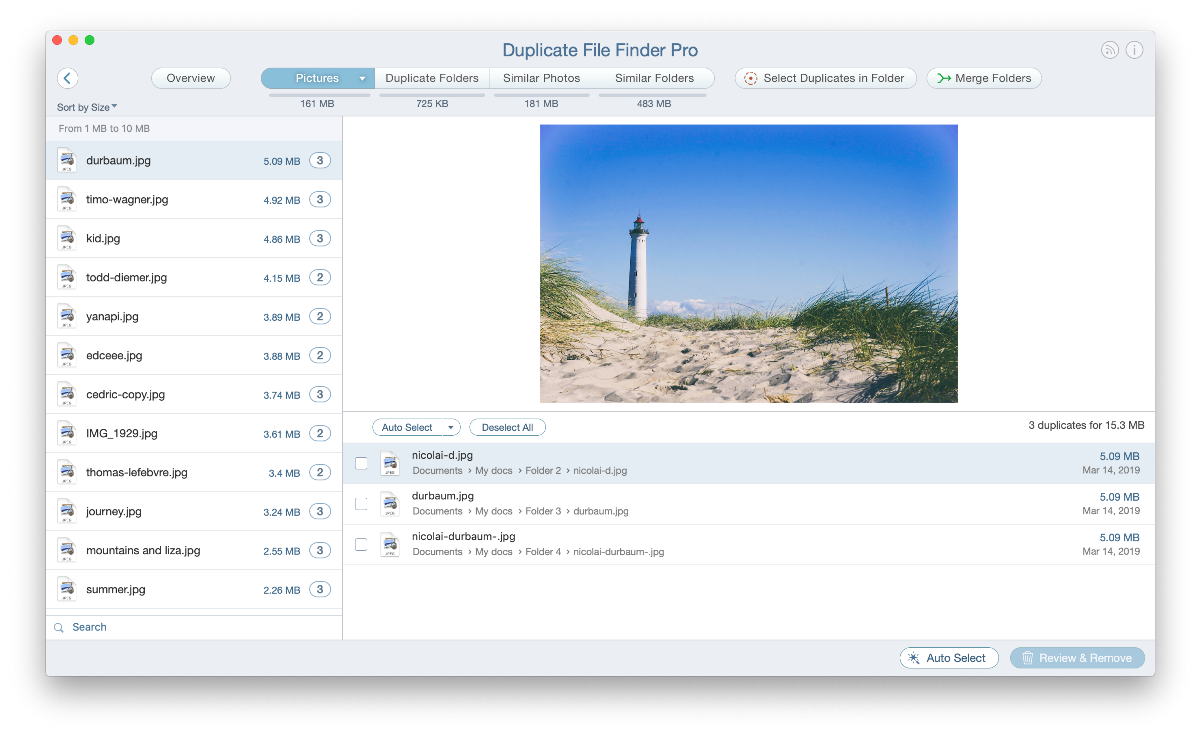
In-built macOS features are well-developed and perform their tasks at a high level. However, some third-party solutions can sometimes offer better results. For example, the CleanMyMac X cleaning tool and the best duplicate file finder for Mac like Nektony Duplicate File Finder Remover.
If you’re a photographer and own a Mac, you must know by now that identical and similar photos can become an overwhelming problem, especially when they are spread all over your computer. You can search for them yourself, but wading through similar photos to delete them is extremely time-consuming. In most cases, you will need to choose the best ones out of them first.
This is why I should recommend that you use Nektony Duplicate File Finder, an application that lets you scan any type of hard drive, volume and folder and quickly find similar-looking or duplicate photos.
With Duplicate File Finder, you can save space by locating and erasing in an instant any identical photos that you upload to your Mac. Simply launch the app, choose the hard drive that you wish to scan, whether it’s a specific folder, an external drive, or your primary hard drive, and allow it some time to scan your files.
Optimizing storage on your Mac can lead to improved performance, faster system response times, and more available space for important files and applications. It helps ensure your computer runs smoothly and efficiently.
To check your Mac's storage, click on the Apple menu > About This Mac > Storage. This will provide a visual breakdown of your storage usage, allowing you to identify what's taking up space.
Yes, you can clear cache files without harming your Mac's performance. Cache files can accumulate and take up space over time, and removing them can help free up storage without significant consequences.
Old Time Machine backups or other backup files can be deleted, but exercise caution. Make sure you have a current backup before deleting any old ones. You can use the "Manage Backups" option in Time Machine preferences to delete old backups.