If you want to spruce up your InDesign projects with terrific stark visual effects, you should definitely experiment with gradient. It is a gradual blend of colors or shades of the same color. Gradient effects are very popular because they allow adding dimension and depth to your layouts. In this tutorial, I’ll show you how to make a gradient in InDesign and change its color. Besides, you’ll learn how to save gradients for use in further projects.
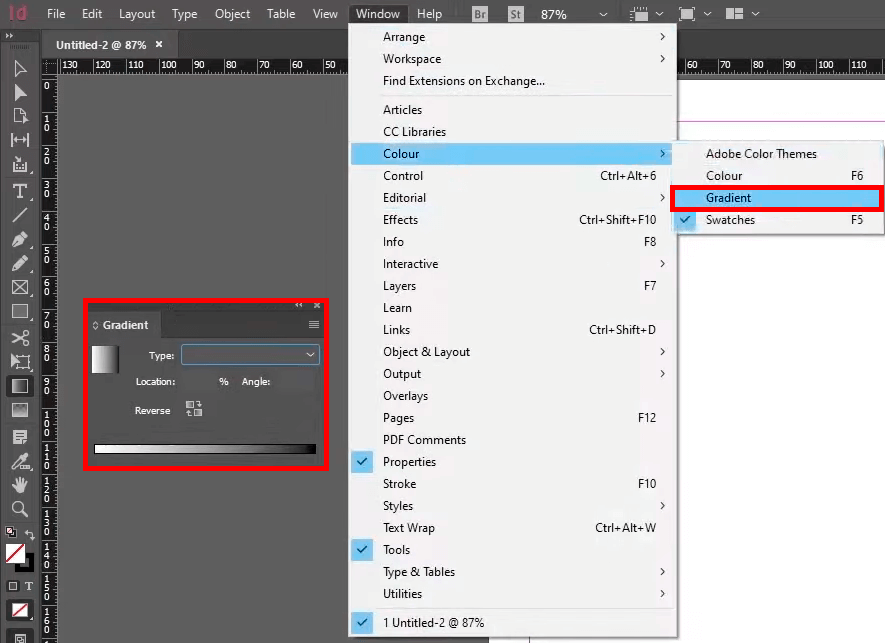
Creating a gradient in Adobe InDesign usually starts with accessing the Gradient panel (Window > Color > Gradient) and the Gradient Tool (G), which is typically located in the left toolbar.
The above-mentioned panel is needed to choose the type of a gradient and colors. With the help of the Gradient Tool you can apply the gradient to your object.
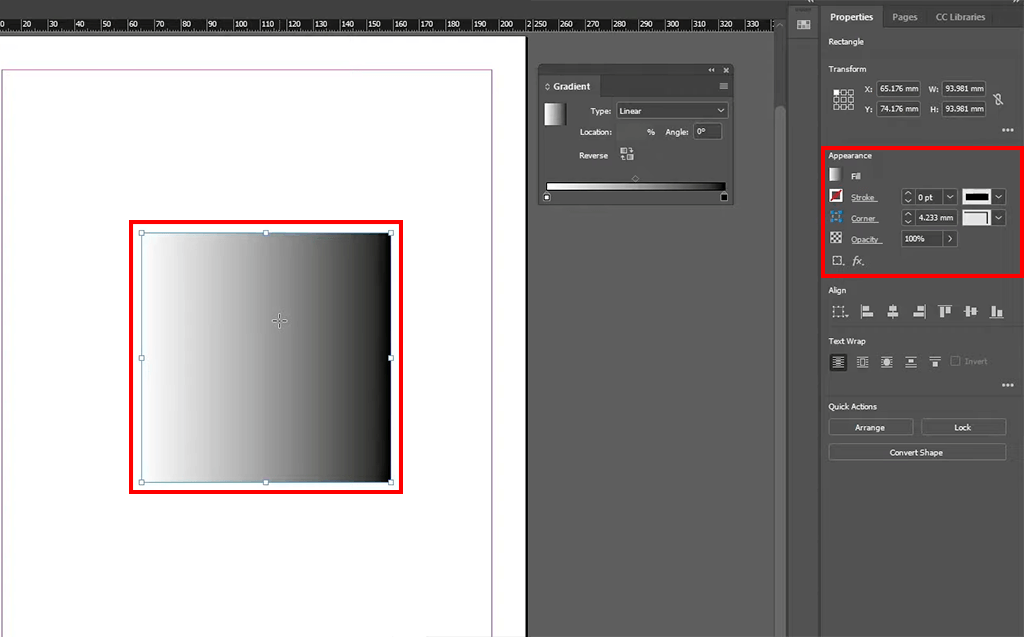
Black and white are the default colors selected in the Gradient panel. To apply such a gradient to your elements, you need to draw an object, e.g., a rectangular. If you want to add a picture, you need to crop a photo in InDesign first.
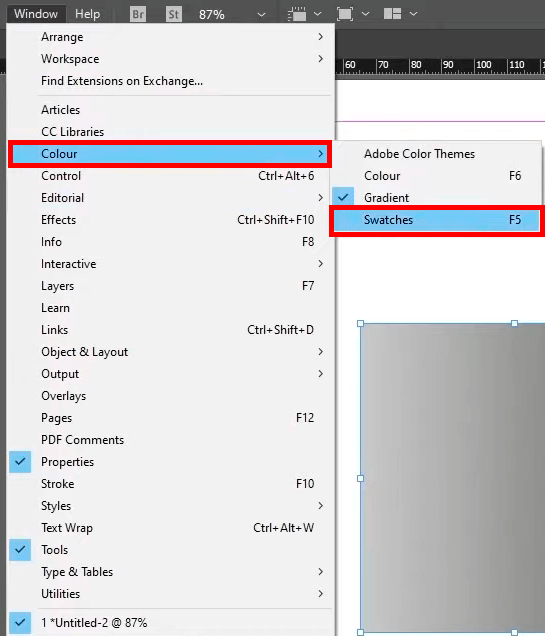
Selecting InDesign gradient color in the Gradient panel requires moving to the Swatches panel. You can open it by choosing Window > Color > Swatches.
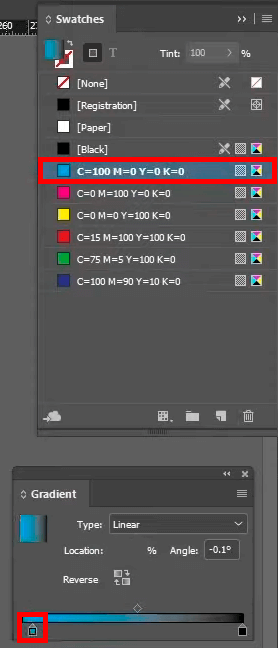
When the Swatches panel is displayed, proceed with choosing a color swatch you’ll use. Next, click and drag it from the Swatches panel and drop it on the color stop in the Gradient panel.
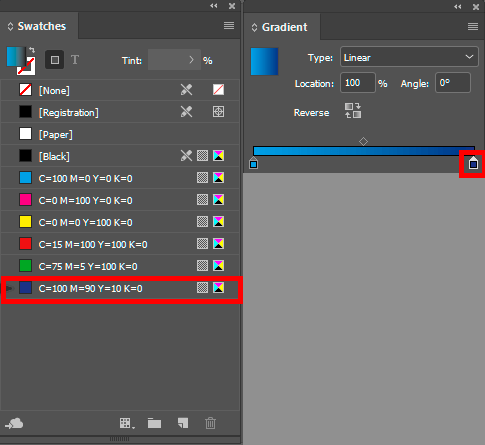
You need to repeat the actions from the previous step to determine the ending color.
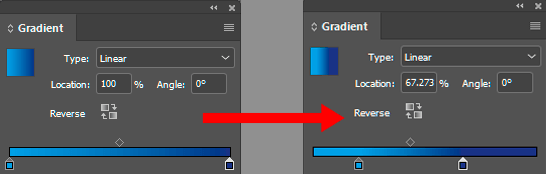
After all colors are selected, you can adjust the position of the start and end points. This will affect the look and smoothness of a gradient in InDesign. Such customization boils down to clicking and dragging the color stop left- or rightwards till you like the result.
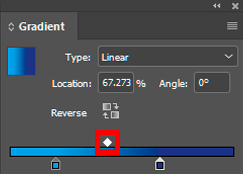
To fine-tune the gradient even more, you can alter the position of the midpoint (shown as the diamond icon). This is the point where the start and end colors are blended. You only need to drag the diamond to the left or to the right based on your vision.
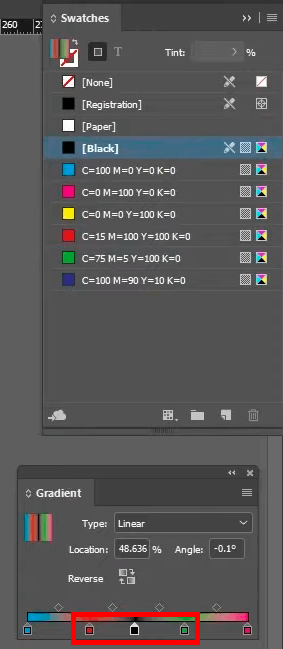
Sometimes, you can get a very interesting gradient in InDesign by adding extra colors to it. The process involves dragging a color from the Swatches panel into the Gradient panel.
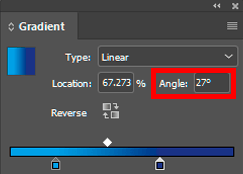
Experienced users claim that altering the angle of a gradient can bring very unusual results, which is great if you want to stand out from the crowd with your layout. To do so, you need to enter a value in the Angle box.
If you are interested in more elaborate effects with the gradient basis or want to add a cool background to your images – address professionals. They will listen to your requirements attentively and make all the needed edits to satisfy you.
A gradient is a blend of 2 or more colors or shades. There are no restrictions on the colors that can make up a gradient. A transition point between colors is called a stop. Most gradients have a gradual blend and a midpoint between colors/shades at the swatch’s center. Managing gradients in Adobe InDesign is simple thanks to a separate Gradient tool and the Gradient panel. However, InDesign isn’t the only program for creating such beautiful effects. You can also create a gradient in Photoshop.
Now you know how to create a gradient in InDesign. Keep in mind that you can save your gradients by adding them to the Swatches. Select an object with a gradient applied, open the Swatches panel, and click on the New Swatch button. Thus, a gradient will be saved under the name “New Gradient Swatch”. You can change the name by double-clicking on the gradient.
Importing gradients to the program is performed via the Swatches panel. If you have previously saved your gradients, they will be displayed in the Swatches panel. So, you just need to select a proper gradient and use the Gradient Tool to apply it.
Nowadays, there are lots of informative InDesign tutorials that you can use for self-education. First off, you can check out the tutorial to find out how to create stunning gradient effects in Adobe InDesign. The author shares valuable info on how to create custom gradient swatches, add a gradient feather to your projects, and overlay a texture from Adobe Illustrator. There is also a tutorial where a professional sheds light on how to apply a gradient feather if you haven’t done that before. Following detailed instructions, you will figure out how to add such an effect over a picture and combine it with Adobe InDesign’s Text Wrap Select Subject option to end up with fantastic editorial design layouts. The tutorial entitled InDesign: Gradient Text will interest those who work not only with graphic objects but also text elements and want to learn how to combine them professionally.

Using free plugins, you can transform color images into black and white, quickly select one-type frames, view the necessary data about the document directly in your working space, and more. Have a look at all available instruments and choose those that can facilitate your workflow, allowing you to create mesmerizing projects in InDesign.


