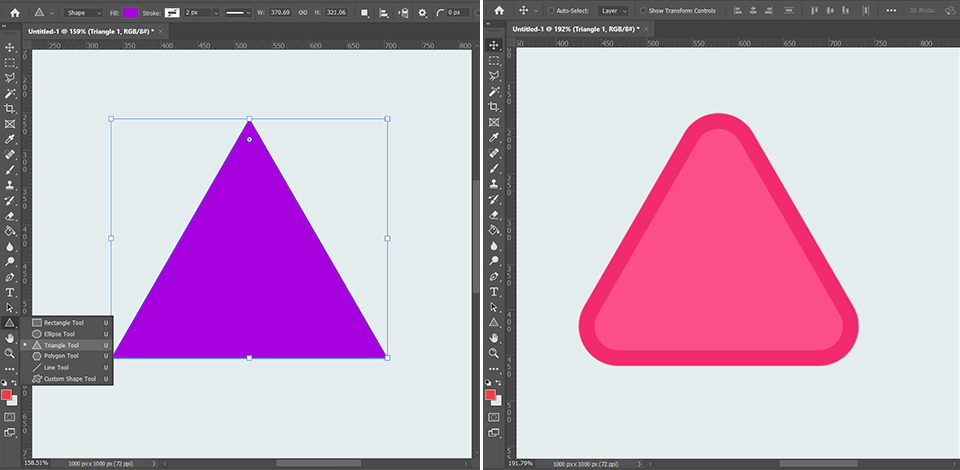
Triple-sided shapes often serve as a foundation for creating a broad range of objects so learning how to make a triangle in Photoshop will help you tackle a lot of more complex projects in the future. Creating such a basic shape shouldn’t pose any difficulties to neither complete Photoshop newbies nor users without any graphic design skills, as the software offers multiple tools that can help you handle such a task in no time.
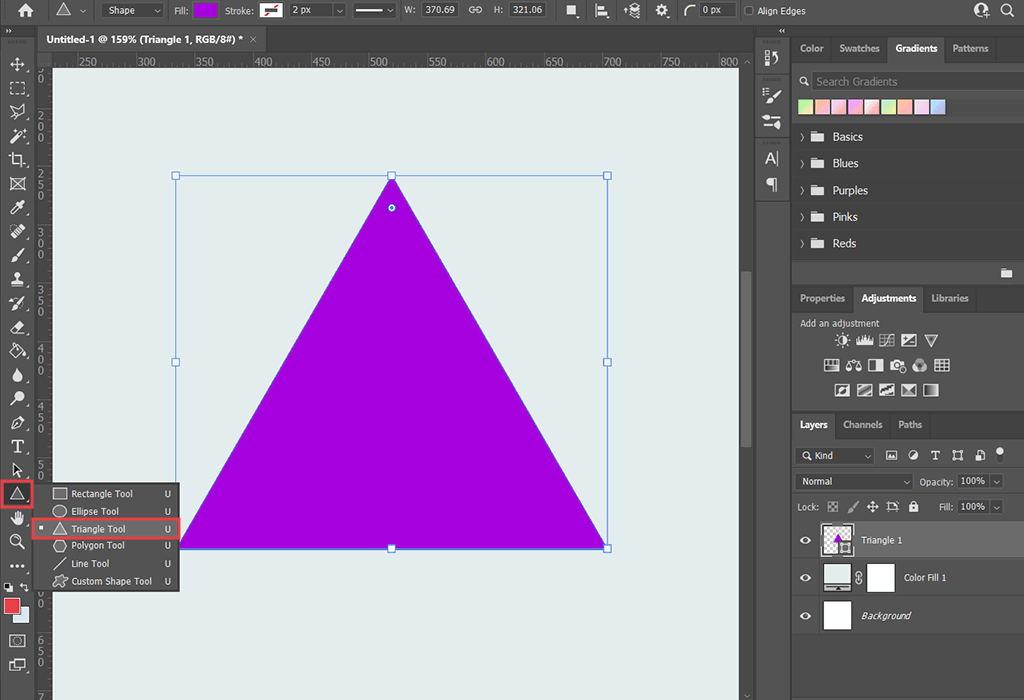
If you don’t have any experience working in Photoshop, you can resort to the most straightforward method of making a triangle in Photoshop. All this technique requires you to do is pick the Triangle tool from the toolbar on the left.
If you see a rectangle icon instead of the triangle one, simply right-click the Shape tool and pick the desired option. The same can be achieved by pressing the U key.
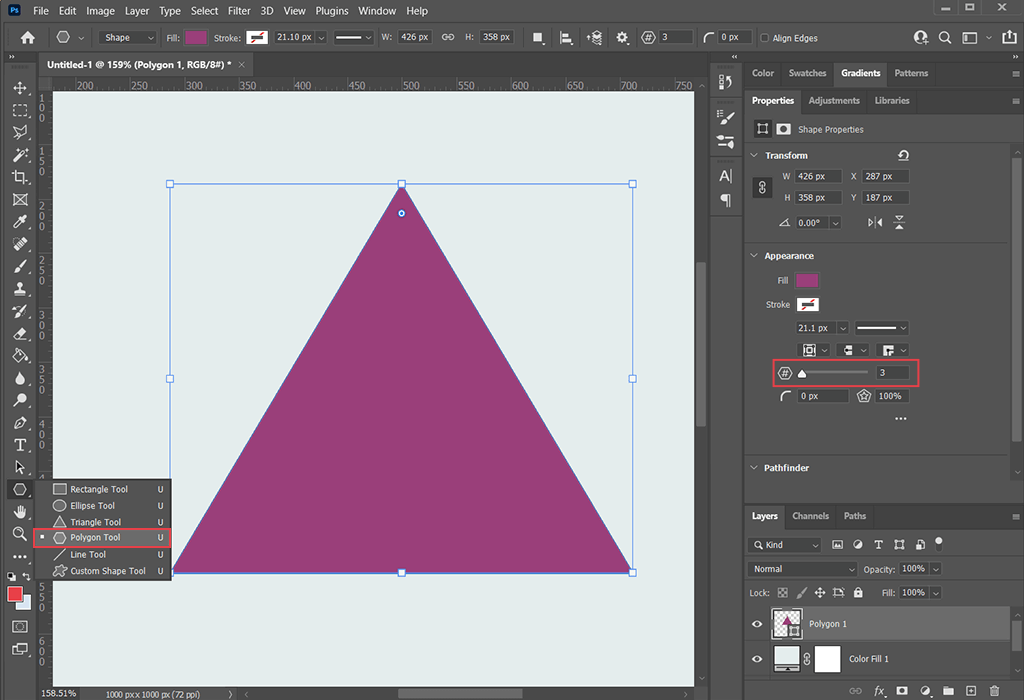
Another way to make a triangle in Photoshop involves you picking and employing the Polygon tool, which you can also find to the left of the main workspace. Simply select the Shape tool and then click on the Polygon option.
The next step you have to follow in this Photoshop tutorial is picking the desired angle quantity – 3. To do so, drag around the slider that will appear to the right of the workspace until you see the number 3.
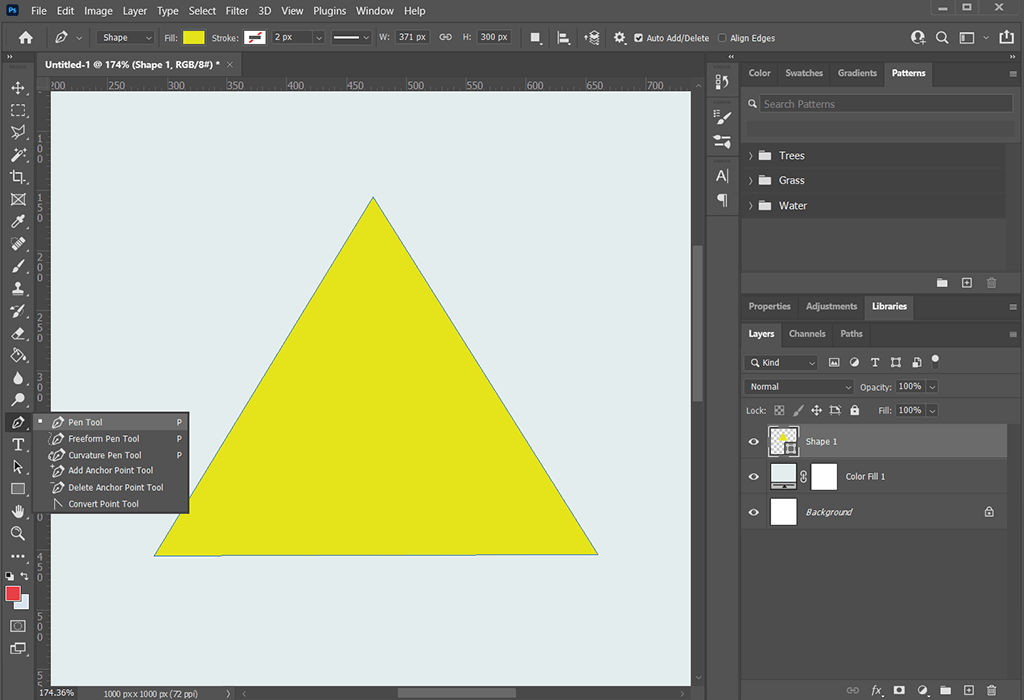
Since you’re using the leading drawing software in the industry, it’s not a surprise you can also create a Photoshop triangle with the help of its classic Pen tool. You can accomplish that goal by creating a new shape layer.
To do so, look at the toolset panel and locate the Pen tool or push the P key. Afterward, you’ll have to draw 3 separate sections while connecting them to create a triangle.
Press down the Shift button while dragging the mouse to make an equilateral triangle. Alternatively, you can click the canvas and type in the Width, Height, and Corner Radius parameters manually while having the option to enable the Equilateral and From Center settings if needed.
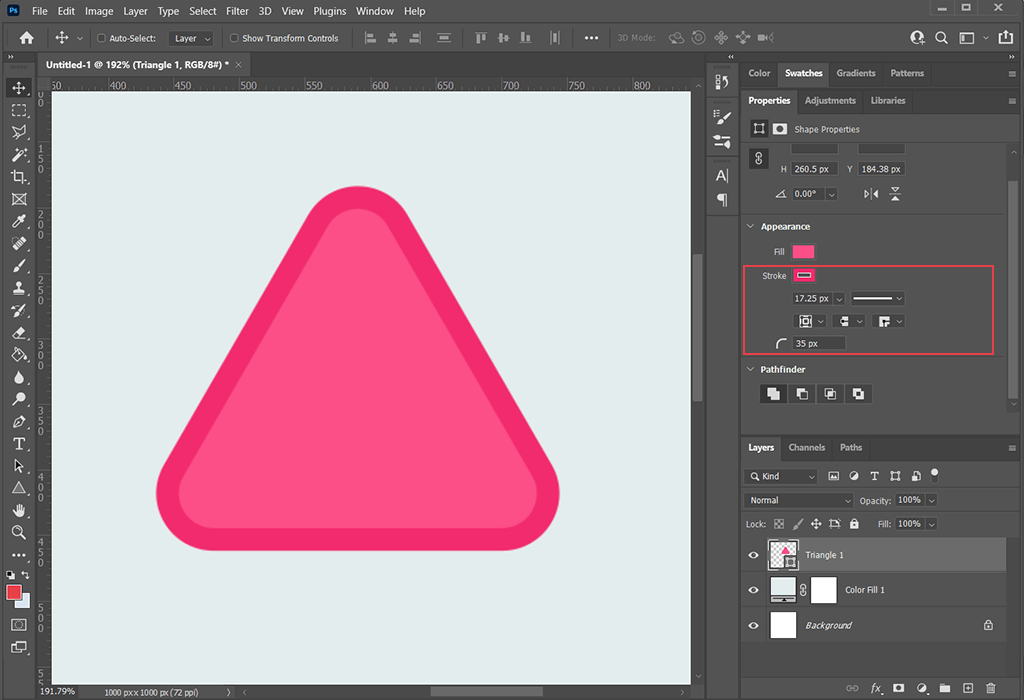
Now that you know the basics of how to make a triangle in Photoshop, you can adjust your creation or enhance it with several effects. The easiest manipulations you can make in this drawing app is rounding the edges or adding strokes to your shape.
Stroke effects can be found on the right-side panel. Photoshop allows you to adjust the width of the lines and select the roundness radius that is displayed in a separate window and is measured in pixels. You can also fill the triangle with color or apply more complex creative effects.
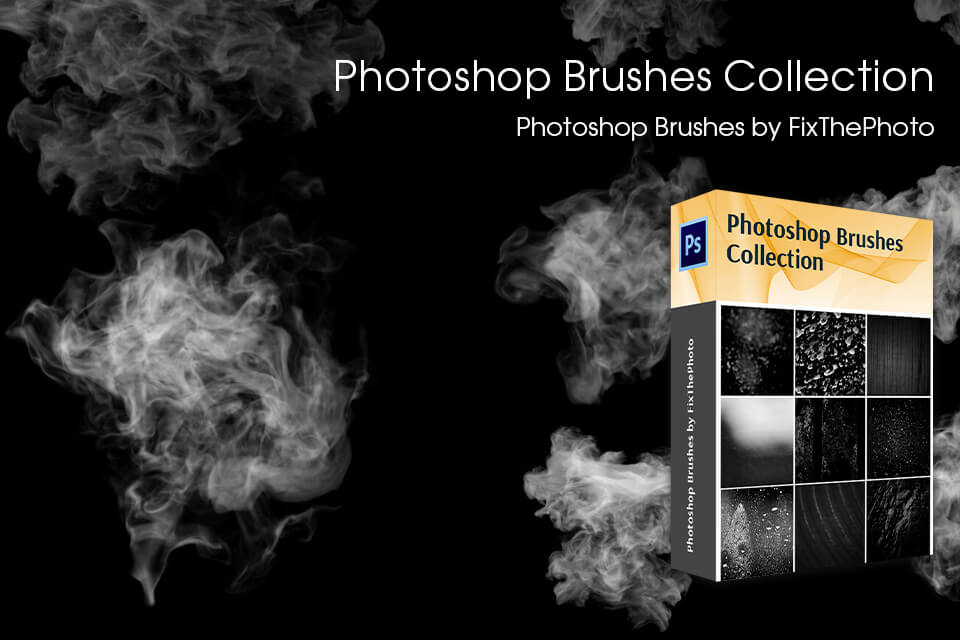
By using brushes of different shapes and configurations, you can implement any drawing idea you have in mind. These brushes imitate various effects like smoke, spray, fog, grass, hair, different stamps, etc. Thanks to this bundle, you won’t have to browse through dozens of potential options or adjust all parameters manually every time you want to draw something.
Yes, Photoshop is advanced enough to enable users to complete both basic and complex drawings and graphic designs with equal success. This software offers an abundance of tools, unparalleled layer support, and various effects and filters that make it the perfect choice for any visual project.
The two most widely-used drawing tools included in Adobe Ps are called Brush and Pen: The Brush tool is the go-to option for any beginning artist or graphic designer who wants to draw raster illustrations. Meanwhile, the Pen tool is primarily used for making vector images.
This software includes 6 shape tools that you can employ for making either raster shapes or vector shapes and paths, which allow you to select specific parts of the object to make any necessary adjustments.
The easiest way to do so is to use the Line tool. Select the Shape tool and open the selection menu, where you’ll find the Line option. Specify the desired width of the line, then click on the workspace and drag your mouse in the direction that you want the line to go in to create it.