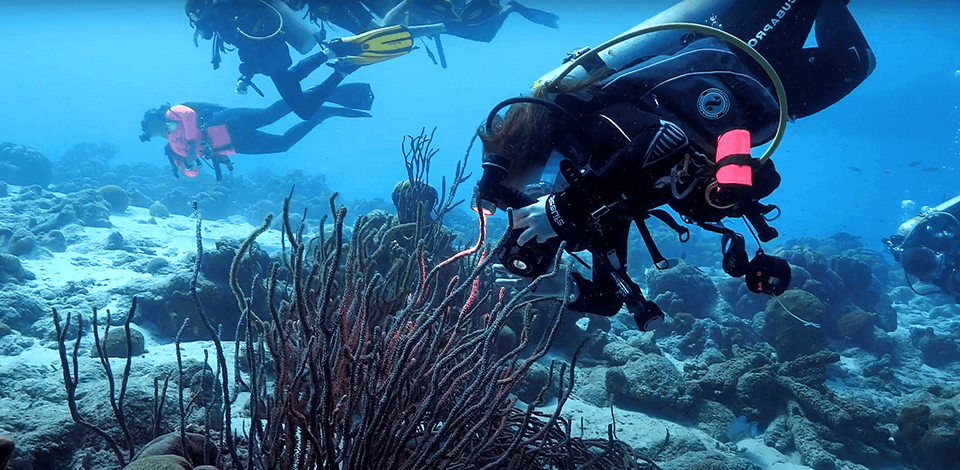
Initially, underwater videography was a hobby for me. However, rather quickly it turned into a real passion. I bought a special camera and took a professional underwater videography course to get ready to explore the ocean's depths.
To truly capture the magic of the underwater world, you need the right equipment. High-quality cameras and powerful lighting are crucial to achieve stunning visuals. Though it takes time to master all the needed gear, with the tips listed below, you can cope with the task easier and at a convenient tempo.
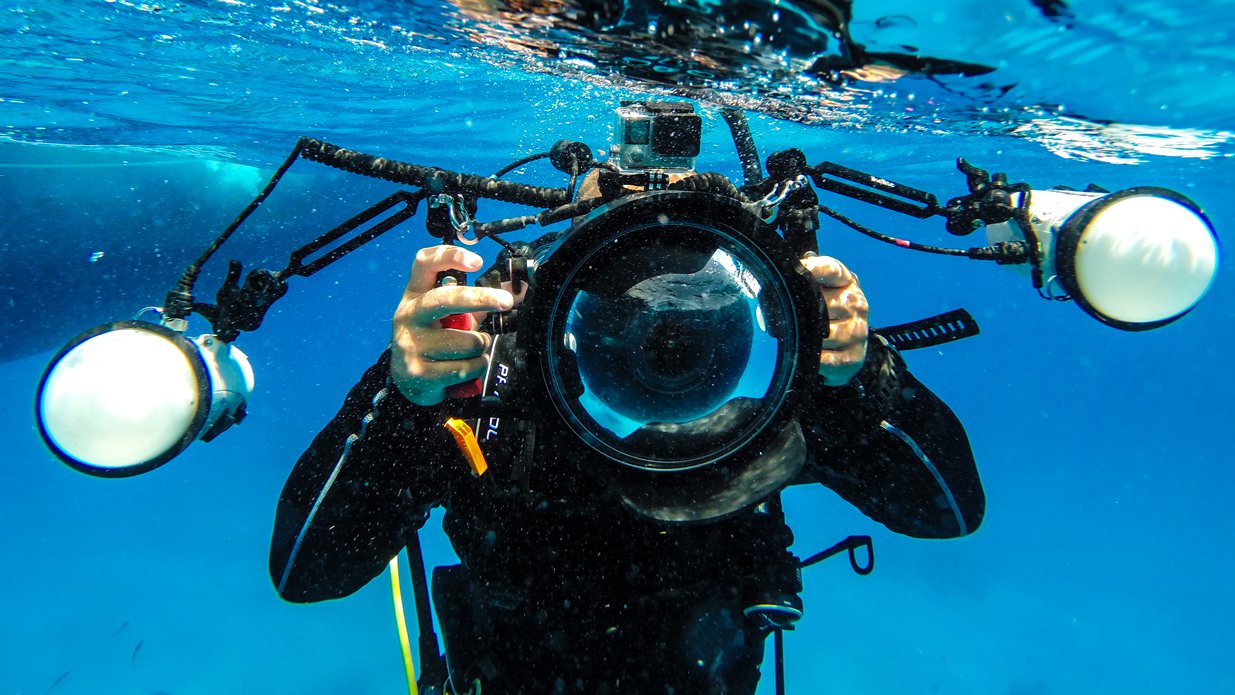
I started my underwater videography adventure with a Dragon Touch action camera. It is an affordable and understandable option for newcomers. In addition to many handy features, it also ranked as one of the best waterproof cameras.
This budget-friendly action camera supports 4K recording and can be submerged up to 30 meters underwater.
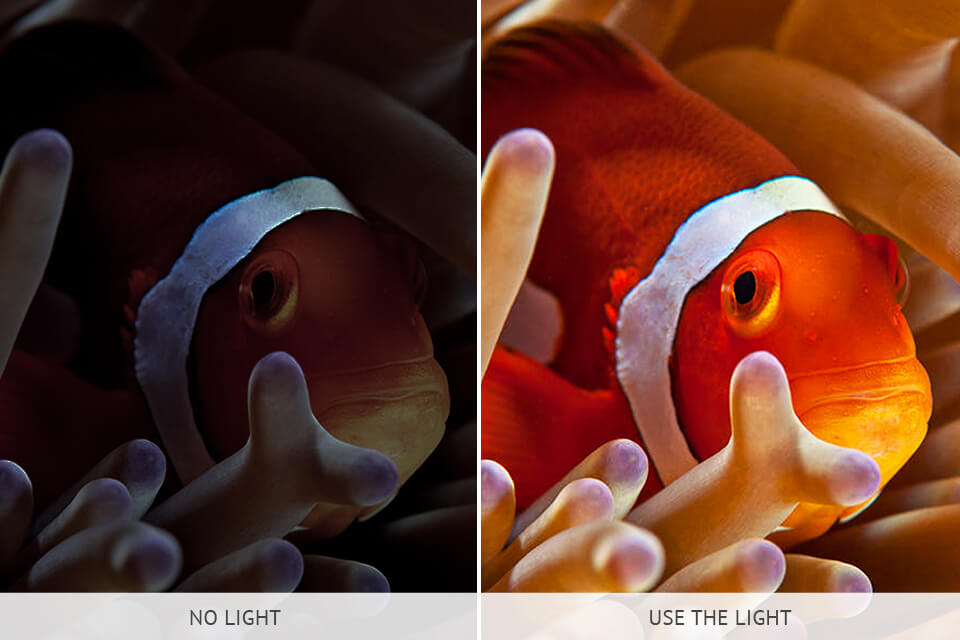
To brighten up my underwater footage, I added classical but simplpe underwater lights to my setup. Thus, I managed to illuminate dark areas and bring out the vibrant colors of marine life. Such equipment is specifically helpful when shooting in scarcely-lit environments like caves.
As my skills in underwater filming improved, I upgraded to a GoPro Hero 10. It stands out with terrific low-light performance and stabilization. To get the most out of this camera, I paired it with along with the GoPro accessories.
| IMAGE | NAME | FEATURES | |
|---|---|---|---|

|
SeaLife Micro 3.0
|
CHECK PRICE → | |

|
GoPro Hero 10
|
CHECK PRICE → | |

|
YEEIN
|
CHECK PRICE → |
The Hero 10 is capable of shooting at a staggering 60-meter depth. Therefore, I was able to achieve new impressive results in underwater cinematography. Frankly speaking, with this camera, I discovered a whole new world of creative possibilities.
For instance, it became possible to film fast-moving creatures like dolphins and sea turtles in their natural environments. The footage turned out smooth and dynamic, highlighting their grace and speed.
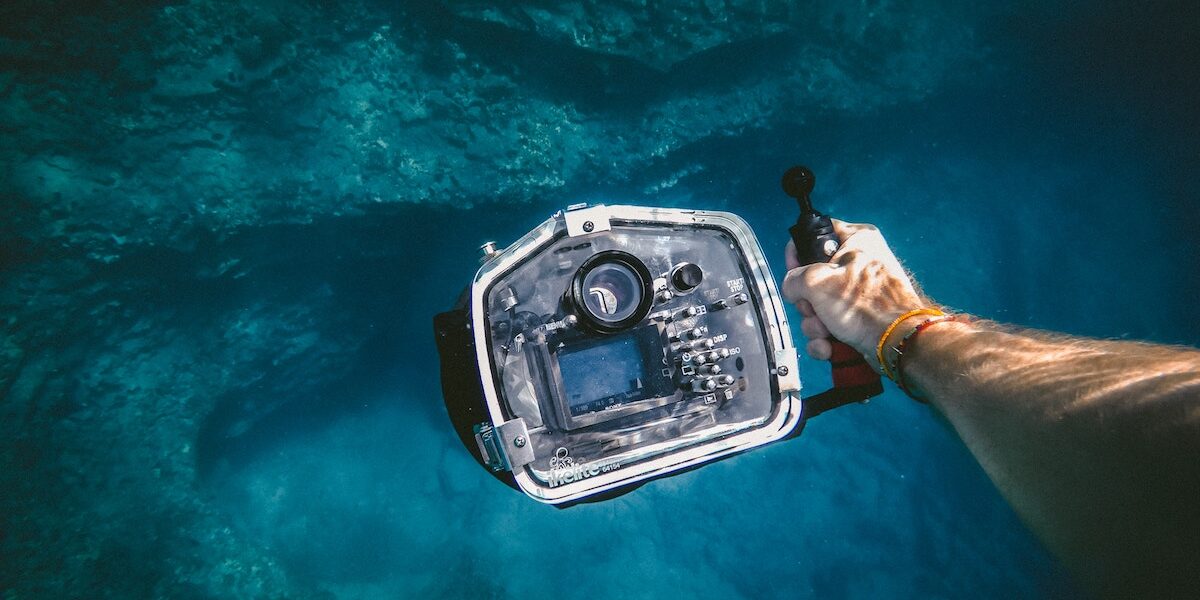
Another important addition to my setup was an underwater float arm. I wanted to film at deeper water but keeping my camera stable while capturing close-up shots of marine life was simply impossible. The float arm helped stabilize my camera, countering its buoyancy. Now, I can fully enjoy underwater macro videography.
| IMAGE | NAME | FEATURES | |
|---|---|---|---|

|
Suptig lights
|
CHECK PRICE → | |

|
Movo diving rig
|
CHECK PRICE → | |

|
SANDMARC selfie stick
|
CHECK PRICE → | |

|
Movo diving rig bundle
|
CHECK PRICE → | |

|
CanFish fishing camera
|
CHECK PRICE → |
I've also experimented with soft cases, which are more budget-friendly and flexible. However, they are difficult to manage, particularly while wearing scuba gear.
As a precautionary measure, I always submerge my underwater housing in clear water before each dive, without the camera inside. Thus, I can detect any leaks. I also highly recommend cleaning your equipment thoroughly after each dive to prevent damage from salt or chlorine.
| IMAGE | NAME | FEATURES | |
|---|---|---|---|

|
FitStill
|
CHECK PRICE → | |

|
HONGDAK
|
CHECK PRICE → | |

|
SOONSUN
|
CHECK PRICE → |
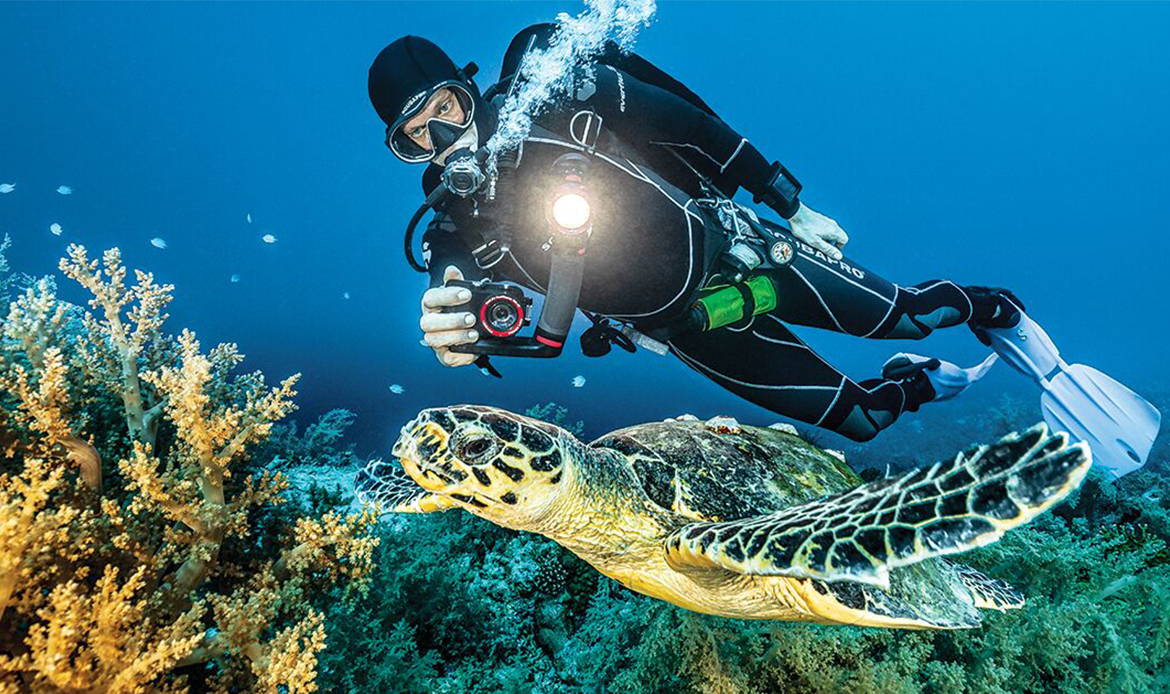
To capture steady footage, you need to control buoyancy. You need to understand how to adapt your breath to your position: inhale to ascend, exhale to descend.
A weight belt can provide extra stability. However, choose the weight carefully. With the right balance, you can anticipate better shooting results and overall diving experience.
You can’t do without high-quality underwater videography equipment if you want to get exceptional results. A durable housing protects your camera and provides convenient access to its controls. Underwater lenses are also very important because they compensate for color distortions.
Select a camera that performs well in low light, because you will often have to work in such conditions. Bring extra batteries and memory cards, as such photo sessions often take more time than initially expected.
It is also helpful to memorize basic underwater photography tips to feel more confident during shooting.
Getting proper footage may be challenging namely because of changeable lighting conditions. You always need to consider the interplay of light and water. Stay close to the surface to take advantage of natural sunlight.
The sunlight filters through the water, creating a mesmerizing play of light and shadow. For deeper dives, employ artificial lights. They can illuminate the underwater scene, revealing vibrant colors and intricate details.
Even if you own top-tier gear for underwater photography and videography, you still need to figure out how to set it up properly. To freeze the action of fast-moving subjects, keep your shutter speed between 1/250 and 1/500 seconds. For stationary subjects, a slower shutter speed of 1/60 seconds is sufficient.
To avoid grainy and blurry images, keep your ISO at the lowest possible level. Remember to use additional lighting to illuminate the underwater scene. To achieve a sharp focus across the entire frame, use an aperture of f/8. To create a more artistic look with a blurred background, use a wider aperture of f/2.8 to f/4.
Fogged-up lenses can be a photographer's nightmare, especially in cold water. To prevent this issue, use anti-fog inserts or silica gel packs inside your camera housing. Thus, your lens will remain clear. In addition, wait some time so that your housing can acclimate to the water temperature before sealing.
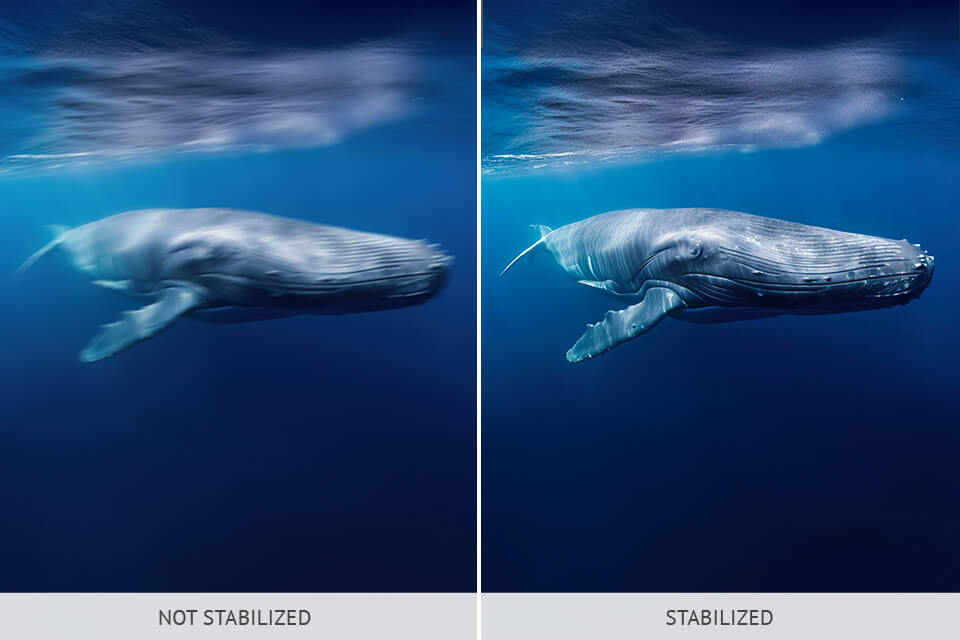
We have already mentioned that waves move the camera, so stabilization becomes an issue. Fortunately, you can use a small rig or tray to stabilize the gear. By going this way, you can reduce hand-shake and water-induced camera movement. For maximum stability, particularly in strong currents, grip the rig with both hands.
If you have already tried underwater videography, you know that getting clear audio is very difficult. It happens because the sound is often muted and distorted by the water. A good way out is to use a waterproof microphone. If you don’t want to purchase it, you can enhance your underwater footage with music or sound effects during the editing process.
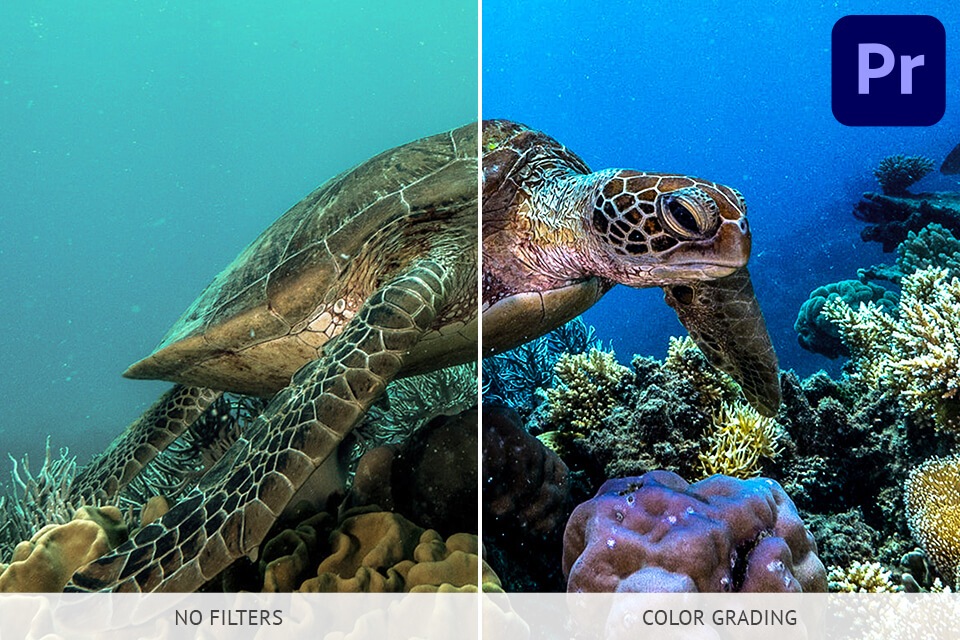
If your underwater videos don’t meet your expectations, don't worry. There are many efficient video editing tools that you can use to improve the quality of your footage.

Deep-sea footage can appear dull and washed out due to light absorption. You need to adjust hue, saturation, and luminance to bring back the true colors of the underwater world.
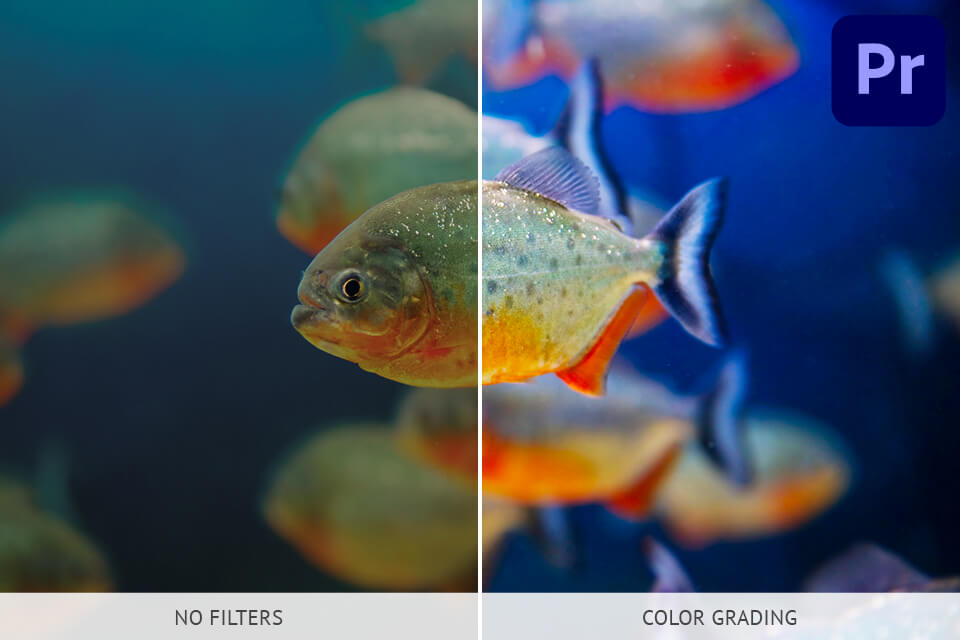
To achieve more accurate colors, use filters like violet for greenish water or red for deeper dives. Fortunately, there are many color grading software color grading software for both novices and experts with suitable tools and effects.
Video stabilization is another stage in the editing process. When recording videos underwater and tracking moving subjects or navigating currents, you often end up with shaky footage. To get a clear and detailed video, you should choose the best video stabilization software and use its functionality to your advantage.
Underwater videography experts also recommend beautifying footage with light effects. The sun's rays can paint breathtaking patterns underwater. You can mimic these patterns by adding light leak overlays and flare effects during the editing process.

The Olympus TG-6 is a fantastic choice for underwater photographers. It is a compact camera with powerful features. With it, you can capture the beauty of marine life in stunning detail.
The macro mode deserves additional praise. By enabling it, I can capture minute underwater life, like nudibranchs and shrimp. Besides, there is advanced stabilization. Therefore, my photos are always sharp.
Lighting is paramount for underwater shooting. Typically, natural light fades with depth. Therefore, you need to use an external strobe or focus light to compensate. Besides making subjects better visible, these tools improve colors and help you capture small details.
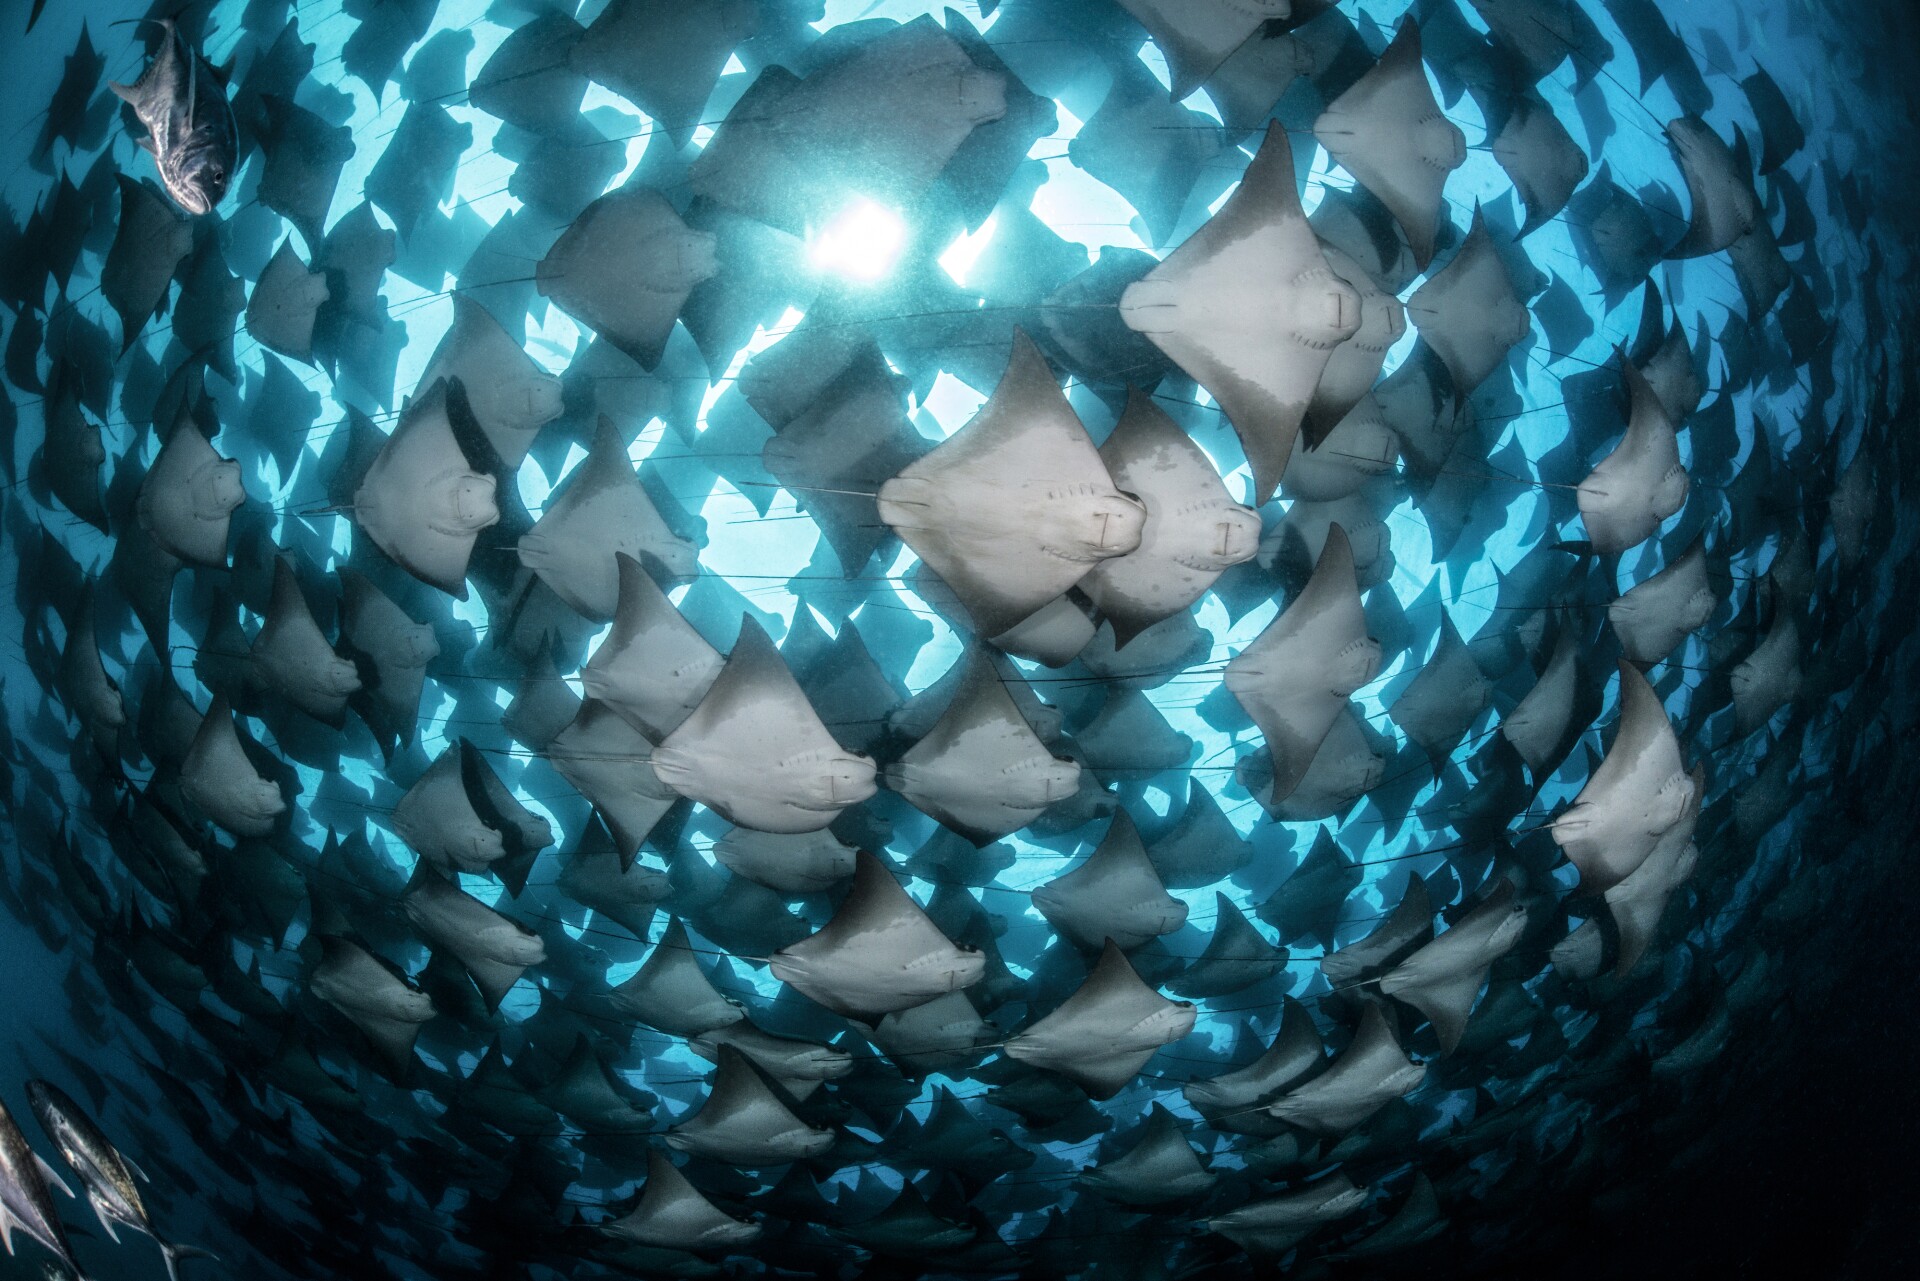
Consider timing: It is crucial to choose the proper time to record videos underwater. Generally, it is recommended to film in the early mornings and late afternoon, because marine inhabitants are the most active during these periods. Besides, if you want to capture specific species, you should double-check when they are visible.
Choose a suitable location: Spend some time exploring the area. Mark the best spots for your future shooting. You need to pay attention to the clarity of the water, the terrain (whether there are reefs, shipwrecks, or open water), and accessibility. Take into account your equipment and whether you will be able to move around with it freely.
Follow safety rules: When learning how to do underwater videography, some people underestimate the importance of safety protocols. It is a very serious mistake. You should clarify the local diving rules and any environmental guidelines. It’s a good idea to dive with a buddy or even hire a local guide who knows the area well. That way, you’ll stay safe and won’t harm the marine environment.
Understand legal requirements: Before you get down to filming, find out about any permits or permissions you may need. There are spots that have certain restrictions or require specific permits with the aim of protecting the environment and wildlife.
If you know these rules in advance, you can be sure your travel photography is absolutely within the law and ethically right.
Prepare your equipment: Be sure all your equipment is in order. Check camera and underwater housing, lighting and other accessories. If you do this before your shoot, you won’t have to lament about malfunctions when you’re underwater. Also, get comfortable with the settings and controls, since handling the equipment underwater is pretty different from on land.
To avoid a blue or green tint in your underwater shots, use a custom white balance setting and input the correct values. If you can’t do that with your camera, try the underwater preset. It can restore red hues. Alternatively, apply the cloudy preset for a warmer tone.
Not to produce many bubbles in your underwater videos, breathe slowly and calmly. Hold your breath while recording to receive clearer, steadier footage.
Experts use hydrophones for underwater videography. These devices work like microphones but are specifically designed for aquatic environments. They can detect sound waves by sensing changes in water pressure, which are then converted into electrical signals that can be recorded.
While divers can't speak underwater like they do on land, they can still communicate. Sound travels differently in water, allowing divers to hear each other if they speak loudly enough. However, many divers prefer the peaceful silence of the underwater world and use hand signals or underwater communication devices when necessary.
No, you can't use Wi-Fi for Internet access underwater. Wi-Fi signals are radio waves that don't travel well through water. Instead, underwater communication relies on sound waves and sonar technology.