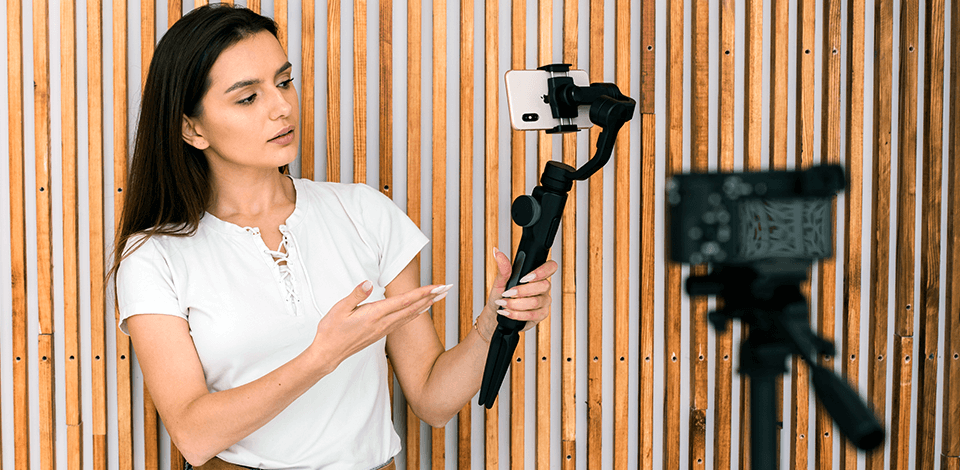
Using a gimbal for iPhone, it is easy to shoot pro-level videos even handheld. Perfectly stabilizing your footage, this accessory eliminates the jitters and shakes, which often spoil videos shot without an additional piece of equipment. This makes gimbals an ideal option for those who want to produce high-quality footage without complex setups.
However, if you haven’t used gimbals before, you may feel intimidated at first when trying to get the most out of it. Whether you are shooting bustling cityscapes, or want to produce a travel blog or TikTok video, this accessory will be your handy assistant.
Step 1. Charge your gimbal
Gimbals consume a lot of power, so I recommend making sure that the battery is full in order not to disrupt workflow.
Step 2. Install the app (if applicable)
The majority of gimbals like my Insta360 Flow Pro are delivered with a specialized app for more control, easier setting adjustment, calibration options, and even video stabilizer.
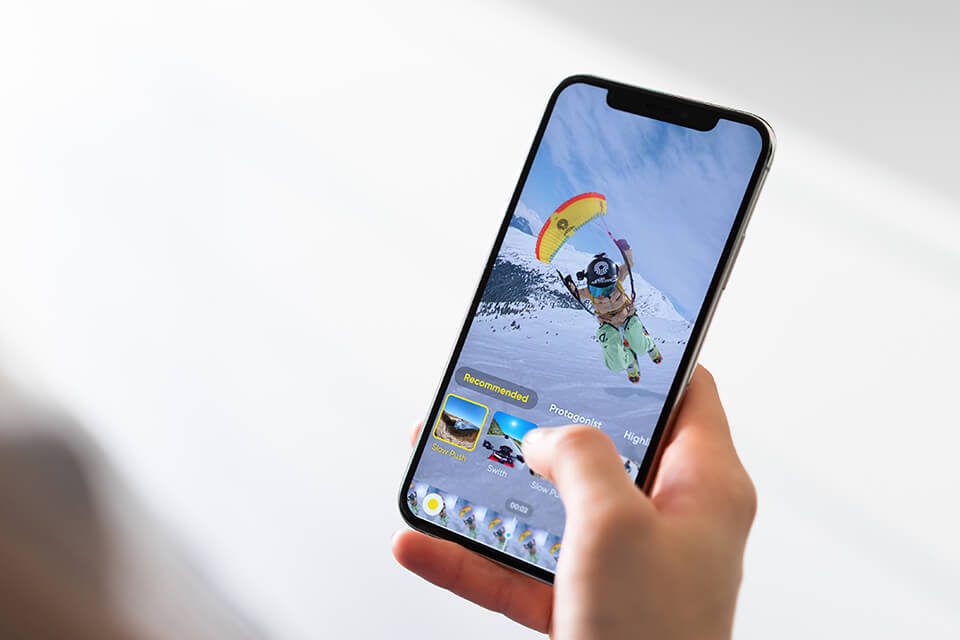
So, I installed the Insta360 app on my iPhone for firmware updates, joystick settings, and calibration options.
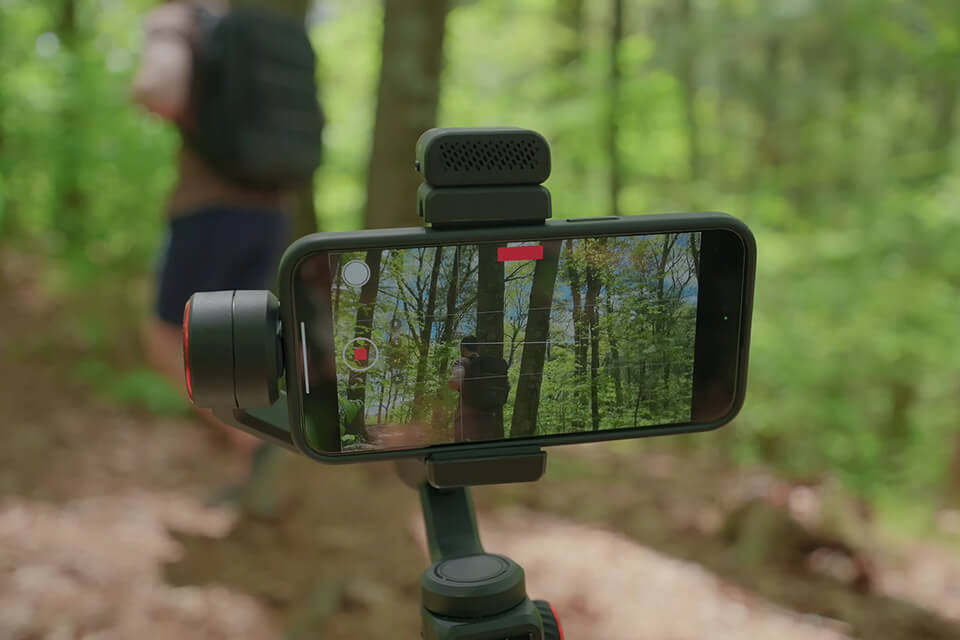
Step 3. Mount your iPhone
Install your iPhone in the gimbal’s phone clamp, positioning it right in the center for a perfect balance. Tighten the clamp to ensure that your phone is well secured, but do not overdo it, otherwise your device can be damaged.
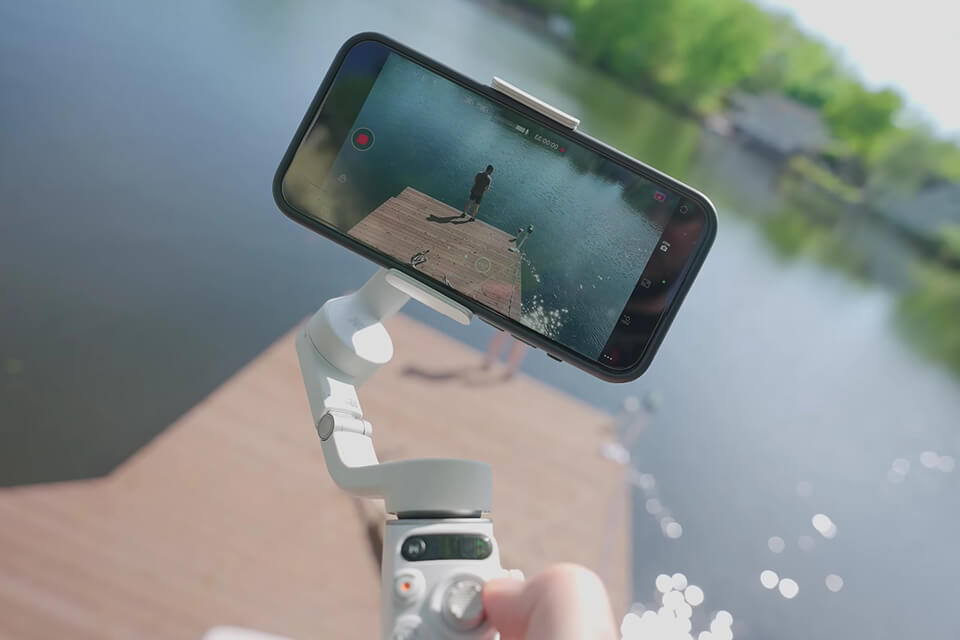
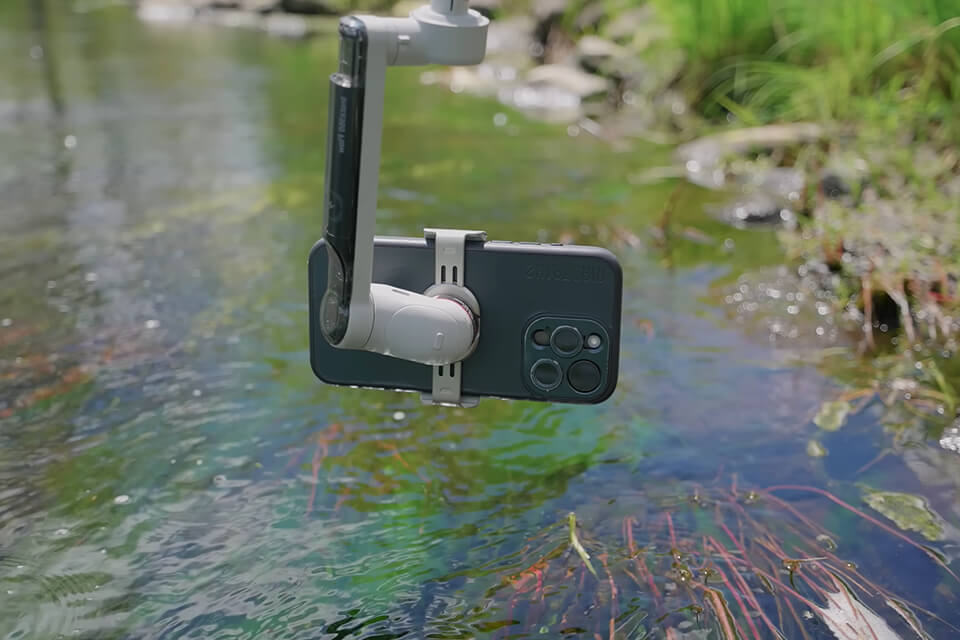
Step 4. Balance the gimbal
An imbalanced gimbal can strain the motors and result in poor stabilization and shorter battery life. At first, tilt the gimbal horizontally, and tinker with the position of the phone moving it left or right. Afterward, tilt the phone forward and backward until it remains in a neutral position to achieve a perfect vertical balance.
Step 5. Power on and connect to the app
After you hear that the motor started to work, the gimbal will make all the needed adjustments to stabilize the phone automatically. Launch the gimbal application on your phone and use Bluetooth to establish the connection. The application will let you adjust modes, speed, custom buttons, and other settings.
Step 6. Calibrate your gimbal
A quick calibration is required to use many gimbals, especially right after installation or after adjusting the balance. The instructions you should follow will appear on the screen, complete each step to calibrate the gimbal’s sensors for better stability.
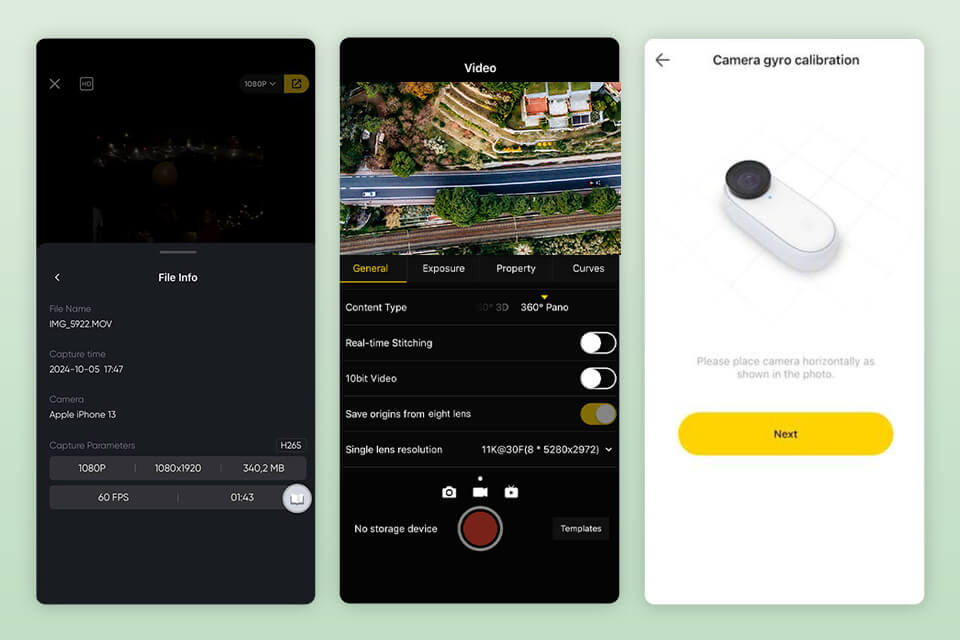
In my case, Insta360 prompted me to position the gimbal stabilizer on a smooth surface, ensuring it wasn’t shaky. Then I started the calibration process and the device began to rotate adjusting the sensor automatically. Once the process was over, the app sent me a notification, and I checked gimbal’s performance.
Step 7. Choose the mode
The best gimbals for smartphone have different modes (e.g., follow mode, pan/tilt mode, lock mode) to control their responsiveness to movements. Define your filming needs and adjust the settings accordingly, tinkering with different tracking and stabilization options.
I’ve gathered my favorite tricks for using a gimbal with an iPhone to get dynamic and cinematic shots that bring your video experience to a new level. These techniques are meant to let you benefit from the stability and smooth recording provided by professional or even DIY gimbals.
To achieve this effect, you need to place something eye-grabbing like a tree in the foreground and shoot focusing on the subject in the background. Then, you should move back and forth, with the focus staying on a subject.
By doing so I’m not only able to achieve a 3D effect of the shots but also add some depth to the films, which is almost impossible when shooting handheld. A dolly in allows bringing the focus on a subject, while a dolly out is great for revealing dramatic moments.
During a shoot, I like moving around or going along with a subject. Using the gimbal, I can move in any direction, or even circle the models around, while keeping them in focus.
This filmmaking technique is perfect for shooting dynamic scenes like someone walking, dancing, running, etc. With an iPhone gimbal, I can shoot from different angles with smooth transitions helping viewers immerse in the footage and feel like being its part.
Panning or tilting is one of the greatest ways to attract the viewer’s attention to the needed element. The horizontal movement of a gimbal with a phone from left to right or vice versa is panning. It allows taking wide shots featuring cityscapes or landscapes.
Tilting is a vertical movement (from bottom to top), which is suitable for shooting dramatic backdrops or high buildings. Using the tilting or panning technique, which eliminates shakiness, you can make the scene unfold naturally and smoothly.
@solgaardphotos Early foggy morning, with a Common Crane. 📍#Norway📸 #Sonya1 / Sony 200-600mm 🔨 #madewithlightroom #commoncrane #crane #grusgrus #bealpha #sonyimages #earthcapture #bbcwildlifemagazine #yourshotphotographer #best_birds_of_world #photography #birds #best_birds_wildlife #birdsoftiktok ♬ Wanderlust - AK
This trick creates the effect of a moving subject with the scene gradually opening around them. It is extremely beneficial for finishing a scene or making a nice and smooth transition.
Although shooters use this technique right during the filming, you can try to mimic it at the post-processing stage using zoom and pan adjustments.

@lacapture Gimbal move/ Low Angle tracking shot �� #gimbaltok #filmtok #gimbaltips #gimbaltutorial #cinematographer ♬ Blade Runner 2049 - Synthwave Goose
Low-angle follow is ideal for shooting fast-moving subjects and provides an immersive view, which is ideal for those who want to make a viral video. Positioning your phone close to the ground during filming, you can create a sense of adventure making the shot more dynamic and appealing.
@tamron_europe In today's video, we present the Vertigo effect, also known as dolly zoom. This special film effect makes the background appear to move closer, while the person in the foreground remains the same size. Take a look and watch the video with Long!
♬ Originalton - TAMRON


