If you like recording videos and want them to be crisp, you need to make sure that the device you are going to shoot with is stable. A camera stabilizer prevents the camera from moving, so you can move freely without affecting your footage.
However, the majority of gimbal tripod brand models are very expensive, so I’ve decided to show you how to build a gimbal for various types of cameras and smartphones without spending much money.
Materials needed:
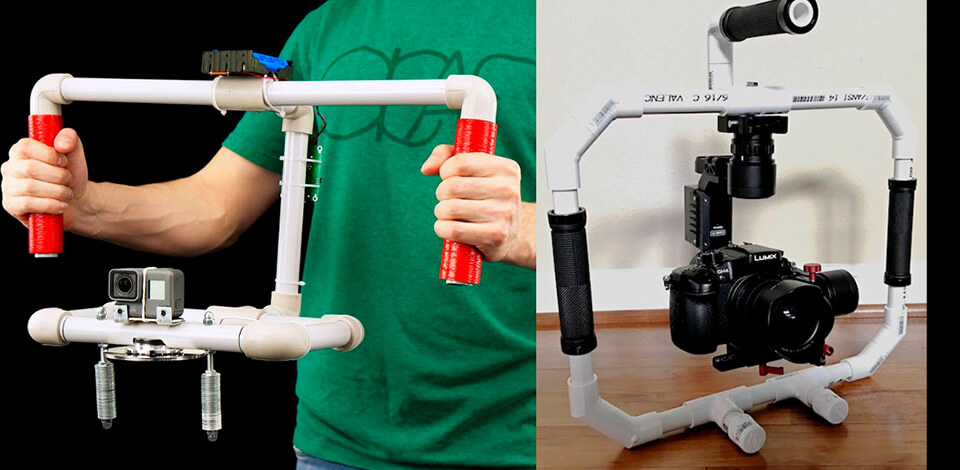
You need around five dollars to construct a square handheld DSLR gimbal on your own. Such equipment is quite convenient for handheld shooting, as most DSLRs for video are quite complicated to get a good grip on. Using a DIY gimbal, you can conveniently locate your device and shoot videos of high quality.

Choose a pipe, make proper measurements and cut it. For building a DIY cam stabilizer, you need four pieces with a length of ¾-inches. Then you should cut two pieces that are 11 inches long, and a 6-inch handle. Mark the places where you need to make the cuts with PVC cutters.

Then you need to glue all the pieces together to get a square. The segments should be connected with elbows. Make certain that the pieces are fastened in the right way, as once all the parts are glued you can’t make alterations. The top and the bottom of the construction are put together with T joints.
One of the T-joints must be directed to the inside of a stabilizer, and the other, which is on the opposite side, should face the outside creating a handle. Remember that the handle should not be glued, as you will need to remove it. Once each piece is securely fixed, put the construction aside for a while.
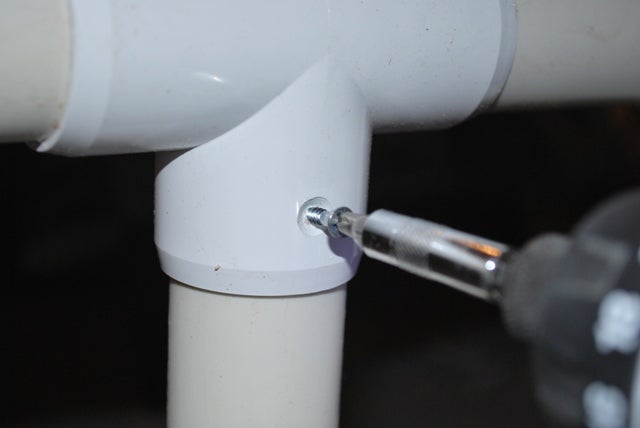
Drill two holes: one is for fixing the camera to the rig, and the other one is for holding on to the optional handle. A tiny nub of the T-joint serves as a geared tripod head. Therefore, you need to drill the pipe so that a fastening screw protrudes from this nub.
To fix the handle, you need to drill straight down through the nub on the other side. Make sure that this hole is not too close to the edge, but can still catch the pipe.
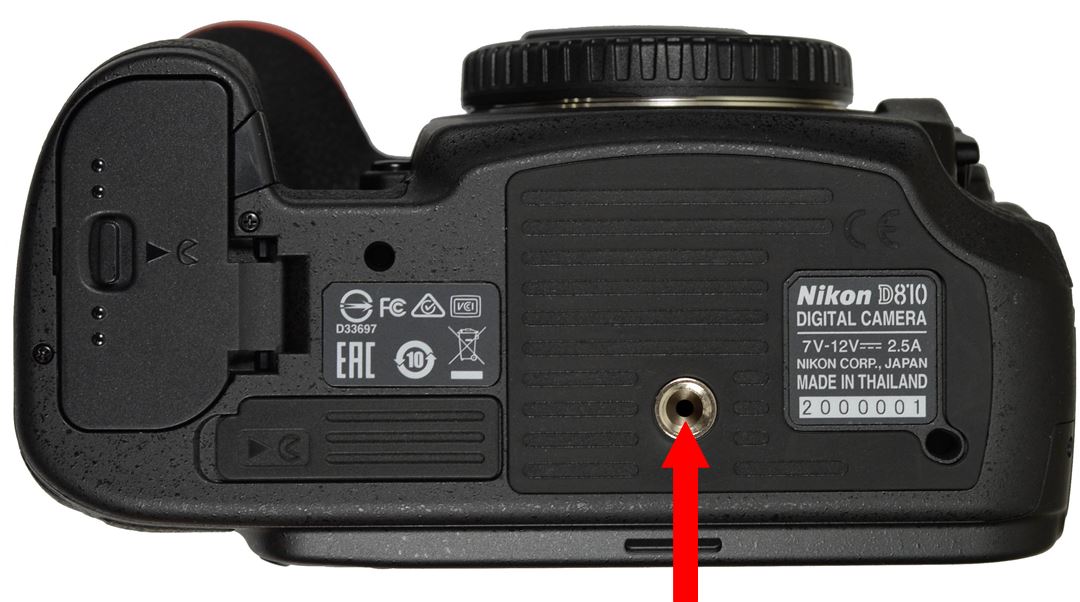
To attach your camera to the construction, insert the 3-inch machine screw into the hole you just made. Then fasten it using a wing nut, and screw the camera into it. To attach the handle, you need the two-inch bolt for fixing it with another winged nut. When these steps are completed, you can use the handle and hold the camera from the top if you want to. However, if you don’t need the handle, just take the pin out.
The construction process is over and your DIY cam stabilizer is ready. The last step is to paint the gimbal into custom matte black to make it look like a manufactured product.
Materials needed:
To build a GoPro gimbal, you should cut the piece of wood so that it has the same form and size as the scooter handle’s hole. Next, make a hole in the wood and put one of the bolts into the hole before placing the wood into the handle’s hole. Then connect the steel corner brace with bolts and nuts. Cover them with plastic bottle caps using glue.
Now you can attach your GoPro camera or GoPro alternatives to the stabilizer and start recording.
Besides, you can use DIY gimbal as a wearable gimbal, by fastening it to mount chest harness.
Materials needed:
Those shooters who don’t know how to handle a bandsaw or a soldering iron should try to construct this smartphone gimbal. To build such a piece of equipment you don’t need to be an expert in drilling, wiring, sawing.
To construct such a stabilizer, you need to enfold the bottom of the hammer’s handle with the rubber band, make the screwdriver go through the rubber bands, turn the screwdriver to increase the tension. Then, use the second rubber band to affix your mobile device to the top of the hammer’s handle. Well, the process is over.
The advantage of such a construction is that it allows shooting using two modes: standard and “briefcase”. You can switch between shooting at eye level or high angles, and then record video at low angles by flipping the rig upside down, holding the screwdriver, and turning the hammer around.
If you need to stabilize your camera, but do not have time to construct a DIY cam stabilizer, you can take advantage of some simple alternatives. Check the tips below and try one of these handheld quick fixes.

Using a strap is one most the easiest methods for filmmakers to keep the camera steady. Simply pull your camera strap tight against your neck. By holding your elbows close to the hips, you can stabilize the image. Move from side to side to make slide shots.
A strap can be also used for creating a sort of DIY cam stabilizer. You do not need to do anything, just let your camera hang as you move and capture the surroundings. Keep in mind that the weight of the lens may affect the direction of the camera: it may ‘look” downwards.
To solve this problem, grab the middle part of your strap, use it for wrapping around the lens and take the device up.
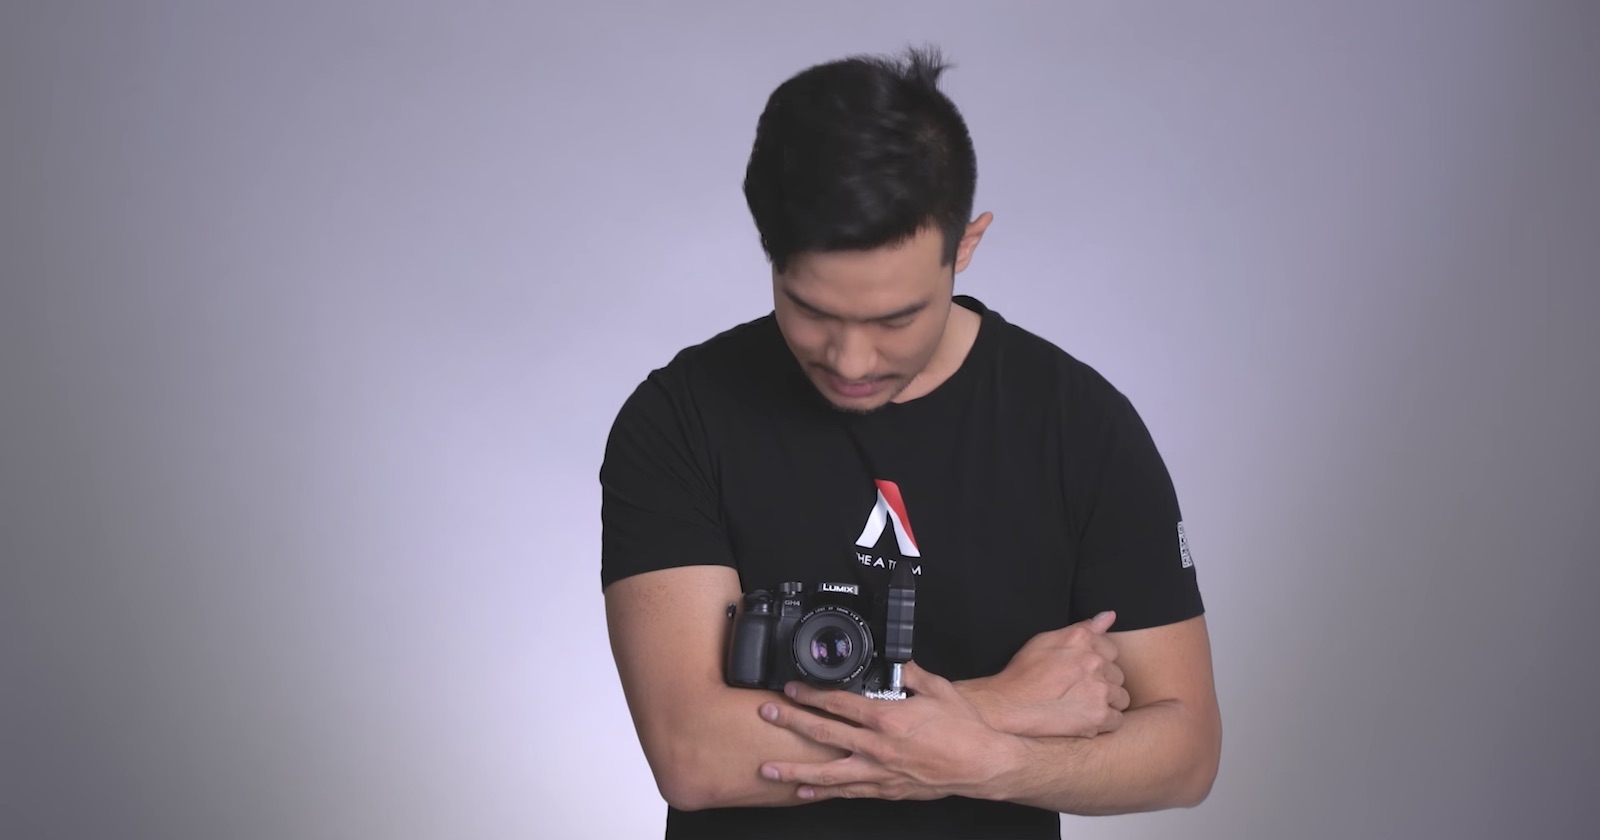
First, pull your elbows together pressing them and the arms to your body, while holding the camera with your hands. Do not forget about slow and calm breathing when recording a film.
Such a body pose can reduce shaking considerably allowing you to record detailed footage. Of course, you may feel some inconveniences when working in such a way, but the result will make you happy for sure.

By fastening a D-ring (that can be removed from your tripod mounting plate) to a camera you can tie it to your belt with the snippet of simple shock cord or bungee cord.
Make the loop from the cords and thread your belt through it, then fasten the belt again. Attach the hook to the D-ring. When you lift a camera to start shooting, your belt will serve as the anchor point. The strain between the camera and the belt will stabilize your shot letting you double the handheld shutter speed.

One more effective method, which allows keeping a camera steady without a DIY gimbal, is to use a five to seven-foot piece of string that should be fastened to a camera and tripod baseplate. By connecting the two ends of the string over your head, step on the string creating a base. Put the ends of the string together and place them against the bottom of your camera.
Attach the baseplate to stand so that you won’t experience any inconveniences while holding the camera at the necessary height, tilting it, or panning. Remember that the string should be quite tense to create resistance against your body weight.

If you want to shoot a tracking video, you can do without DIY gimbals or a camera slider. You can create a makeshift version in just a few minutes using regular objects: a thick book and a towel. All you need to do is spread the towel on the floor (for example), place the book on it, and arrange the camera on it.
As the camera is recording video, start pulling the towel slowly. In this construction, a book servers as a stabilizer for the movement. If you need to keep the camera steady on a soft surface (like a rug in the room), take benefit from the “magic carpet” dolly technique: slide the device along the ground using a large piece of cardboard.

If you know what is a LUT, you realize how helpful they can be during your color grading process. The only way to achieve a pro result quickly is to either address an affordable video editing service or install LUTs created by professionals. They can save you time trying to achieve the polished look, and help achieve consistent editing across your videos.