What Is a LUT
When you purchase through affiliate links on our site, we may earn a commission. Here’s how it works.
LUT (Look Up Table) is RGB input and output table that is used for video color grading. In the context of color gradation, they convert input color values (camera) to desired output values (final material).
LUT can be technical, creative (usually generated in video editing softwares) or specific for a certain camera.
Basically, these color tables simply take color values and output corresponding colors. Some of them change saturation, some - increase contrast while others can completely change input colors.
They are a mathematically exact way of deriving particular RGB values from an image and changing them into new RGB values by means of altering hue, saturation, and brightness of the original footage.
Types of LUTs

Technical LUTs are created to turn an image from one color space or spectrum to another one for calibration. They are designed to make an image look absolutely the same on different devices. This LUT is used primarily for monitors.
Creative LUTs can be created in video editing softwares and help you fully work with color correction.
Camera LUTs are used while filming in order to understand how one or another scene will look after video post production.
1D LUTs or 3D LUTs?
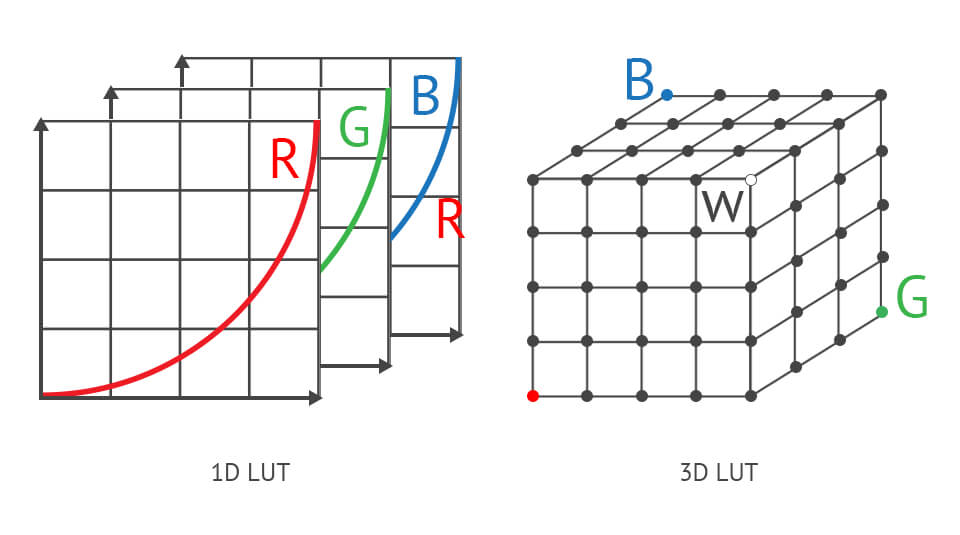
1D and 3D are the most common types of LUTs. 1D LUT is called because it’s controlled by a single parameter value and can be reduced to a gamma – preset curve. Despite the fact that it reaches a common goal of LUT, it can’t provide the control level that the majority of video editors and colorists prefer.
Most often you will find 1D LUTs with .lut extension.
3D LUTs display hue, saturation, and brightness of the individual axis, so that you have more control over specific color values in the image. Usually, they come with .cube extension.
1D LUTs
1D LUT reallocates separate pixels values into new values. For instance, it can show that the input value 4 (near black) becomes 230 (near white). An individual 1D LUT can adjust only brightness, contrast, and black/white level.
In this case, you will use combined values of red, green and blue as input data, which means you can’t adjust these color channels separately.
Instead of this, you can use 1D LUT that consists of three separate tables (or matrixes) which is called 3x 1D LUT. Each table includes input and output values for red, green and blue channels, which means that you can also adjust color values separately.
3D LUTs

3D LUT is completely another thing. It works in 3D space also known as XYZ color space.
3 planes – X, Y, and Z are displayed in red, green and blue.
A way of using 3D LUT is also significantly different from 1D. While 1D LUT contains clear input and output values based on given bit depth (for example, 1024 values for 10-bit), typical 3D LUT will not contain values for each possible combination in XYZ color space.
In addition, colors don’t “behave” individually with each other; they mix and interact. 1D LUT can’t reproduce this action because red, green and blue channels are displayed separately. That’s why you won’t match the level of difficulty that is required for extended color management.
Where to Use LUTs?
They are most often used to create and save color values that you can use in other projects. The thing is that the input video that you can get even from the most expensive cameras still won’t look as cinematic as you want it to. LUTs will help you here.
They will add a certain contrast and style. You can even upload them in your monitor or a display to calibrate them in order to get an idea what your finished film can look like.
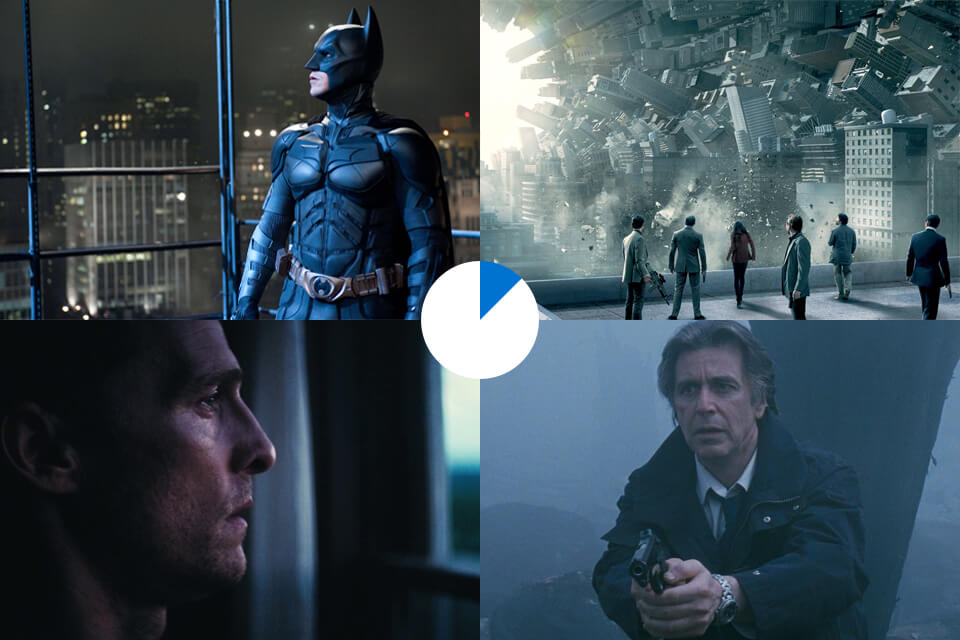
LUTs have a special significance for movies. Using them, directors show their particular style, their recognizable color writing. In such a way, prevailing cold shade will help you Christopher Nolan’s films.
David Fincher works mainly with blue and green colors.

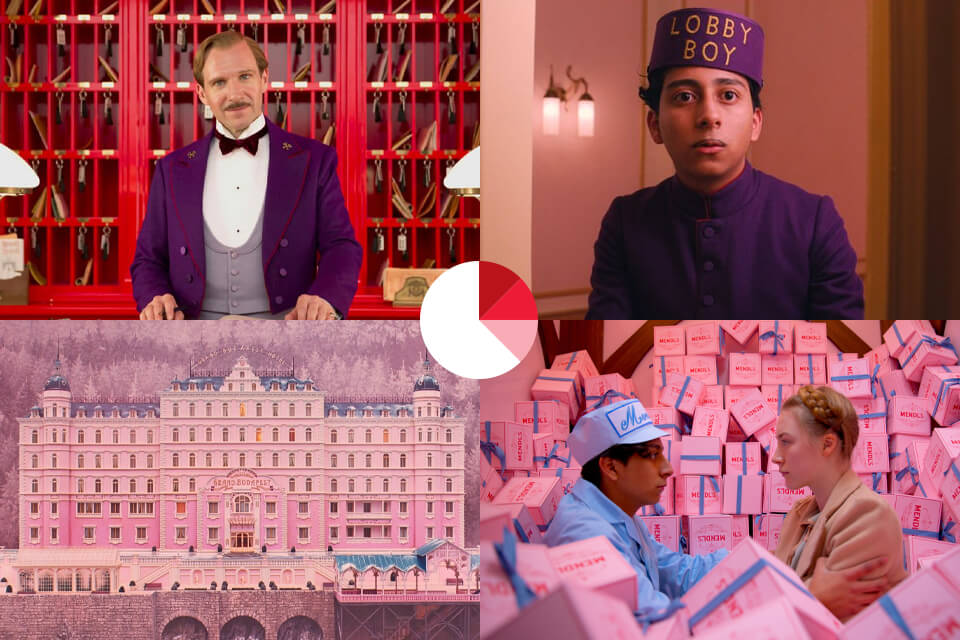
Wes Anderson prefers red hues and monochrome image.
Taking into account the color correction of each film separately, you can easily understand what a huge role it plays there. For example, it’s difficult to imagine The Matrix by Wachowski sisters without its famous green shade.
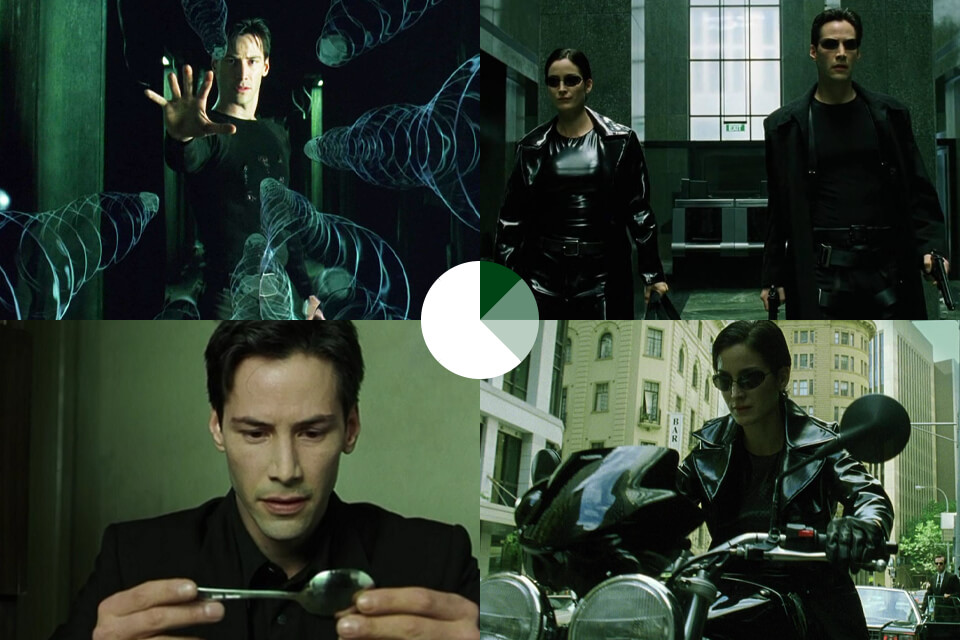
The basis of these styles is LUTs that are applied to the input material during video post-processing. I think it’s obvious that The Matrix was recorded in a regular color and became green only after color correction.
How to Use LUTs?
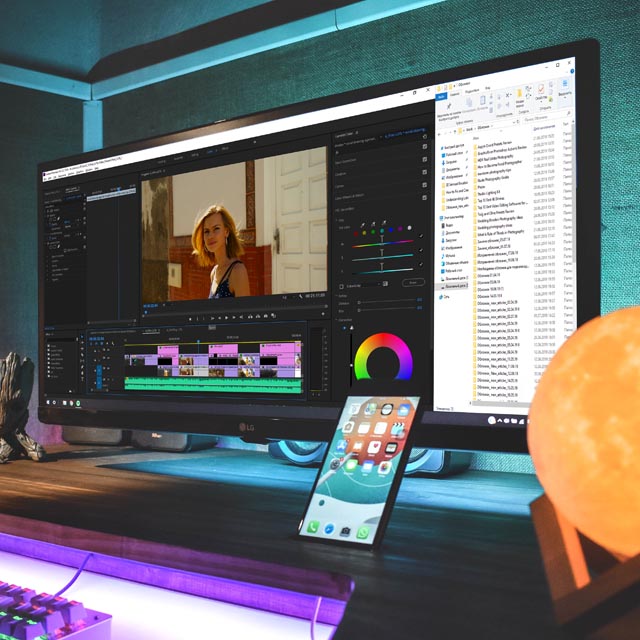
Using LUTs for video color grading is not as difficult as it seems. As an example, I will work with LUTs in Adobe Premiere.
1. Open an Original Frame
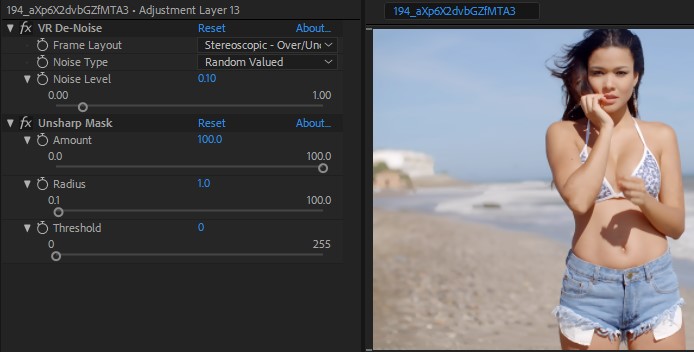
Perform the initial frame editing: remove noise and add sharpness. You need to make a video warmer and add more volume and positive mood to it.
2. Create a New Correction Layer
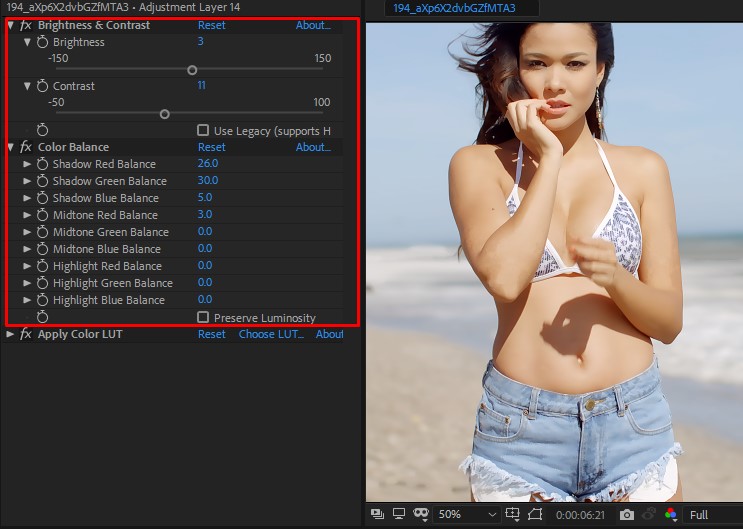
Apply such effects: Brightness & Contrast, Color Balance, Hue/Saturation, and Apply Color LUT. Take into account this sequence and remember to apply LUT at the end. It’s very important as each next effect affects the previous one.
3. Apply LUT
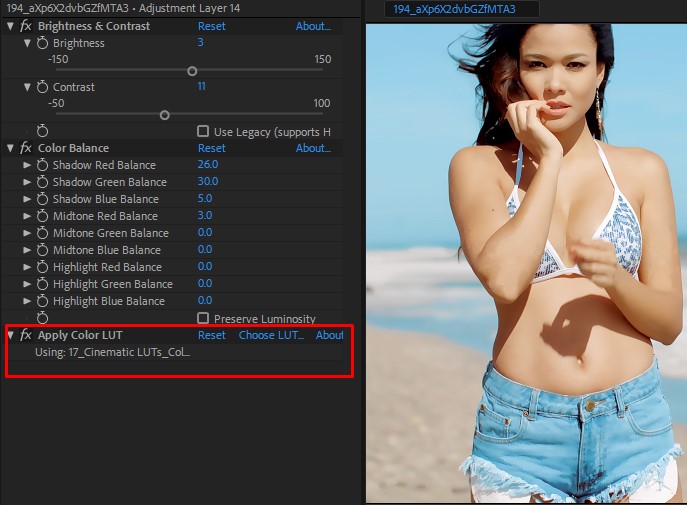
I choose agfaVista100. The result may be completely different from what you expect. Color correction rarely finishes at this stage. The majority of shots require further processing. That’s why, before using Apply Color LUT effect, I applied Brightness & Contrast, Color Balance, Hue/Saturation.
4. Correct Exposure and White Balance
.jpg)
The example above shows that the frame is underexposed, white balance is incorrect and saturation is too low. The next thing I do is add brightness and contrast.
.jpg)
The shot becomes brighter but white balance is still incorrect. In order to fix this, I use Color Balance to make the shot warmer.
- Read more about how to get Adobe Premiere Pro for free.
5. Work with Color
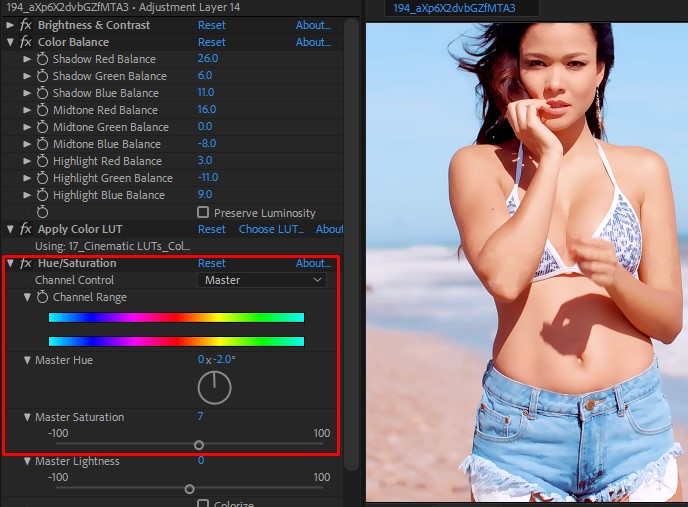
It’s better now. Not ideally but quite acceptable. Next, I correct details, using Hue/Saturation.
Now you can say that color correction is finished. Then you can apply masks, correct separate areas, skin tone, etc. But usually, all the mentioned steps are enough to achieve a decent result for minimum time.
As you can see, it’s not enough to simply apply appropriate LUTs, it’s important to correct an original shot in the right way before that.
- View more about how to install LUTs in Premiere.
3 Free LUTs for Color Grading
Each program for video editing has already installed LUTs collection but I’m sure that as soon as you learn how to use them correctly, you will want more. Video colorists from FixThePhoto have created for you sets of LUTs that you can download free right now.
1. Free Landscape LUT
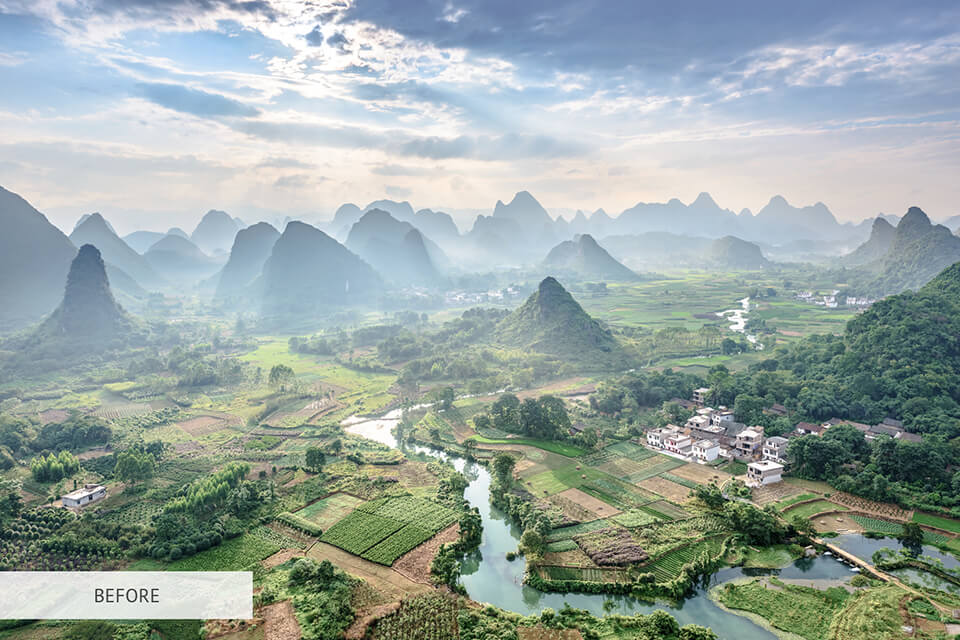
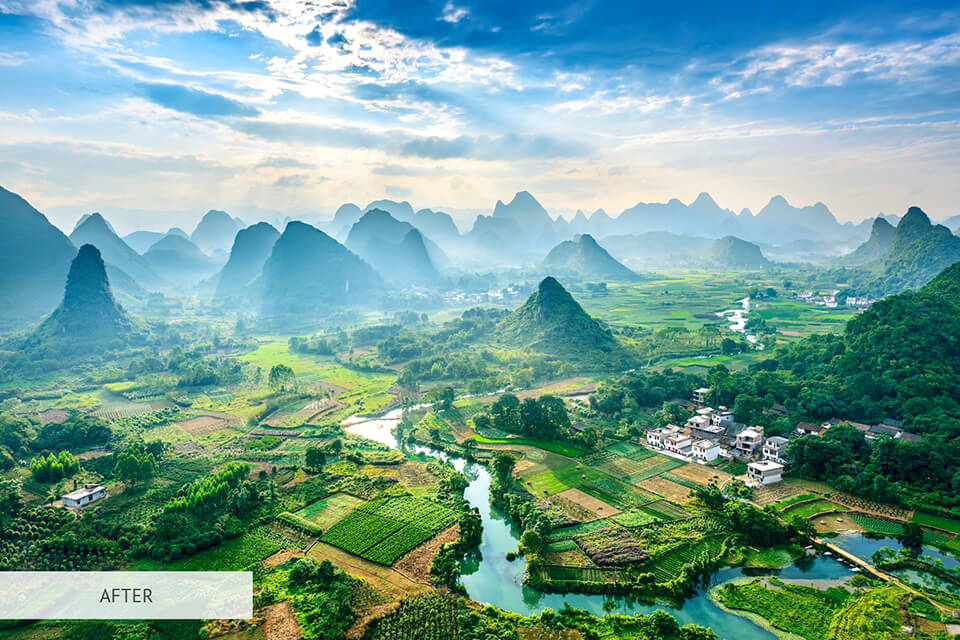
It can refresh your landscape video, whether it’s a time-lapse or a video from a drone. It works with color saturation, eliminates boring matte effect and adds contrast.
- Read my full Adobe Premiere Pro review.
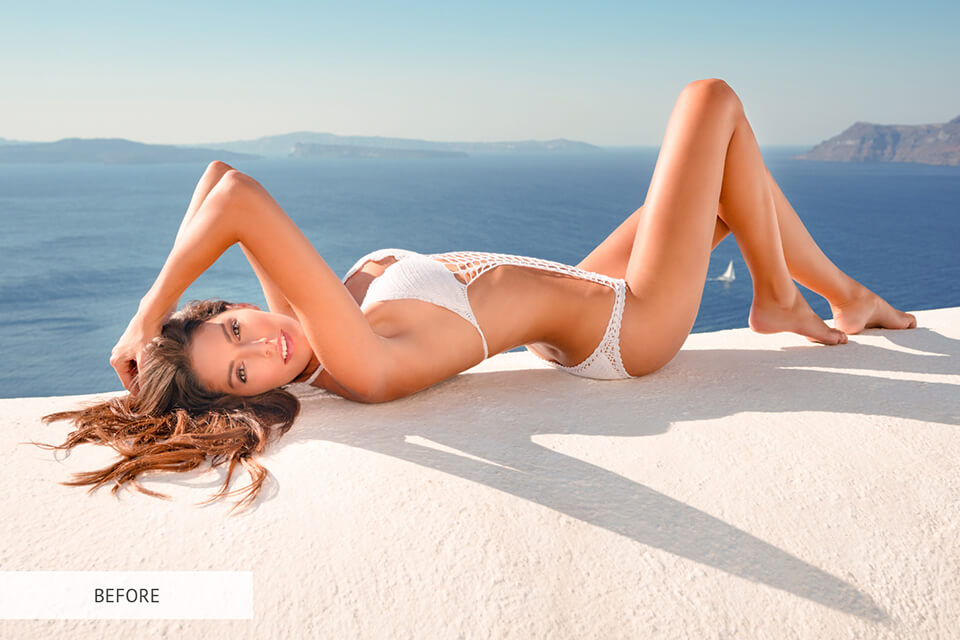
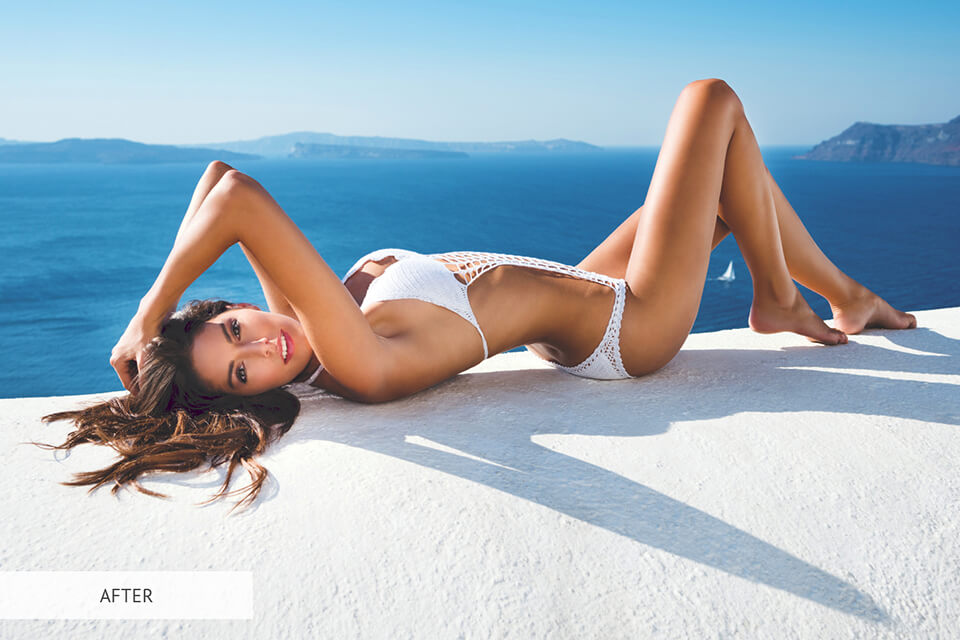
2. Free Coastal Haze LUT


If you want to make your videos positive but don’t know how to achieve this effect with the help of color, then try this LUT!
- Check out the best video editing softwares.
3. Free Matte LUT
You can make a matte frame beautiful if you work properly with colors and make them warmer. “Matte” LUT gives exactly this effect. It has mostly warm tones that in combination with shades give a great result.


