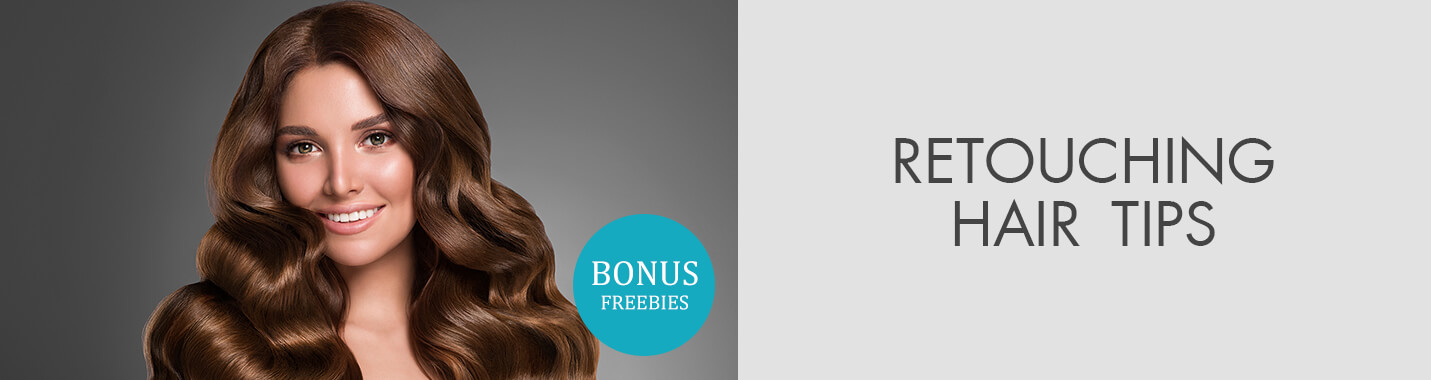
Retouching Hair Tips for Photographers
When you purchase through affiliate links on our site, we may earn a commission. Here’s how it works.
Whether you are a photographer or retoucher, you need to know how to retouch hair in your photos. Even if your model has a perfect make-up and a skin tone, it’s better to work on hair to enhance a portrait.
As it is a vital part of pro-level highend retouching, it’s crucial to understand which tools you need to achieve a stunning result.
After testing the best photo editing software, I have decided to use Adobe Photoshop as it comes with many handy image retouching tools. For quick editing on your mobile devices, you can install Photoshop Express for iOS or Photoshop Express for Android.
1. Remove Flyaway Hairs from the Background

If you have already tried editing portraits, you know that retouching hair might be tricky as some stray hairs might start looking thicker than they should or acquire a different color. This is why editors need to pay special attention to a color tone and volume so that the hair still looks natural afterward.
If you like outside photoshoots, you must have faced a situation when some tousled hairs looked disastrous in a photo. To improve a portrait, you can use the Stamp tool that allows erasing stray hairs in no time.
What’s more, you won’t need to edit a background afterward. It’s also possible to change the color of the background to grey. These advanced hair retouching techniques will help you to transform your pictures.
If your background is not homogeneous, you can use a special blending option. By opting for a Darken mode for a dark-colored background, you can erase blonde hair. The Lighten mode is perfect when you are trying to remove dark hair and work with a light background.
2. Take Away Unnecessary Hairs

In windy weather, it’s impossible to take a photo without some flyaway hairs spoiling an image. Now, it’s quite easy to remove stray hairs in Photoshop by using Spot Healing Brush and Healing Brush tools. They can be used to edit any part of a body or clothes.
If you want a photo look natural, try working on stray hairs one by one. This way, the texture will stay the same. For every flyaway hair, you need to change hardness and roundness to 100%, set an ellipse to 20-30%, and adjust an inclination angle.
Make sure to work with a larger print size than an edited area. If you overdo with retouching hair, it might get an artificial look.
If you are photoshopping portraits that are quite large, take special care to edit the hairs that lie in a different direction.
3. Use the Clone Stamp Tool to Fill In the Plots

This tool is quite handy when you need to draw some hair locks. Just copy any element that you like and paste it where you need it.
Once you do it, make sure to work on the edges and edit a cloned area so that it doesn’t differ from the surroundings in color and light.
If you don’t know how to retouch hair and which format to use,I advise you to work with RAW photos as they allow for better resolution.
Chose the Size Jitter tool and set it to 100%, it will help you edit the hairs so that they don’t look similar. After doing it, you can set Angle Jitter to 8-10%, this way, they will lie at different angles.
4. Add Separate Hairs with Dry Media Brushes

Even basic brushes will help you to draw hairs manually. Even basic brushes will help you draw hairs manually. Try using more strokes, this way, the edited hair will look more realistic. You can experiment with hues as well.
To find a perfect shade, take a look at the available samples. Then you can use the Eyedropper to pick any color tone that you like.
To enhance a portrait even more, use a special grainy effect. You can also use the Linear Dodge that is great for adding highlights.
Photoshop allows making even more drastic changes. To transform your model’s appearance, add realistic beard in Photoshop or colored locks of hair.
5. Increase Volume Using Dodge & Burn

If you think that the hair lacks volume and isn’t shiny enough, try using the Dodge & Burn tool. You will need to use the raised Curve on the brighter part of an image and apply the down Curve to the dim one. This way, you will fix contrast of the hair color.
To select any part of an image, use the Lasso tool with a 100% zoom. If you bring stiffness to 0% and opacity to 10% or less, the hair will look more natural.
If you are wondering which technique is better for retouching hair professionally, make sure to create two separate layers and use one of them to make the hair lighten and the other one to make it darker.
6. Don’t Use Frequency Separation

Beware that the Frequency Separation technique is meant specifically for enhancing a skin tone and it can’t be used for hair. It makes the skin smoother but this effect will be less impressive if you use it on hair. It will significantly change the hair texture.
The photo editors, who use this tool to edit the hair are mostly rookie designers, so try avoiding such basic mistakes.
For hair editing, it’s always better to choose more complex techniques. A simple solution might result in the hair becoming unnatural.
7. Apply Filter – Liquify to Get a Beautiful Hair Shape

If you think that the hair is insufficiently voluminous, there is another useful filter, namely, Liquify. It is useful when you need to make the hair look curvier or add a wavy effect. By using this instrument, you can avoid another newbie mistake and leave the objects that are next to the hair undistorted.
To apply this effect, use a large brush on the hair edges. This will help you achieve the effect you are aiming for.
If you strive to achieve even better results, use the Forward Warp instrument on the hairline. This way, it will look even more magnificent. Remember that you need to apply short strokes only.
Those, who need to use more brushes, can create them with the help of the quick mask option.
8. Change Hair Color in the Quick Mask Mode

To achieve an impressive visual effect, a photographer might need to retouch hair color or pick another tone for the hair. It’s quite simple when you need to make light colors darker but the task gets significantly more difficult when you want to do the opposite.
First, you need to create a red mask over the hair. Then choose Select and Inverse to achieve hair separation. With the help of the Soft Light tool and any tone picked from a color palette, you can transform the mask layer.
If you are taking your first steps in hairstyles photography, you will appreciate the quick mask mode. I prefer the Brush tool but sometimes it’s easier to select an area by using the Pen or the Lasso.
9. Length Hair with Round Brush Tool

In the cases when you need to make the hair look longer, it’s better to use a round Brush for retouching hair in Photoshop. After picking a color, you can draw new strands and make them look more natural by adding shades, highlights, and color transitions.
If you are still unsatisfied with a picture, try applying the Gaussian Blur filter that is located in the Blur menu. With its help, you can make some back strands blurrier. Use an Eraser or a round Brush to make the tips of flying strands look softer.
Then, you need to make the top part of the hair level look lighter. The area near the roots should be darkened. Pay attention to the details as an unnatural and visibly edited hair is not what portrait photography is aiming for.
10. Do a Haircut with Hair Brushes

If you want to make the hair look shorter, you can do it with the help of Hair Brushes. It is perfect for retouching hair. A soft brush allows blending the parts of the hair that are close to the background.
By using the Flip X, you can orient the brush in any direction to create a natural-looking hair texture.
After creating a new layer, pick a color nearby from the edited area. Once you have selected a sample, draw a hair contour by using the Hue blending mode. When the contour is ready, create a layer mask and delete the selected areas from the model’s face. To do this, you can pick a black brush.
Freebies for Retouching Hair
If you want to retouch hair in Photoshop even more professionally, take a look at these free tools. By applying the brushes, you can make your works look more polished.


