How to Avoid Pixelation in Your Designs

When you purchase through affiliate links on our site, we may earn a commission. Here’s how it works.
Pixelation in Design Tips

Working as a graphic designer at FixThePhoto, I am often asked about pixelation in design, which prompted me to write this detailed guide for our readers. Our clients wonder why some pictures become pixelated when they enlarge them or prepare them for printing.

For professionals, it’s important to grasp the meaning of pixelation to avoid common issues degrading image quality. Choosing the most suitable file format, image size, and export settings allows graphic designers to give their projects a polished look.

pixelation in design before after

Why Your Image Looks Blurry

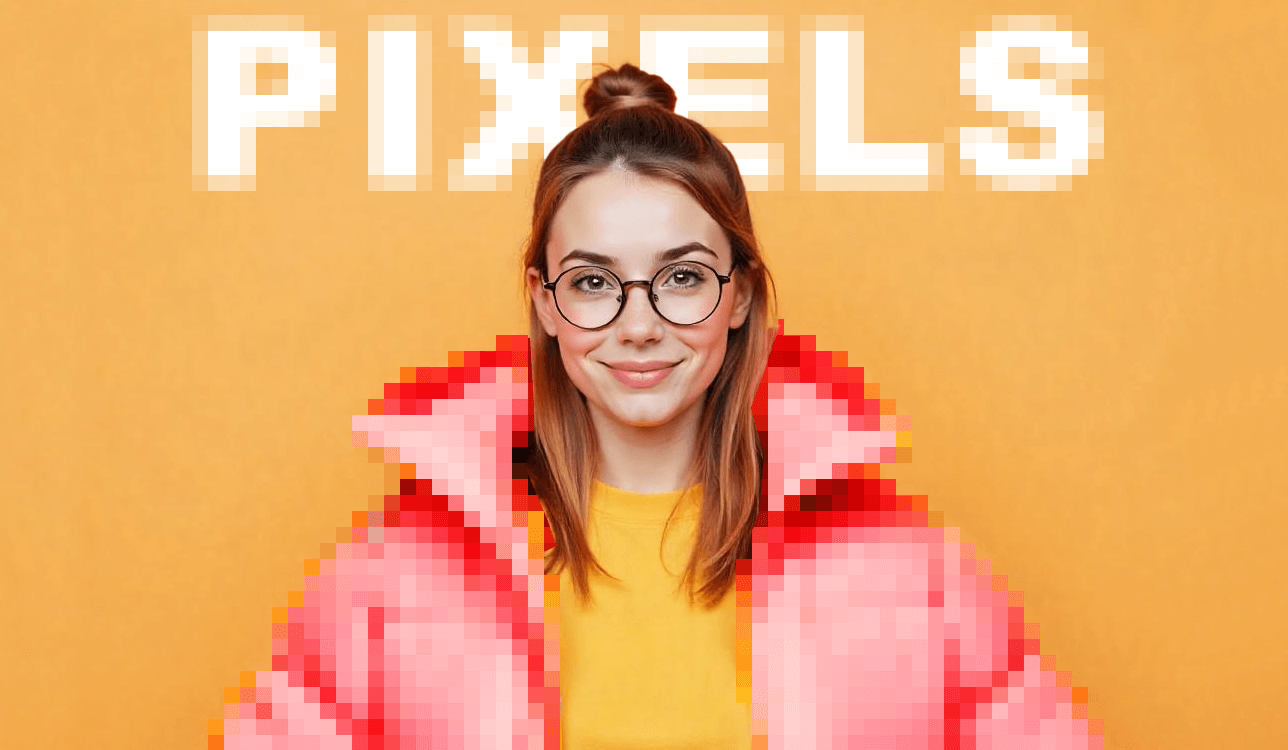
It’s the smallest unit of a raster picture. This is why I use the term pixelation in graphic design to describe an effect that happens when it becomes possible for a viewer to see individual pixels in an image. While high-quality pictures look perfectly smooth, pixelated pictures might be blocky or blurry.

It is a common situation when one significantly stretches an image or saves it in poor quality. Working as a designer, I know well enough that pixelated images may substantially affect the quality of a design project and make it look amateurish.

pixelation example

Based on my experience, there are several widespread reasons behind pixelation issues in design:

  • Poor resolution. When I work with low-resolution pics (like 72 DPI images) and enlarge it, some signs of blur and pixelation immediately become visible.
  • Compression. It’s not recommended to save images in overly compressed formats like JPEG, as it may lead to pixelation.
  • Excessive scaling. When scaling up a raster image (like PNG or JPG) in Photoshop or InDesign without considering its original resolution, it might be impossible to avoid an unwanted pixelation effect.
  • Using a raster instead of a vector format. When I save logos or text in raster formats instead of vector formats like SVG or AI, it may be daunting to enlarge them later without any issues.
  • Screenshots or poor-quality source images. When I use screenshots or images found online without considering resolution, I often have to deal with pixelation issues when preparing these pictures for printing or designing full-size layouts.

Pixelation as a Tool for Anonymity

When working on all sorts of design projects, including poster designs, I strive to avoid pixelation, as it significantly degrades their overall quality. Whether I need to create a professional print ad, a site banner, or product packaging, I prioritize sharpness and clarity. I do not use blurry or pixelated images for my projects. Nonetheless, I would occasionally intentionally use the pixelation effect to achieve specific goals.

For instance, when I focus on privacy protection, pixelation is necessary. You might have seen this effect when watching news broadcasts and documentary movies. If a person does not want to disclose their identity, their face is pixelated. Together with my FixThePhoto colleagues, I often need to add this effect during the post-production stage when running social media campaigns for my clients. It becomes necessary if there are bystanders in the background, as we have to pixelate their faces to maintain compliance.

This effect is also used in artistic or retro design. When I was tasked with developing branding for a game studio, I needed to create designs consistent with an 8-bit aesthetic. We decided to design pixelated characters, icons, and backgrounds to recreate the effect of the first video games. We used pixelation to achieve the desired goals. You can use different types of pixel art software like Photoshop, Aseprite, Pixelmash, Krita, and others to recreate this effect.

Another use case of pixelation is censorship in media. It’s used to conceal nudity or offensive gestures in videos, allowing creators to publish their footage on various platforms. When editing a video for YouTube, I once had to choose the most suitable logo design size in pixels and make this element pixelated to avoid copyright issues.

Summing up, even though it’s better to avoid pixelation when working on design tasks, it has some specific use cases, especially when one needs to maintain compliance, safeguard other people’s privacy, or achieve a certain artistic effect.

Fixing Pixelated Images in Adobe InDesign

When using Adobe InDesign for Mac, I often have to deal with pixelated or blurry pictures sent to me by my clients. For instance, it might be impossible for me to choose the best t-shirt design size in pixels and create a high-quality product if the source files are of low quality or are displayed as blurry. Thankfully, I can often fix such issues by choosing the right settings.

adobe indesign logo

Want to Give Layouts a Professional Feel?

Use high-accuracy tools available in Adobe InDesign to produce attention-grabbing brochures, magazines, and flyers. Align different layout elements with high precision and avoid pixelation to create pro-grade designs.

Check Display Performance

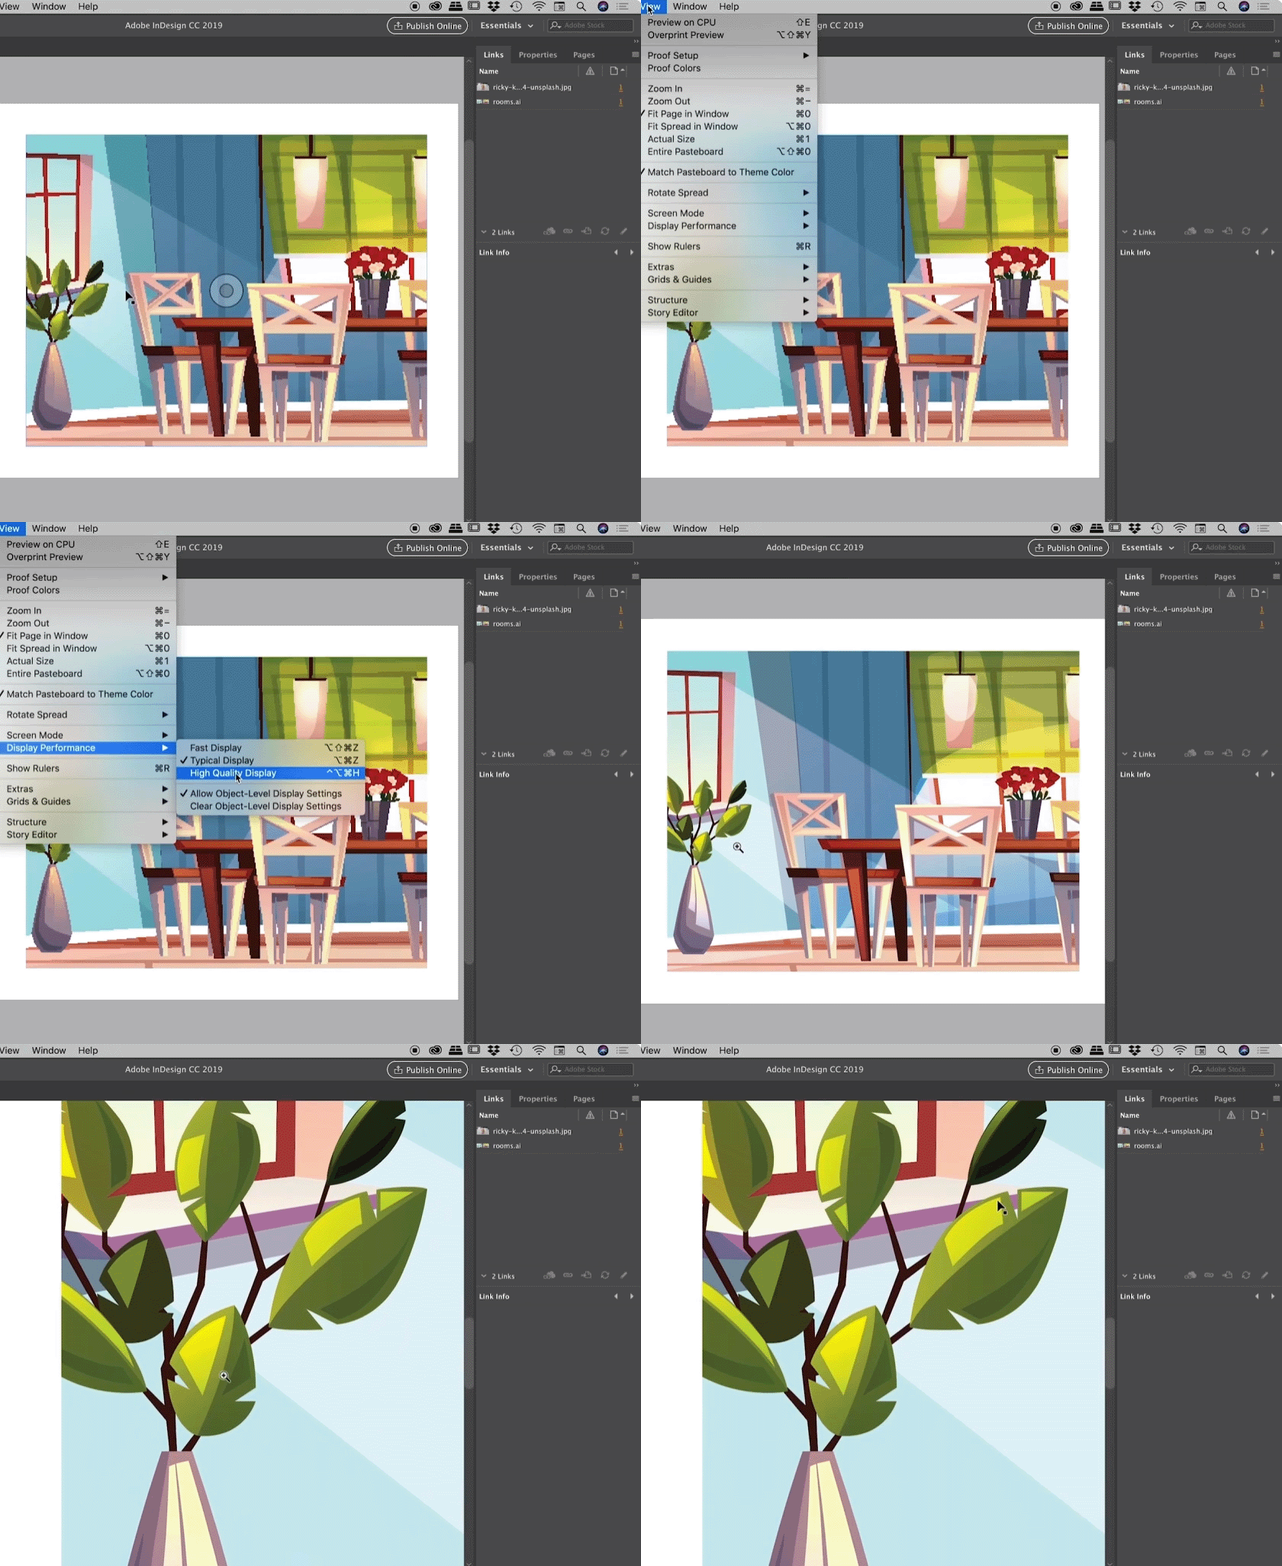
Occasionally, I would notice that a picture looks blurry when I open it, but its resolution is not low. For instance, InDesign displays images in low resolution by default when a user previews them, which allows it to deliver a better performance.

What I do:

  • Right-click on the picture > open the Display Performance menu settings > choose the High Quality Display option.
  • Alternatively, I configure the default settings for all files: Go to View > Display Performance > High Quality Display.

Taking these steps enables me to make the previewed billboard design look sharper without adjusting the settings of a source file.

fix pixilation in adobe indesign gif

Check If You're Linking to the Right Image

Instead of embedding pictures, InDesign links to them. It’s important to consider this when working on website design projects. In case there is any issue with the link, for instance, if it was broken or if you imported a low-resolution version of a picture by mistake, like a preview or web thumbnail, the quality will degrade.

What I do:

  • Go to the Links panel (Window > Links).
  • Look for warning icons. If I notice a yellow triangle or red question mark, it indicates the picture is missing or should be updated.
  • Add a working link to the source, high-resolution file by clicking the chain icon and choosing the right picture stored on my device.

Use the Right Image Resolution

When I work on a brochure design and need to prepare images for printing, I typically utilize pictures with a resolution of at least 300 DPI at the desired print size. It’s hardly a good idea to use low-resolution pics (72 DPI).

Tip: I check the “Effective PPI” of my file in the Info panel. If it’s much lower than 300, it’s a sure sign that it won’t look sharp when printed.

Preflight Your File

This step is necessary to discover possible issues that might degrade the quality of an output file, including problems with resolution. If you preflight your InDesign files often, you will be able to take the necessary steps to eliminate such issues before saving the final version of your project files.

What I do:

  • Open the Window menu > click on Output > choose Preflight.
  • In the Preflight menu, check for any image-related problems.
  • Fix the issues you find during this stage and save your pictures in high quality.

Consider Export Settings

Your images may look sharp when you open them in InDesign, however, their sharpness might still decrease if you choose the wrong export settings when saving the final version of your file.

I follow such steps to avoid this issue:

  • Go to the File menu > click Export > choose Adobe PDF (Print).
  • Under the “Compression” tab, I choose the Do Not Downsample option or keep the resolution at 300 PPI.
  • Set Image Quality to Maximum.
  • Go to the “Output” settings and choose a suitable color profile. CMYK is perfect for printing.

Standard Design Sizes in Pixels

pixelation in t-shirt design example

Working on all sorts of design tasks at FixThePhoto, we often get asked about the best pixel dimensions. If you need to create a business card, it’s essential to choose the most suitable business card design size in pixels when starting to work on your project. The same goes for flyers and billboards. It will allow you to get a perfectly sharp image without any sign of pixelation. We tested multiple options and decided to create this table with the most widely used formats so that you would be able to use it as a reference.

Type Size (in pixels) Notes
Business card
1050 × 600 px
Standard size: 3.5 × 2 inches at 300 DPI
Email
600 × 800 px
This email design size in pixels is perfect for creating a layout that will be displayed consistently across different email clients
Flyer
2480 × 3508 px
Standard A4 size: 8.3 × 11.7 inches at 300 DPI
Mug
2700 × 1125 px
Depends on the supplier, but this size fits most 11 oz mugs (9 × 3.75 in at 300 DPI)
Website
1920 × 1080 px
Full HD screen resolution that can be scaled if a site has a responsive design
T-Shirt
4500 × 5400 px
Used for print-on-demand sites like Redbubble or Printful
Logo
1000 × 1000 px (minimum)
Saved as a scalable vector; a raster image should have high resolution
Poster
3300 × 5100 px
Standard 11 × 17-inch poster at 300 DPI
Brochure
3508 × 2480 px (per panel)
Standard A4 dimensions 8.3 × 11.7
Billboard
854 × 2928 px
Depends on print specs, but 14 × 48 ft scaled down to 300 DPI is an excellent choice

Tip: If you aren’t sure what resolution to choose, consult with your printing shop or check the information available on a provider’s website. Consulting a provider may be necessary to choose the right mug, t-shirt, billboard, or flyer design size in pixels.

How to Avoid Pixelation Like a Pro

Use high-resolution images. This is the necessary condition. I typically use files with a resolution of at least 300 DPI when preparing images for printing. If you start working with a low-resolution file, it’s unlikely that you will be able to significantly improve its quality afterward.

Avoid upscaling raster pictures. Enlarging a picture for printing may result in increased pixelation, especially if you use an image in JPEG or PNG formats. This is why I prefer to save my images in vector format or ask my clients to send the source file. Vector images in SVG, AI, or EPS formats can be scaled without quality loss.

Use vector graphics for most projects. Whether I need to create logos, icons, or illustrations, I prefer to use vector formats. When working in Adobe Illustrator, I trace low-quality pictures to create clean, easy-to-scale vector files.

Consider export settings carefully. When I need to export project files from Photoshop or Adobe Illustrator, I focus on the resolution, type, and compression settings of the output file. I discovered that it’s essential to save JPEG images in the highest quality and minimize compression.

Use AI upscaling tools (when it’s necessary). When working on my projects, I occasionally need to improve the quality of source images saved in low resolution. In such situations, I utilize AI-driven tools to increase resolution of an image. When it’s difficult to choose the right mug design size in pixels, I often use the Super Resolution tool available in Photoshop or features available in third-party apps like Topaz Gigapixel AI. Using them, I can increase sharpness and diminish pixelation more effectively than when I use other popular solutions.

Preview the result before finalizing. Before sending output files, I double-check my images carefully at 100% zoom. In some cases, I print an image out. It allows me to detect pixelation issues and notice if the image quality has degraded. This way, I always send high-quality images to my clients.

Ann Young

Retouching Guides Writer

Ann Young is an expert photographer, retoucher, and writer with over 9+ years of working at FixThePhoto. Her career in digital community began after earning her degree from New York University. She believes AI can be a real helper if you know how to use it properly. Unlike many photographers, she isn’t afraid that AI tools can replace human experts in different spheres.

Read Ann's full bio

Tetiana Kostylieva

Photo & Video Insights Blogger

Tetiana Kostylieva is the content creator, who takes photos and videos for almost all FixThePhoto blog articles. Her career started in 2013 as a caricature artist at events. Now, she leads our editorial team, testing new ideas and ensuring the content is helpful and engaging. She likes vintage cameras and, in all articles, she always compares them with modern ones showing that it isn’t obligatory to invest in brand-new equipment to produce amazing results.

Read Tetiana's full bio

adobe special offer adobe special offer