Now, when you are a proud owner of a gaming headset, which is compatible with all major devices, you naturally want to know how to set up HyperX Cloud 2 headset. This amazing headset, optimized for gaming, allows for direct connection to gaming controllers, smartphones, and tablets, laptops, and PCs.
Such connectivity is provided by a mini 3,5mm jack plug, a port, ensuring compatibility with most devices with wired headphones connection. Also, in a set, there is a USB control box with a corresponding connection type, which works as an intermediate interface.
In most cases, you should just connect your headset through the USB control box or directly through the audio output, but using the sound tools of the OS. Depending on the involvement of the headset functions, you may need to install some drivers, which should be an automatic process of the OS, or with the help of special driver update software.
STEP 1. Connect the headset to the control box – a small box with volume controls, a built-in audio card, and ports for a microphone. Plug in the headset cord into the corresponding port on the block.
STEP 2. Connect the control box to the PC (desktop, laptop) through a free USB port.
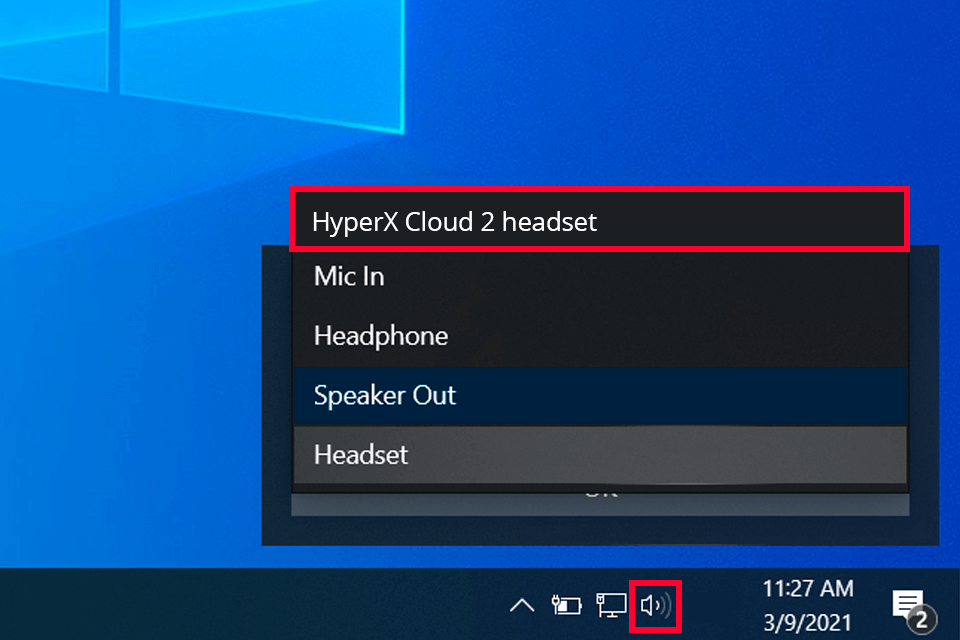
STEP 3. Make sure your PC uses the gaming headset for sound input and output, by left-clicking on a small icon of the speaker in the right lower part. Therefore, you will check or select the audio equipment you want to use.
These are all steps you have to take to make any gaming headsets work with your PC. But often to take advantage of all the functions this is not enough. For HyperX brand, it is very important to make sure its devices (headphones and microphone) are set as default input/output sound device, no matter which type of connection is used. Check if the headset is chosen as a default device, or set it manually.
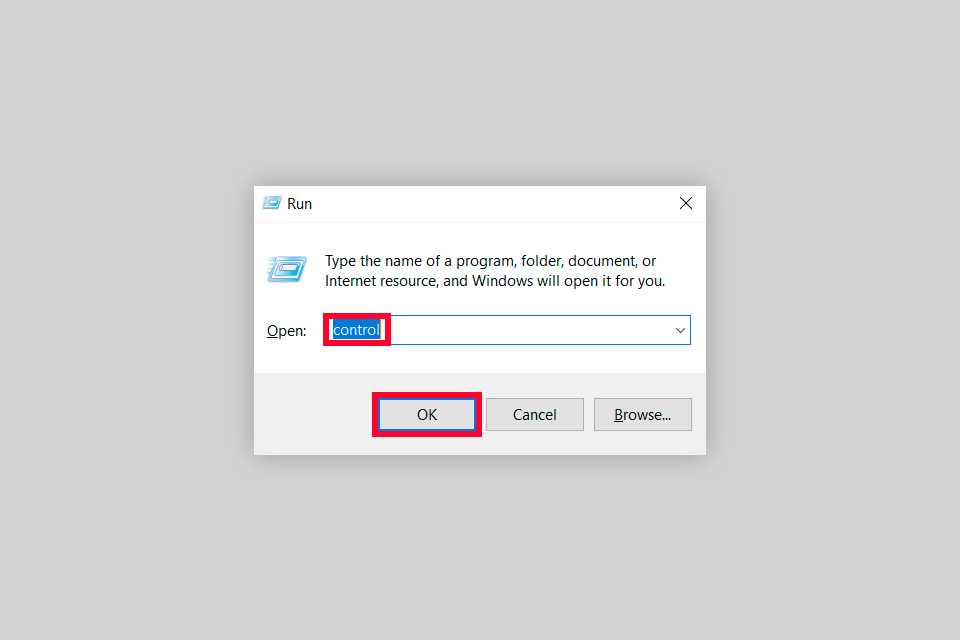
STEP 1. Bring up the Run dialog by simultaneously holding the Windows logo key and pressing the R key. Write “control” and press Enter. Go to the Cortana Search box and write “control”, then click the Control Panel. Any of these actions will bring you to the Control Panel.
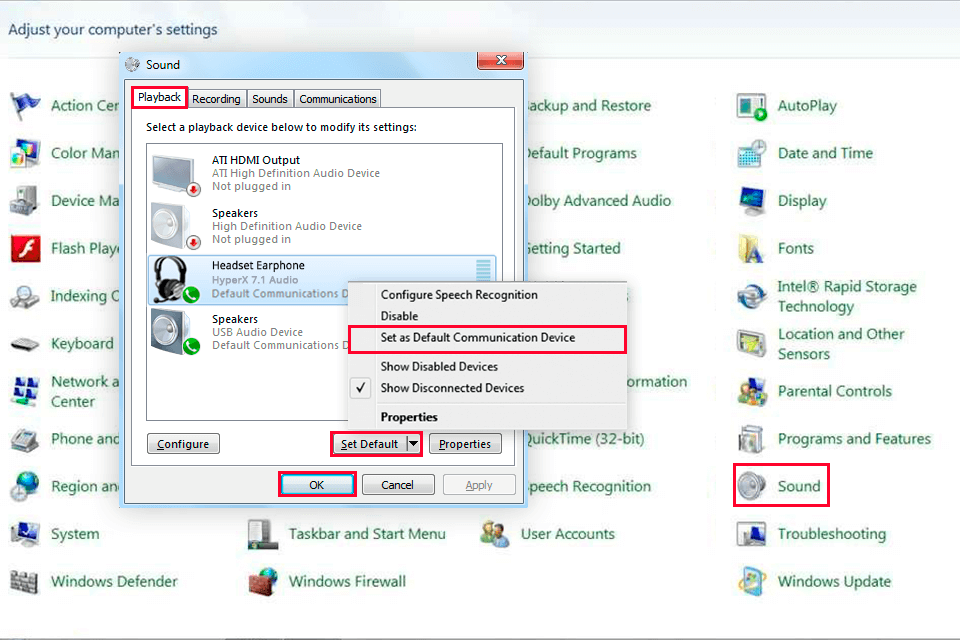
STEP 2. Choose Sound, then Playback. If the Headset Earphone is not ticked by default, select it and click Set Default (or right-click and Set as Default Device). In the same way, you should check or set Headset Microphone as the default device in the Recording tab. Then click Apply > OK.
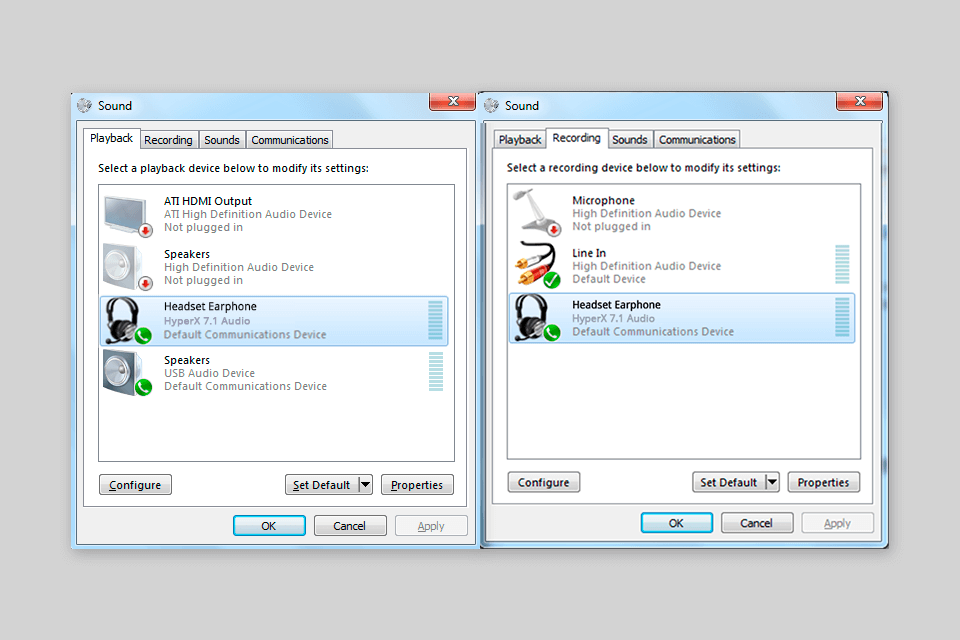
STEP 3. Repeat the steps to check or set Headset Microphone as the default device in the Recording tab. Then click Apply > OK.
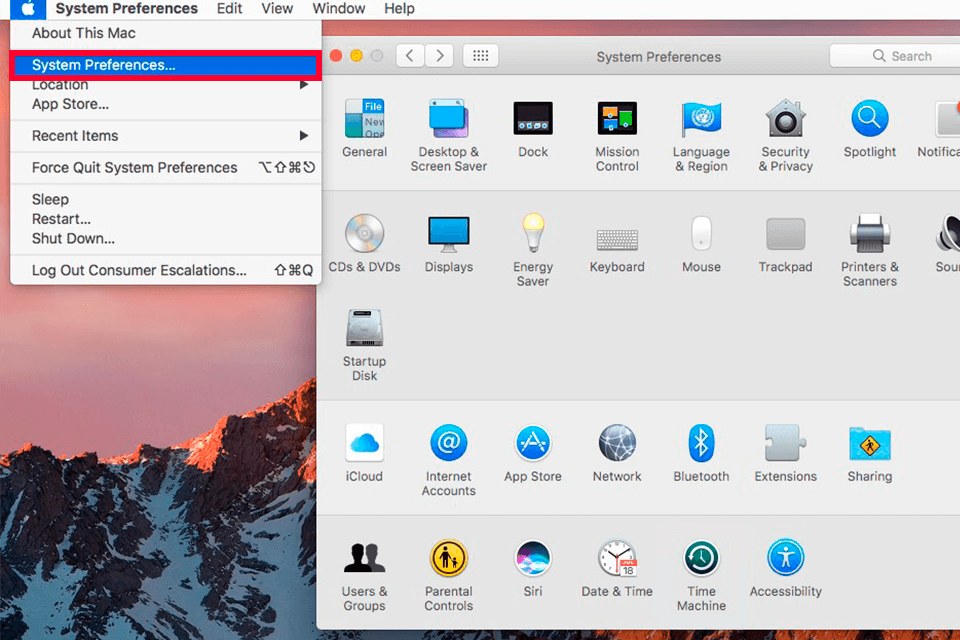
STEP 1. Go to the Apple menu > “System Preferences”.
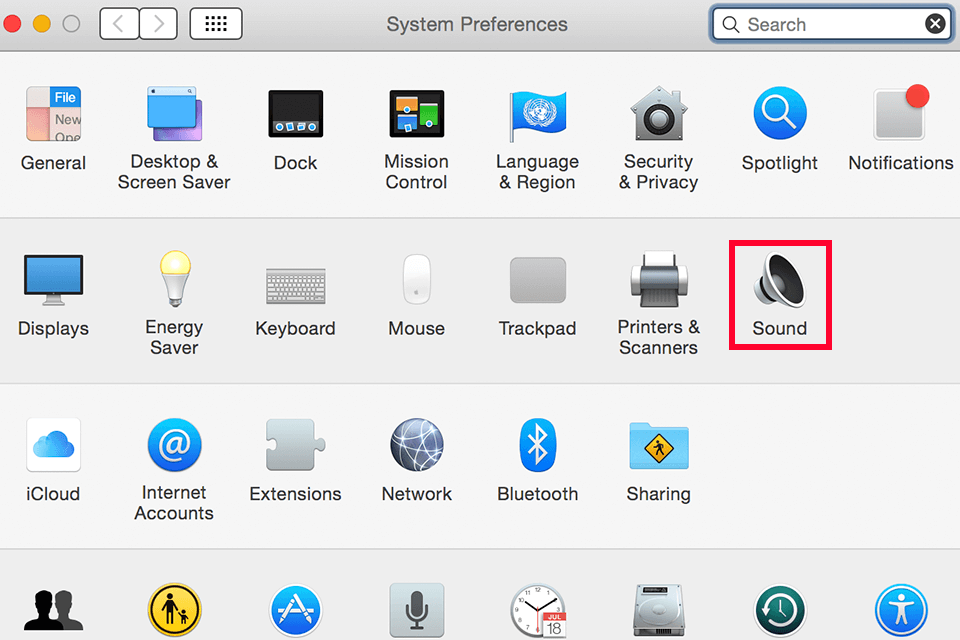
STEP 2. In “System Preferences”, click on the ‘Sound’ icon.
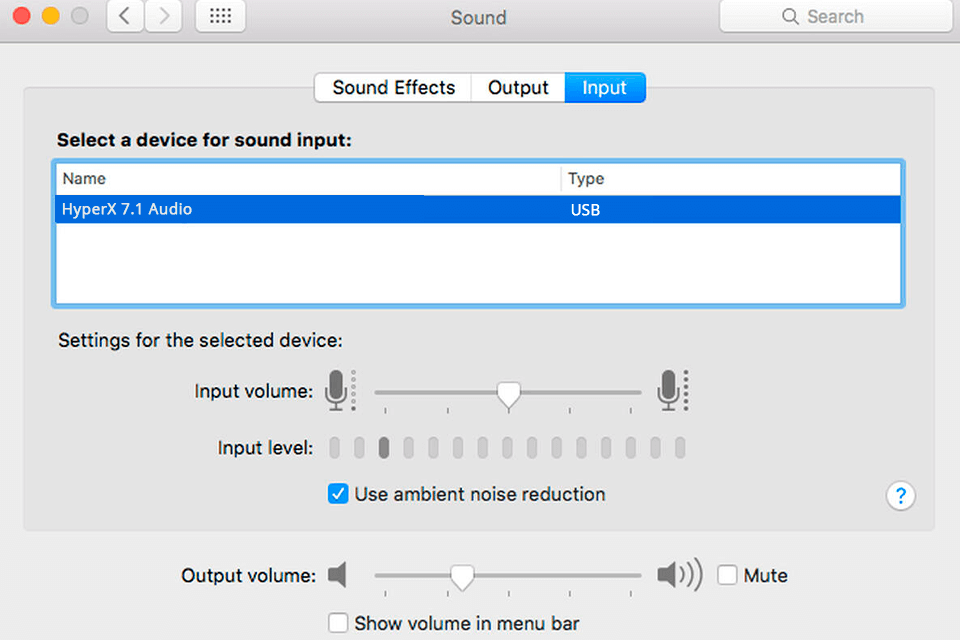
STEP 3. In the Input tab, set “HyperX 7.1 Audio” as a default sound input. Repeat the actions to set the default sound output in the Output tab.
According to the specification, the gaming HyperX Cloud 2 headset is compatible with Sony PlayStation revision 4 or higher, and Xbox One and the newer releases. The manufacturer recommends setting up HyperX Cloud 2 by direct connection to the corresponding controllers via a 3,5mm connection, although this way you won’t be able to enjoy 7.1 surrounding sound technology.
For the moment, we know one alternative way for PS4, involving an internal firmware update. This way, you can savor the advantages of the directional sound if it is provided by the game. Besides, after you connect to the controllers, you may have to redirect the sound to the headphones manually, if the automatic redirection doesn’t work.
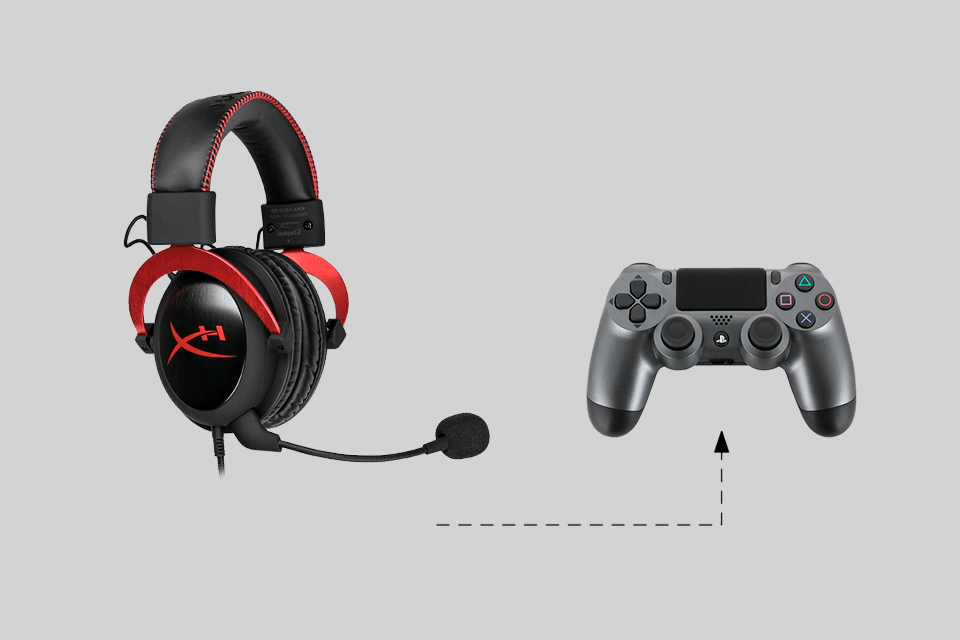
STEP 1. Plug the 1/8-inch connector in the headphones socket in the lower part of the controller. This allows you to listen to the stereo sound through your headphones, and use a microphone. If you want to enjoy 7.1 surrounding sound on PS4, you should update your firmware through a PC, and proceed to the next step. If you have missed an update, go to step 6 to make sure the sound is directed to the headset.
STEP 2. In case you want to use the 7.1 surrounding sound on your PS4, you need to install the latest version of the firmware for the USB sound card of the headset to guarantee compatibility with PS4. You may download the firmware update here.
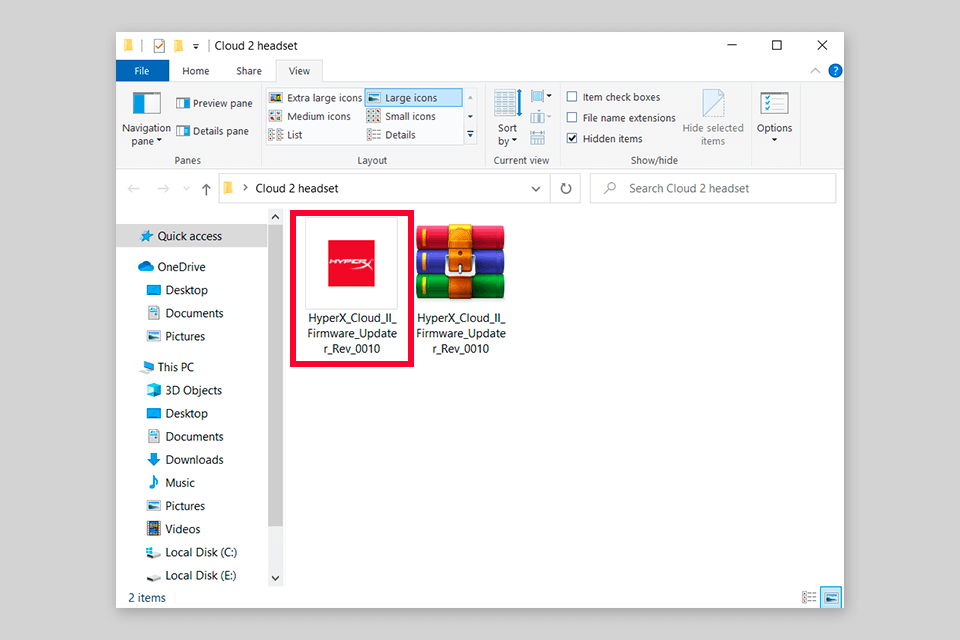
STEP 3. Unzip the archive of the firmware in the Downloads folder or a web browser on your Windows PC with the headset connected through the control box. To open the firmware updater ".exe" file, double click on it.

STEP 4. Click Update in the launch window of the firmware update. The latest version of the firmware is being installed. It may take a minute or two, so don’t disconnect the control box until you get a message that the software has been successfully updated.
STEP 5. As soon as you finish upgrading the firmware on your PC, you may disconnect the control box, and connect a USB-cord on the control block to a free USB port on your PS4, and enjoy the surrounding sound.
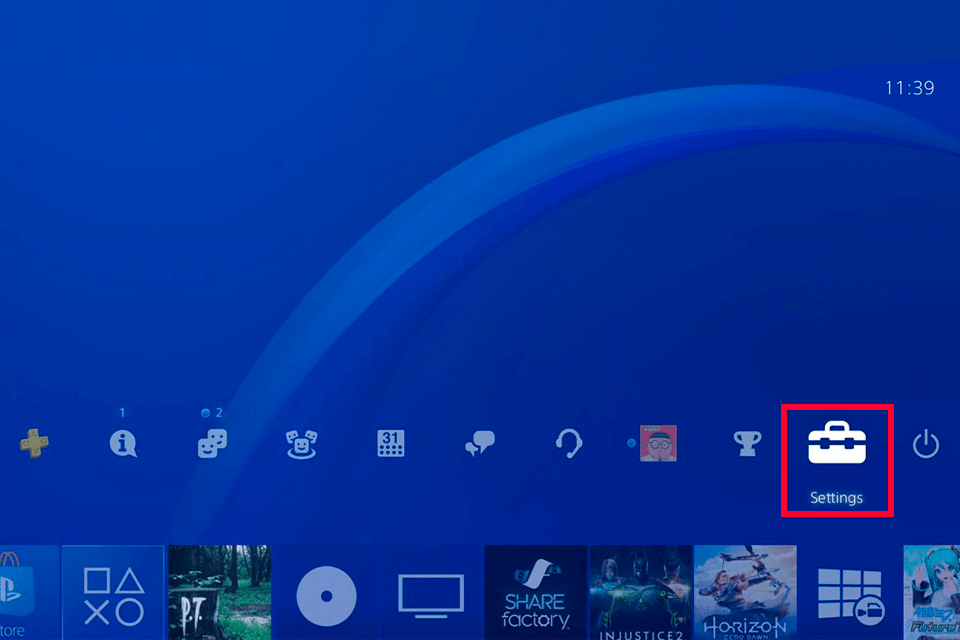
STEP 6. Launch PS4 and go to the menu Settings – the icon which looks like a tool set in the upper line of the main window of PS4 after authorization. Press “X” on the controller to open the menu items.
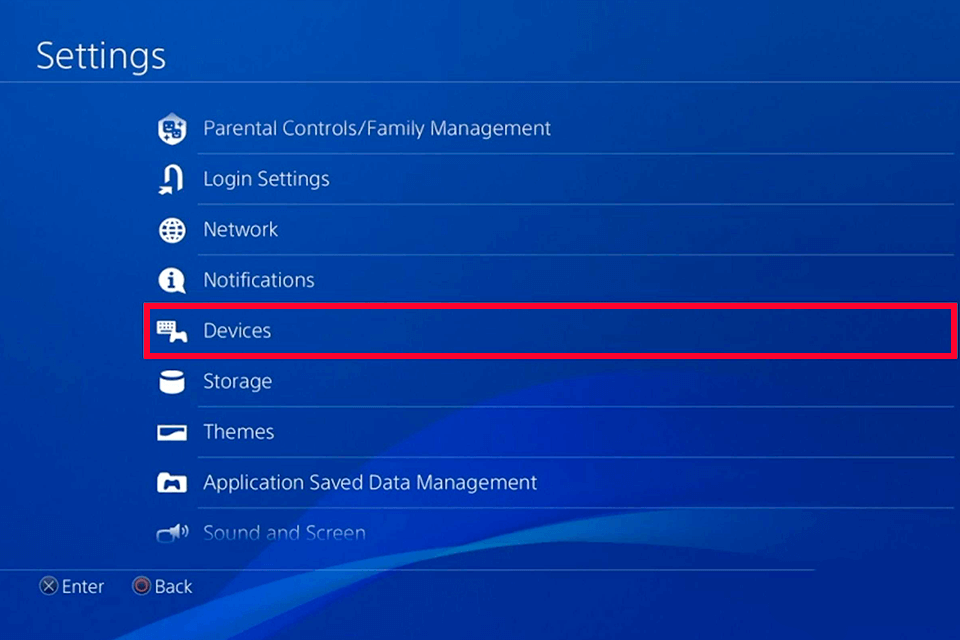
STEP 7. Scroll the setting down to the middle, choose Devices next to the icon, which looks like a controller and a keyboard. Press “X” on the controller to open the menu.
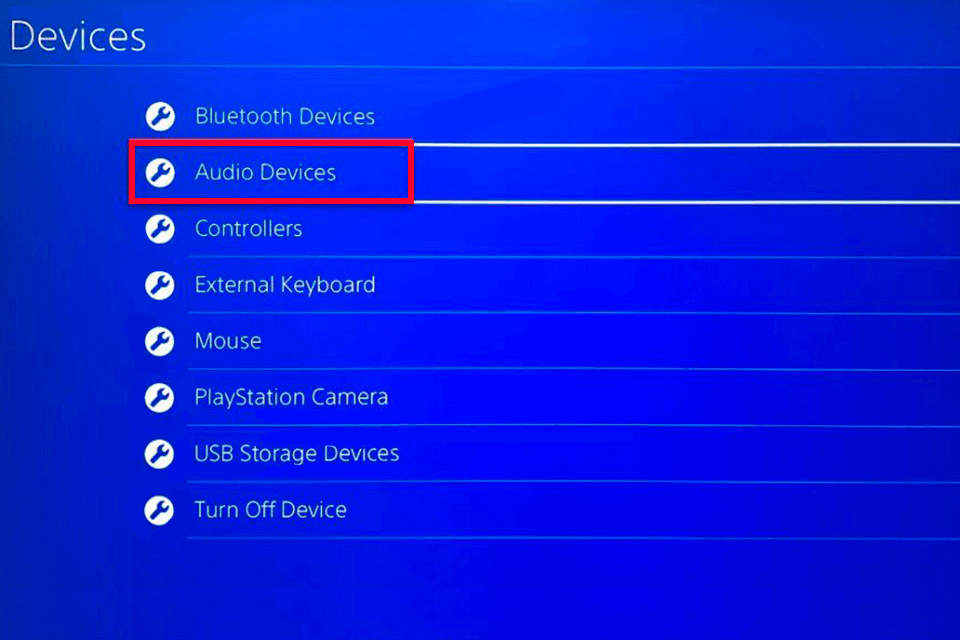
STEP 8. Select Audio Devices – the second line in the menu «Devices». Press “X” on the controller to open the menu.
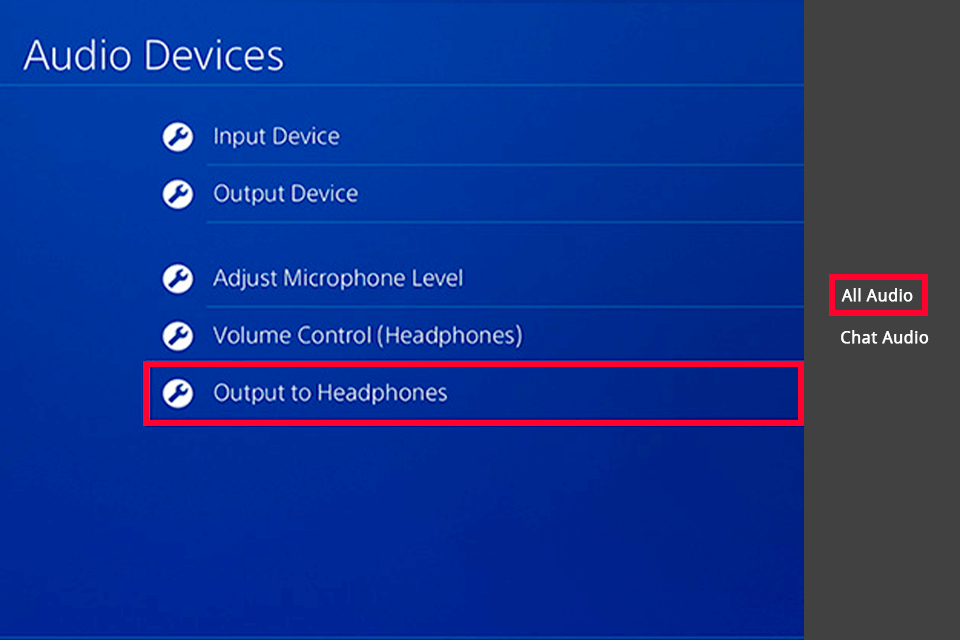
STEP 9. Make sure that the option «All Audio» is ticked in the «Output to Headphones» section. If you can’t see «All Audio» next to this option, select it and press “X” on the controller. Turn off and then restart PS.
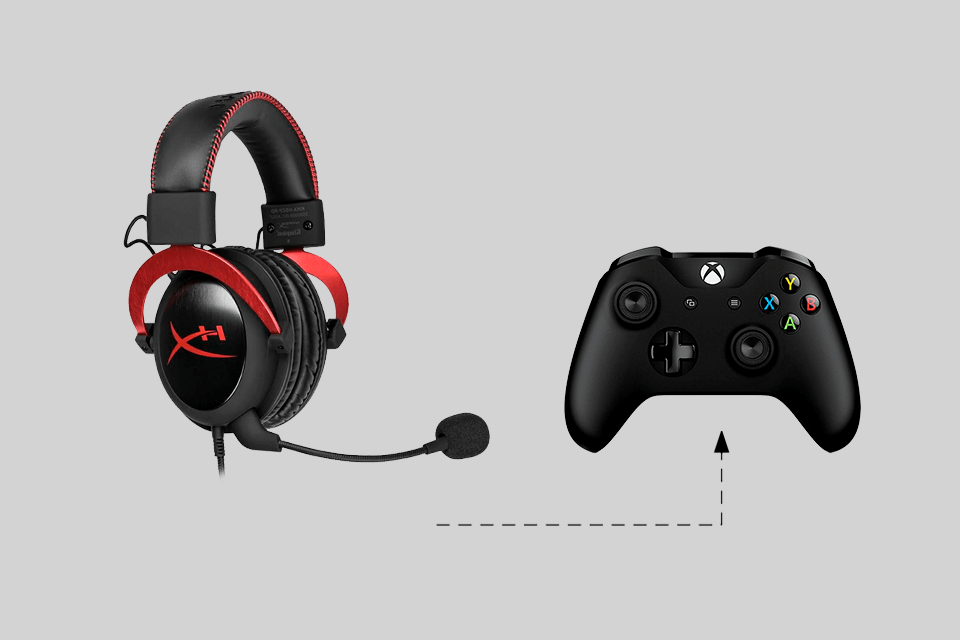
As with a PlayStation 4, to use this 3,5mm gaming headset, all you have to do is connecting it to the headphone jack at the bottom of an Xbox One controller. Unfortunately, the surrounding sound is unavailable for such type of connection.
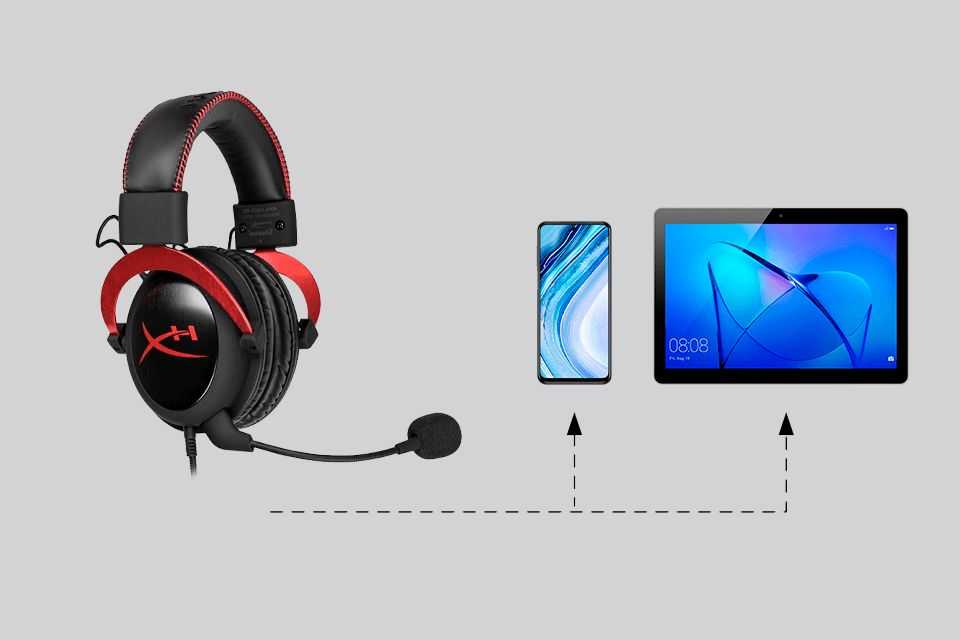
Connecting and setting up HyperX Cloud 2 headset to your smartphone or tablet is simple – you just need to connect it through the built-in headphone jack without a control box. We also should mention that gaming headsets usually offer limited functionality when connected to a smartphone.
If a headset wasn’t specifically designed to work with your phone, probably, it won’t give you access to the control elements in the software, which you can find on a console or a PC. For instance, you can’t control equalizer in virtual surround sound software.