If you are curious about how to make a coloring book for your children or for yourself, or perhaps you want to open a small business selling such books, then this guide will be useful to read!
Almost all children love to draw and are happy to color pictures, especially if they depict characters they know. Adults have also been happy to paint various patterns lately when they are stressed and try to calm down.
If you’ve decided to make a coloring book on your own, here are some simple ways of how you can do it:
The most interesting thing is to teach children to create coloring pages from any images they like. Once they feel the pleasure of such an activity, they will start doing that without your help. We know that you may think that making a coloring book can be a difficult task, but actually, this is an enjoyable process.
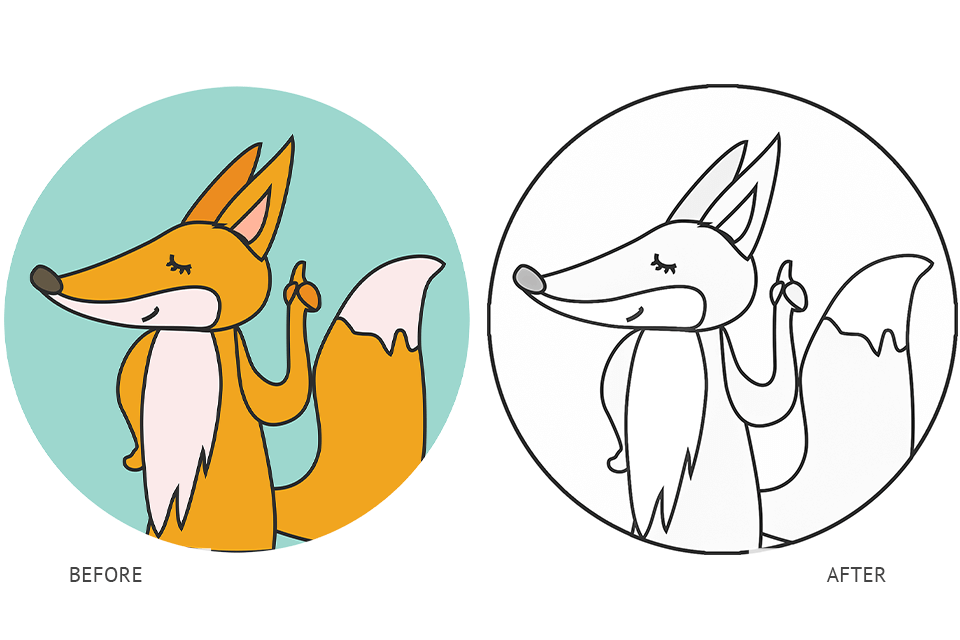
The first thing you can try to do is turn cartoon characters or any simple vector drawings into coloring pages with a free photo editor. BeFunky or Fotor are perfectly suitable for the task. If you have Photoshop installed on your computer, then you can use this program.
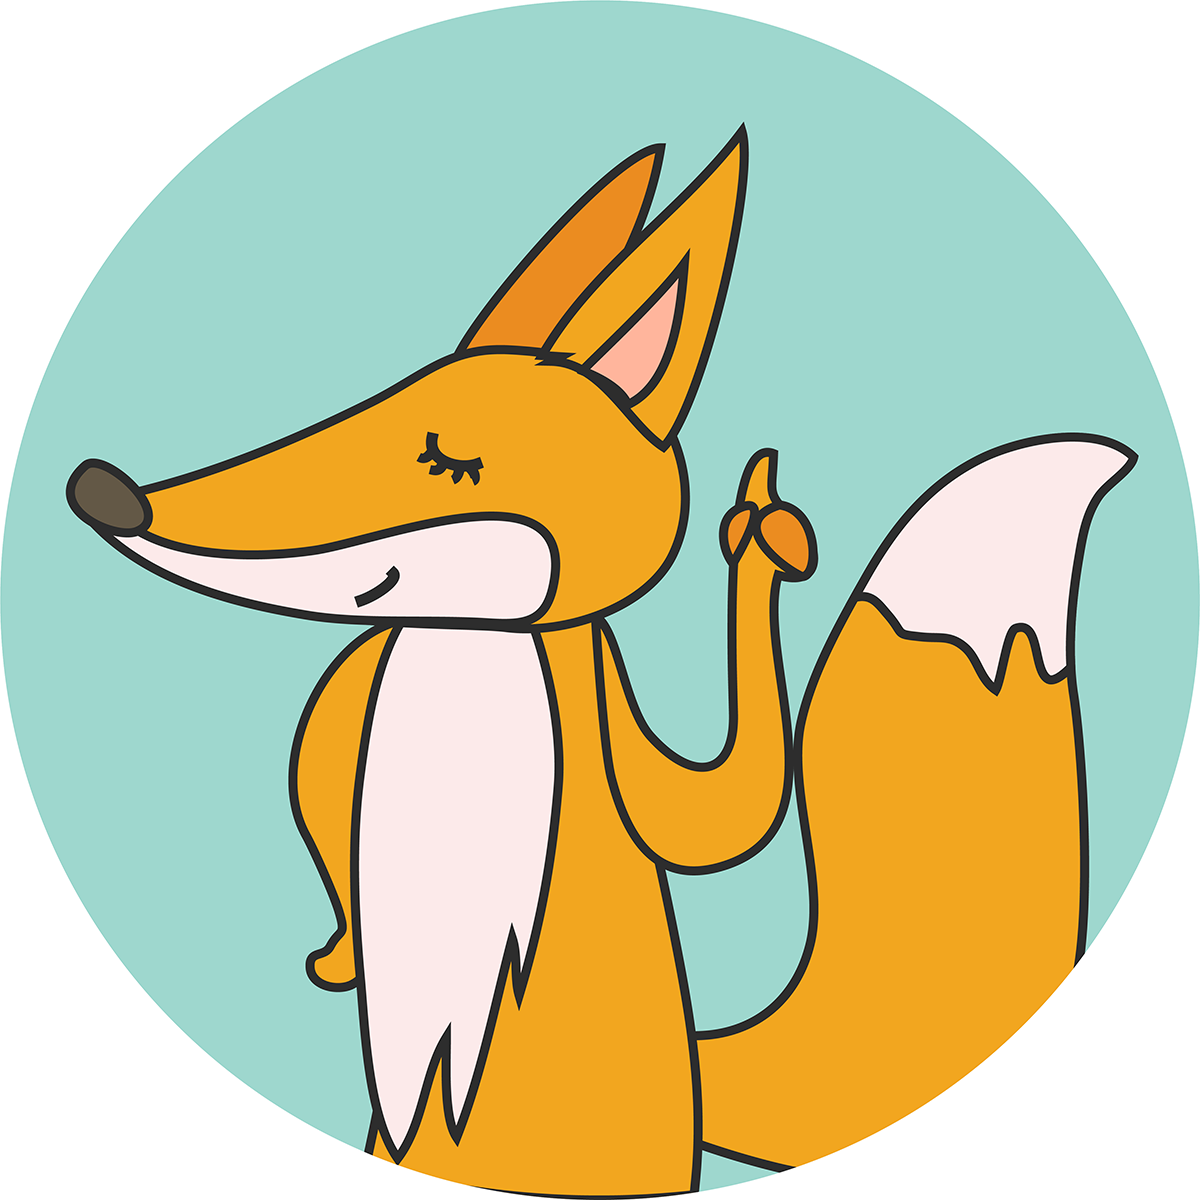
If you are going to create a coloring book for yourself, then don’t worry about violating copyrights, just select any drawing or image of a character you like.
But if you want to learn how to create a coloring book in order to sell your products, then you need to search for images on stock websites or create them on yourself.
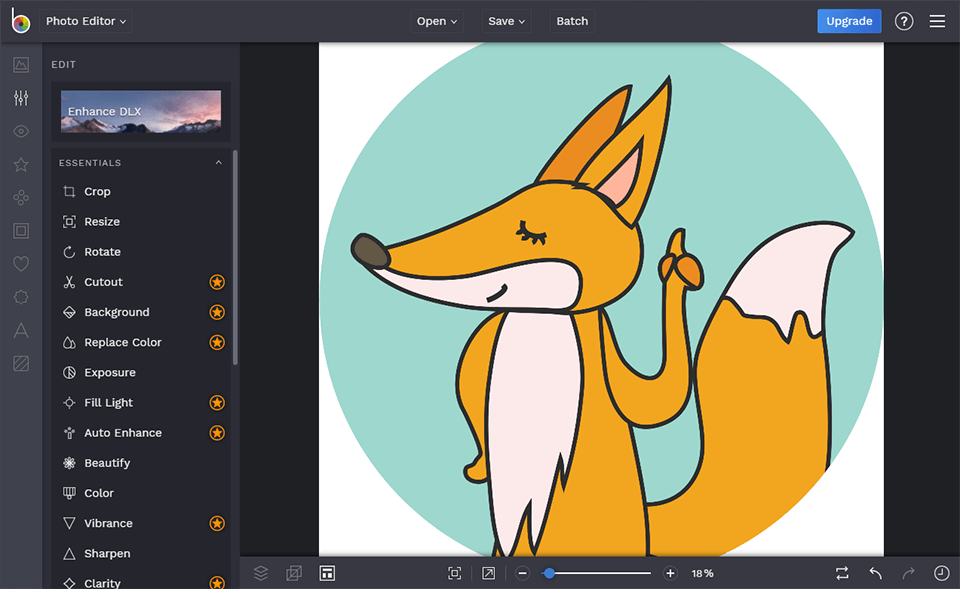
You can use almost any photo editor you have. I used a free online image editing application called BeFunky, but you can do the same in other software, e.g. GIMP or Photoshop.
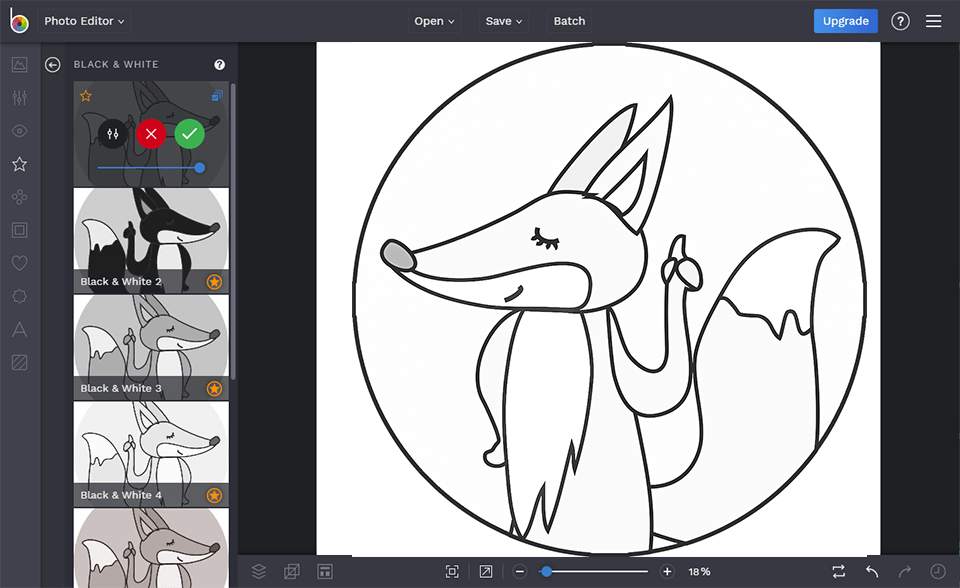
All you have to do is adjust the exposure. I raised Contrast, Brightness, Shadows and Highlights to the maximum. Go to the B&W filters/presets tab and apply one of them, or go to the color settings and remove all colors.
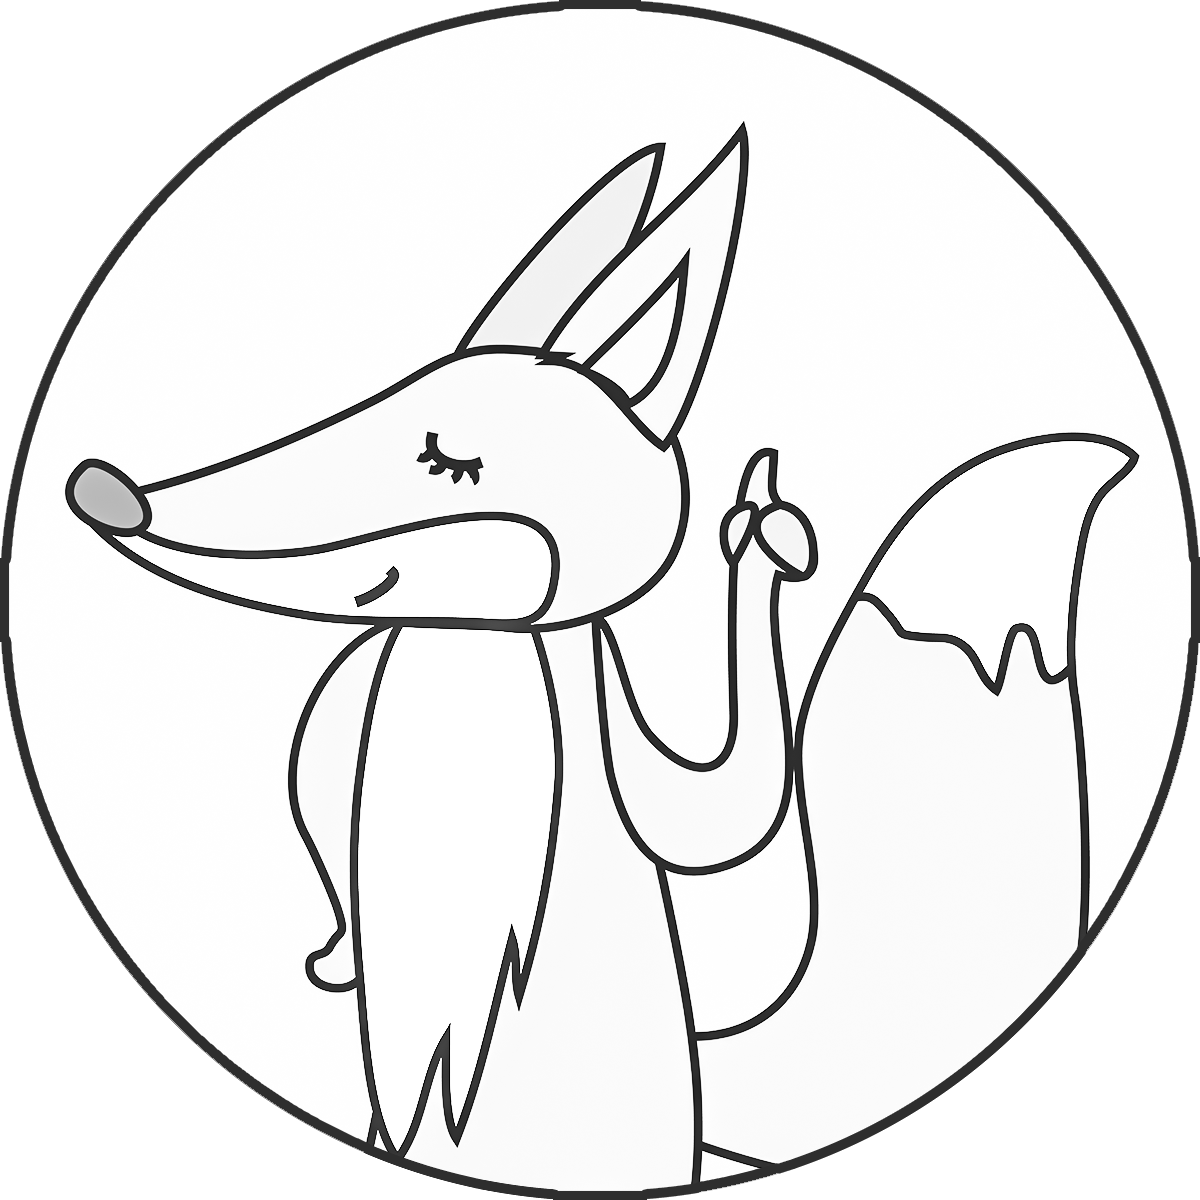
Now you have a finished image. You can save it in PDF and print. If you're happy with your design but don't want to deal with printing, you can upload it to ColorBliss — a service that turns your custom pages into professionally printed coloring books.

The process is more complicated with photos, since they often have a lot of shadows, half-tones and light patterns. Besides, different objects have unclear contours, so using the previous method isn’t an option.
You need a more serious editor like Pixlr Editor or GIMP and get ready to spend a little more time.
Take a photo of your child or you. It is preferable to start with simpler shots with a solid background, or in which the main subject strongly contrasts with the background.
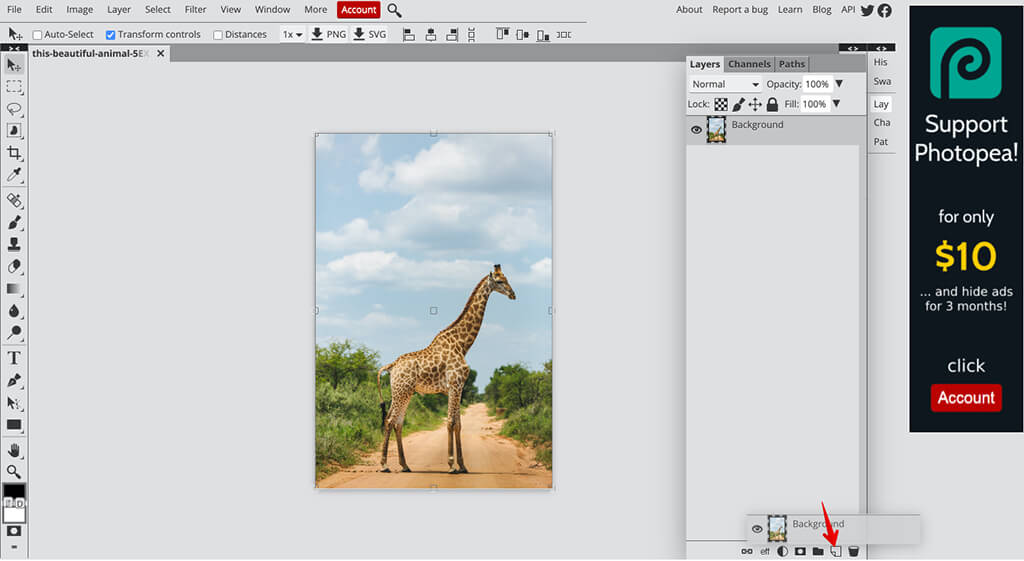
It doesn't matter which editor you use to make a coloring book; just make sure it has the Layers function, as well as tools for painting, retouching and color correction. I will use Online Photoshop Editor. It's free, runs in a browser and has many powerful tools.
Duplicate a layer in the Layer window by right-clicking on and choosing Duplicate Layer. If you don't have the Layer window, go to Window - Layers. You can also just drag the layer to the New Layer icon at the bottom and it will be duplicated.
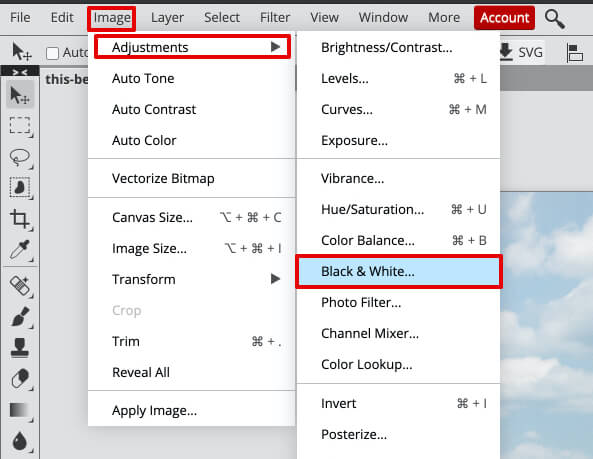
Similar to other methods of creating a coloring book, you need to remove colors from the photo. To do this, click on Image > Adjustments > Black & White.
At this stage, you will turn the new layer into a negative of the original photo. You can do this by selecting Image - Adjustment - Inverted.
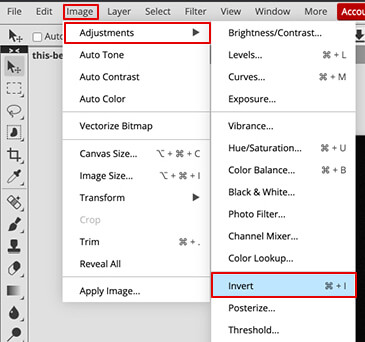
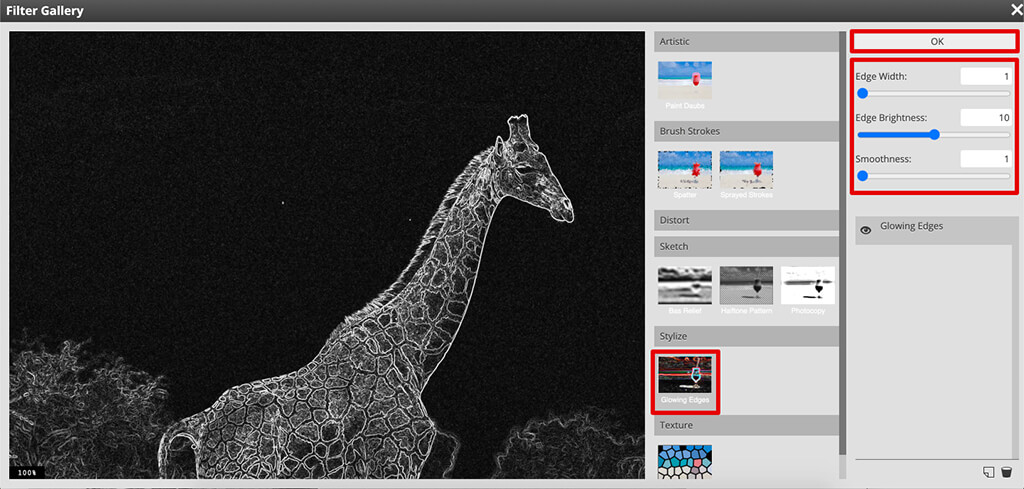
Your photo probably looks very strange now, but don’t worry. It is inverted. Now, you need to apply a filter that will preserve only the outlines of the photo and remove the details and color. Go to Filter – Filter Gallery and adjust all sliders as in the screenshot.
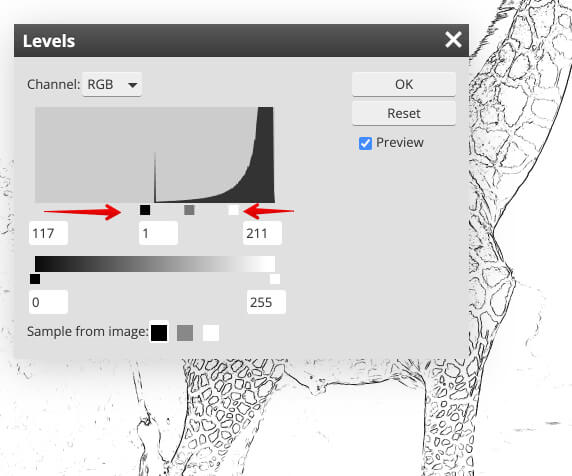
Open Image – Adjustments – Levels and drag the sliders until the photo looks like a coloring book.
Do you have images ready for printing? Want to create something more interesting than just a pack of A4 sheets? A coloring book? Do you plan to start business selling coloring books? This isn’t the simplest thing to do, but very interesting both from the creative side and a financial aspect, considering how popular coloring books are.
You can create your own coloring book in any size, but the most popular size is 8.5x11 inches. It is not too large so that you need to use large format printers, but not too small to cause inconveniences while coloring.
The type of paper is also very important, because you don’t want those who begin to color the picture to be disappointed because the colors show through.
Your best way out is to do a self-test and purchase several types of paper and try to color it with different types of pencils, markers and paints. Try starting with 200gsm matte paper and gradually raise the paper density if that doesn't work for you.
You need an attractive cover for your coloring book. It isn’t necessary to use flashy colors, because such a cover can frighten off. Recently, minimalism has ruled the world, people are attracted by the mysterious lack of detail, and perhaps a single-color cover will attract more people than the one that with a mixture of tones.
Choose decent designer software, get inspiration from the covers of other coloring books and create your own masterpiece! Don’t forget about the topic of your book, if there is any. If you’ve decided on knights, then you need to put something on the cover to match the topic.
P.S. Remember to make the cover several times denser than the pages of the book, so that your coloring book is ready for various damages and long-term transportation.
This is a trial and error stage, so be patient. You may need to spend quite a lot of time to understand how to print your coloring book correctly. But you can avoid several problems, one of which is cropping the image around the edges during printing. Just make sure your images are 0.8 inches from the edge.

Make sure your images are over 300dpi, otherwise they will be pixelated and of poor quality. Also, consider the binding and select its type before printing, so that it does not happen that the spiral binding springs cut right into the lines of the drawing.
Once you have your drawings and cover lying on your table, go to the final part - binding. I don’t recommend doing this on your own at home, since you need proper equipment and it takes time to figure out how it works. Contact your nearest printing house and they will gladly help you for a small fee.

There are many types of binding, but if you are making a coloring book, it is better to use saddle-stitching, wire and spiral binding. The common feature of these types of binding is that they can lay flat. In other words, a person who will buy your coloring book won’t have difficulties opening it and keeping in a flat position.
Saddle Stitching is the most popular type of binding for coloring books. It ensures professional outcome at little cost. However, Wire-O and Spiral binding have a serious advantage, namely, they provide the ability to flip the pages all the way around. Though they cost a bit more, the portability they provide is well worth the price.


