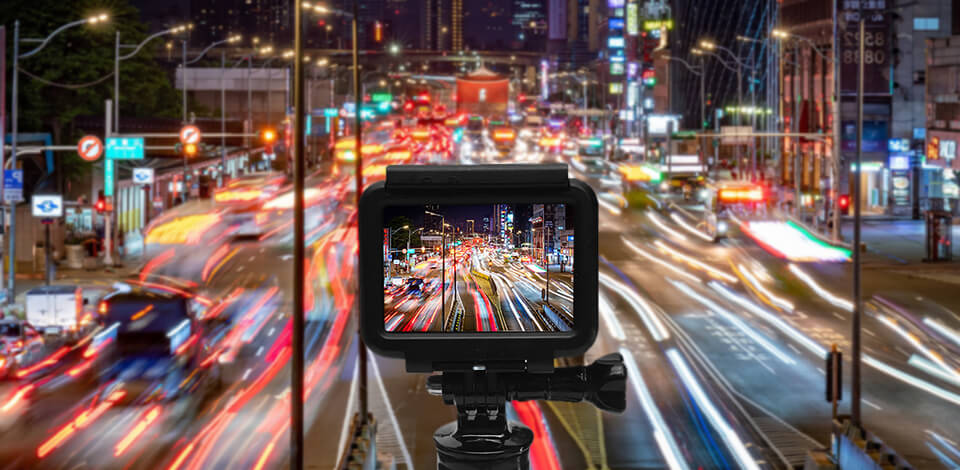
In case you want to record professional-looking videos, make sure to use the GoPro time-lapse settings described below. If you are a beginner, you can quickly get started after selecting the time-lapse mode in the camera settings. When you press the shutter button, your GoPro camera will capture a series of frames at a specific interval and stitch them together to create a video.

HERO4 or newer GoPro. These models are the best GoPro for time-lapse as they support this mode by default. You can achieve a similar effect when using other models, but you will need to stitch your frames manually using video editing software.
Camera fixture or GoPro tripod. People usually fix GoPro to a helmet, wrist, or chest. If you don’t want to get blurry footage when using your camera on the go, make sure to use a tripod.

You can also use a variety of GoPro accessories for keeping your shooting equipment safe. A BacPac will make it easier for you to adjust the settings without wasting much time.
In some cases, you might also need to buy waterproof housing to prevent your camera from getting wet.
While there are a lot of similarities between cameras, you might notice that the process of adjusting their settings might differ a bit. Below, we have provided handy tips that will help you adjust your GoPro time-lapse settings and get great content. If you face any issues, make sure to read a user manual for your time-lapse camera.
Step 1. Select video mode. You can do it by pressing the Mode button and holding it until you see a suitable mode on the front screen. To go to the settings, press the Set-up button. You can select the Time-Lapse option in the Mode settings.
Step 2. Adjust the interval settings. Return to the main menu by tapping on the icon. Go to the Mode tab and select a suitable interval. It will indicate how long it will take for your camera to capture one second of a video. To get a time-lapse video, you need to capture 30 frames that will be stitched by your camera.
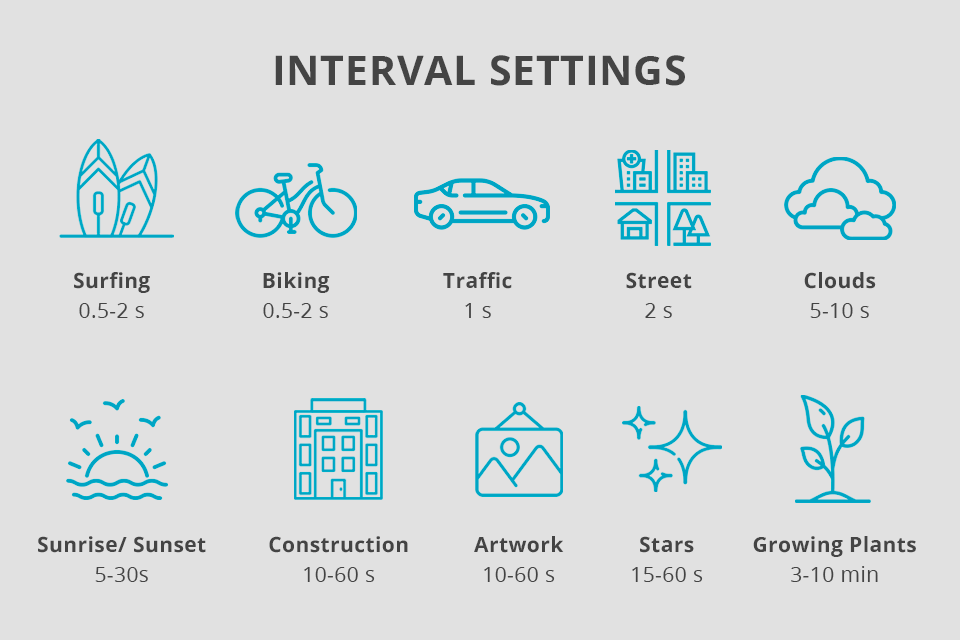
For instance, if you decide to use a 0.5-second interval when adjusting GoPro time-lapse mode, it will mean that your camera will capture one frame every half-second. As the result, you will need to record your footage for 15 seconds to get one second on a time-lapse video that will be played at 30fps.
If you opt for a larger interval, such as 60 seconds, you will need to record footage for 30 minutes to get one second of the resulting video.
Step 3. Set the resolution. While GoPro supports only 2 video formats, namely, MP4 and HEVC, it allows you to choose between different resolution values. You can set the resolution to 480p to save some space on your memory card or opt for 4K.
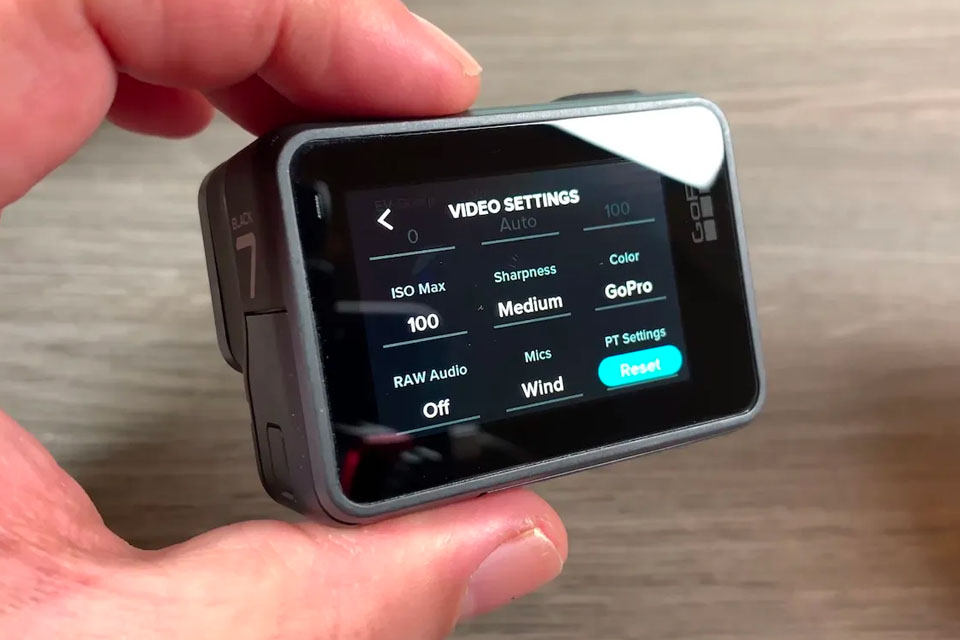
Step 4. Select the Field of View. If you are wondering how to make a time-lapse video with GoPro, keep in mind that you need to start by choosing FOV. This camera lets you choose between different FOV angles, such as Superview (ultra-wide), Wide, Medium, Linear, and Narrow.
In case you want to record a 4K or 2.7K (4:3) time-lapse video, we recommend you use the Wide mode. To choose other modes, make sure to decrease the resolution to Full HD (1080p).
Step 5. Fix your camera and start shooting. By paying attention to the screen, you can create a well-balanced composition when shooting your time-lapse video. Make sure to use a range of handy filmmaking techniques and avoid distractions. You can get rid of unwanted elements in the frame by changing the shooting angle. When you are fully satisfied with the composition, press the shutter button to record a video.
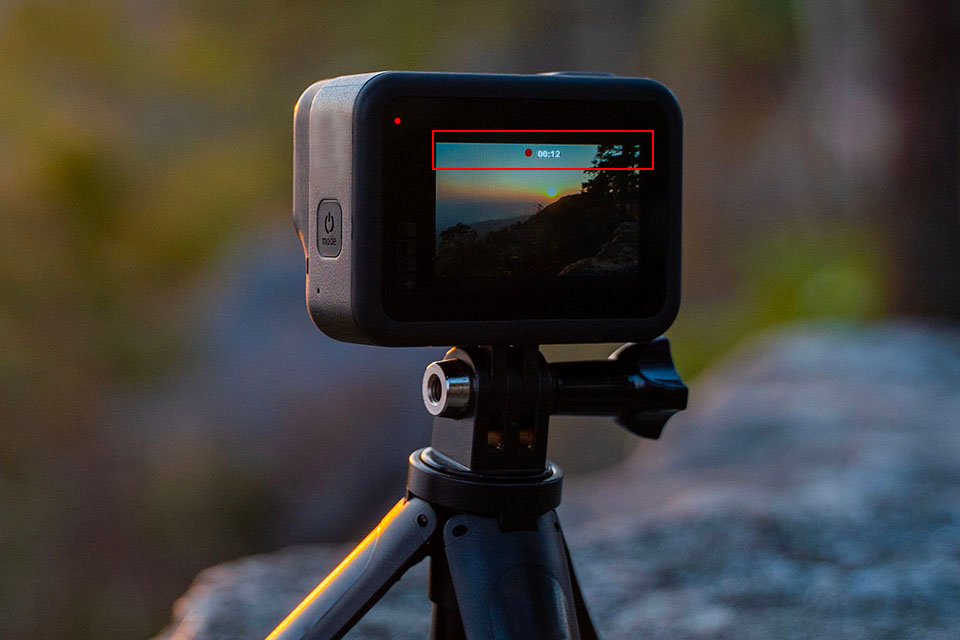
Step 6. Stop recording by pressing the button. When recording a GoPro time-lapse clip, you will be able to see its duration by paying attention to the timer on the front screen. It will show you the total duration of the time-lapse video. If you are fully satisfied with the length of your recording, press the shutter button to stop it.
Your camera will automatically stitch frames to create a video that you can preview using the GoPro app, the touchscreen of your camera, LCD BacPac, TV, or computer.
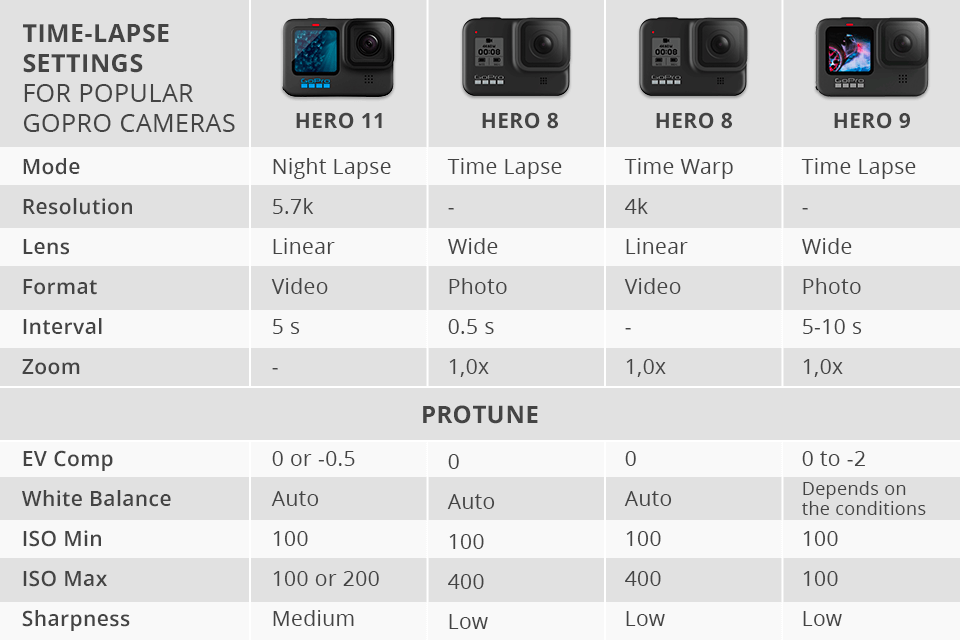
For shooting a Go Pro time-lapse video, I prefer to use one of the following models: Hero11, Hero8, or Hero 9. You can use pre-installed presets and further adjust their settings by changing their resolution, frame rate, lens, and zoom. I use specific settings for shooting time-lapse sunsets, traffic, and others videos.
If you like the settings, you can save them for further use. For instance, Hero8 allows you to save up to 10 video modes with custom ProTune settings. Thanks to it, you can easily use them in the future by tapping on the screen.
One of the most basic GoPro tips is to select the right object for shooting and capture it from up close. Thanks to a wide-angle view, a GoPro camera allows you to reduce the distance between your subject and you.
Select a short time-lapse interval. Many newbies use a longer interval when shooting videos. As the result, they get short clips. If you set a shorter interval or prolong your shooting time, you will be able to get a video you are fully satisfied with.
Bring extra batteries. To keep shooting when your battery dies, make sure to take an extra battery with you. You can buy a GoPro battery or any of third-party camera batteries, for instance, Wasabi battery.
Use a large memory card. If you plan to shoot videos for several hours, you can’t do without a decent memory card. You can buy an SD card for GoPro, which will allow you to get plenty of free space. The best choice is a 128GB memory card.
Besides, you will need to consider the write speed or speed class of a MicroSD card when making your choice. GoPro users will benefit from Class 10 memory cards that can write data at the speed of at least 10MB per second.
Yes, you can do it easily if you have one of the newest GoPro models as they support time-lapse mode. Select TimeWarp if you want to shoot when moving, as it will allow you to get high-quality footage. When shooting in poor-light situations, use Night Lapse to capture professional content.
GoPro allows you to capture footage until the battery dies. If your camera has impressive battery capacity, you will be able to record videos longer. Most models allow you to shoot for 2.5 hours.
Your choice will largely depend on your preferences and needs. When selecting an interval, think about the desired duration of your video. If you need to shoot a fast-paced video or move your camera, opt for a shorter interval. For instance, half of a second or one second will be perfect for this situation. In case you need to capture a beautiful sunset or practice your landscape photography skills, you can use a longer interval.
When using GoPro cameras for shooting time-lapse content, you can use preset intervals to achieve your goals. If you opt for shooting stills, the camera will capture a GoPro time-lapse photo that will be stored on your memory card. Your task is to merge them using a trusted time-lapse app, such as Hyperlapse on Instagram. In case you decide to shoot time-lapse videos, your camera will automatically stitch pictures together to create a single video file.