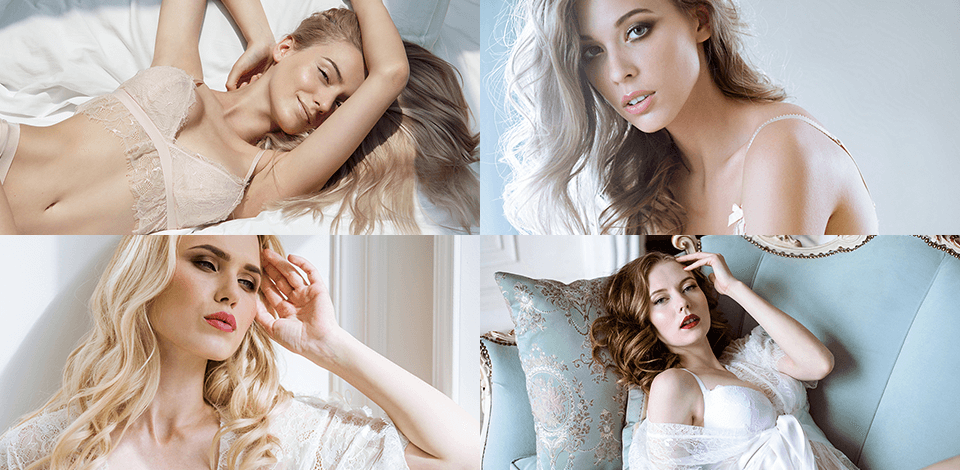
Are you just starting to learn the basics of nude retouching and need professional advice on how to do it in a proper way?
Then you are lucky to find this article covering all the stages of the process and explaining how to achieve a high-end look without going overboard.
The techniques you need to resort to while improving your nude photography are very similar to those used in portrait photography, but they require more skills and knowledge of high-end retouching to achieve a well-balanced look.
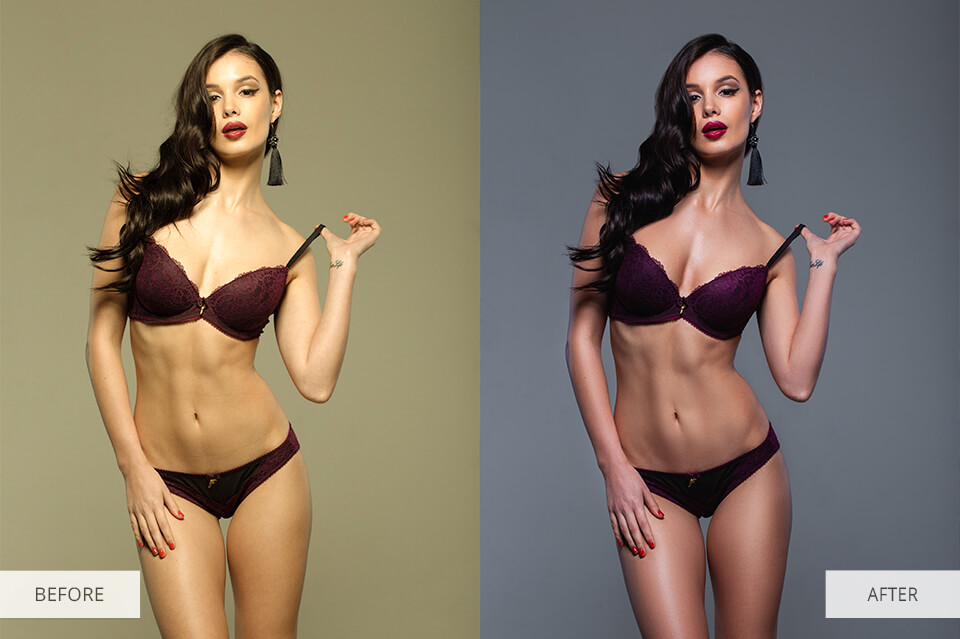
Nude images often suffer from incorrect white balance, so your first task is to fix it. In such a way, colors in photos will be true-to-life and accurate regardless of the colors temperature of the light source.
Different types of artificial lighting may distort colors and skin tone, and you need to bring them into order. The best instrument for correcting WB is the Curves Tool.
If you have Camera Raw Filter in Photoshop, you can cope with the task even faster and more conveniently. Using a single slider of this filter, you can not only improve the color temperature in the shot, but also the temperature of shadows, especially if those lean towards magenta.
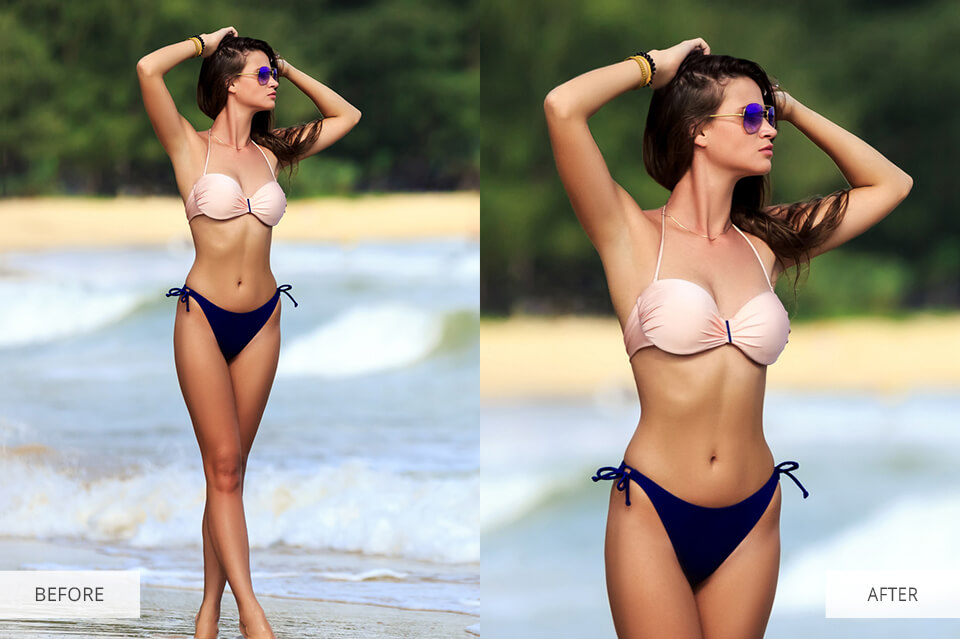
The cropping stage allows concentrating viewers’ attention on the key elements of the picture and keeping the rest of the composition out of sight. In fact, making the right cuts, you can even evoke certain emotions in people, which proves your professionalism.
So, try reframing your images to focus on boudoir poses used. However, don’t cut off the model’s body parts unless you want to end up with strange or even creepy results. Remember to get rid of distracting objects in the background.
Some photographers believe that professional retouching has nothing to do with the cropping, because the latter degrades the quality of a photo. In fact, this is a very big misconception and if you shoot in RAW, you have always enough space for cropping.
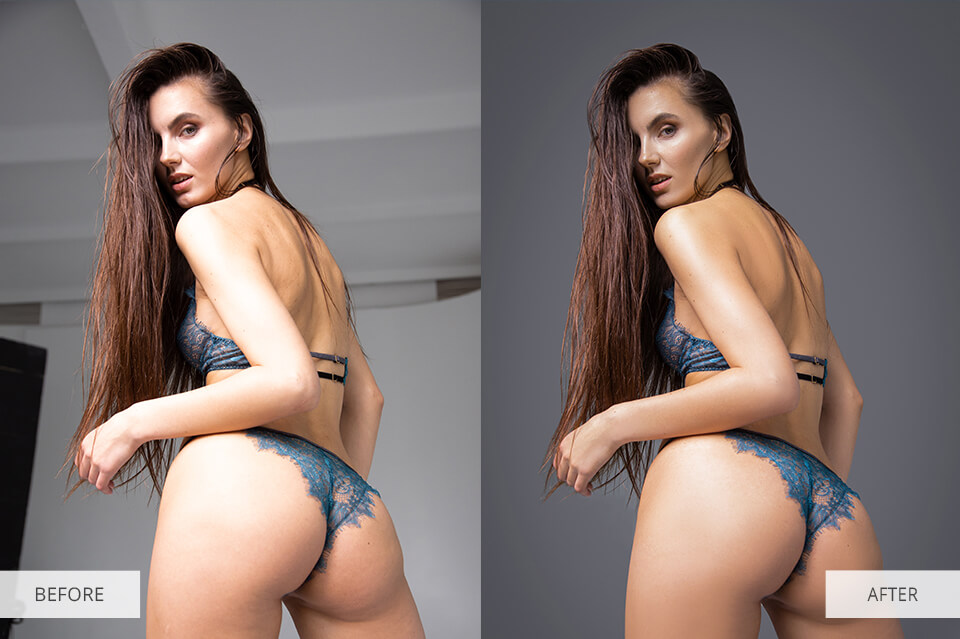
Sometimes, various distracting elements sneak into the frame without you noticing them while taking images.
Your assistants in this case are the Clone Stamp Tool, the Patch Tool and Content Aware Fill. These instruments help get rid of distractions regardless of their size and shape.
If you’ve decided to master nude retouching, you need to devote enough time to learning how to smooth skin in Photoshop.
Frequency separation is a professional photo retouching technique regularly used in fashion photography and editorial photography.
Before you start working, copy the main layer with the photo, and remove pimples, wrinkles and stray hairs with the Healing Brush. Then you can proceed to creating the frequency.
This technique implies dividing the image into 2 layers. The first contains all details, while the second one is responsible for the color.
Using the Stamp Tool in Photoshop on the top layer, you can remove skin imperfections, but while working with the texture, there will appear a spot on the second layer (it deals with light and color).
I recommend using the Stamp Tool first to get rid of minor defects on the detail layer (acne, wrinkles, etc.) and then go to the second layer without messing up with color.
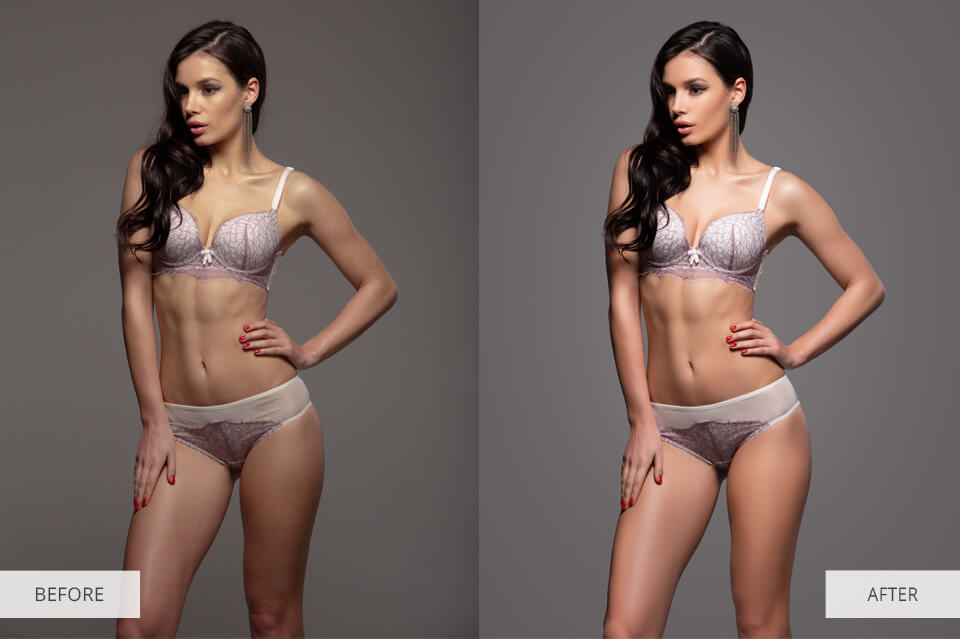
Another stage of nude retouching, which makes difficulties even for the best boudoir photographers is bringing skin tones and colors into balance. There may be problems with make-up, different levels of tan, the way lighting hits the body and what not.
If you want to get an eye-pleasing nude image, you have to make colors of the face and body parts look identical. There are special tools in Ps that can come to rescue – Levels, Group Layer Masking, and Hue/Saturation.
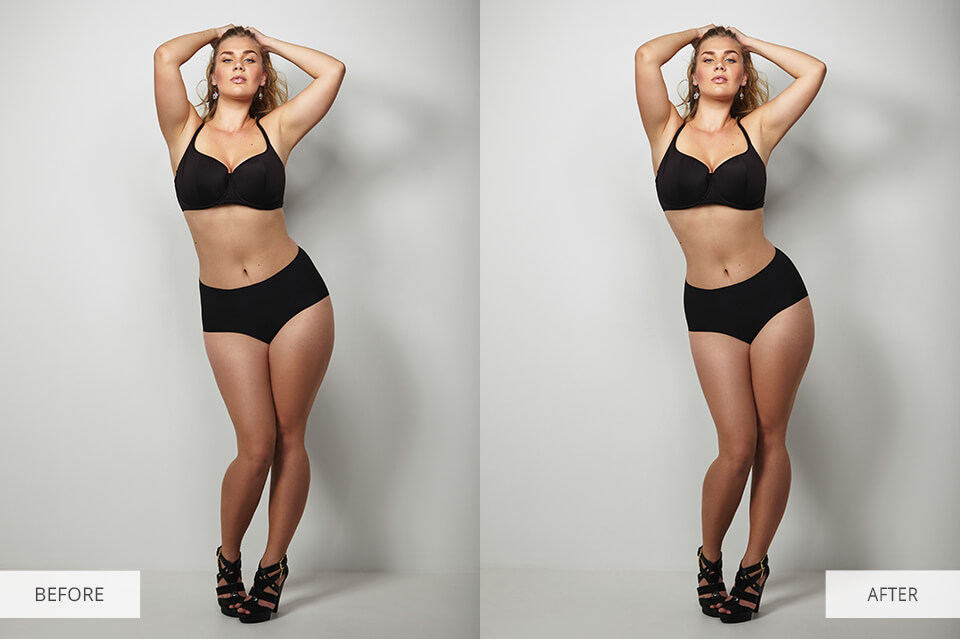
The Usage of the Liquify Tool causes lots of discussions, but without it, nude and boudoir photography retouching would be incomplete. This instrument allows changing the shape of a nose, eyes, lips and any other facial feature. It is also equally helpful if you want to alter the size or shape of any body part.
So what is the problem with the Liquify Tool? The thing is that some retouchers are so carried away with how they can “improve” the appearance of a model that they produce over-photoshoped results.
That’s why you need to be very careful and attentive not to cross the line of common sense.
To be on the safe side, I recommend sticking to the brush size that matches the size of the area you are editing. In general, it is better to opt for larger brushes rather than small ones.
So, when you start working with a photo, make slight changes to the shape of the face and body, and when you are satisfied with what you see, you can add barely visible accents with the help of the plastics techniques.
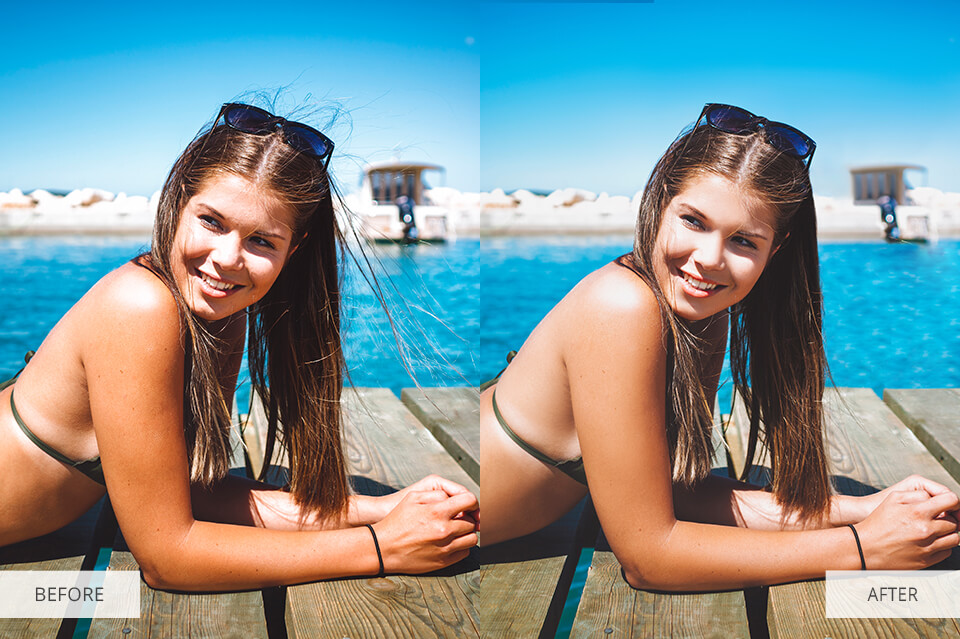
Disordered hair can spoil even the most beautiful nude photo. So, you must learn how to remove stray hairs in Photoshop, add volume, improve the definition of hair if you aspire to produce a professional image.
The most helpful instrument in this case is the Content Aware Healing Brush Tool. Note that you need to create a new layer and select “Sample All Layers” from the top menu. Use this tool to fix messy hair and give it a nice look. If there are gaps, you can fill them, using the Clone Stamp Tool.
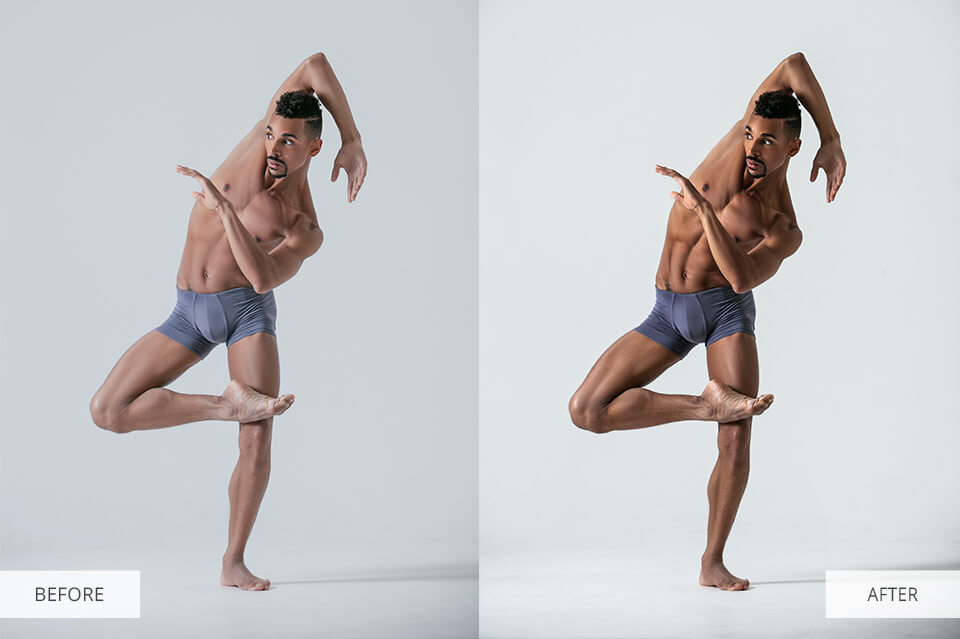
Every professional nude picture editor uses this tool on a regular basis, especially if he/she specializes in fine art nude photography. It is meant to shape the light.
In general, the Dodge and Burn Tool allows manipulating the light and shadow, in order to give your image a pronounced 2D or 3D effect. You can effortlessly adjust the exposure in certain parts of a picture with the help of a layer mask and brushes.
This approach is of invaluable help if you have photographed an athlete and now need to edit the picture in such a way that his/her musculature is nicely emphasized.
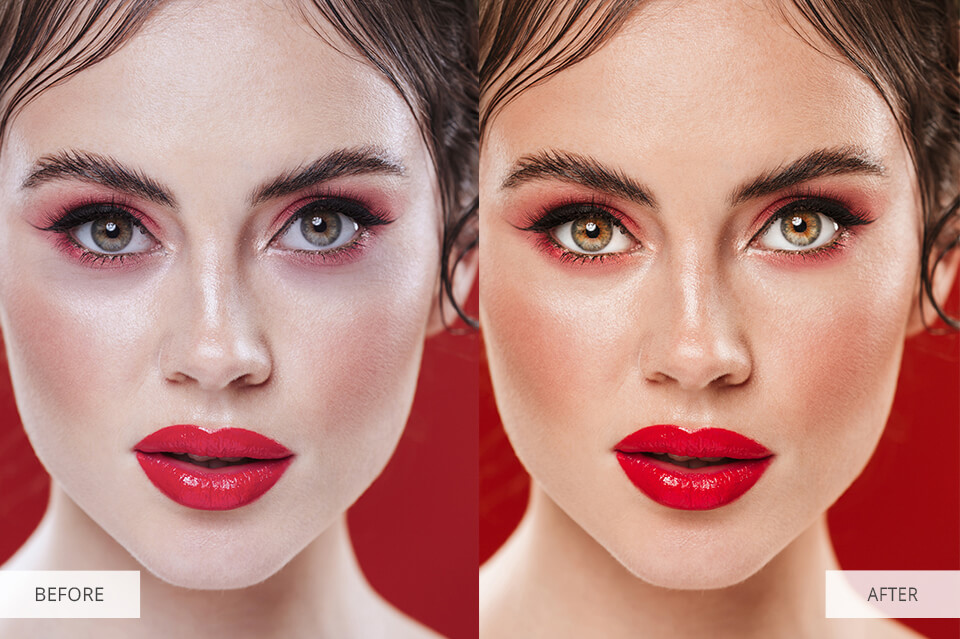
While retouching images in Photoshop, you need to pay special attention to the eyes, which are known to have a special, beckoning effect. If you notice that eyes in your photos are poorly lit, blurry or don’t have a connection with viewers, the entire image will be less captivating. Your task is to highlight them and make them more expressive.
Primarily, select the Spot Healing Brush or Clone Stamp Brush and clean up in and around the eyes.
Then, use the Dodge and Burn tool to lighten the eyes. Remember to brighten the area opposite the catch light. If you neglect this recommendation, your picture will look really strange, resembling images of aliens.
It is also necessary to learn how to mask in Photoshop in order to sharpen the entire eye.
I highly recommend you read about how to change eyes color in Photoshop because sometimes such manipulation is absolutely justified and even awarded.
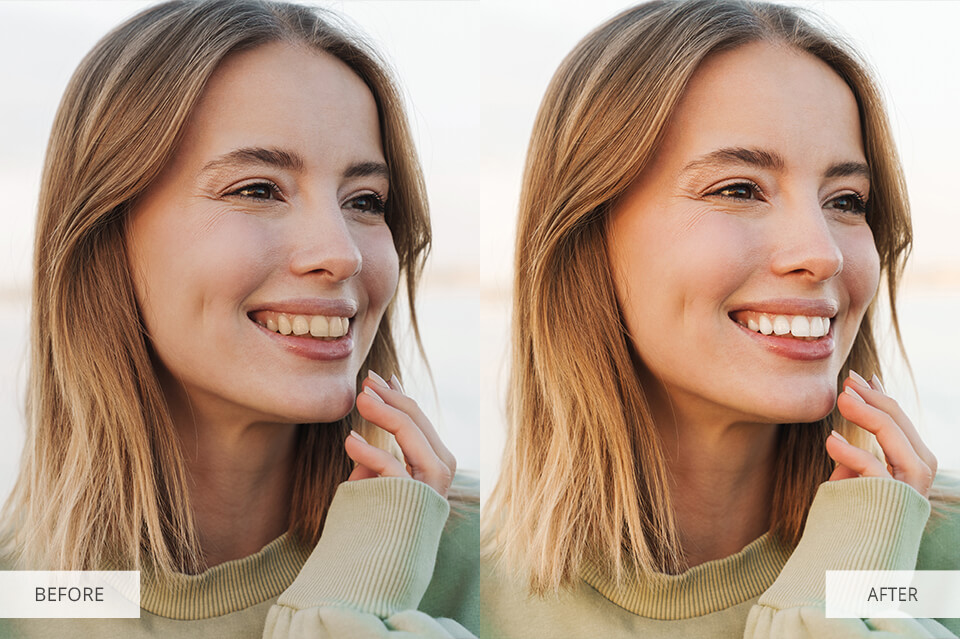
Even if you model boasts a toothpaste-ad worthy smile, her/his teeth can acquire a slight yellowish tint in a photo because of poor lighting, and you definitely need to know how to whiten teeth in Photoshop if you want to save the image.
Fortunately, the process is very straightforward. Just use the HSL Layer Mask and get a great result in several mouse clicks. However, be attentive not to overdo the effect or the teeth will look very unnatural.
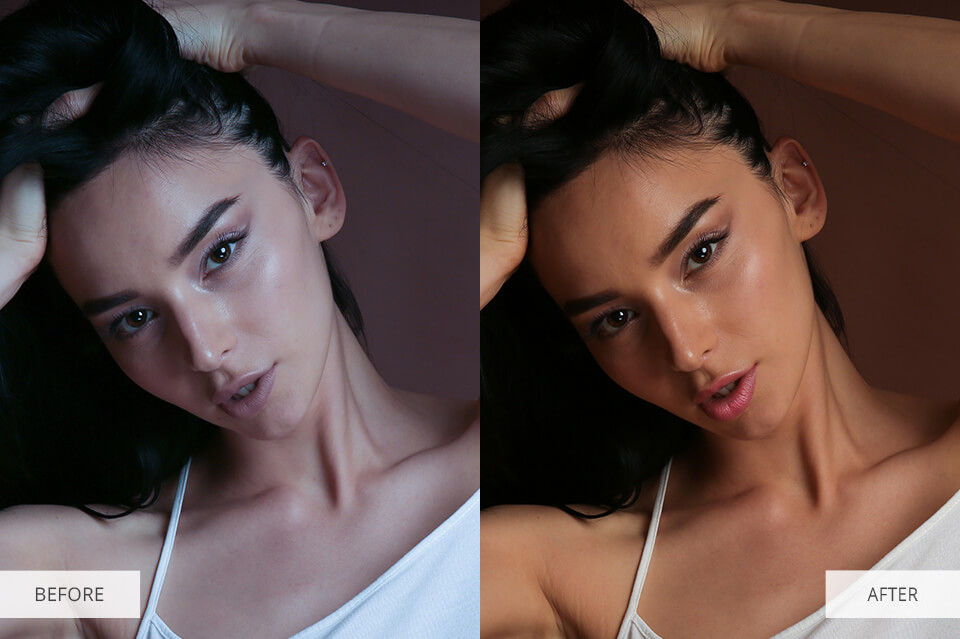
The lips can also spoil the image, if they become dried out, cracked or lose the color, so you need to know how to fix these issues.
If there is a color issue, you can add a hue/saturation adjustment layer and increase the saturation. In case you notice that the lips look dry, use the Spot Healing Brush, while the Dodge and Burn Tool is helpful for adding glare.
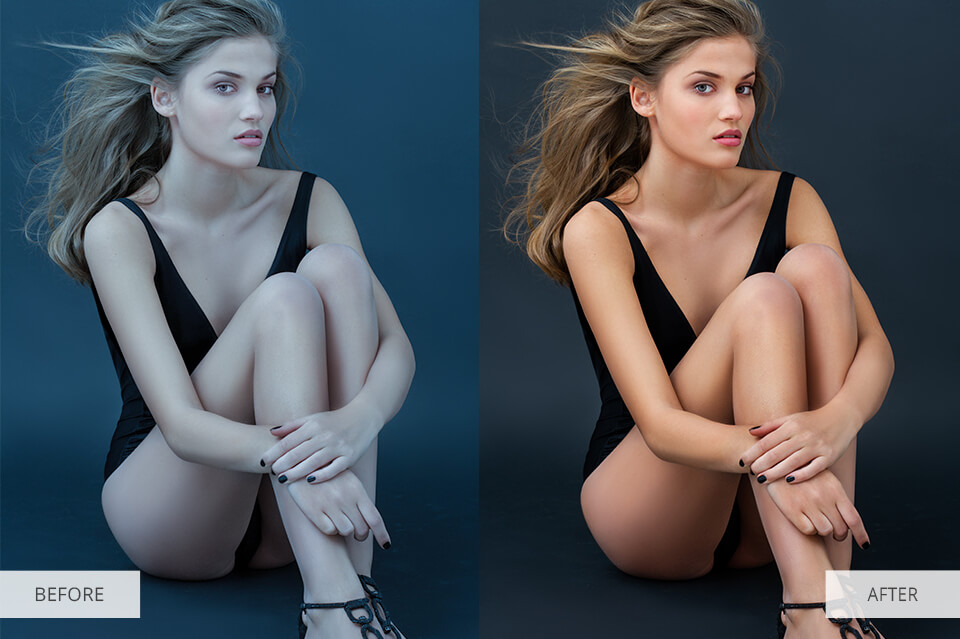
Once you are done with the above-mentioned edits, you should dedicate time to color grading because colors play a huge role in the general perception of nude photos.
While working in Lightroom or Photoshop, you should use the HSL panel to improve the colors in a photo. Based on your creative vision and the effect you want to achieve, you can make colors either more vibrant or desaturated.
Feel free to experiment with different editing styles, depending on the boudoir photo ideas you tried to realize during the photo session.
Nude retouching requires quite lots of time and effort, and if you want to speed up your workflow, you can download these plug-ins. If you experience difficulties retouching the model’s skin, you can try this bundle and get a natural-looking picture without much effort on your part.