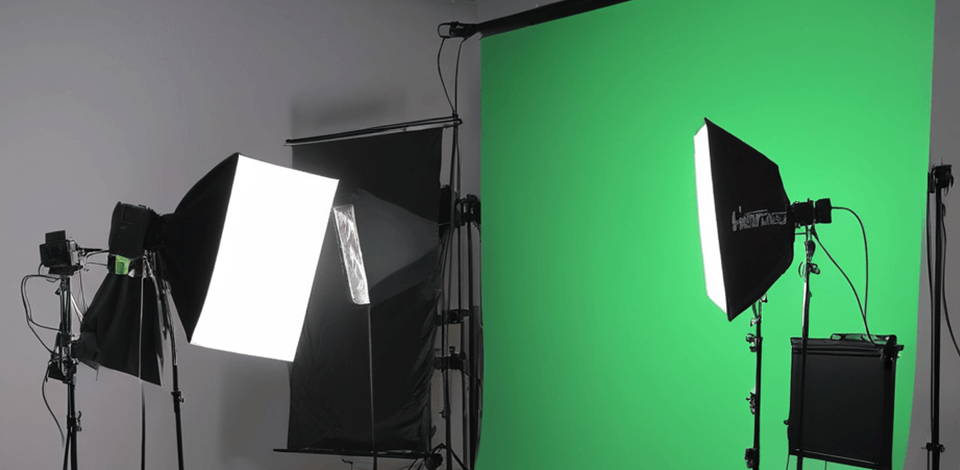
If I were just starting out as a YouTube vlogger and looking to buy my first green screen lighting setup, I'd probably feel overwhelmed by all the options out there.
Should I go for an all-in-one package with backgrounds and tripods, or just focus on getting good-quality lights? Do I need to invest in expensive lighting right away to make sure it's good, or are budget options just as good, especially for beginners?
I wanted to update my setup for a home studio with a green screen, so I tested more than 30 popular options featured on Amazon. I purchased both kits and individual lights in different price categories, tested several ones and returned back and here are the reasons why.
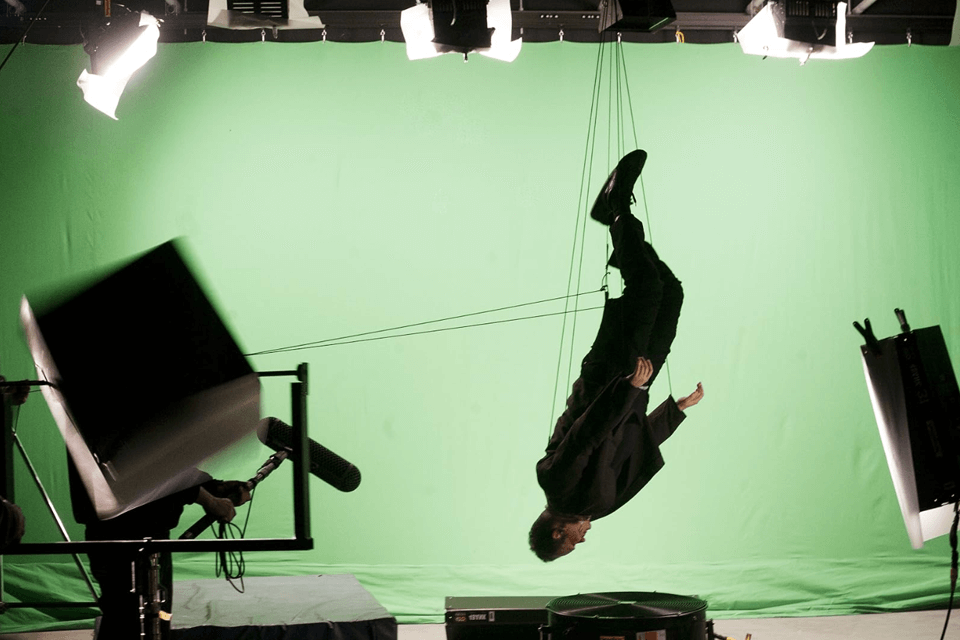
To choose the best light for green screen, you need to check the quality of the components. Since the modern market is overflowing with various models, you should examine the brands presented and the materials they use to make them. Typically, these materials can vary from manufacturer to manufacturer. While some brands use durable metal, others produce models out of plastic.
If you want to get long-lasting video lighting kit, I recommend opting for reliable brands that use quality metal for production. Metal equipment is more resistant to damage and weather conditions if you plan to shoot outdoors.
How are you going to use your equipment? If you need green light for studio shooting, battery support is optional. However, if you are shooting indoors, you should opt for long cable models. This will make it easier to move the equipment around the studio. If you practice both studio and street photography, battery-operated models are your option.
If you are shooting outside, you should choose a lightweight device that you can easily carry around. Since heavy models are inconvenient to relocate, opt for lightweight equipment for outdoor shootings.
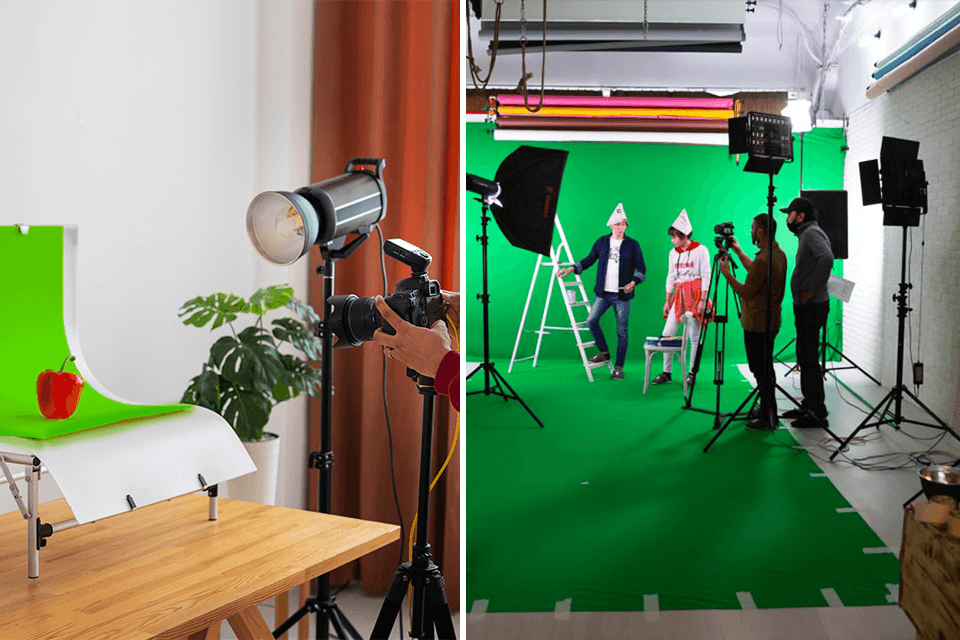
As a rule, people buy green screen lighting for certain projects. If you want to achieve the Hollywood standard of video production, you have to spend a lot of money on a complete set. If you are using the kit for basic projects or personal vlogs, you can focus on more affordable models, considering that most of them deliver decent quality.
With decent experience in YouTube content creation, I'm usually cautious about universal kits with low prices. However, with the need for fresh lighting for TikTok in a different room, I took a chance on this kit. It truly exceeded my expectations.
The first thing that amazed me was very durable design, which is a big surprise concerning its low cost. Though it can’t stay on par with the very best lights for green screen studio, as its metal is a bit thinner, if you handle it gently, the product will operate for a long time. A nice touch is a sweet soft nylon bag for storing the elements.
Whether you're just learning video and photography or you're an experienced pro, you will find the core basics in this kit. It is an ideal option for those seeking budget-friendly lighting gear.
Specs:
|
Light source type |
Fluorescent |
|
|
|
|
|
Color temperature |
5500 kelvin |
|
|
|
|
|
Wattage |
65 watts |
|
|
|
|
|
Completeness |
Backdrop, light bulb, umbrella |
|
|
|
|
My tip for the perfect light for a green screen: When it comes to selecting between digital and chroma green screens, I recommend picking digital ones. Chroma screens “absorb” more light, which can cause problems down the road. Digital screens have better light-reflective capabilities, so using them is a real delight.
These lights are absolutely fantastic. Most of all, I like their strong, portable, and incredibly convenient design. Over the past two weeks, I've been using them for recording different types of video content for my YouTube channel. They delivered the ideal balance of lighting for all video styles, so I can confidently recommend them to average and pro users.
One of the highlights of these lights for green screen is the app controls. Therefore, you can make the needed adjustments at a distance, which simplifies the shooting process immensely. For me, this is a well-thought-out move.

Another thing I appreciate is the included carrying case. It has a nice practical design, which is an important benefit since I frequently film vlogs while traveling.
Besides, I'm fond of the fact that lights can be powered both wirelessly and with a cord. Whether I'm on the road or on the move, I can count on the durability and ease of use of these video LED lights.
Specs:
|
Brightness |
8500lux/0.5m, 3000lux/1m |
|
|
|
|
|
Color temperature |
3200K-5600K |
|
|
|
|
|
Wattage |
50W |
|
|
|
|
|
Completeness |
3 RGB video lights, 3 light stands, 3 diffusers, 3 folding pages |
|
|
|
|
My tip for the perfect light for a green screen: Instead of focusing solely on the lighting for the green screen, prioritize lighting your subject first. Thus, you can avoid excessive brightness in the background and preserve natural skin tones. Keep in mind that digital screens are rather reflective by themselves.
By purchasing this bundle, you will get different lights that can be adjusted in the range from purely warm to cold temperatures. I have a nice set of cool lights and was searching for proper warm lights. I’m glad I’ve come across this offer.
These softbox lights are remarkably simple to set up and customize. Therefore, both novice and seasoned photographers can use them with ease. The light emitted is gentle and diffused. Such illumination can improve the subject's appearance, remove dark shadows, and yield a soft, natural glow that complements any subject beautifully.

To my mind, the most important characteristic of these lights is their versatility. They are equally helpful no matter whether I’m recording talk videos, product reviews, or something else. Besides, it is possible to change height and control other aspects of a whole lighting setup. So, I can get perfect lighting for all my projects.
Specs:
|
Brightness |
2500lux/0.5m |
|
|
|
|
|
Color temperature |
7000 kelvin |
|
|
|
|
|
Wattage |
48 watts |
|
|
|
|
|
Completeness |
Softbox, remote, carrying bag |
|
|
|
|
My tip for the perfect light for a green screen: The placement of your lighting equipment plays a crucial role in the final result. It is actually more important than the amount of lighting for green screen video. Don’t try to cram lots of objects in your setup, especially if you are shooting horror videos. Opt for simplicity. Sometimes even a front light above the camera will do just right for a smooth wash.
I have tested this kit for several weeks and I believe it contains one of the best LED lights for green screen no matter whether you are into photography, videography, or content creation. It is possible to experiment with various color temperatures to get a specific mood in your scene.
The bright panel with 352 bulbs elegantly disperses light. The coolest part is that there are no harsh shadows. Moreover, you can take advantage of the super high Color Rendering Index (CRI) of this video and photo light bulb, meaning you’ll end up with accurate color representation.

The design of the kit deserves special mention. There is a broad panel that makes a large area of soft light. I also appreciate the possibility to tweak the intensity and brightness, as well as use USB power whenever I want. The bundled tripod is durable yet lightweight. Carrying the kit during trips will be easy.
Specs:
|
Brightness |
Dimmable |
|
|
|
|
|
Color temperature |
2800K, 4800K & 6500K |
|
|
|
|
|
Wattage |
15 watts |
|
|
|
|
|
Completeness |
2 LED studio light panels, tripod stands, storage bag |
|
|
|
|
My tip for the perfect light for a green screen: First of all, you should understand your camera. Nowadays, cameras are really good at handling low light situations. Adjust settings like ISO and sensitivity to find what works best. You may find that you need less light than you expected.
I've been using the RALENO Lighting Kit for my vlogs, and I think it's great for novices. This studio lighting kit has all you need for a good setup. There is a small space for shooting, three backdrop colors to choose from, and three lights with bulbs that give off good lighting.
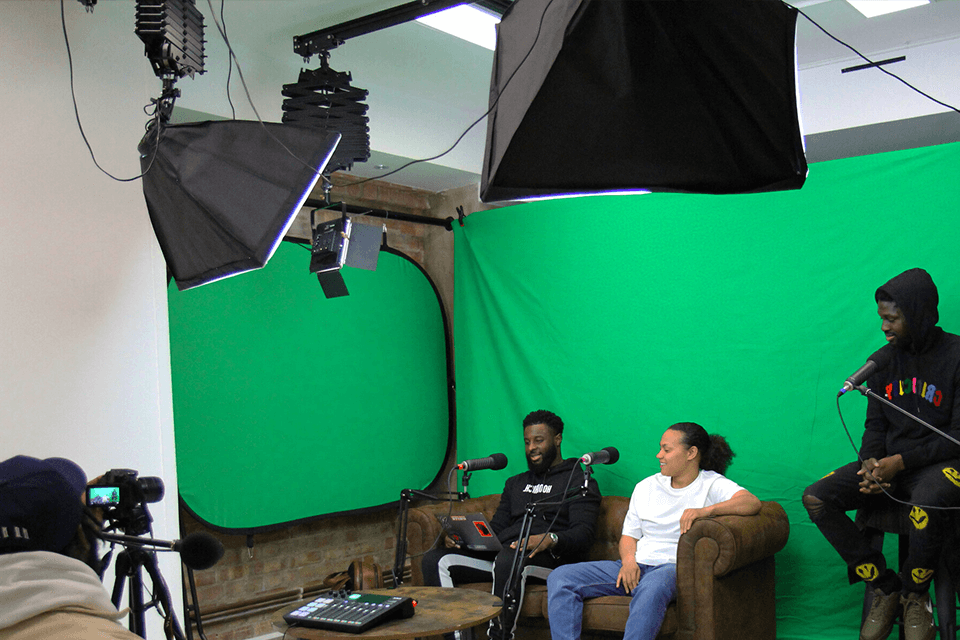
The quality is really impressive. All materials are strong and beautiful. For me, the most important thing is that everything fits nicely into one duffle bag. This is a deal-breaker if you like shooting while on the move.
Overall, it can be called the best lighting setup for green screen for beginners who want to make strides or for anyone who needs versatile and reliable lighting tools.
Specs:
|
Brightness |
4000 lumens |
|
|
|
|
|
Color temperature |
5500 kelvin |
|
|
|
|
|
Wattage |
85 watts |
|
|
|
|
|
Completeness |
Backdrop support stand, muslin backdrops, LED Bulbs, soft boxes, octagonal softbox |
|
|
|
|
My tip for the perfect light for a green screen: Soft light is your best friend. It's flattering, forgiving, and covers a wide area evenly. Invest in quality soft lights for effortless lighting. Plus, with its high output, you often only need one fixture for the job.
As a professional YouTuber who films a lot of travel content, I needed a light that was powerful yet easy to carry and use anywhere. That's why I decided to try out the Colbor CL60. Its construction is really good - it's small, light, and made of strong metal. It's exactly what I was looking for.
But that is not all. I can control the light using an app on my phone or tablet, which is super convenient. There are lots of ways to mount it too, with rails on the top, bottom, and sides. Thus, you can set it up in different ways without having to flip the light.
Besides, if you want more brightness, you can simply connect multiple lights together.
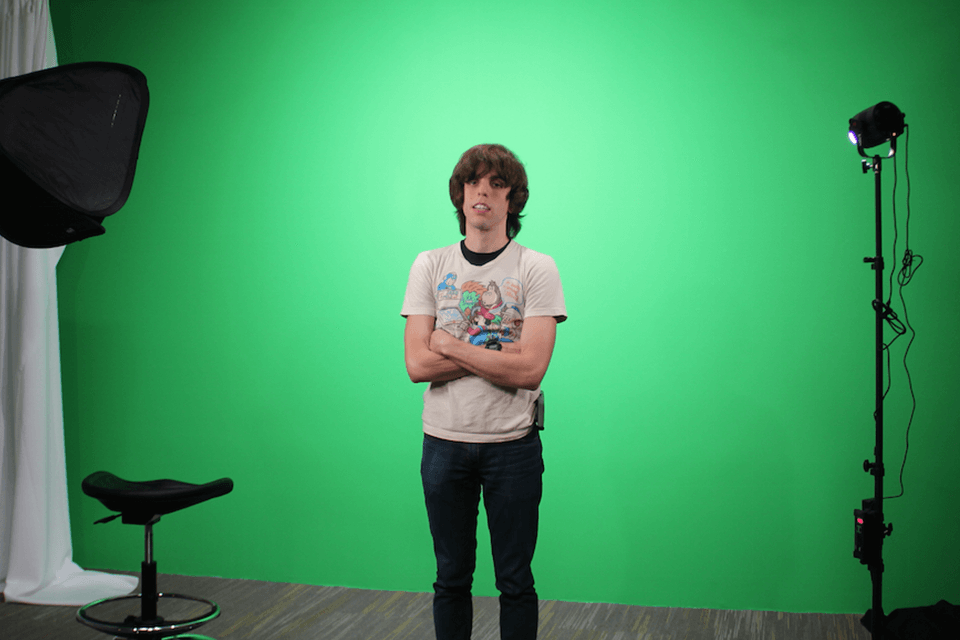
Powering up the light is super easy, whether you're using a battery, the optional V-mount holder, or even a power bank thanks to a USB-C connection. The same applies to operations. The side wheels and intuitive buttons make it a breeze to adjust the brightness, color balance, and special effects.
Specs:
|
Brightness |
20240lux @ 1m |
|
|
|
|
|
Color temperature |
2700k-6500K |
|
|
|
|
|
Wattage |
65 watts |
|
|
|
|
|
Completeness |
Light, reflector, detachable mount adapter, stand adapter |
|
|
|
|
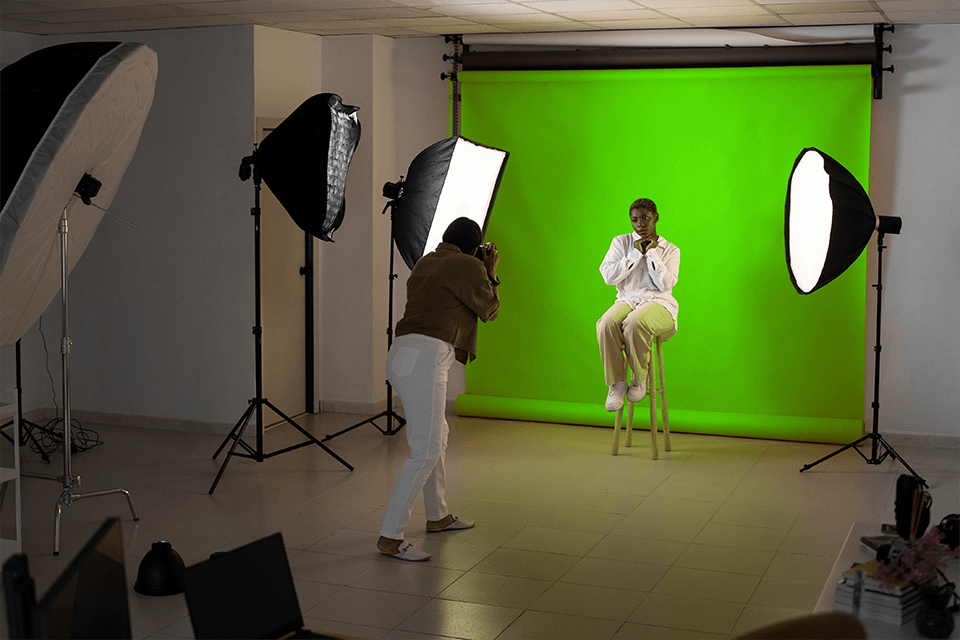
It is crucial to understand how to light a green screen properly to get seamless compositing in videos. Let's go through the steps one by one, using practical examples to help illustrate each point.
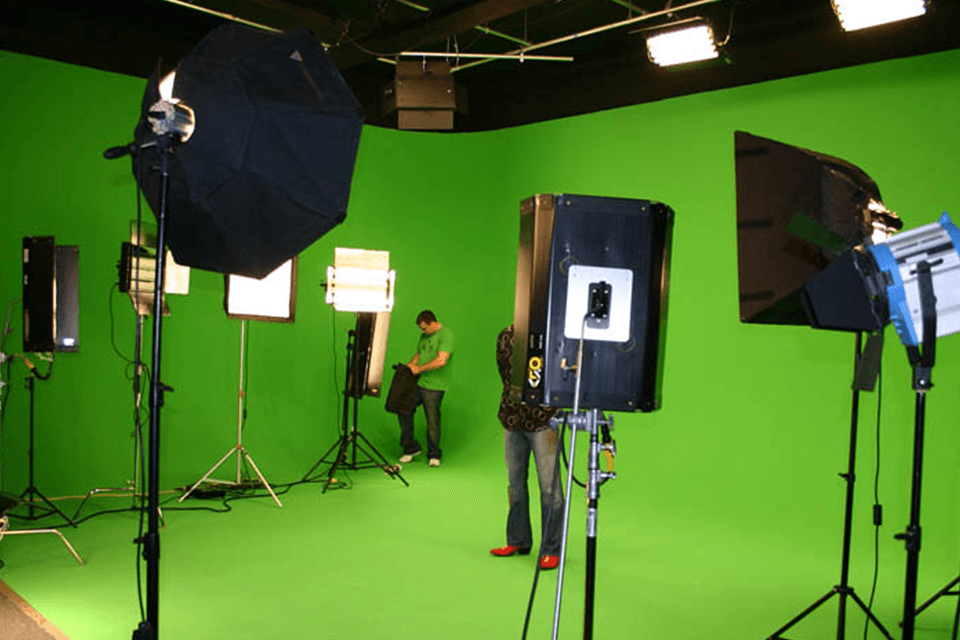
Start by setting up your green screen equipment. Make sure the screen is smooth and doesn't have any wrinkles or shiny spots that can cause issues when editing. Also, keep an eye on props to prevent any distorting reflections.
Use matching lights. For newbies, I suggest getting two identical LED lights for photography or filming and directing them at the green screen to make sure the lighting is even. Though fancy lights are great, cheaper options like clamp lights with fluorescent bulbs can work too. Consistency is key to keeping the color balanced.
Light the subjects first. Make sure they're well-lit before you start adjusting the green screen. I usually position the key, back, and fill lights to make the subjects look their best and add depth to the scene. Depending on what you're aiming for, you may need to tweak the setup, so be flexible.
Light the green screen. Once I know my subjects are well-lit, I adjust the lights to evenly light up the green screen. I keep each light at the same distance and angle to avoid shadows and ensure the lighting is consistent. This way, I can be sure there won’t appear any unwanted shadows in the camera shot.
Ascertain the green screen is properly exposed. I check my camera monitor to see how bright it is, aiming for a slightly dimmer look to avoid picking up other colors besides green. Lowering the camera's ISO setting can help reduce color issues, but don't lower it too much or the shot may be too dark.
Make any final tweaks. Adjust the lighting until the green screen looks evenly lit. Thus, you can avoid many unpleasantries with editing later on. When everything looks good, I'm all set to start shooting.