Design accessories with ease by using 3D printers for jewelry
If you are familiar with 3D printers, you should also know that there are special models for printing accessories. They support additive manufacturing technology, which makes them similar to other 3D printers. However, this type handles casting materials and metals. Such printers are highly accurate and can be used for creating accessories.
These devices form layer by layer and allow you to create stunning designs without taking cumbersome steps associated with traditional methods.
In this article, I will tell you about various options available on the market and everything you have to know about printing jewelry. After reading this guide, you will easily find the best 3D printer for jewelry.
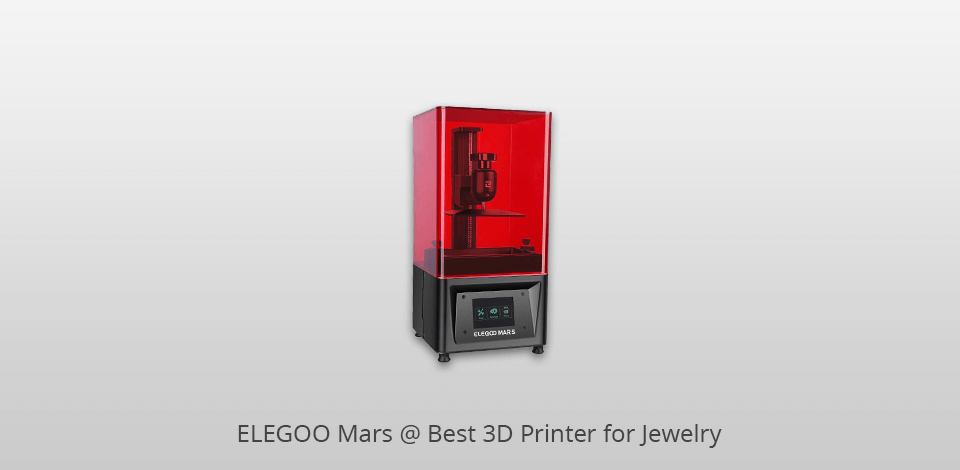
Print technology: LED Display Photocuring | Filament Diameter: None| Build Area: 120 x 68 x 155 mm | Minimum layer resolution: 10 microns | Maximum layer resolution: 200 microns
This 3D printer for jewelry utilizes UV photocuring technology. It’s convenient to use and has a good design, due to which you will easily master it even if you don’t have experience with similar devices.
It’s semi-assembled so you won’t have to spend much time installing it. In 5 minutes, you will be able to begin printing your first model. You can also easily slice it by using the latest CHITUBOX slicing software.
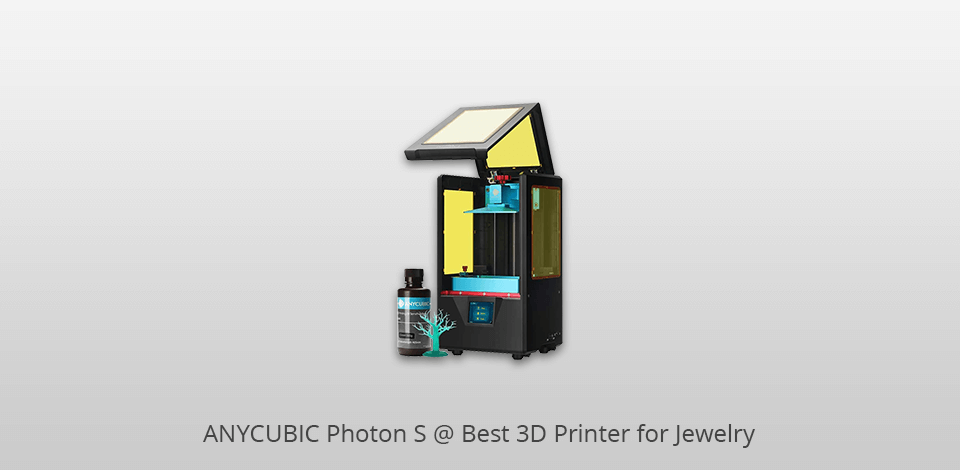
Print technology: LED Display Photocuring | Filament Diameter: None| Build Area: 115 x 65 x 165 mm | Minimum layer resolution: 25 microns | Maximum layer resolution: 100 microns
This is a DLP 3D printer for jewelry, which uses a technology similar to SLA but is less expensive. It’s more than twice cheaper than leading SLA brands and has the same price as many Fused Deposition Modeling (FDM) printers.
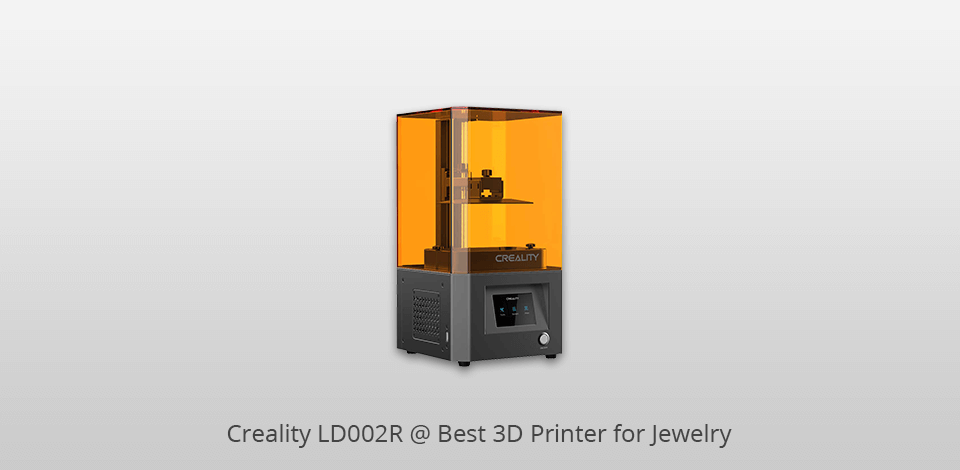
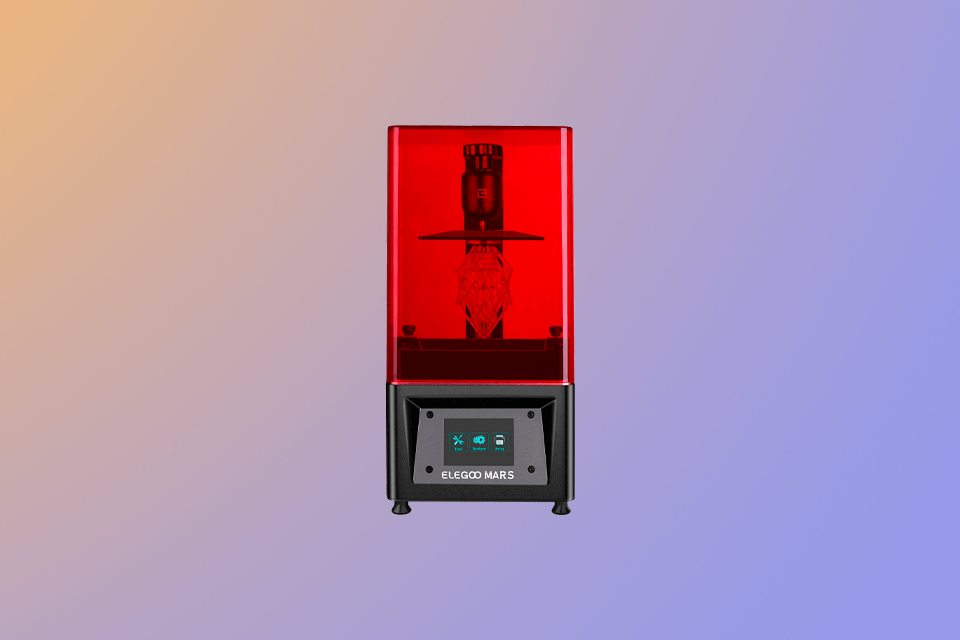
Print technology: LCD | Filament Diameter: None| Build Area: 120 x 65 x 165 mm | Minimum layer resolution: 20 microns | Maximum layer resolution: 50 microns
This printer features an air filtering system and the newest CHITUBOX slicing software. With it, you will need just 1 minute to slice 30Mb .stl model files. To compare, an open-source slicing software takes about 10 minutes to do the same.
Due to amazing precision and high resolution, it is considered to be the best 3D printer for jewelry. The high quality of the pieces allows you to make even closer photos which undoubtedly will look marvelous after jewellery photo retouching. It boasts robust 30W UV light, which provides fast printing (4s per layer). It’s simple to install.
You can quickly select a file to print and monitor the printing process via a convenient 3.5-inch full-color touch screen.
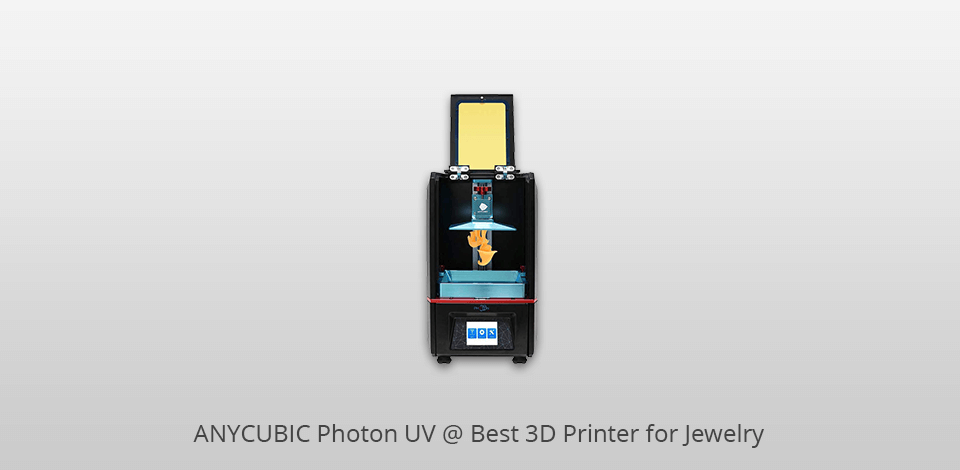
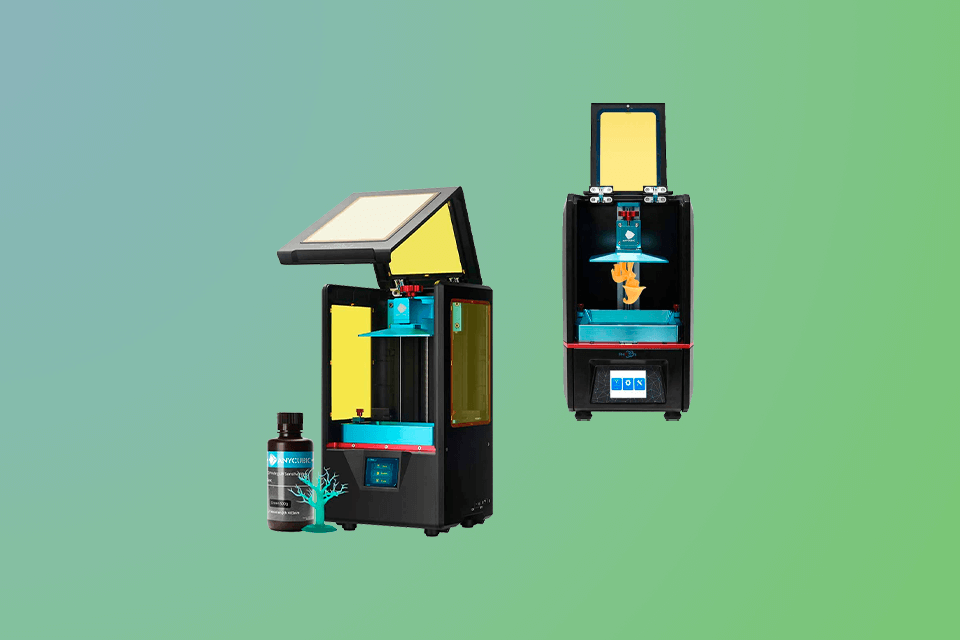
Print technology: LCD | Filament Diameter: None| Build Area: 115 x 65 x 155 mm | Minimum layer resolution: 20 microns | Maximum layer resolution: 100 microns
ANYCUBIC has a powerful R&D team both inside the country and abroad. Having taken a smarter and more practical approach, it has designed top-quality 3D printers for professional and regular use.
This printer has an XY resolution of 47 microns and a Z layer height of up to 10 microns. Thanks to this, it can create flawless 3D printed models with a high level of detail. It has a user-friendly interface, which lets you view and control the print status in real-time.
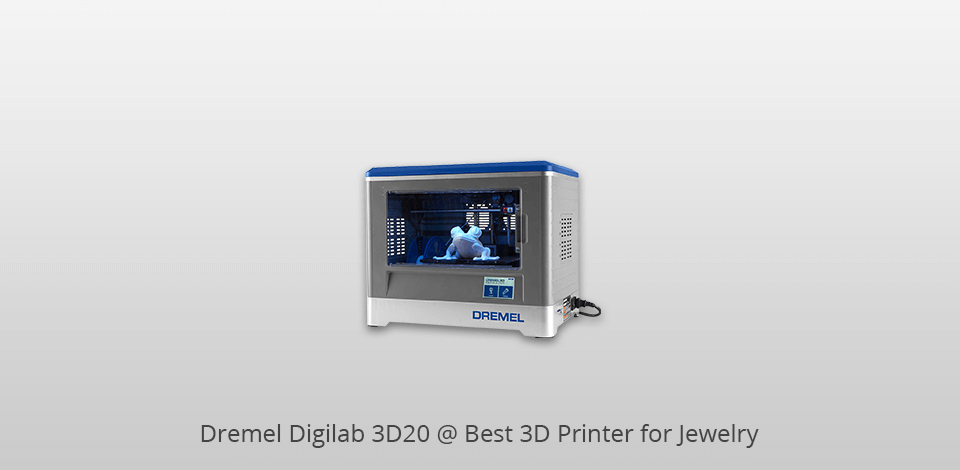
Print technology: FDM | Filament Diameter: 1.75 mm | Build Area: 230 x 150 x 140 mm | Minimum layer resolution: 100 microns | Maximum layer resolution: 300 microns
This is an affordable 3D printer for jewelry, which is suitable for amateurs and beginners. Thanks to a plain design and great customer support, you can create amazing prints even if you don’t have any prior experience. This model is fully assembled and comes with a 0.5 kg spool of Dremel filament. Using simple setup instructions, you can quickly start printing.
| IMAGE | NAME | FEATURES | |
|---|---|---|---|

|
ELEGOO Mars
Our choice
|
CHECK PRICE → | |

|
ANYCUBIC Photon S
With Dual Z-axis Rail
|
CHECK PRICE → | |

|
Creality LD002R
3d printer for jewelry LCD
|
CHECK PRICE → |
Before spending a lot of money on a 3D printer, you have to decide what you want to get from it. There are some important aspects to pay attention to when looking for the best 3D printer for jewelry casting.
This is a very significant factor for such printers. An inaccurate design can spoil the whole piece. Even if you create something plain, you need to have a printer with good accuracy.
Even though you can improve your designs during post-processing, it will take additional costs and more time. Therefore, you should get a printer that allows you to create projects with stable surface finishes or a model that is easier to use.
With color printing, you can get more customers and extended possibilities. While jewelry printed in one color is still good, printing in multiple colors provides you with larger opportunities regarding market share.
This is essential if you are planning to do bulk printing or run a small scale production. You may need to spend a lot of time to complete your work if your printer is not very fast.
A crucial factor in jewelry printing is resolution, which determines the level of detail and intricacy achievable. Opt for a 3D printer with high resolution, measured in microns, to ensure fine details in your jewelry designs.
Consider the size of the build volume, as it determines the maximum size of jewelry pieces that can be printed. Choose a printer with a sufficient build volume to accommodate your desired jewelry designs.
Check the printer's compatibility with jewelry-specific materials such as castable resins or wax filaments. These materials are specifically formulated for jewelry production and ensure accurate casting or molding results.
Jewelry designs often feature delicate and intricate structures. Choose a printer that offers reliable support structures, allowing for the printing of complex designs without compromising the integrity of the final jewelry piece.
Consider the software compatibility of the 3D printer. Look for printers that support industry-standard design software and file formats, making it easier to integrate into your existing jewelry design workflow.
Yes, there are 2 ways to do it. The first is via direct metal laser sintering (DMLS), which utilizes powder layers and a laser to strengthen a model, which is after that extracted from the powder residues. You can also use the lost wax casting method.
This process can take from 30 minutes to 7 days or longer. The time depends on the size, shape of an object and the technology used for printing.
Yes, Reprap is very popular among those who are interested in 3D printing. You can get details and build your printer. There is also a large community where you can look for tips.
It’s not safe so don’t keep it on if you’re not there.