When I started looking for the best 3D animation software for PC, I had a clear goal. I needed something that could help me do both character animation and product visualisation. I work as a freelance designer, and my projects usually fall into two types.
First, I work with marketing teams to make short, animated videos that show off new tech gadgets or packaging designs. Second, I’m slowly working on a personal project – my animated short film, which includes cartoon-style characters and detailed environments.
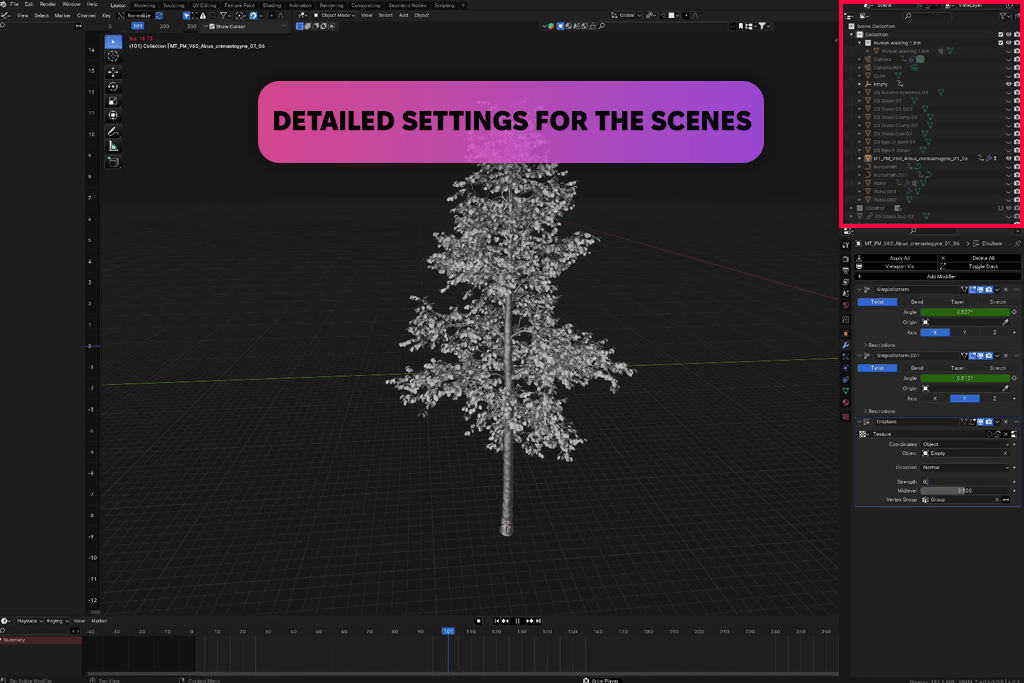
That’s why I needed 3D animation software with strong modeling tools, since I usually create most of my objects from scratch. I also needed good tools for rigging and animation, so the characters could move naturally and emotionally. A good rendering engine was also important to make my final videos look clean and professional.
I didn’t want to spend a lot of time learning how to use the software, so it needed to be easy to understand and have helpful tutorials. Since I switch between work projects and personal creative projects, the software also had to be flexible. It needed to be good at making both realistic product visuals and more fun, creative animation.
Sometimes I need to work while traveling, and when I’m on the go, it’s easier for me to use my Android phone to work on my 3D animation projects. So, I started looking for 3D animation apps for Android and iOS that could be useful for me.
Even though it’s harder to create and edit 3D animation on a phone or tablet compared to a computer, I found some apps that can still do a decent job, especially for quick projects, basic ideas, or fun use.
Nomad Sculpt (iOS & Android):
Forger (iOS):
Prisma3D (Android):
Sculpt+ (Android):
Shapr3D (iOS):
I also checked out their functionality, and I discovered that each picture animation app has its pros and cons.
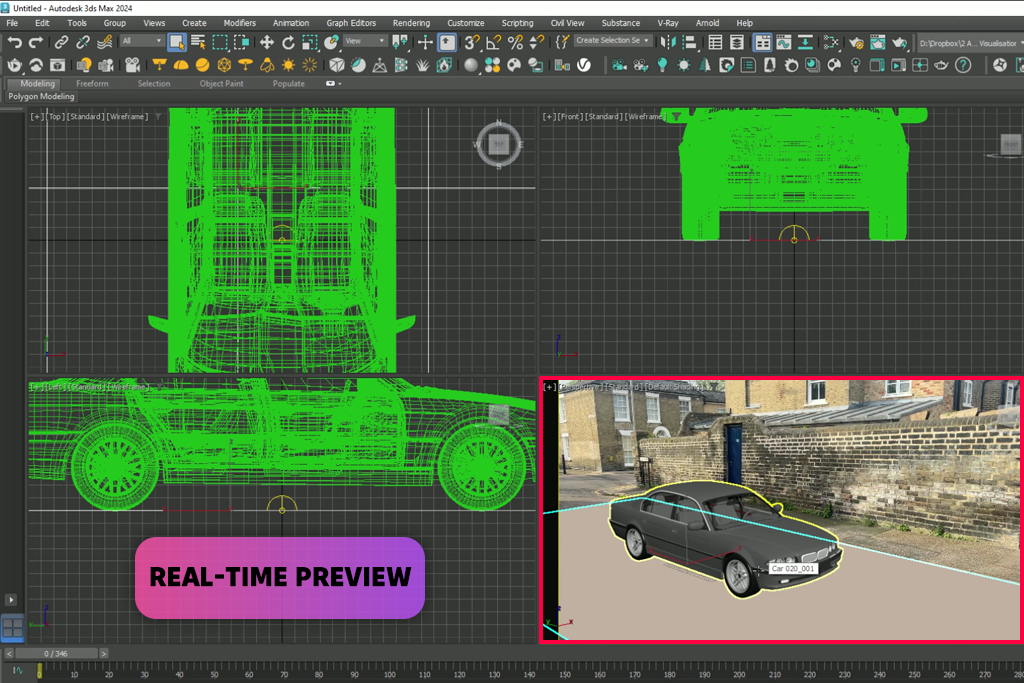
What impressed me most about 3Ds Max is how many different things it can do. It’s not just for 3D animation; it's also a motion graphics software. Whether you're making video game content, product visualisation, or building things for movies and TV, 3Ds Max has all the tools you need.
The details it can show in your designs during rendering are amazing. It helped me turn my ideas into lifelike characters and scenes, something I couldn't do as well with other programs.
“I mostly use 3Ds Max for making buildings and game objects. Honestly, it still feels like the top choice for professionals. It’s super powerful, and the images you get from it look great. But I should say it does take time to learn how everything works.”

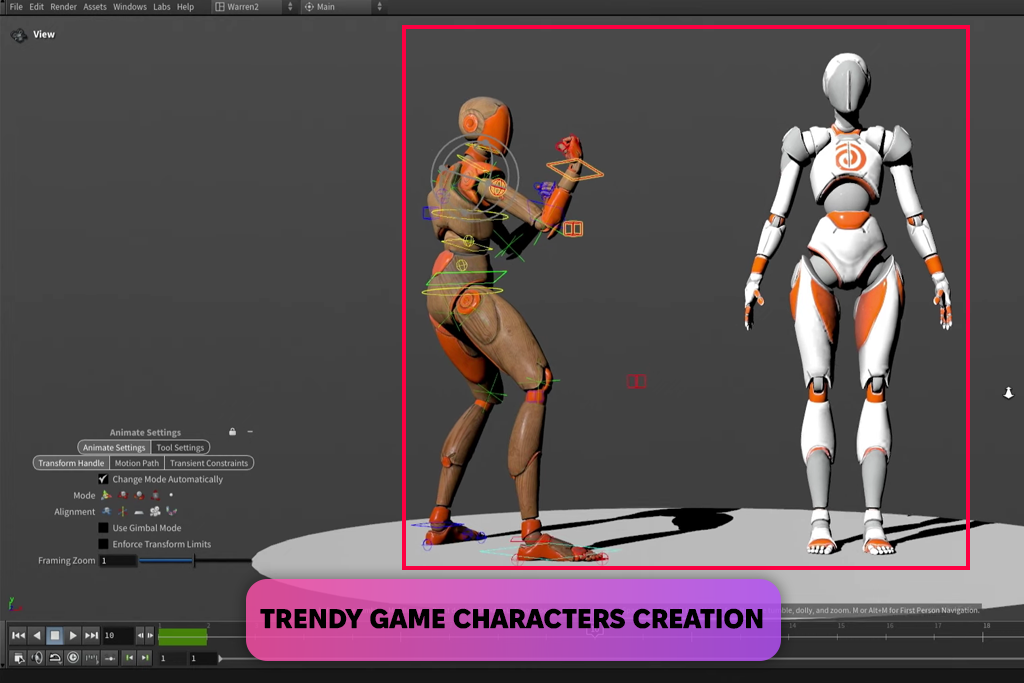
One thing I really liked about 3Ds Max is how advanced the animation tools are. I could set up different actions and physical movements very accurately. Making things move along complicated paths was easy, thanks to its smart referencing system that helps you place things exactly where you want. My projects often mix motion design with realistic scenes, and this 3D animation software gave me both the control and the creativity I needed to get great results.
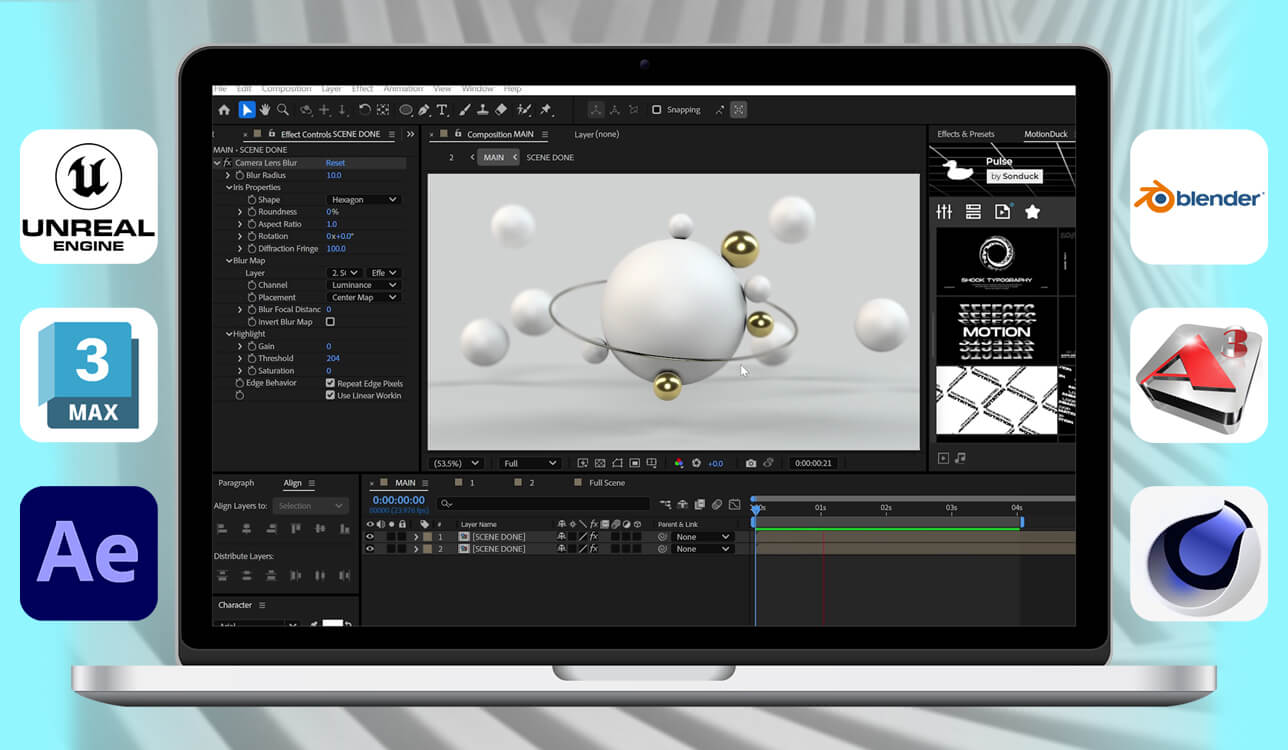
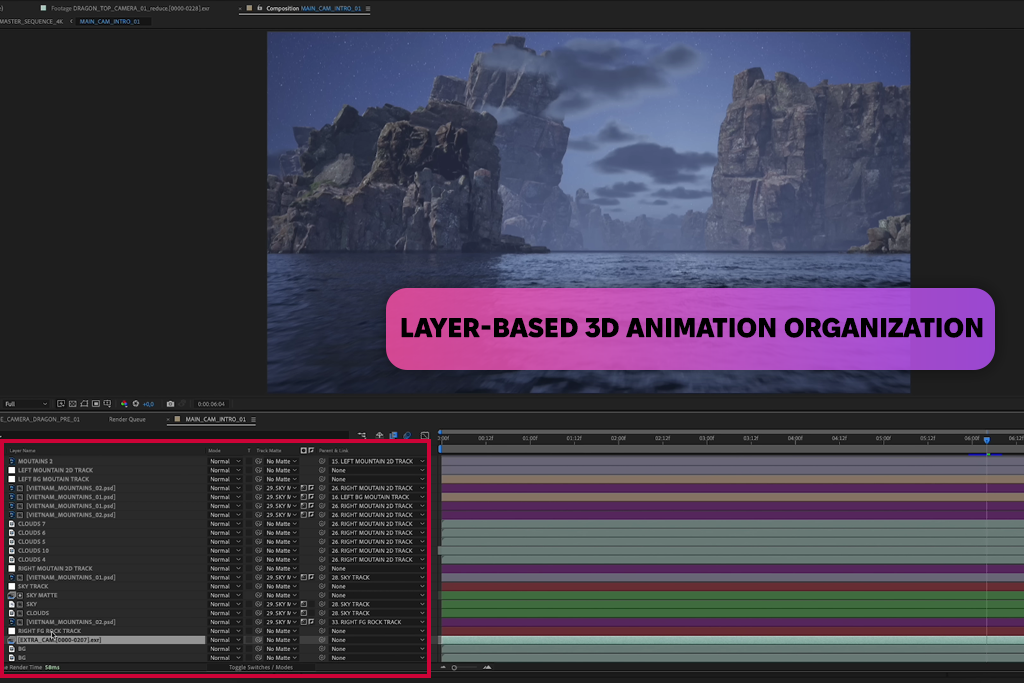
I decided to try out Adobe After Effects free version. I started by importing some simple 3D models from Cinema 4D Lite, which comes with After Effects.
My first test was to make a basic animation for a fake product. I made it spin, added shadows and lights, and included some animated text around it. After that, I tried something harder: a short video combining 2D clips, 3D objects, blurred background effects, and camera movements to create a nice promo video.
I also used a plugin called Element 3D. This add-on gives After Effects more power to work with 3D. With it, I could bring in OBJ models, add textures, and animate everything faster using my computer’s graphics card – all without leaving After Effects.
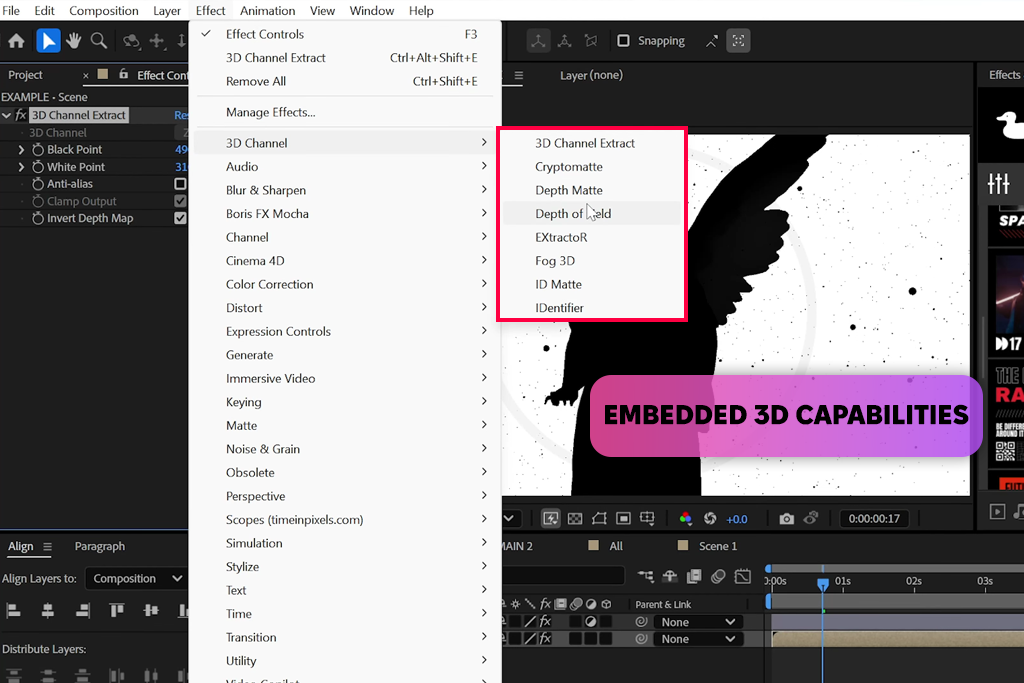
The creators have updated all free Adobe software, and After Effects has also got its modifications:
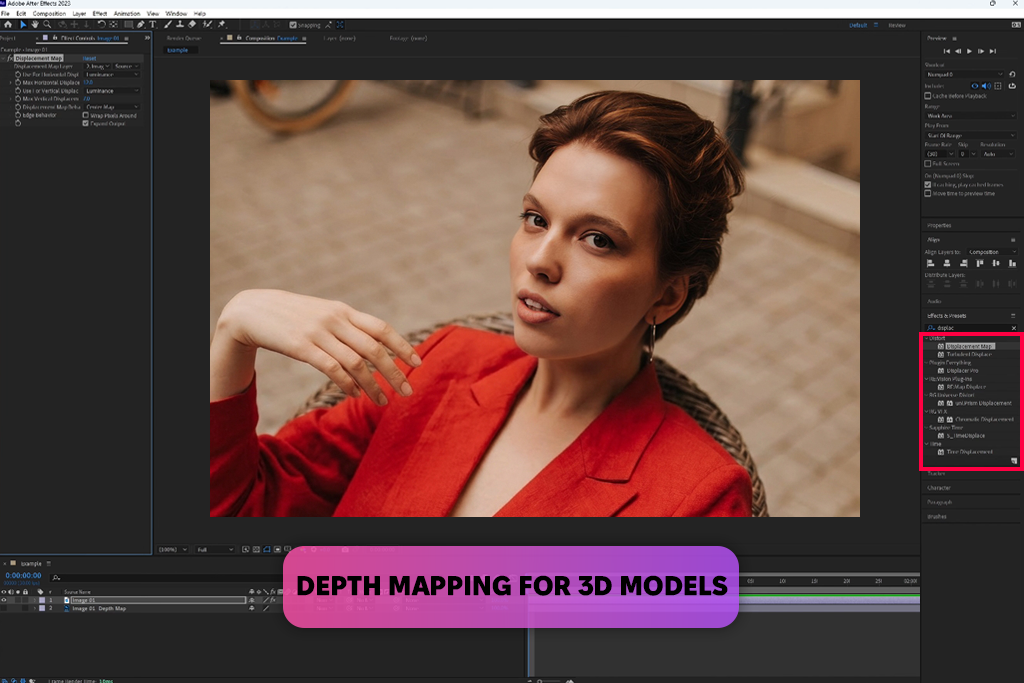
“Now that I can get depth maps straight from my project, I can add depth-of-field effects and integrate 3D parts into my videos much easier.”

When I started testing Unreal Engine, the most important things for me were real-time rendering, making my scenes look realistic, and having the freedom to create different types of animations. Unreal Engine stood out right away because of its rendering tools, Lumen and Nanite. I could see high-quality visuals instantly as I worked, which saved me a significant amount of time compared to older programs that required waiting for each render.
Building my scenes was easier than I thought. There’s a huge marketplace where you can get ready-made assets, and the Blueprint system helped me animate things without needing to write much code. I used MetaHuman Creator to design a character, and it worked perfectly with the rest of my animation work.
I was surprised by how realistic the character looked, especially the facial expressions and skin. For free rendering software, the results were better than I expected.
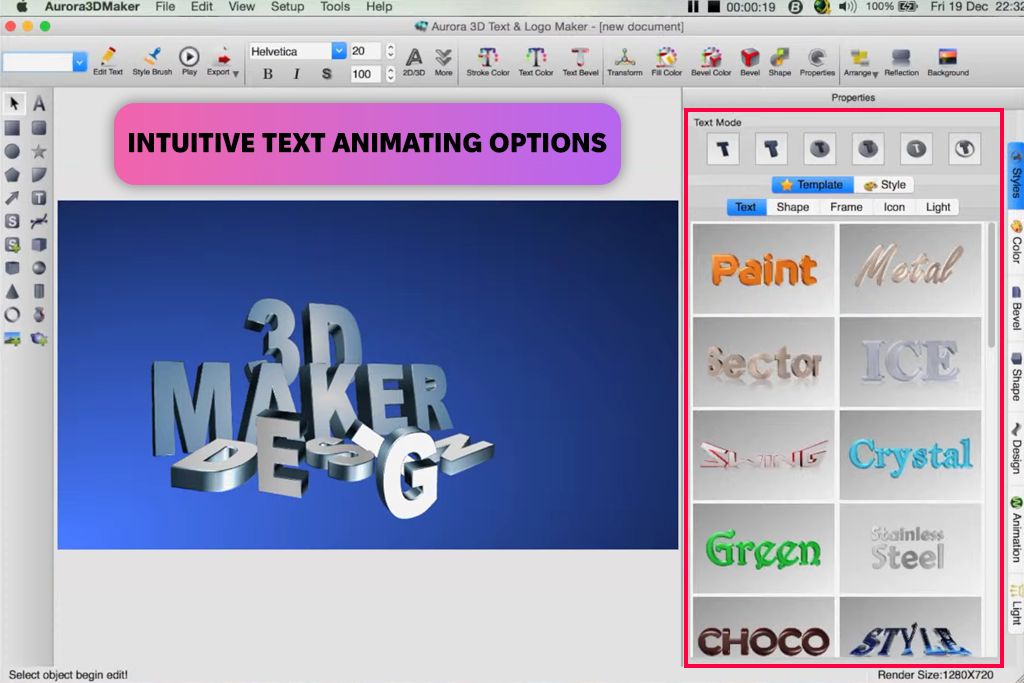
Aurora 3D was another 3D animation software I tested, and what surprised me was how simple it was to use. I liked that I could use basic shapes that were already included, but I could also draw 2D shapes and turn them into 3D objects. That gave me lots of creative freedom, and I didn’t need to know much about 3D modeling.
“I chose Aurora 3D because I needed something easy to make text and logo animations. It’s not super advanced, but it’s great for fast and simple animations.”

Animating in Aurora 3D was pretty simple. All you need to do is just place keyframes on a timeline, and changing the speed of movements is easy. I wasn’t just moving objects; I could also control how the camera moved and how the lights looked, which gave me more ways to be creative than I expected from a smaller program.
When I downloaded Aurora 3D, I liked how easy it was to import different kinds of 3D models. It works with 3DS, DXF, BLEND, and OBJ, so I could easily use other models I already had. And when I finished my animation, I had lots of options to export it. I could save it as a video (like AVI), a GIF, or even as a group of pictures if I wanted to edit it more later.
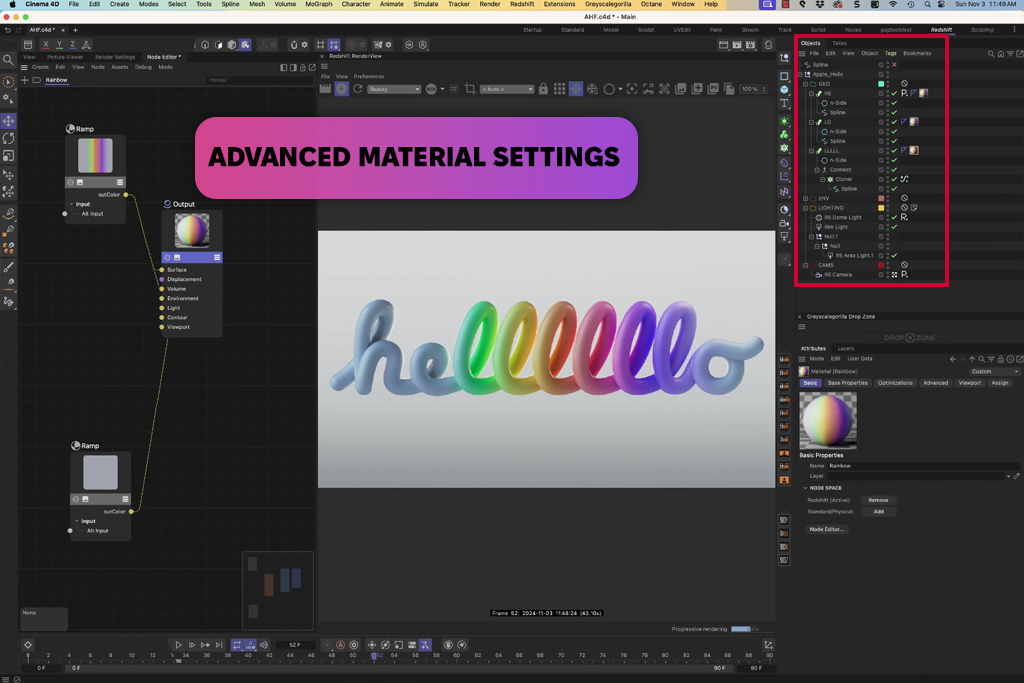
I also tried Cinema 4D because I heard it has powerful tools for modeling. This 3D modeling software offers different modes for modeling depending on what kind of project you’re working on (like parametric modeling, sculpting, working with polygons, or volume modeling). This gave me a lot of choices and helped me work in the way that fit each project best.
I liked that I wasn’t stuck using just one style. I could make fun cartoon animations or create more realistic ones or even do motion graphics. One more thing I found helpful was the built-in library of objects. It saved me time and money because I didn’t need to search online for extra 3D assets and could find what I needed right inside the software.
I'm not going to lie, learning Blender took some time. I had to watch a bunch of tutorials and try out different tools before I started feeling comfortable. But once I understood how things worked, I saw how powerful Blender is. The user interface makes sense once you learn where things are, and I started to enjoy working with it once I got past the early learning stage.
“Out of all the 3D animation software I’ve tried, this one was the easiest for me to learn. It’s great for making motion graphics and getting fast results. Most things work smoothly without needing to spend hours fixing problems.”

What surprised me the most was how many tools Blender has. I could unwrap 3D models, add colors and materials, make particles move, and even create simple 3D games. Blender also includes tools for collision simulations, edge rendering, and procedural brushes for 2D and 3D.
For one of my projects, I had to mix animation with some physics-based effects, and this motion graphics software provided exactly what I was looking for.
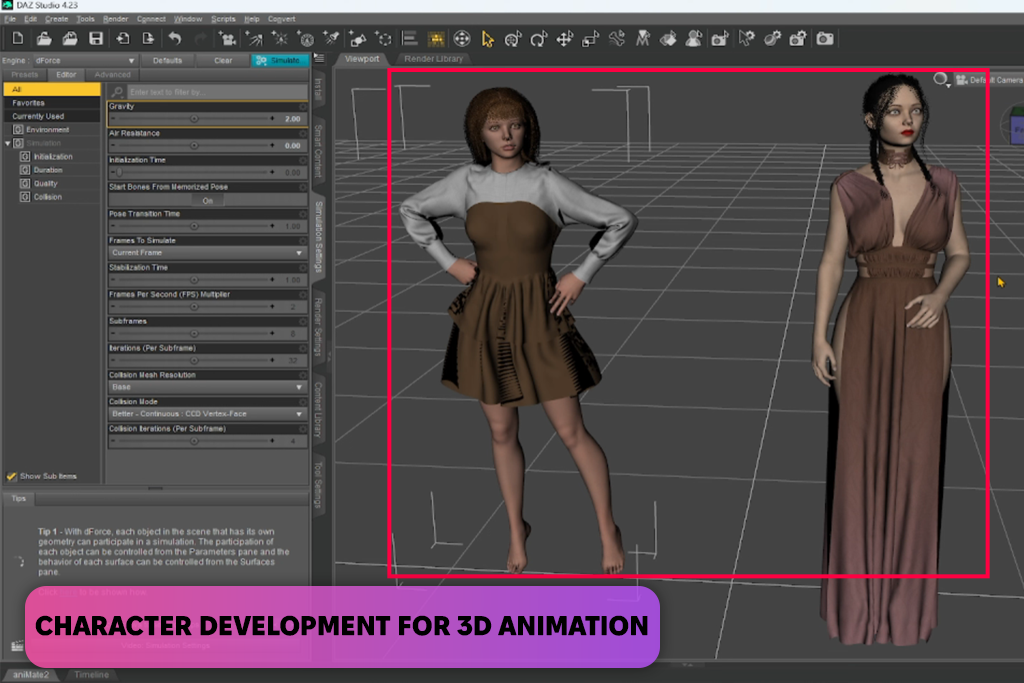
With this free 2D animation software, I started with a basic character and used simple sliders to change their body shape, face, and other features. I didn’t need to do anything too technical, like building the shape from scratch or rigging.
I also tried out the posing tools, and they were super easy to use. I could move the character into a pose myself or pick from ready-made poses, which saved me a lot of time. When I moved on to animation, I found the timeline and keyframe tools easy to use too, especially compared to more advanced 3D animation programs for PC like Blender or Maya. I was able to make simple walking animations and facial movements without getting stuck.
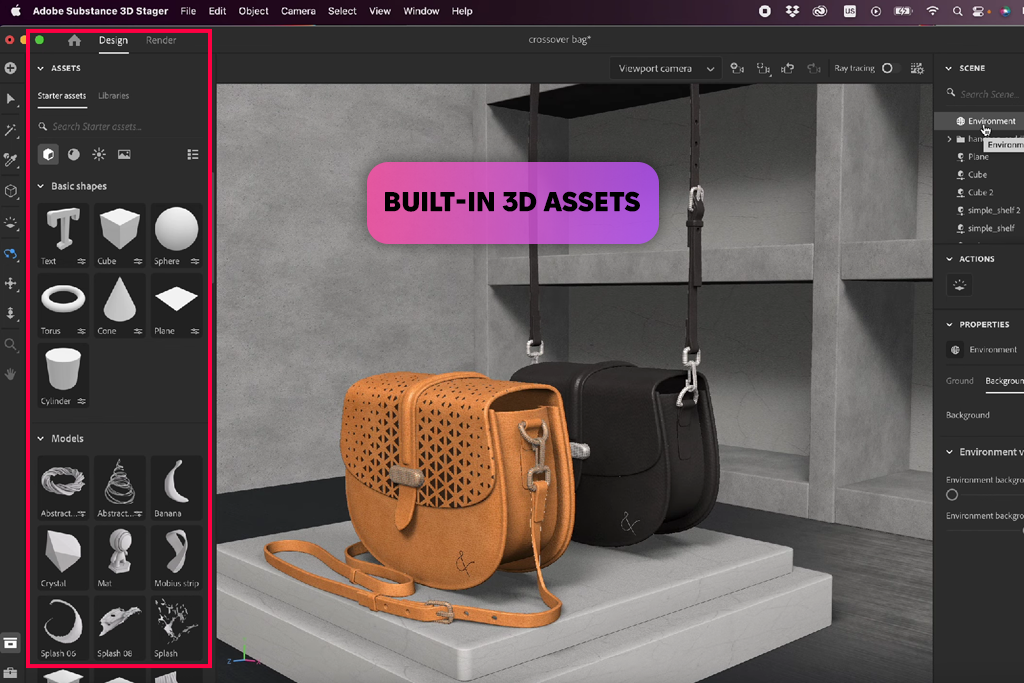
Substance 3D isn't exactly a 3D animation software, but it’s great for creating detailed textures and materials for 3D models. This is a big part of producing 3D work that looks real and finished.
“Substance is where I play around with textures. It helps me make surfaces look super real, and I can keep changing small details as much as I want. I often use it with Blender and Unreal, and it has completely changed how I work with textures.”

I tested three programs: Substance 3D Painter, Designer, and Sampler. Here's how I used them: first, I made a basic sci-fi hallway model in Blender. Then I moved it into Substance Painter to add textures. The best part was the live preview using PBR (Physically-Based Rendering), which let me see how my materials would look with real lighting as I worked on them.
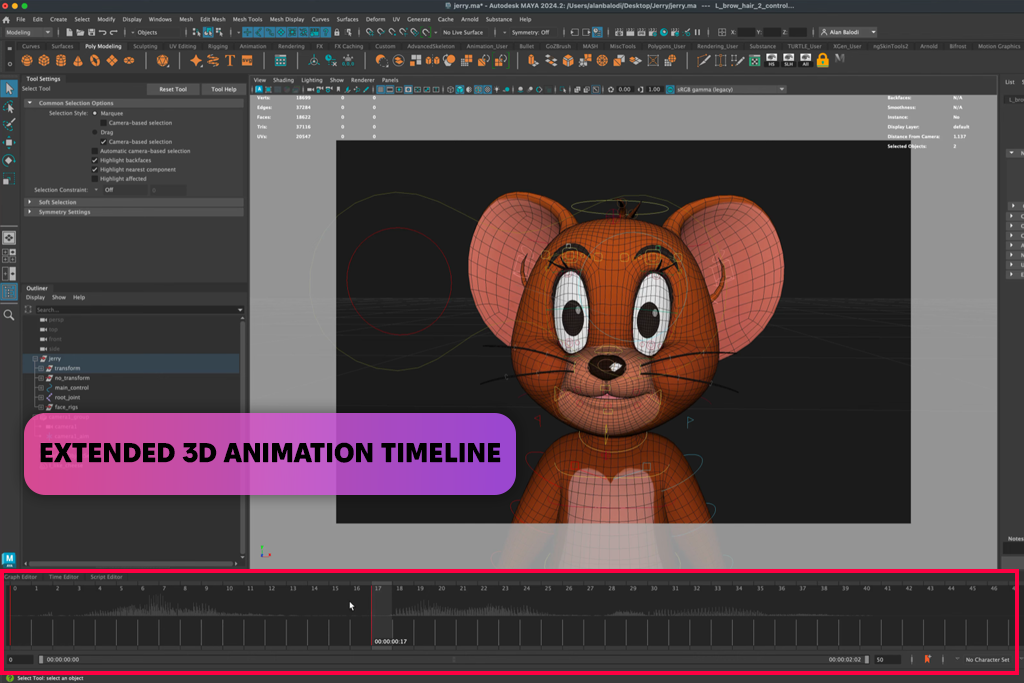
While I was testing, one thing that stood out to me was how fast and smooth Maya felt because of its shortcuts and keyboard controls. At first, some of the changes I had to make looked complicated, but once I got used to how the software works, I could do them in just a few seconds. This speed helped a lot, especially when I had to finish my project in a short amount of time.
I also tried out Maya’s CG compositing engine. This part of the software let me mix my 3D models with live-action video that had motion tracking. It worked well for blending digital objects into realistic-looking scenes. The way the 3D sculpting software followed the camera’s movement saved hours I would have spent lining things up manually.
For my personal project, I wanted to create animated scenes with materials like water, cloth, and fur that moved in a natural way. Maya had strong tools for hair, liquids, and other complex objects, so it handled all of these parts better than some of the other programs I tested.
Another part of my testing that I enjoyed was the crowd scene simulation. I used Houdini to create large groups of moving characters, and this 3D animation software let me control how they moved, avoid crashing into each other, and how they walked on different surfaces. I didn’t have to find strange workarounds like I usually do in other software. Once I learned how the tools worked, they made sense.
“Houdini is amazing for simulations like smoke, explosions, or particles. The step-by-step process feels like you’re doing coding, but in 3D. It’s not beginner-friendly, but the results are worth it.”

I also spent time testing fluids and particle effects. Houdini’s tools gave me detailed and lifelike results – the kind of effects you usually see in high-budget video games or movies. Since my project needed dynamic environments, this capability of the video game animation software helped me a lot.
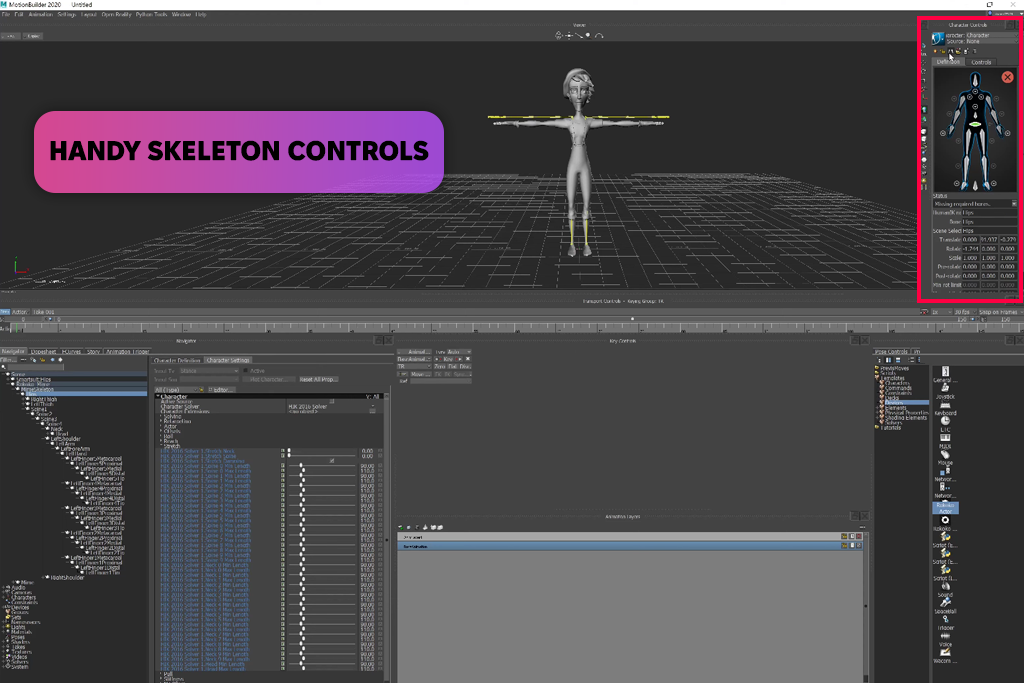
MotionBuilder helped me speed up my character animation workflow. I could import motion capture data, clean it up, and make changes to how the characters moved while they were in a scene. The software was easy to understand and felt like it was made for storytellers and animators who don’t want to deal with too many confusing steps.
Another part that stood out about MotionBuilder was how good it is at working with motion capture. It’s known as one of the best tools for this, and I can see why. Whether I was watching a character’s movement visualisation live on a stage or mocap data to edit it later, it all worked smoothly. I didn’t run into the usual problems I’ve had in other programs when trying to match the mocap data to a character.
The testing process of the 3D animation software was conducted by doing tasks that most users would do in real life. Together with Tani Adams, Nataly Omelchenko, and Kate Debela, we created short animations, built characters, simulated environments, and checked how well the programs handled rigging, rendering, and motion capture.
We started by testing how easy the modeling tools were to use. We made different kinds of characters and scenes: some looked like cartoons, others were more realistic. We paid attention to how accurate the tools felt, how simple it was to shape and move geometry, and whether the software let us use procedural workflows or if we had to do everything manually.
For rigging, we focused on creating skeletons for the characters and making sure their skin moved correctly with the bones. We tested how simple it was to add bones, how flexible the IK/FK systems were, and how much extra work we had to do after using automatic rigging tools. We also checked how well the software supported facial movements using morph targets and blend shapes.
The animation part took a lot of time. We tested both keyframe animation and physics-based animation. We tried animating characters that were walking, running, and jumping, and we also worked on facial expressions and hand movements. In 3D animation programs that had simulation tools, we tested how they handled hair, fur, clothes, and soft body dynamics, checking for quality and how much control we had.
Next, we worked on textures and materials. We checked if we could generate PBR textures inside the software or if we had to use another app. We tested how easy it was to use UV mapping tools, whether we could use procedural textures, and if the software had smart materials or easy-to-use node systems.
For rendering, we compared how real the results looked and the speed. We rendered both pictures and short videos using different lighting setups (HDRI, studio lights, or sunlight). We checked how well the software handled shiny surfaces, refractions, subsurface scattering, and volumetrics like fog or smoke. We also timed how long it took to render the same scenes in each program to see which one was faster.
We also checked integration. We tried exporting to formats used in games, VR/AR tools, or compositing software. Support of file types like FBX, OBJ, Alembic, and USD, and smooth baking animations for export were essential.
During the testing process, we took careful notes on things like stability, how much computer power was needed, and whether the software used the graphics card effectively. We also tested how the programs performed when working with large scenes or complex effects.


