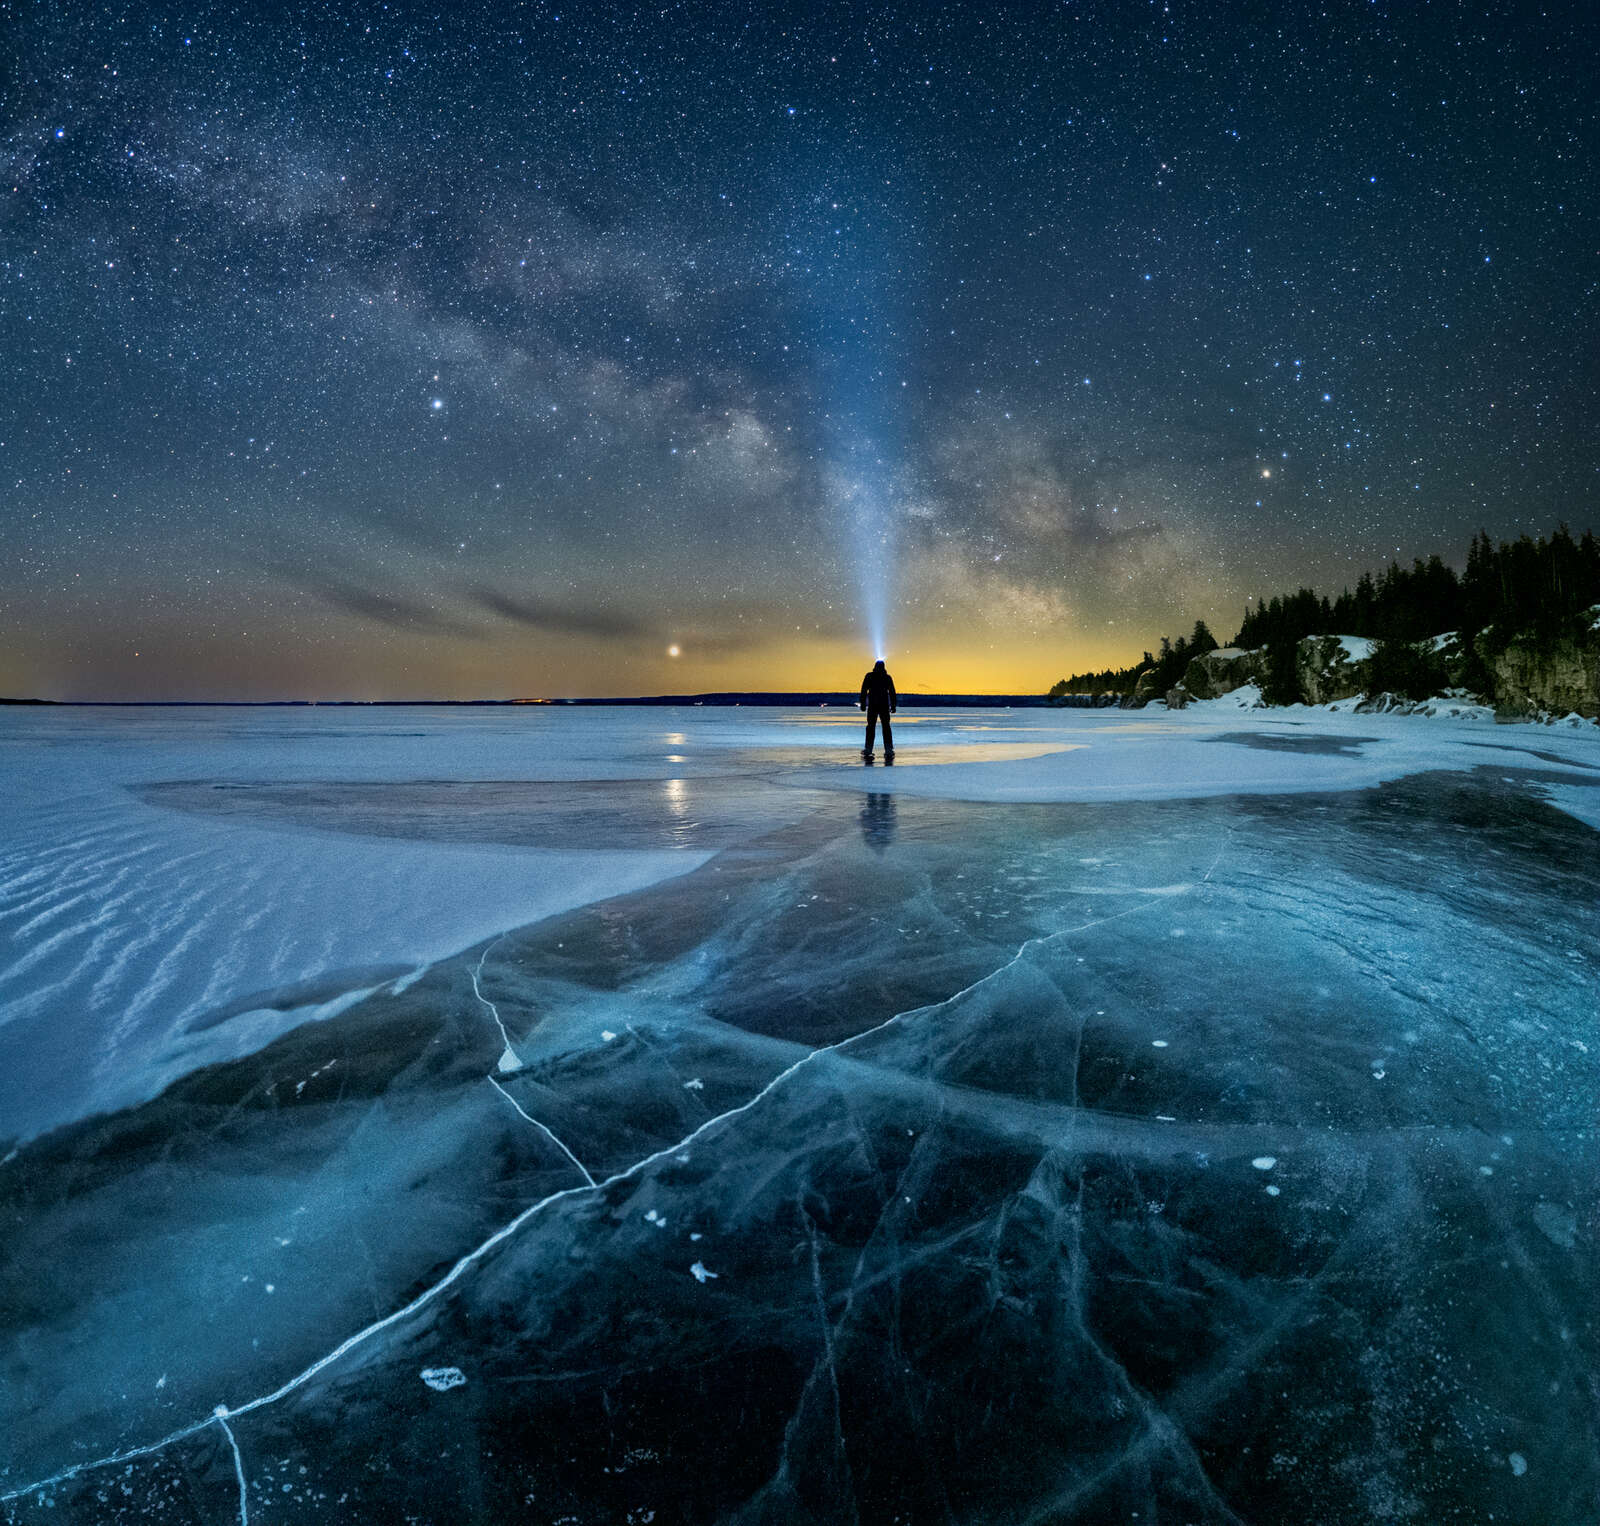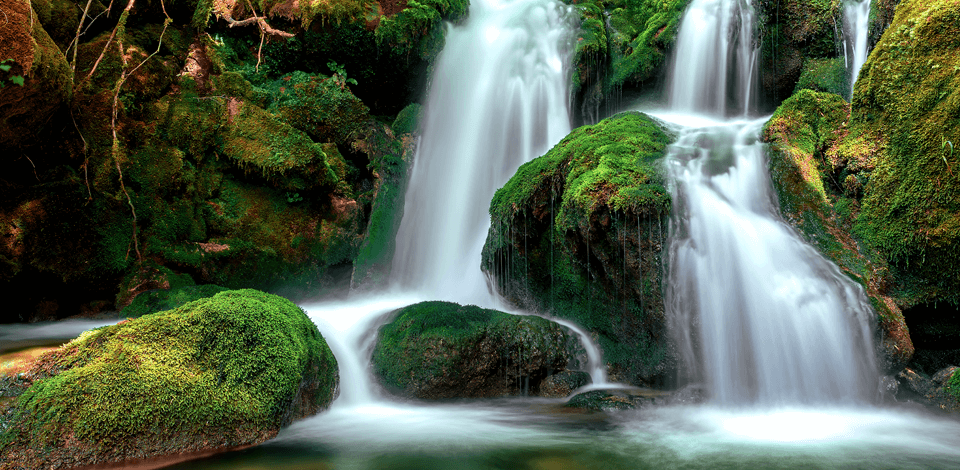
There are two methods I can use to achieve motion blur in photography. The first approach is to freeze action during an opportune moment while the other has me leveraging motion blur to add a feel of movement and speed.
I usually set a slower shutter speed to blur dynamic subjects in the shot. At other times, I attempt to focus on a bit of the movement by setting a higher shutter speed.
Whether your goal is to convey high speeds with taillights spreading across the shot on a nighttime highway or to take a photo of a person walking through a crowded intersection, motion blur can help focus the viewer’s attention on specific areas while gaining a new perspective on the scene.
If you want to capture motion blur in photography, you need a camera that allows you to adjust the shutter speed, aperture, and ISO, as well as:
Tripod. It offers the stabilization necessary to avoid camera shake when using long exposure times. This is crucial for capturing detailed surroundings with blurred subjects.
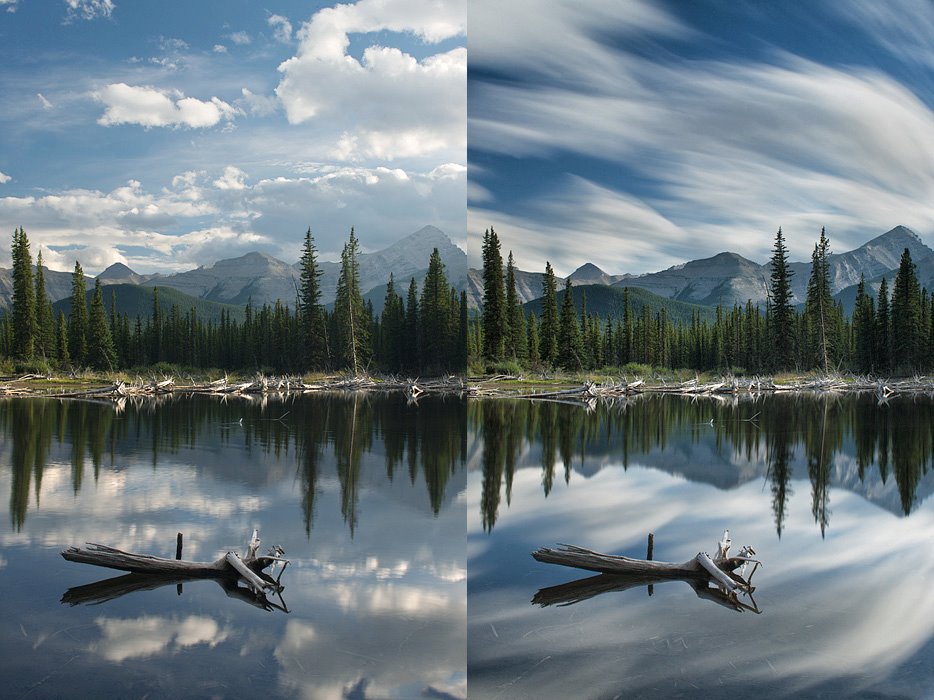
Wide-angle lens. Perfect for taking photos of landscapes and cityscapes with motion blur, like rivers or floating clouds.
Telephoto lens. Great for sports and animal photography, enabling the photographer to zoom in while achieving a blurry effect around fast-moving subjects.
Flash (with rear-curtain sync). It can freeze a moment at the end of the exposure, combining sharpness with motion blur. Useful in action shots or events.
|
Mode
|
Shutter priority or manual mode |
|
Shutter speed |
1/30-1/60 sec (based on how fast the subject is)
|
|
ISO
|
100-400 (based on the lighting conditions)
|
|
Aperture |
f/8 - f/16
|
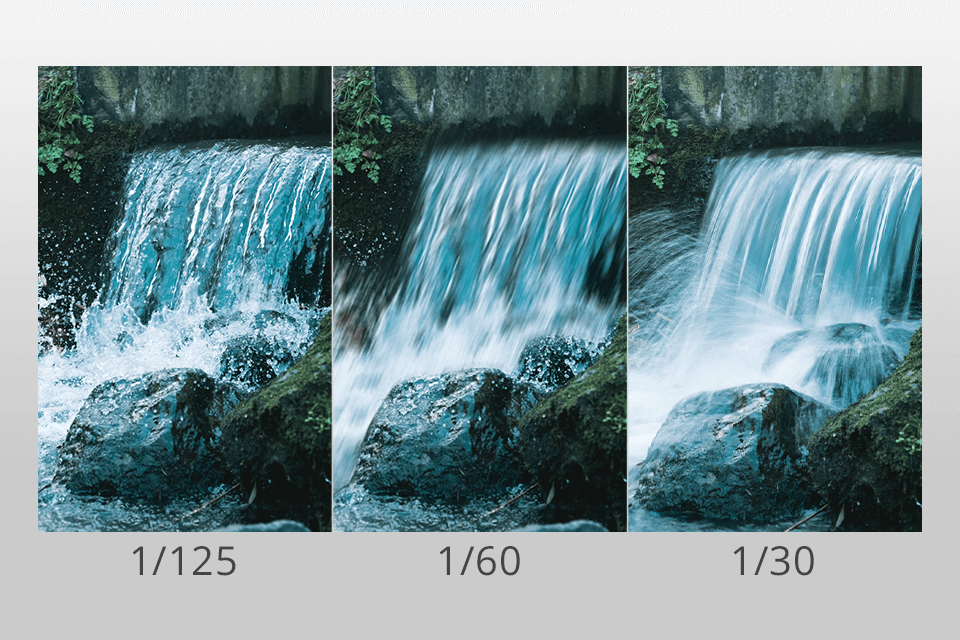
I start by snapping a couple of test pictures to determine the optimal shutter speed. Setting a lower shutter speed helps boost blurriness, while a higher shutter speed reduces it. Well-chosen shutter parameters allow you to keep the subject in focus while the rest of the scene becomes blurry.
A shutter speed of 1/30sec is great for bicycles, while a setting between 1/60sec and 1/125sec is more appropriate for cars and bikes. If your goal is to blur a waterfall, consider setting the exposure to about 3-5 seconds for optimal results. Such a setting is also suitable for 'blurring' people out of photos when working in crowded streets, effectively deleting them from architectural and landmark shots.
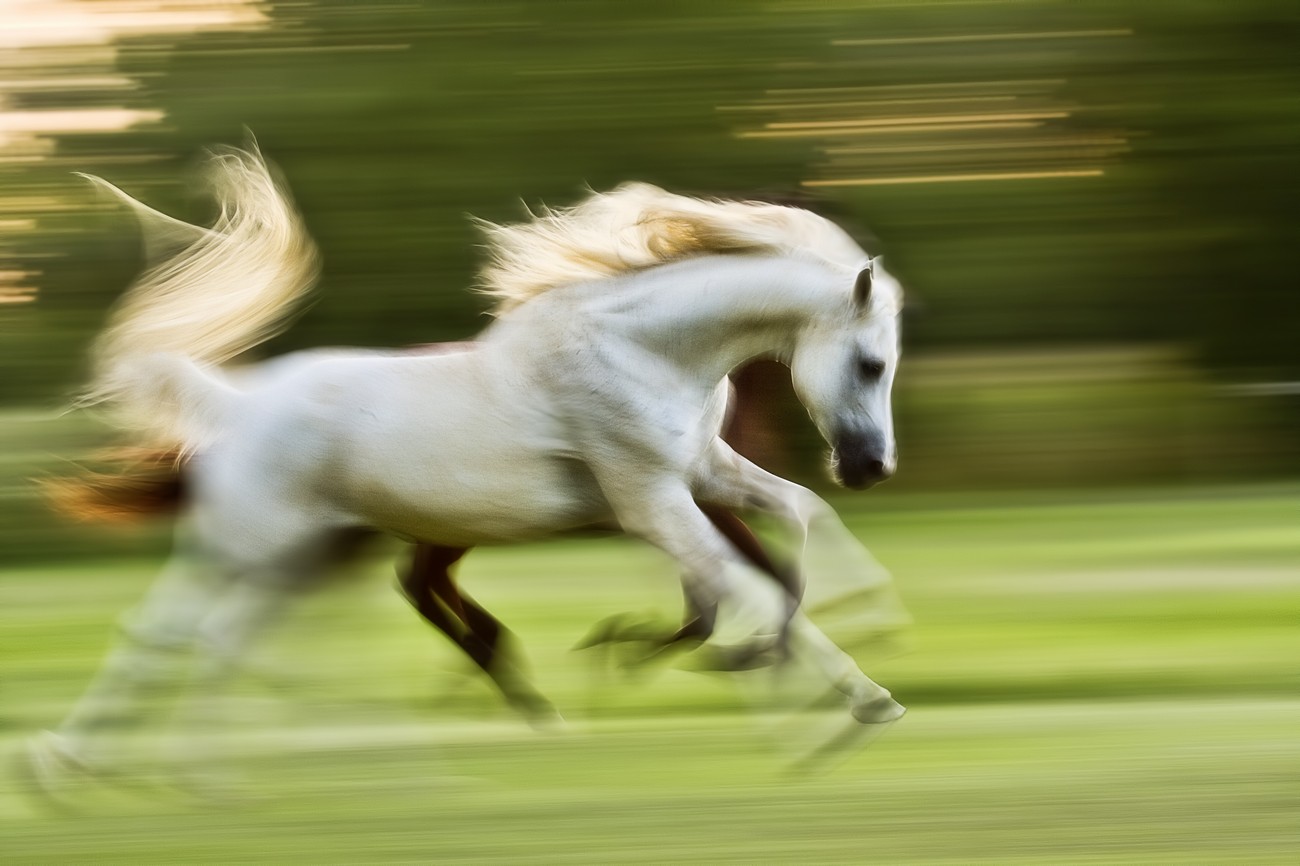
When I’m using this technique, I move the camera as smoothly and evenly as possible in parallel to the subject’s trajectory. I employ a tripod for heavy lenses to stabilize the photo while ensuring I only turn the tripod in the direction that the subject is moving in while keeping the shot’s composition in mind.
I set my camera to shutter priority or manual mode. You can also work in the burst shooting camera mode as it helps guarantee that you’ll have at least one photo where the subject is perpendicular to the camera, which is usually ideal if you follow the blurred motion in photography definition.
Shutter speed between 1/15 and 1/60 seconds.
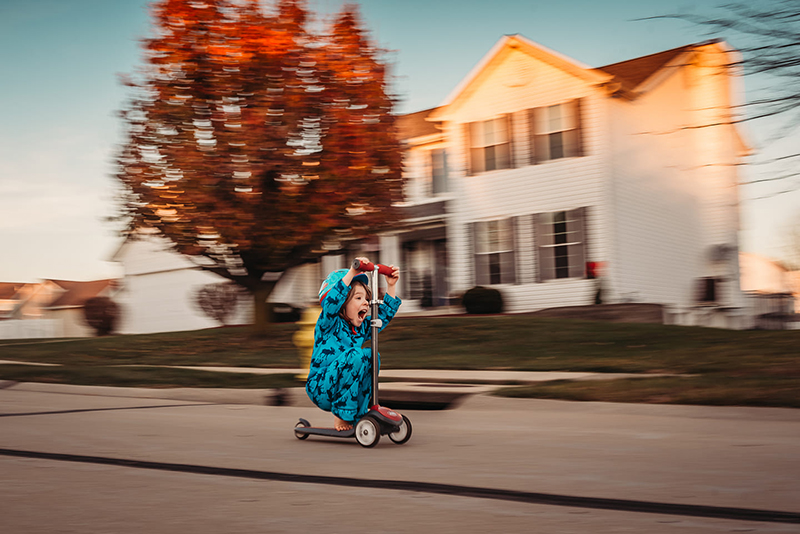
If you shoot with a telephoto lens, you’ll probably have to set a higher shutter speed because camera shake is the main enemy of out-of-focus panned photos. A wide-angle Nikon lens minimizes camera shake and supports longer shutter speeds but it also has you to move more to get the panning right.
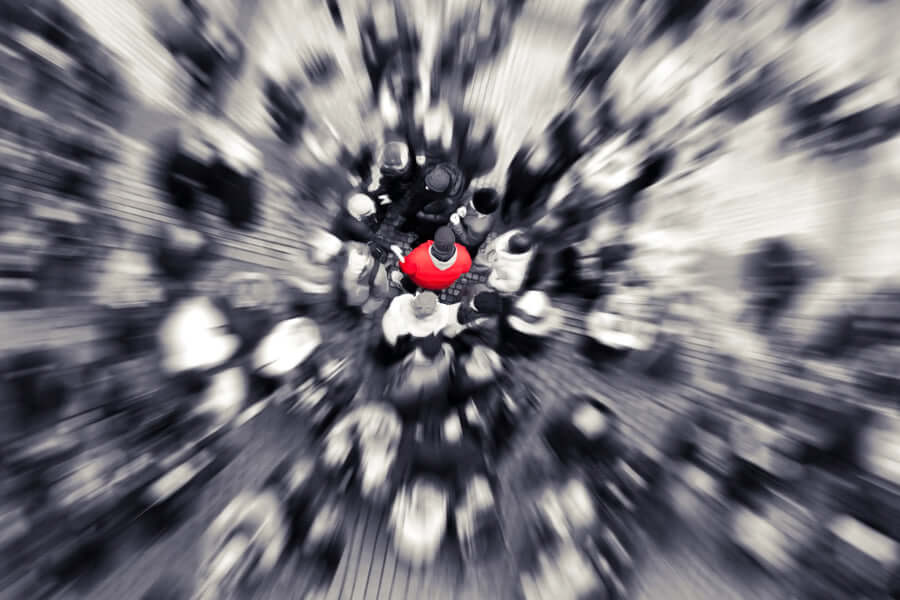
The benefit of employing the zoom blur method is that it doesn’t require a subject in motion. Instead, it has you employing a zoom lens to create the illusion of movement. It’s worth mentioning that such photos can have severe distortion, particularly if printed in bigger sizes.
To create the perfect zoom blur effect, you have to set a slow shutter speed, usually of about 1 second. Begin with 1 second, and then raise or lower the setting until you’re happy with the result.


When working in dark conditions, overexposure is nearly impossible, which is why you can employ a Bulb exposure and have the shutter open for a couple of minutes if needed, to receive the desired light trails for your photo. The key here is to ensure the camera is on top of a tripod or other firm, vibration-free support.
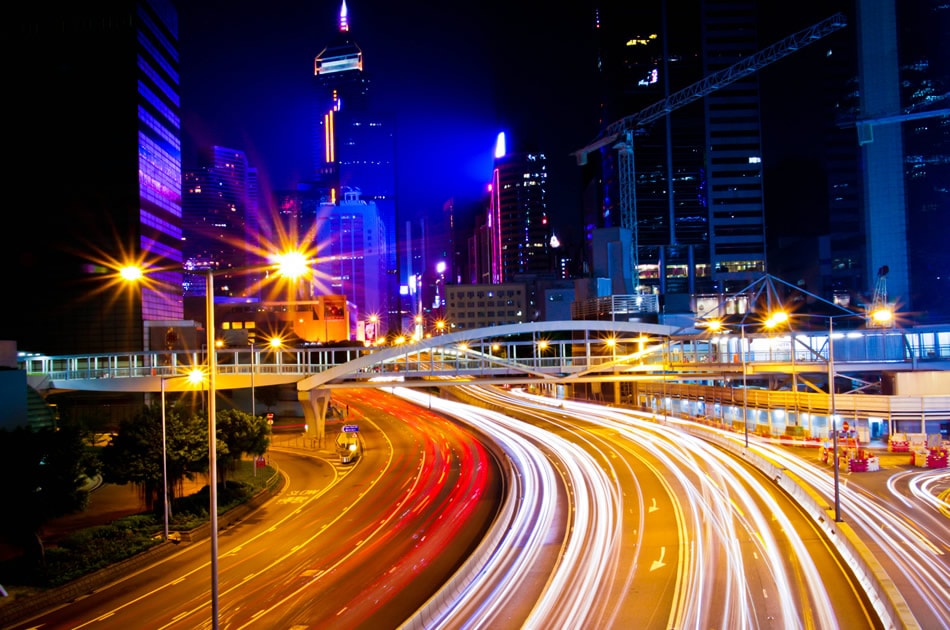
Additionally, you can take advantage of a flashgun to shine a light on a moving car, which will result in having a properly exposed vehicle that is followed by light trails. It’s important to set the flashgun to rear-curtain mode so that it's fired at the end of the exposure and not at the start.
If you use a standard front-curtain flash, the light trail will be added in front of the car instead of behind it.

The two main ways of capturing motion blur in photography are to have a moving subject or move the camera itself. Both approaches achieve different results and are aimed at different purposes. Whichever route you choose, keep an eye on the exposure of the scene and tweak ISO or aperture to prevent overexposing it.
Similar to how you can make motion blur effect in Adobe Premiere Pro, you can recreate such an effect using image editing software or by approaching a trustworthy photo retouching service.
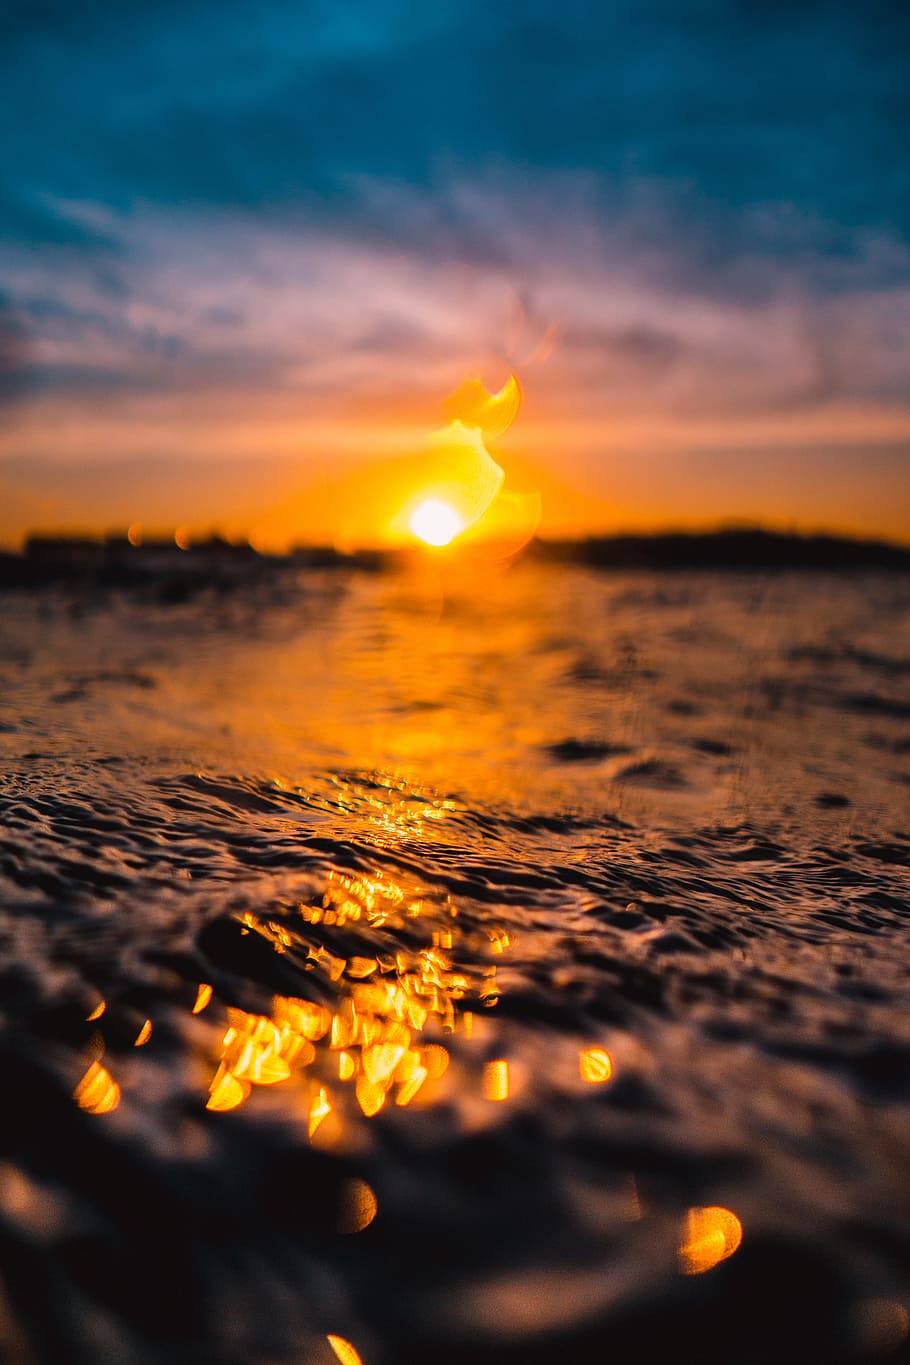

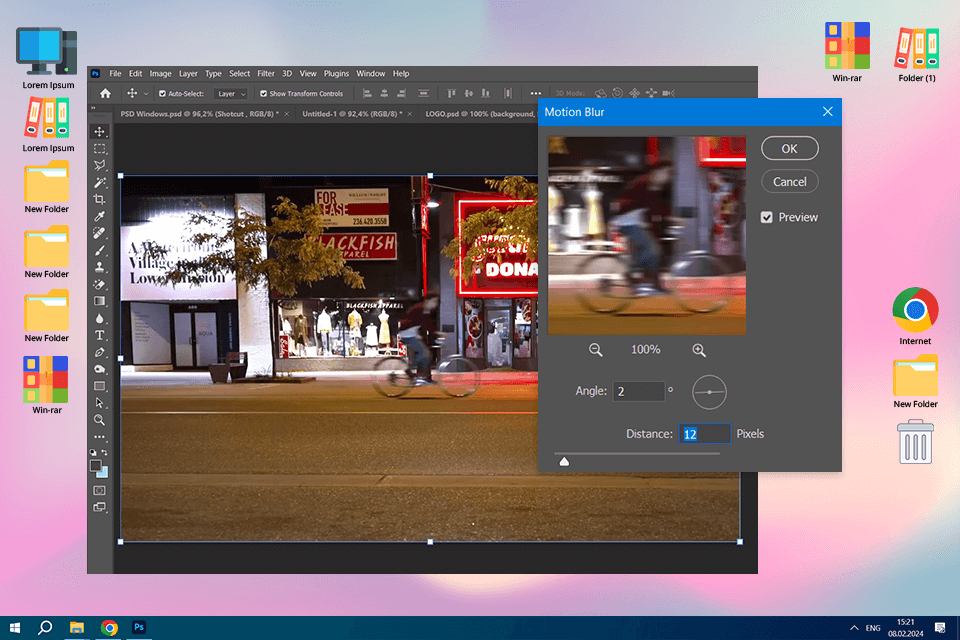
I tried to blur motion using such image editing software as Photoshop and the results were quite satisfying.
The step-by-step process for achieving such an effect looks like this:
If you’ve been wondering what is motion blur in photography and now can’t wait to try it yourself, there are also free Photoshop actions that can recreate a motion blur effect in a single click.

Pairing a longer exposure setting with a flash can lead to creative effects, enabling the photographer to mix motion blur produced by the long exposure and a frozen subject captured using the light emitted by the flash.
It’s a particularly nice technique for sports photography, but remember that you need to be situated near the subject for the flash to work.
Photos can look unfocused or blurry because of camera shake, which is why it’s important to zoom in on your images to check their sharpness. The longer your lens, the more prone it is to camera shake.
If you have a high-quality camera with IBIS and a 35mm lens, you can set it to an exposure of 1 second or even longer.
Try to stabilize yourself, possibly by leaning against a streetlight or placing the camera on a wall or other firm surface. Better yet, use a tripod for any photoshoot that requires long exposure times.

A fast subject, which is very common for action and cycling photography, will become blurry at a significantly higher shutter speed. If the subject is very quick, motion blur becomes visible at settings like 1/200, 1/125, 1/100, or 1/60.
If the subject is moving at a lower speed, be it a person walking or a slow-moving stream, you’ll have to choose a dramatically lower shutter speed to get the motion blur effect. Consider using parameters like half a second, a full second, or even longer.

|
Sports
|
Depicts the fast-paced movement of athletes, like runners or cyclists, to convey speed and energy.
|
|
Street |
Conveys the atmosphere of a lively city by blurring pedestrians, carts, or moving lights. |
|
Landscape |
Blurs objects like moving water or clouds to achieve a dreamy, surreal effect.
|
|
Dance |
Depicts the elegance and motion of dancers, recreating the beauty of every movement.
|
|
Event |
Employed for emphasizing the energy of the crowd and various activities, particularly in busy or celebratory settings.
|
|
Wildlife
|
Highlights the movement of fast animals, like birds in flight or predators running.
|
|
Travel
|
Showcases the movement of people, cars, or natural elements, conveying the energy and feel of different locations.
|
I use a long exposure of about 1/30-1/60 sec for night photography to depict the movement of the cars, while the lack of daylight ensures I won’t have an overexposed image.
