Below I’m going to explain which methods I use to transfer music from my computer to the iPhone without iTunes to help you pick the best approach for your specific situation.
While iTunes is a fantastic solution for managing your music library, there’s still a chance you can lose your collection if you don’t pair it with your PC and some of the songs are deleted. Similarly, it’s impossible to copy music that you didn’t officially buy on iTunes. Thankfully, the ways below in this article will help deal with all your transferring problems.
The App Store offers multiple third-party applications that can be used for transferring songs between your phone and computer.
For instance, it allows you to download AnyTrans iMazing, VLC for Mobile, Documents by Readdle, and Waltr 2 just to name a few.
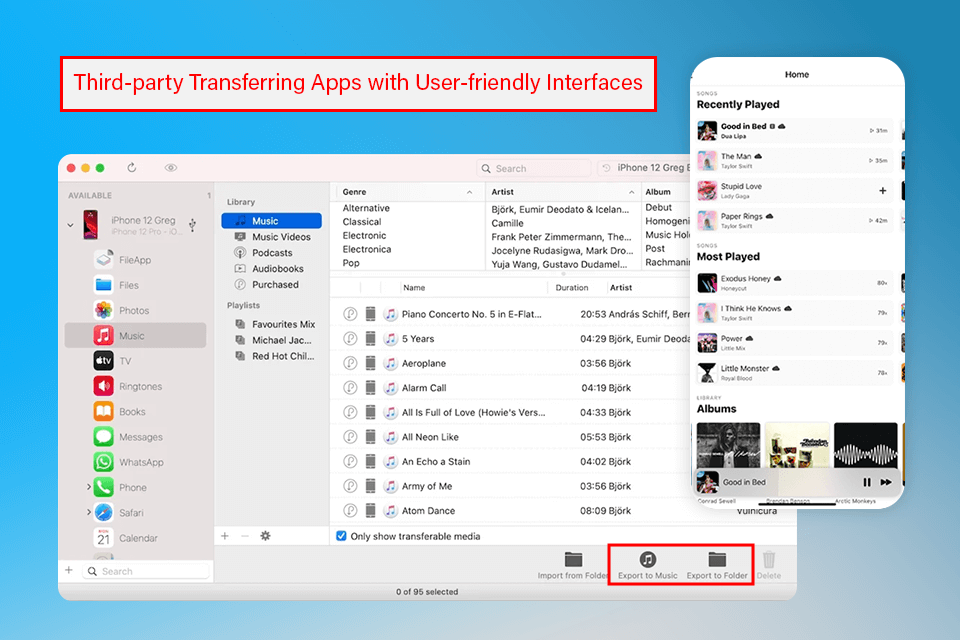
Download one of the aforementioned applications, pair the iPhone with your PC, and take advantage of the provided functionality to copy music files from your PC to your phone’s collection.
iCloud is a great solution for transferring music to your iPhone using your PC, particularly if you like to do everything wirelessly.
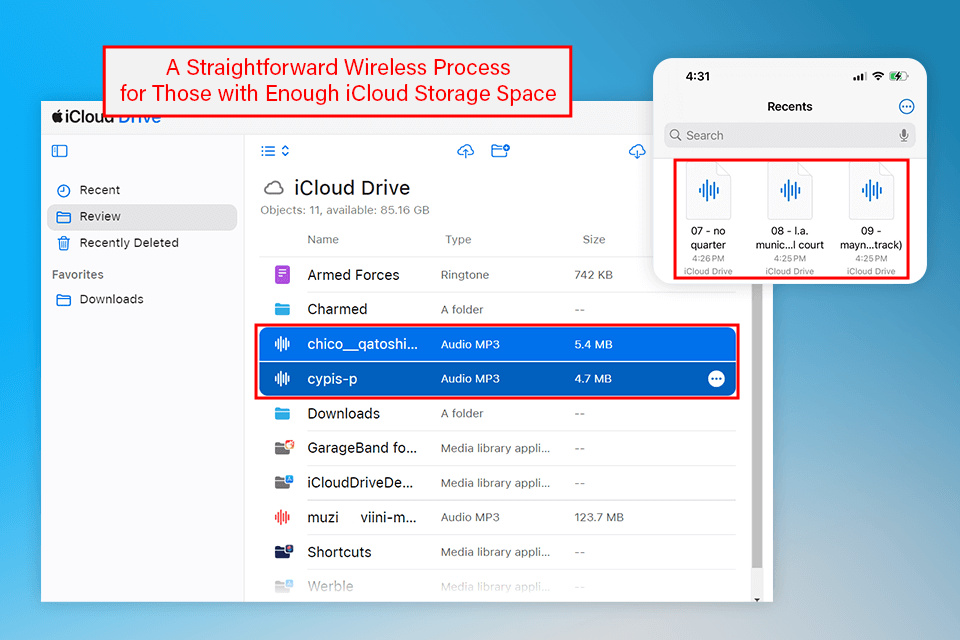
Step 1. Upload the desired songs to the iCloud Drive on your PC.
Step 2. Open them on your iPhone via the iCloud Drive or Files application. Now you can download the uploaded files and listen to them on your phone whenever you want.
Google Drive, which is among the best Dropbox alternatives, is a versatile tool for ensuring your computer and iPhone have the same music collection.
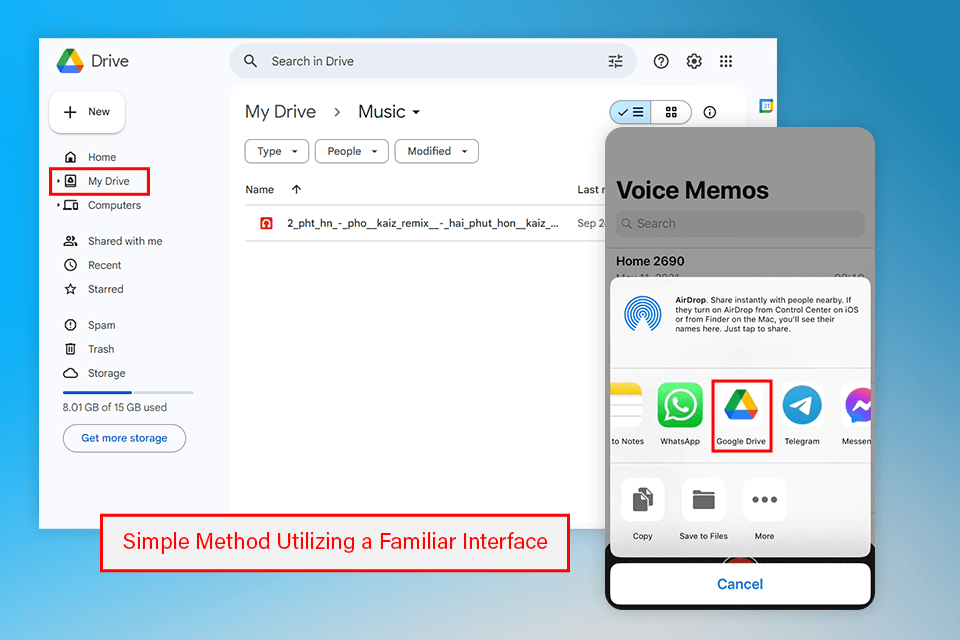
Step 1. Copy all the files you’d like to add to your iPhone into a single folder on the computer. Log into your Google profile, click on "+ New", then pick "Folder upload" and choose the folder with your songs. Now, press "Upload" and wait for the process to finish.
Step 2. Install Google Drive on your iPhone and log into the same profile. The previously uploaded files are already in the application. Download them to your phone and now you’re ready to listen to them on your preferred music player for iPhone.
You can install this cloud storage for music files into your iOS device to easily transfer songs from your PC to your iPhone via the internet.

Step 1. Download and install Dropbox on both devices. Log into your account on both gadgets and upload your music collection to this platform.
Step 2. Launch Dropbox on the iPhone, and download the songs that you can now listen to even when you’re offline.
Other than taking advantage of cloud storage platforms, another way to transfer music from computers to the iPhone is by simply using your email.
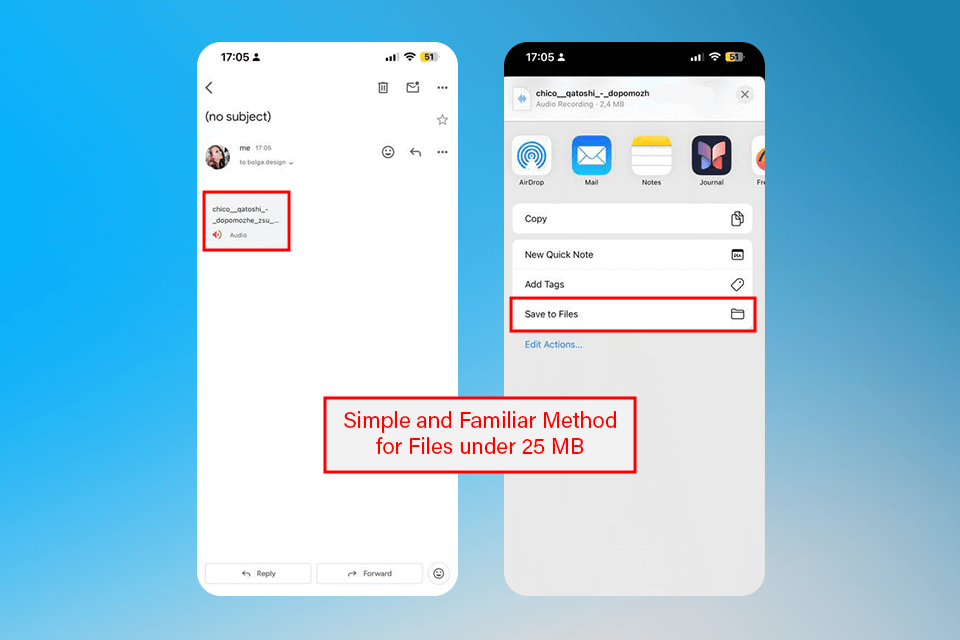
Step 1. On your PC, start drafting a new email and attach all the music files you’d like to transfer and send to your account.
Step 2. Check the email on your iPhone. Tap on the file to download it. Afterward, tap the "Share" icon and pick an application that you want to use for listening to the song and it will be added to your iPhone music library.
After uploading your songs to this music streaming service on your computer, you can start listening to it on your iPhone without any issues.
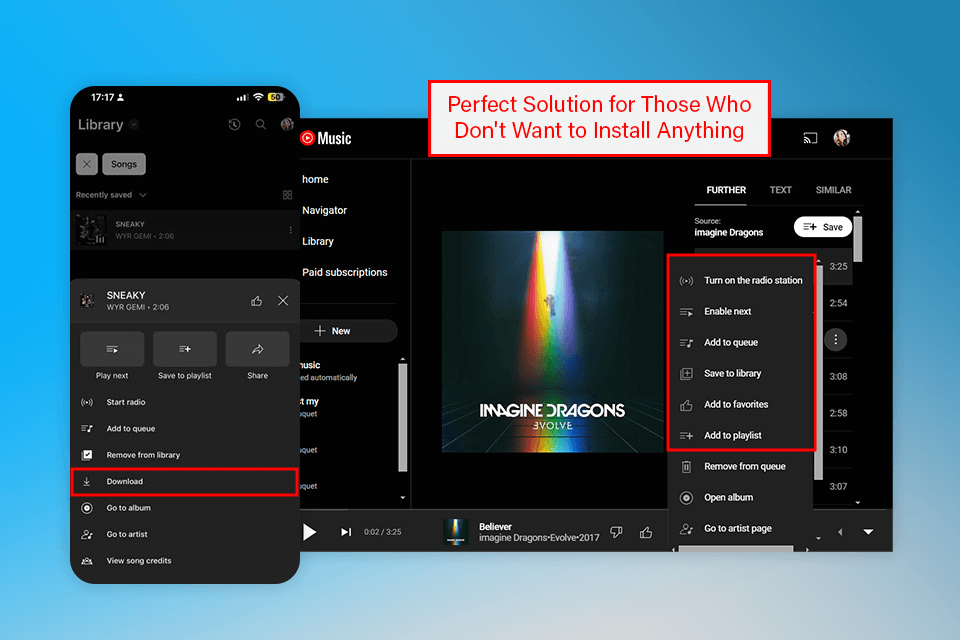
Step 1. Log into your YouTube account on your computer and press the profile icon. Pick "Upload music" and choose the files you’d like to add. Press "OK" and the chosen songs will be added to YouTube Music.
Step 2. Log into your YouTube account on your iPhone. Tap on "Library" > "Song" > "UPLOADS" to locate the uploaded songs. You can even listen to them offline by tapping the “…” icon and then choosing "Download".
You’re an Apple Music subscriber, you can expand your song collection straight from your iPhone.
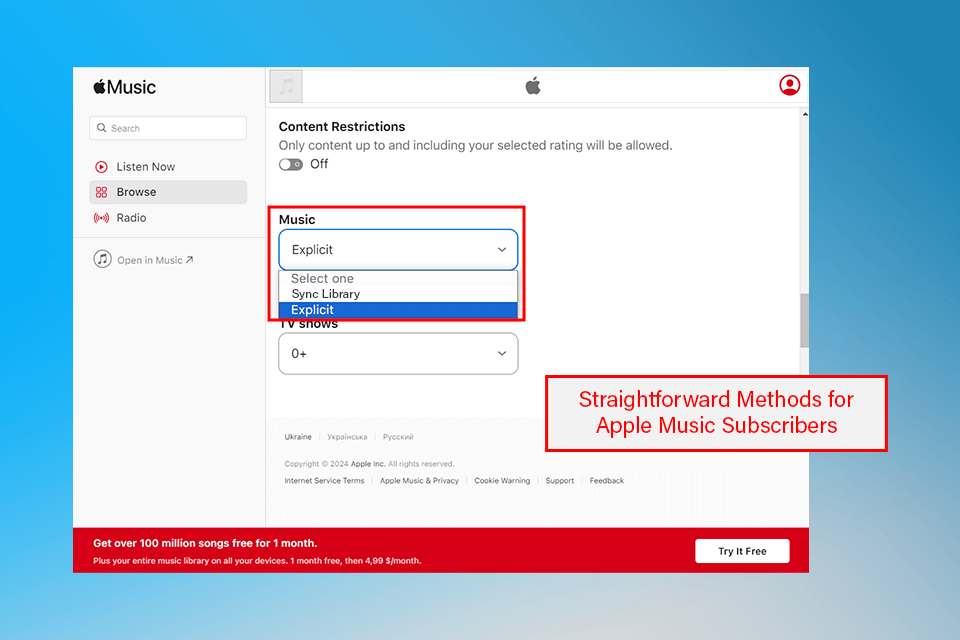
Step 1. Launch Apple Music, pick “Account” > click “Sign in” and type in your Apple ID and password.
Step 2. Now, synchronize the Library with your iPhone. Simply tap on “Settings” > “Music” and enable the “Sync Library” option.
Make sure there’s sufficient space available on your iPhone. Check the WiFi or USB connection making sure it’s working fine. Open iTunes, click on Music and check whether Entire Music Library is ticked. Make a check if iTunes require an update.
iCloud Music Library is enabled. To disable it, tap on Settings > Music >Turn off iCloud Music Library. iTunes Match is enabled. To disable it, tap on Settings > iTunes & App Store > Apple ID > Subscriptions > Cancel Subscription and iTunes Match. Your iPhone has an outdated version of iTunes. Get the newest edition of the app by going to the Apple Store > Update.
Check that the files you’re transferring are in a format that is supported by your iPhone model (MP3, AAC, or M4a). Besides, the files should not be in any way protected by DRM, as that might prevent from playing on some phones.
This can be done in a number of ways, among them are using services like iCloud Drive, AirDrop (for Mac users), or even cloud storage platforms that you can open with your iPhone.
Yes, such songs could be relocated by downloading the songs into the local storage of your iPhone through the use of the “Purchased” menu within the iTunes Store application or the iCloud Music Library tool.