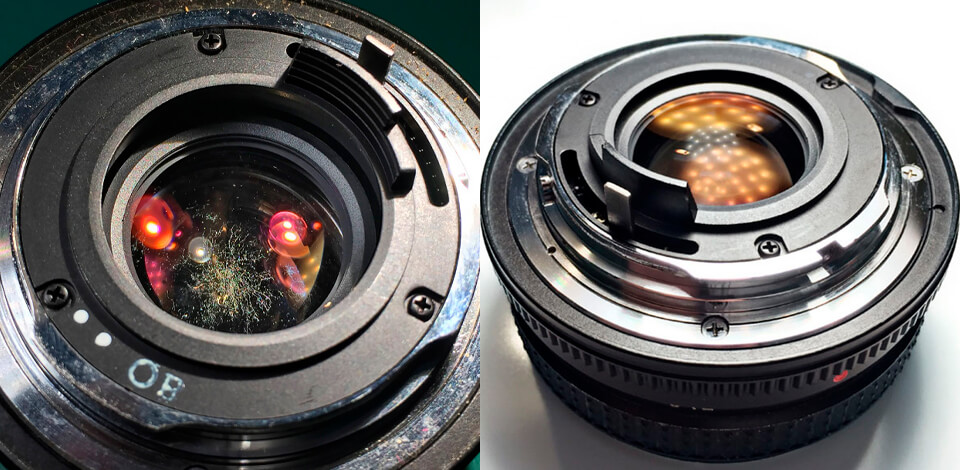
When you buy a used lens in the secondary market, you may find that there appears fungus. This is a fairly common yet not the most terrible problem, and in this guide, I’ll explain how to remove fungus from lens in a quick way.
Your lens may get infected by different types of fungi because of several factors: frequent use of a camera with a lens in the rain (even if the manufacturer claims it is protected against water), or keeping the lens in a high-humidity place.
Fortunately, you can remove fungus from lens at home with the help of simple items rather fast. I have described the cleaning process in 3 simple steps and also shared 5 key tips on how to prevent fungus from spoiling your lens.
Objects I used in the guide:
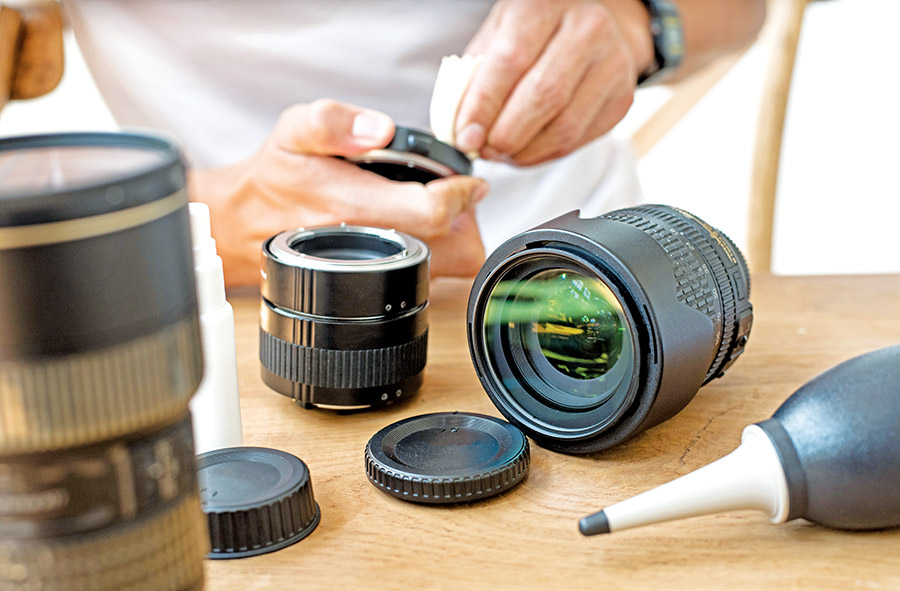
If this is your first time disassembling a lens, I highly recommend that you take photographs to document each step so that you can assemble it without any problems.

Put on protective gloves, inspect the lens and find the grooves in the protective ring to remove it with the lens spanner. To do this, carefully insert it into the holes and start moving the tool.

If there are no grooves in the lens, use rubber vacuum lens pads. Choose the correct size, slide into the lens, and scroll until you hear a click. This way, you can remove a front protective ring.
Important! For simple lenses like the Cyclop 85mm 1.5, this is all you need to do to detach a lens. Carefully turn the lens over and remove it. Be very careful at this stage, as the lens is a thin piece of glass that can be easily broken. Use a soft material such as a microfiber lens cloth to take it and place it on the table.
If you use a professional lens for portrait and other genres, a lens will have an additional chrome mount. So, you will need to unscrew several additional screws (depending on the model) using special screwdrivers.

Once you’ve taken the lens out, I recommend turning on any table lamp and examining the lens more accurately so that you understand what areas are covered by fungus and where it is absent.

Next, go to the bathroom or lower the lens into a prepared container with hot water. Don’t be afraid to damage your gear – this step of cleaning lens fungus is absolutely safe.
Use any detergent you have in your kitchen or buy a new one (don’t skimp). Simply soap the lens and gently rub it with your fingers, and then rinse it again under hot water.
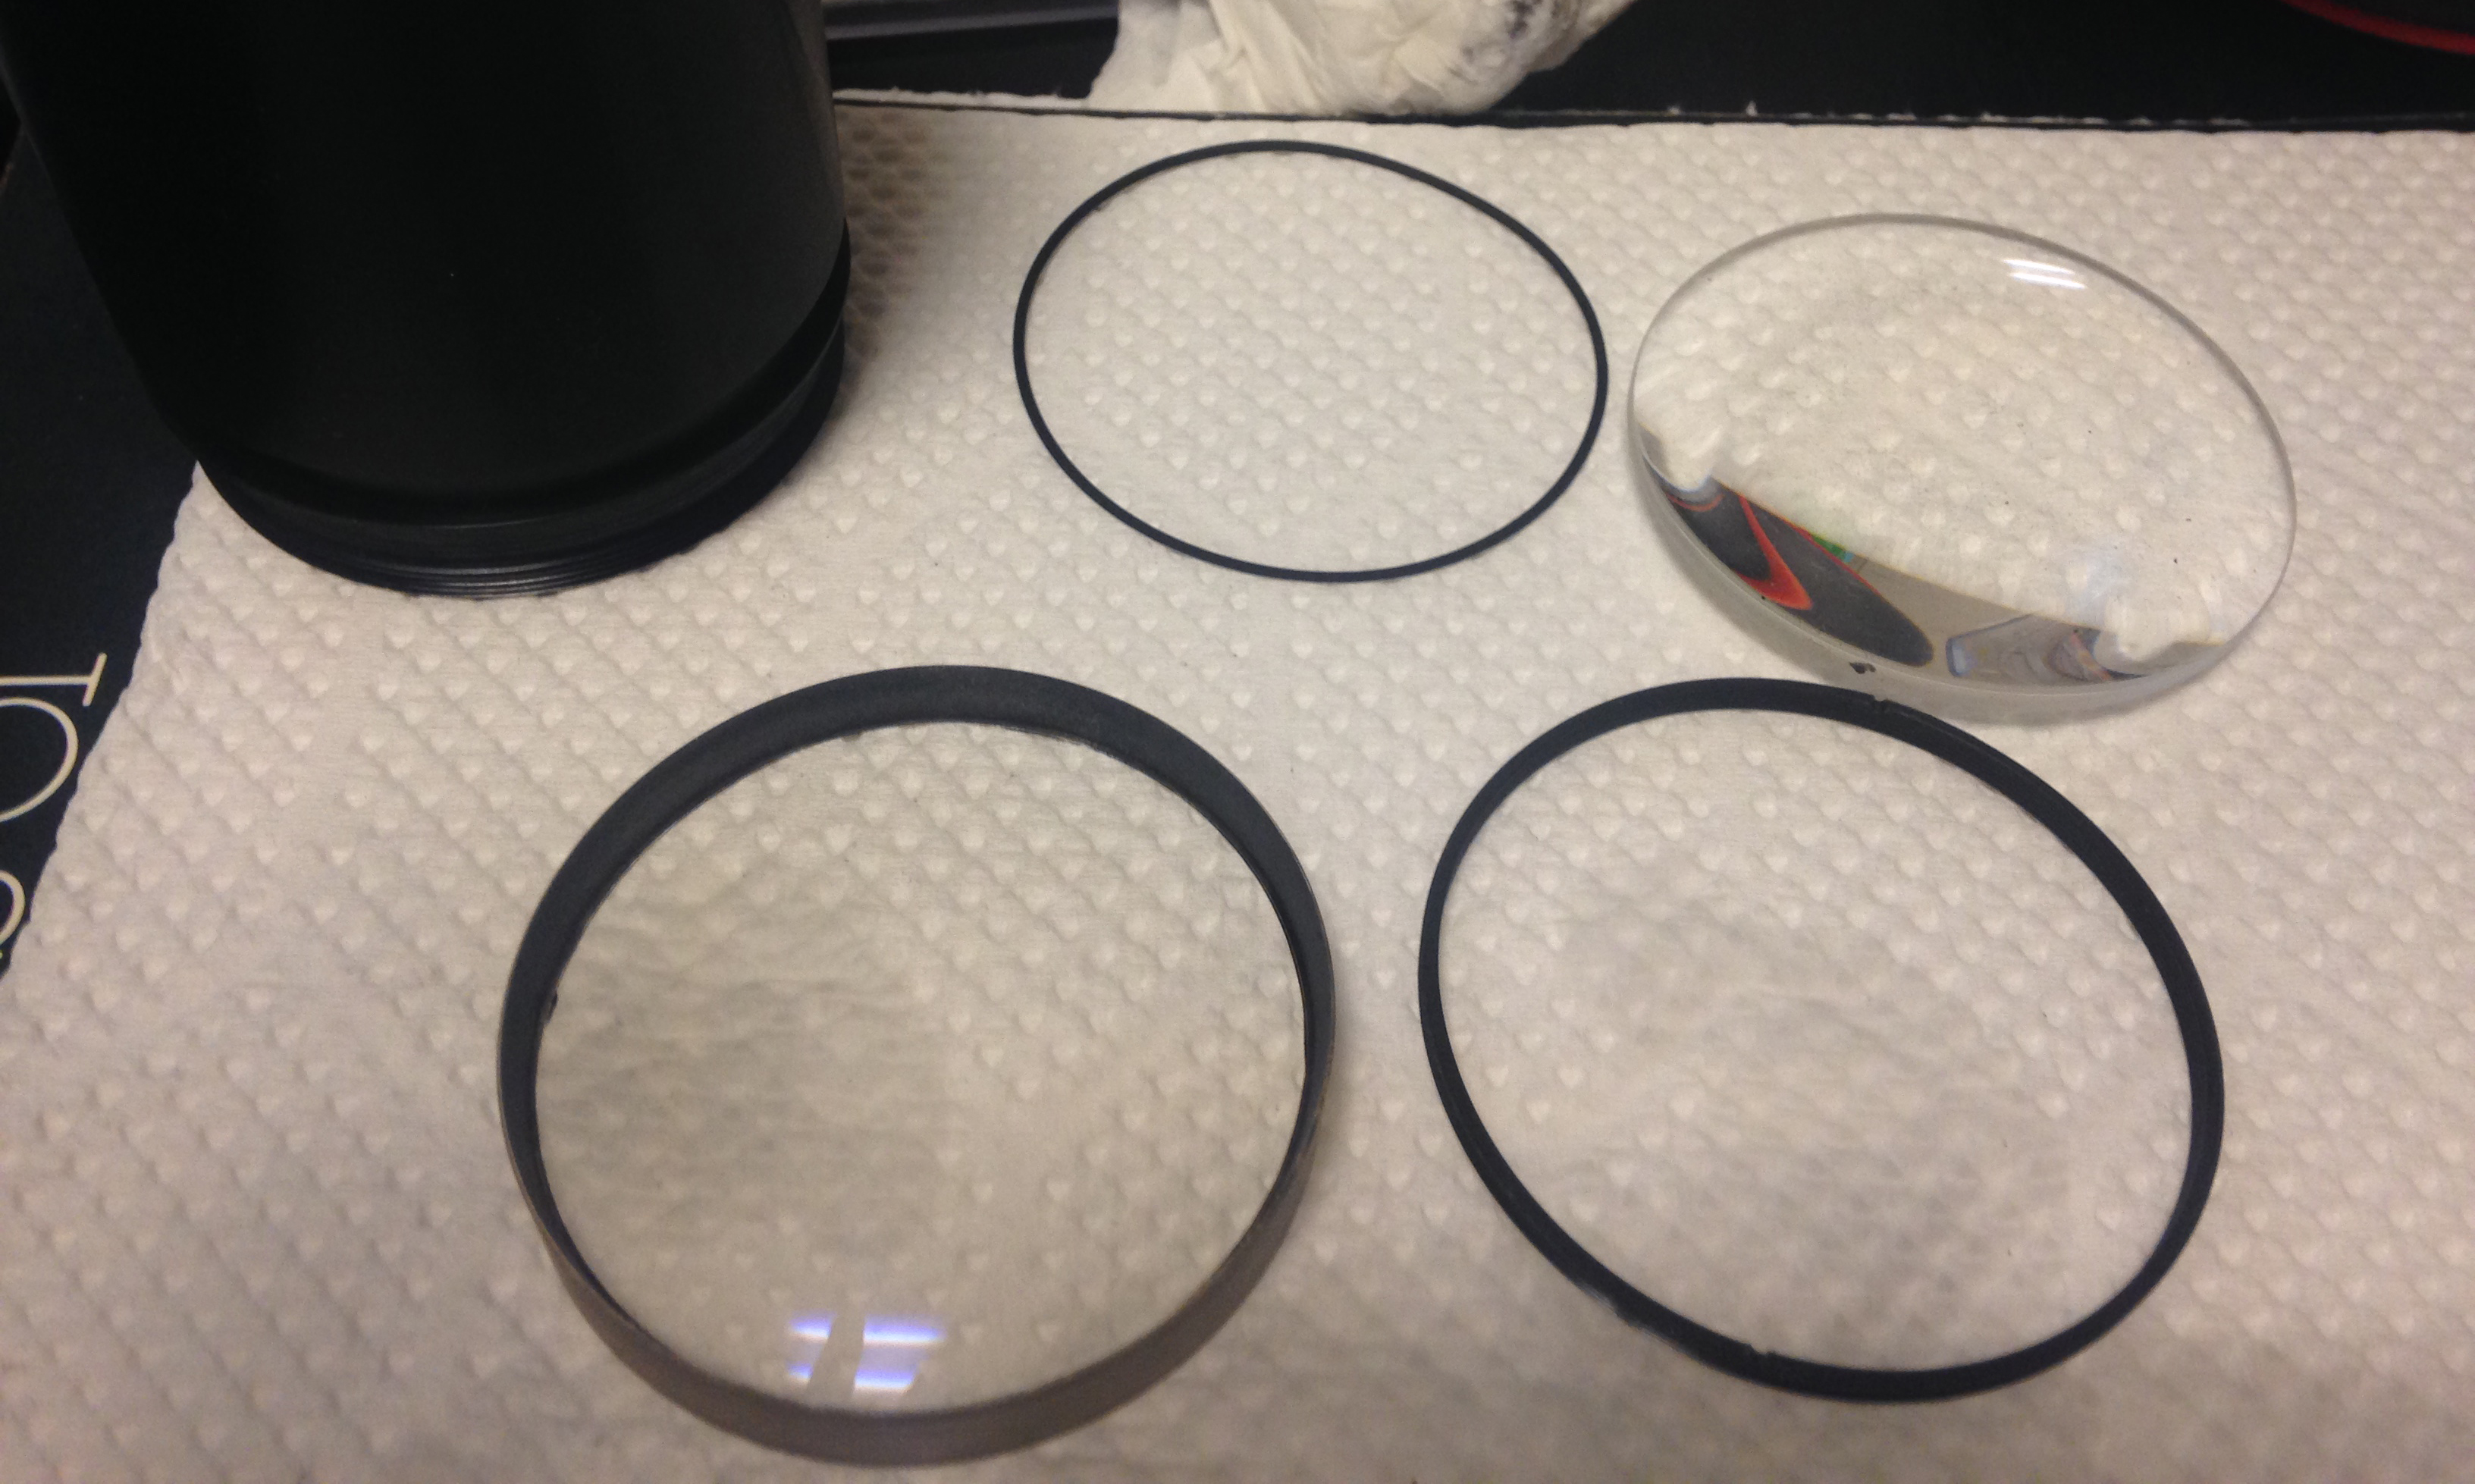
Place the cleaned lens on a high-quality paper towel, so it absorbs all moisture. Right after that, pour a small amount of white vinegar (about 10 ml) over the lens to help remove water stains and protect it from possible fungus infection in the future. Wipe the lens and make sure it is completely dry.
Once you are done with lens fungus removing and drying all elements, you can start putting all pieces together. Use new, clean gloves! Place the lens in its initial place, screw the additional chrome mount (if needed), put on and secure the protective rings, and that’s it!
If you have followed all the steps attentively and also took into account my tips (listed below), the chances there will appear fungus on your lens again are next-to-zero.
Then you need to disassemble the entire lens and perform the described manipulations with all parts. Important! In such situations, I recommend contacting trusted service centers to get expert assistance.
No, if you follow all the steps carefully and keep the lens clean. Removing fungus from the lens is absolutely harmless, both for you and your equipment.
You may have forgotten to use white vinegar, or the lens didn’t dry completely, so there are streaks on the surface. You need to repeat the entire procedure.
You probably store your lens in a humid environment. Check the tips below to avoid re-infection.
Avoid bad weather conditions. One of the main reasons why fungus appears is shooting in the rain. This is especially relevant for old lenses (purchased from the secondary market), since new models usually come with moisture protection.
Control the humidity in the room. It is important to keep your lens in a room where the humidity level ranges from 40% to 60%. If the humidity goes over 70%, you create perfect conditions for fungus.
Store the lens and camera in purpose-made bags. Not to remove fungus from lens on a regular basis, you need to make sure the place where you store your shooting equipment is clean. For instance, if a shelf on which you keep your lens is already infected with fungus, you’ll hardly get rid of this problem. Therefore, I highly recommend using a special camera bag.
Remember to wipe your lenses. The most practical way to protect your lens against fungus is to wipe it with a damp microfiber cloth (at least 2 times a month).
Keep your hands clean. This is equally important because when you are fully concentrated on your work, you may not notice that your hands were dirty when you were changing the lens on your best camera.