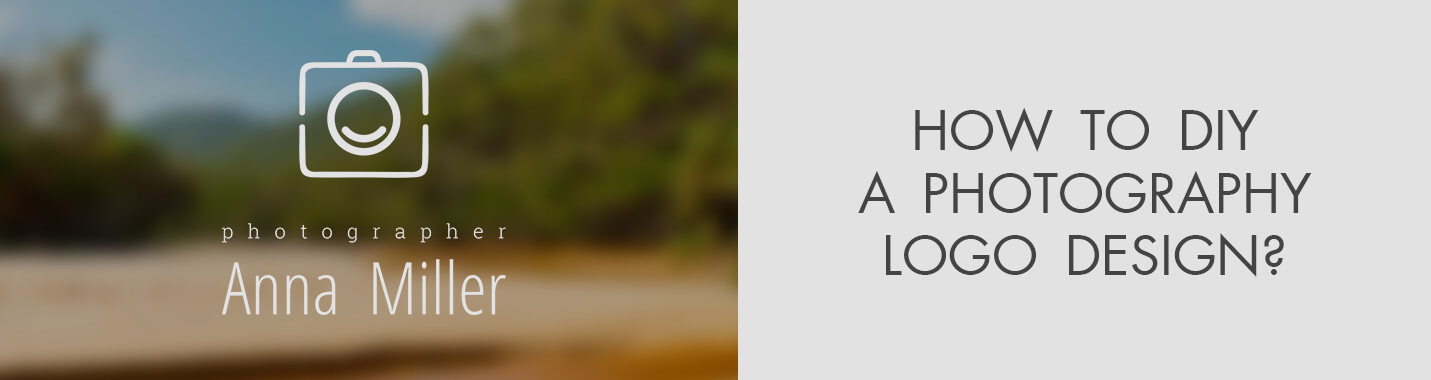
How to Make a Photography Logo
When you purchase through affiliate links on our site, we may earn a commission. Here’s how it works.
With hundreds of photographers available on the single click of a search button, why should a potential customer stop at your business and not somebody else’s? What sets you apart? How are you different?
With a truly representative logo of your brand, you help customers understand who you are. With these crafty little pieces of graphic design, you can share a wealth of information about yourself with your audience. The kind of photography you specialize in (weddings, fashion, nature); your personal style (traditional or edgy); your distinct approach to your art (your signature style).
While you can also hire a professional designer to create a perfect photography logo for your business, we know a lot of photographers who are just starting out may not able to afford a good one.
So, instead of trusting an amateur (who you’re not really sure about) with such an important task, why not make a photography logo yourself?
How to Make a Photography Logo in 5 Steps:
Using the easy steps below, you can create a DIY photography logo in almost no time.
1. Pick The Right Image/Icon
Whichever DIY logo service you use, the first step you’d need to take is to select the icon that will become the face/main part of your logo. Depending on the logo maker you’re using, hundreds and thousands of icons and free photography logo templates will be available to you at a single click, from which you’ll need to make your choice.
For a photography logo, we recommend using the image that is closest to the idea in your head. Some of the common photography icons are camera logos, lens logos, and reel logo.
Clients also use wordmark logos and even one of a kind design where you can feature a unique image that – on its surface – may have nothing to do with photography. Such unique designs sometimes are able to make the strongest impressions and connections with the audience.
So pick the right image that has the potential to become the strongest ambassador for your brand.
2. Choose The Right Colors
The concept of complimentary colors suggests that each color has a unique voice and character that it brings to the table. When you make that color a part of your design project, it becomes infused with the project itself.
Therefore, be conscious of your color choice for your logo. If you are a wedding photographer, happy and inviting colors like red, purple, yellow, pink, and orange may be great choices.
For fashion photographers, black and white or neutral hues reign supreme.
Similarly, for nature and adventure photography, green, brown, orange, and blue may be more suitable colors.
3. Select The Right Font
Typography is another important aspect of logo design. For a photography logo, pick font styles that are more artistic and less coldly business.
A lot of Sans Serif logos would work wonderfully on photography logos of all kinds, whether modern, contemporary, abstract, or geometric.
Wedding photographers mostly go for Script fonts to add to the fairy-tale impression of the logos. But no matter which exact font style you choose, just ensure that it gels well with the rest of the logo design.
4. Select a Catchy Tagline
Do not forget taglines. We see a lot of new businesses springing up with neat logos that look empty and incomplete due to the lack of a tagline.
The tagline adds another level of personality and meaning to the logo. I mean, let’s face it, Nike’s logo would be pretty incomplete without it’s ‘Let’s do it’, right?
Continuing with the same example, if you do it right, the tagline can become its own person. It can drive whole campaigns, give you direction for future ventures, and even help you shape your brand and future strategy. Use photography quotes if you can’t come up with the tagline.
5. Tweak & Download
Once you’re done with the four steps above, make any final changes you want to the design, and voila – you have got yourself a fantastic photography logo design that’s all your own.
Are DIY Photography Logo Designs the Way to Go?
Truth be told, it is. The logo is all about perception: how you want your customers to see you, what impression you want them to form of you. Since it’s your own business, you know it best and are in the perfect position to create the environment in which your most favorable perceptions can be made.
Plus, with the latest technology tools available, you can create a DIY logo that’ll be as good (and in some ways better) than a professionally designed one.
Let’s see how that can be:
Benefit #1: The Idea Won’t Get Lost in the Translation
Explaining to a hired designer what you’re looking for may not get across properly. You can try to be as detailed and clear as possible, but still, there’s a chance that the end product may be different than what you had in mind.
With a DIY photography logo, you’ll be able to get the exact design you’re after.
Benefit #2: Design Multiple Logos Simultaneously
Sometimes you’ll discover that you like more than one design on the logo maker gallery. When that happens, the DIY tool allows you to work on more than one logo templates at the same time. This way, you can have more variety and more creative leverage with how you want to present your photography brand.
Benefit #3: Fast Turnarounds
If you’re looking for a fast turnaround, hiring a graphic designer won’t be much help. Known for their perfectionism, the average turnaround time that a good designer would take for logo design work is about one to two hours.
Compared to that, you can create a DIY photography logo in as early as ten minutes (if you’ve got a clear idea in your mind). If you don’t, it may be better to approach a reputable company with a fast turnaround. For instance, experts at Design create high-quality designs within a very short timeframe.
Benefit #4: Revise It as Many Times as You Want – No Extra Charges
As we said before, some things may get lost in translation as you’re describing your vision to the designer. It would then take revisions to tweak the work according to your needs.
As an industry rule, more than one revision would usually cost clients more money as a designer would need to spend more time on the design.
Benefit #5: Save Money to Run Your Business
The biggest and perhaps the most visible advantage of using a DIY design service is that it is only the fraction of the cost of what a professional designer may charge you.
The money you save will go back to your business and you can use it to expand your photography empire or buy more equipment or technology to improve your craft.
Get Designing!
So what else there is to it? You now know what a DIY approach to logo designing is and can see how easy and brilliant the whole thing is for up and coming photographers. Hopefully, using the super-easy steps described above, you’d be able to create a compelling brand identity for your photography business. We wish you good luck.
Author Bio:
Ayesha Ambreen is a creative content strategist, graphic designer, and featured Quora author. Best known for her creative visuals and viral content ideas, Ayesha’s work has been featured on blogs such as Smashing Magazine, HubSpot, Icons8, Lifehacker, and more.
When she is not writing, she loves spending her time drawing snap art and reading books. Connect with her on Twitter: @AyeshaAmbreen


