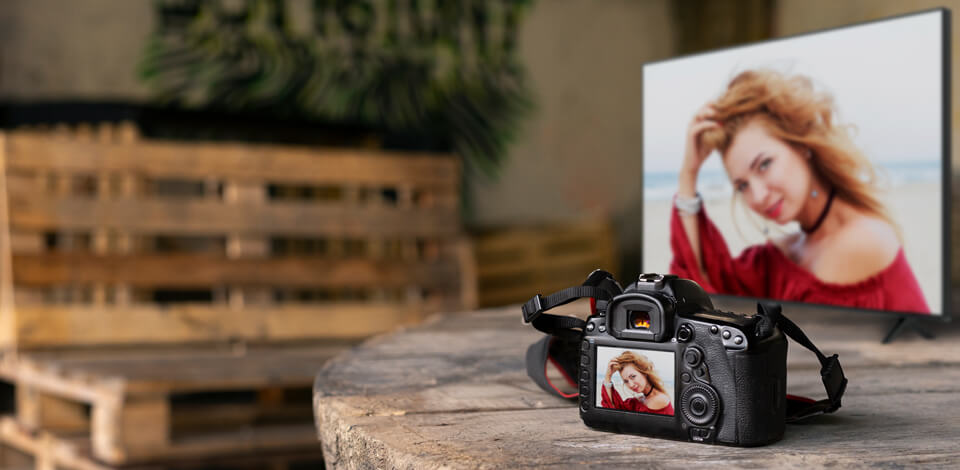
Not that long ago, I wanted to show my parents some pictures from my wedding trip on the big screen, but I couldn’t connect my camera to the TV. Later, when I discussed it with my coworkers, I learned that there are different ways to make it work.
That gave me the idea to test every possible way to hook up the camera to TV, like using HDMI, USB, a memory card, or even wireless casting, so I could see which one works best in different situations.
In this guide, I’ll explain each method to connect your camera to the TV step by step, share what worked for me, and give some tips. It doesn’t matter if you use a DSLR, a mirrorless camera, a webcam, or even a wired or wireless security camera; you’ll find a way to show the images on your TV.
One of the simplest and most dependable options is using an HDMI cable. Lots of newer cameras, like DSLRs and mirrorless models, have a mini or micro HDMI port. Here’s the process I follow:
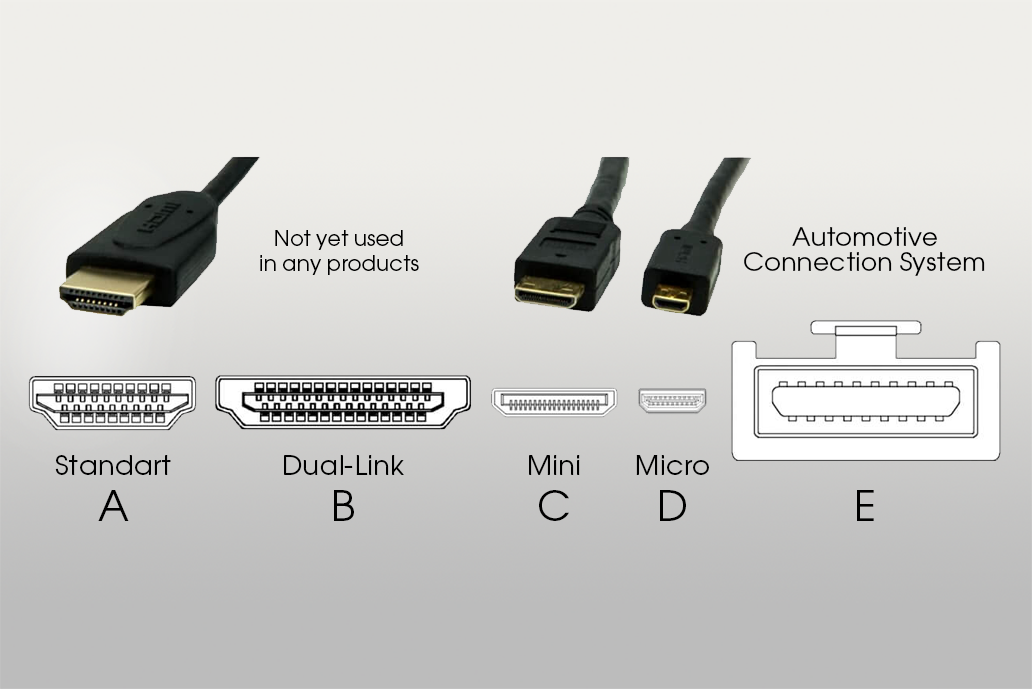
Step 1. Find the HDMI ports on the camera and TV. Your camera might have a mini or micro HDMI slot, and most TVs have a normal, full-size HDMI port. To be sure, check the user manual for your camera part. For example, the Canon 90D has a USB-C connection, but many cameras use mini-HDMI instead.
Step 2. Use the right cable or adapter. You’ll need a cable that matches your camera’s output port and your TV’s input port. If you’re using HDMI, plug the small end into the camera and the regular HDMI end into the TV.
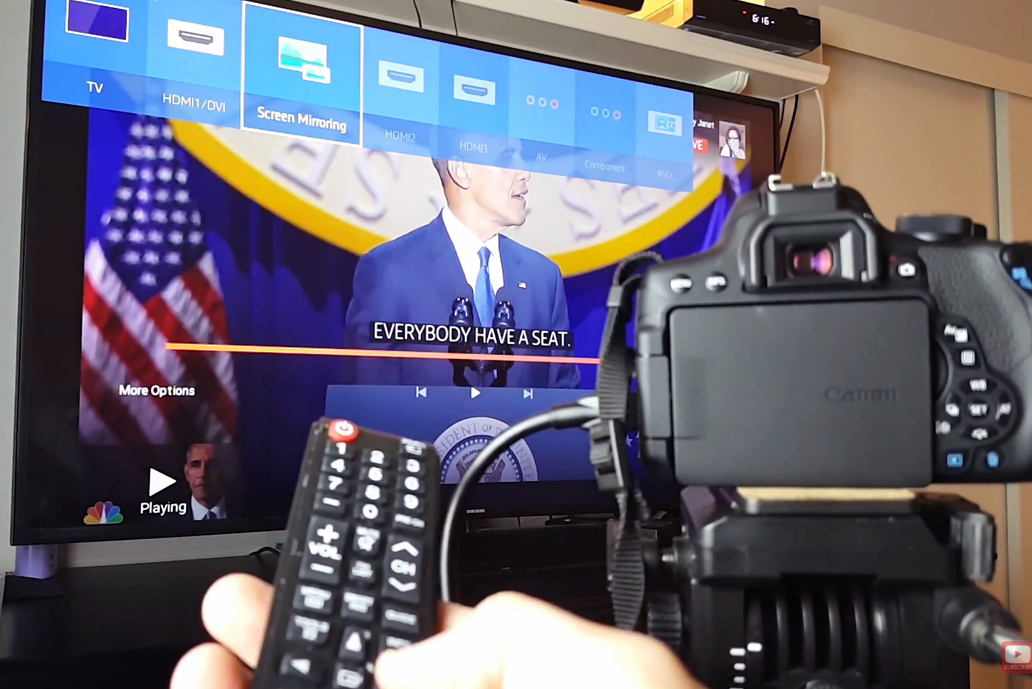
Step 3. Change the TV input. Turn on both the camera and TV, then press the Input/Source button on the TV remote. Pick the HDMI port you connected to. Now, the TV should show what’s on your camera’s screen. Sometimes, this will turn off the camera’s own screen while it sends the picture to the TV.
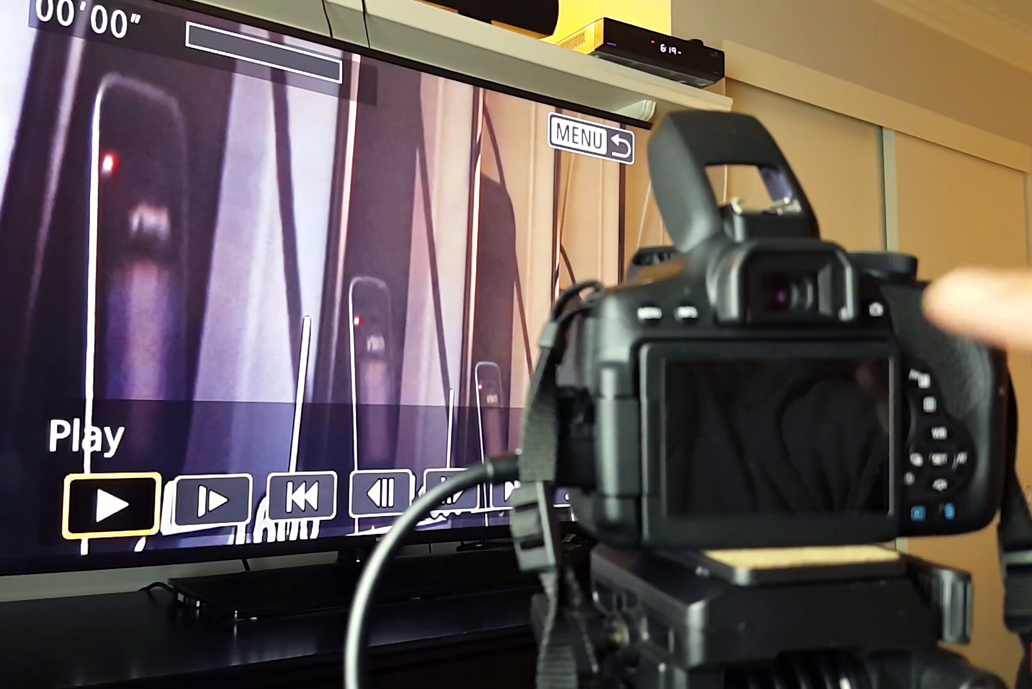
Step 4. Turn on Live View. Some cameras automatically show the picture on the TV, but others need to be switched to “live view” or video mode first. For example, my Sony A7S III shows the image on the TV right away, but other cameras might need you to choose live view.
In our tests, HDMI gave the best live image: there was no delay, and the picture stayed clear. That’s why it’s my favorite choice for live-view and real-time monitoring.
Using a USB to connect a camera to a TV can be harder, because most cameras and TVs don’t naturally send live video through USB. Nevertheless, if your camera or your TV supports video-over-USB, it might work:
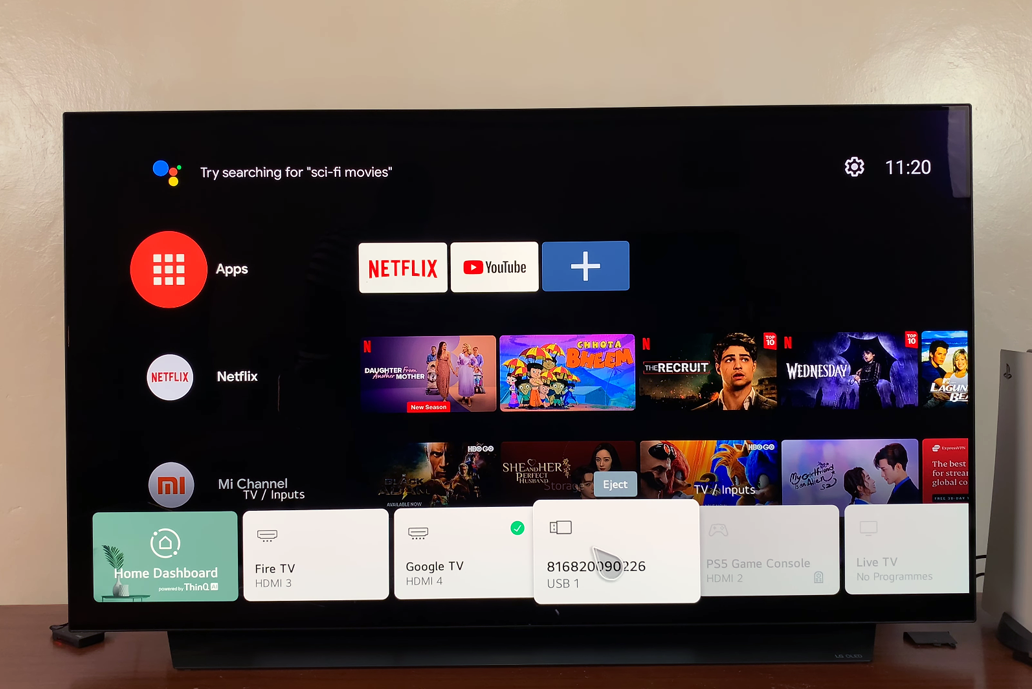
Step 1. Look at the TV’s USB ports. Most smart TVs today have a USB-A port. Usually, these ports are meant for plugging in flash drives or hard drives. If the TV supports “USB host” or can work with UVC cameras, you might be able to connect your camera directly. For example, some TVs with USB input allow you to plug in a webcam and see the picture on the screen.
Step 2. Plug in the camera’s USB cable. Connect your camera to the TV using its USB cable. Most likely, the TV will recognize the camera as storage and show the saved photos and videos. Other times, nothing will happen. Webcams and conference cameras are more likely to work this way than normal photo cameras.
Step 3. Change the camera mode. If the TV doesn’t detect the camera, try switching the camera to “playback” mode so it shows up like a storage device, or to “PC/webcam” mode if it has that option. Some cameras even have a menu setting called “PC connection” for this purpose.

Overall, USB is not the best option for most cameras. It’s more useful if you have a webcam or USB video camera because those can sometimes work right away when plugged into a TV.
For DSLR or mirrorless cameras, USB usually only works for copying files, not for live video. Most UBS ports cannot read files, so if this method didn't work for you, I suggest trying another one.
If your main goal is just to look at photos or watch recorded videos from the camera, there’s an even easier way: use the memory card.
Step 1. Take out the card. Remove the SD or microSD card from your camera.
Step 2. Put it in the TV. Some TVs have an SD card slot. If not, you can use a USB card reader and plug that into the TV’s USB port.
Step 3. Browse the files. Turn on the TV, pick the USB/Media option with the remote, and you’ll be able to scroll through your pictures and videos stored on the card.
This method doesn’t give you a live view, but it’s the simplest way to show your saved media. Even if the TV doesn’t have an SD slot, almost all TVs will read a card plugged in through a USB card reader. It’s one of the quickest ways to share vacation photos or video clips.
If you don’t want to deal with cables, there are ways to connect a camera to the TV wirelessly.
Smart TV apps. Some cameras, especially security or IP cameras, have their own apps for smart TVs. For example, you can download your camera’s brand app from the TV’s app store, connect both the TV and the camera to Wi-Fi, and then watch the camera’s live video on the TV.
We tested this with a Wi-Fi outdoor security camera system that had a Samsung Smart TV app, and once both devices were on the same Wi-Fi, the feed appeared on the TV screen.
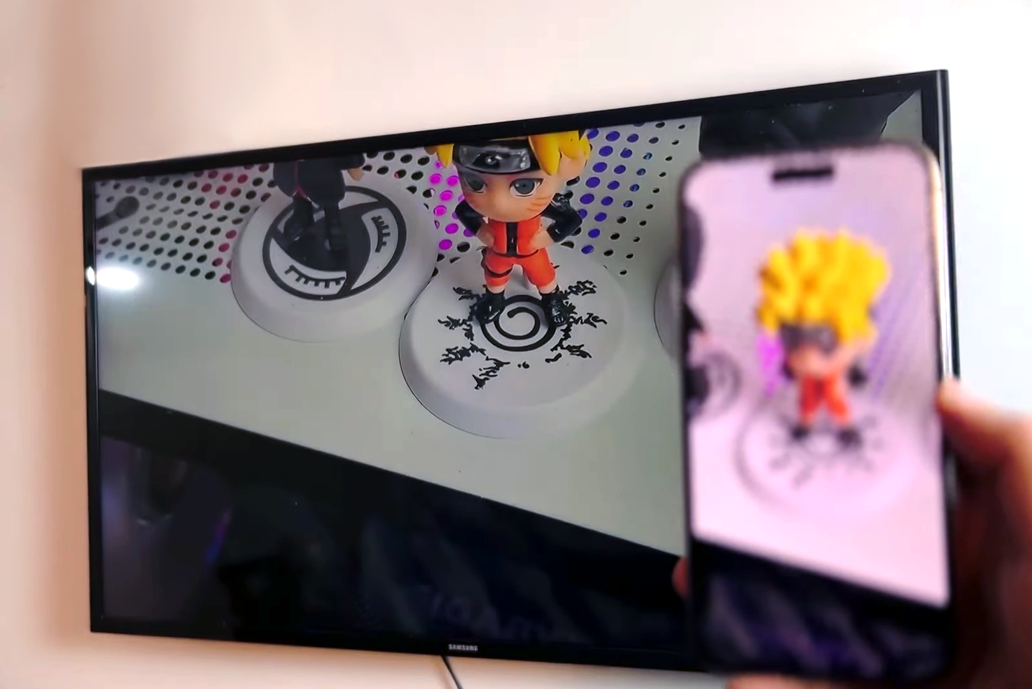
Casting from your phone. Another method is to use your phone as the middle device. First, connect your camera to your phone using Wi-Fi and the camera’s app (like Canon Camera Connect or a security camera app). Then, use Chromecast, AirPlay, or Miracast to mirror your phone’s screen onto the TV.
For example, you can open the camera app on your phone and then use Google Home to “cast screen” to your TV. If you use Chromecast or Apple TV, the TV will show exactly what’s on your phone.
Network streaming (IP cameras). Some IP/security cameras let you share video over your home network using DLNA or RTSP. If your smart TV for streaming supports network sources, you can connect both the camera and a PC to the same Wi-Fi, set up the camera for streaming, and then view the live feed on the TV.
This is a more advanced method to connect a camera to a TV: we tested this with a Reolink IP camera and had to use a DLNA server on the computer, along with a TV app, to see the live video. It worked, but required more setup steps.
If you’re using a USB webcam and want its picture on a TV, here are the main methods:
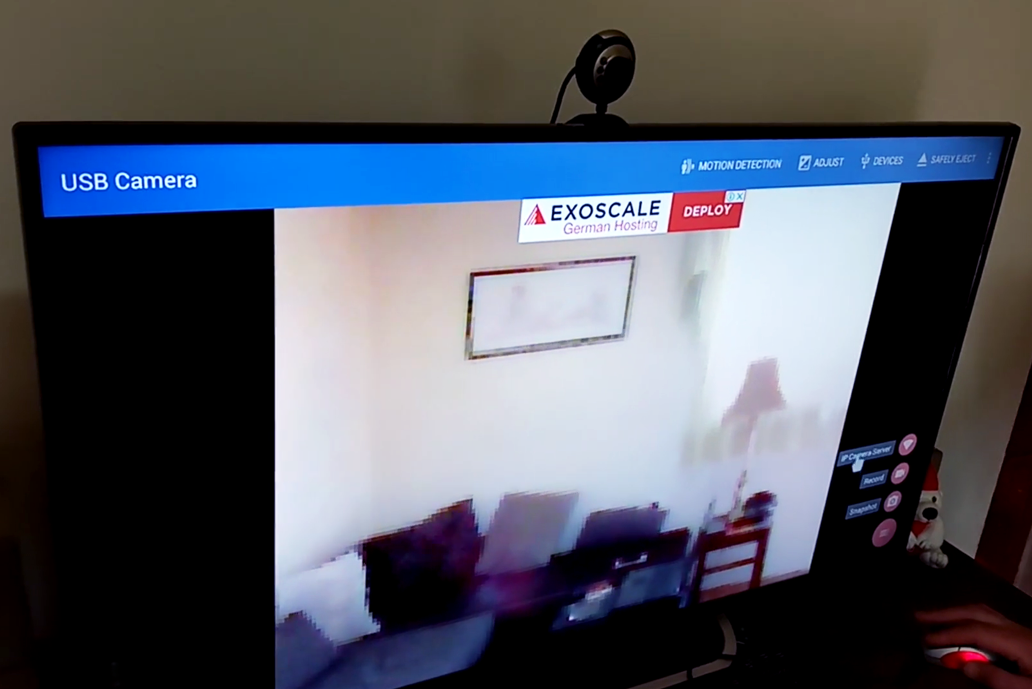
Plug it into the TV. Some smart TVs can act like a conference screen. You can plug the webcam straight into the TV’s USB port, then select the USB input on the TV. Sometimes the TV will show the webcam feed immediately or ask you to open a video call app.
Video call apps on TV. Some smart TVs have apps like Zoom or Skype built in. Once the webcam and microphone are connected (many webcams have built-in mics), open the video call app on the TV.
When I tested a Logitech C920 webcam on an Android TV, the YouTube app detected it as a “USB video” source. On other TVs, you might need to go into settings and choose “Set up audio/video devices.”
Adapters. If your TV doesn’t support webcams through USB, you can use a USB-to-HDMI adapter. Plug the webcam into the adapter and then plug the adapter into the TV’s HDMI port. The TV will treat it like an HDMI input.
Security cameras usually come in two types: wired (like analog or IP cameras with cables) and wireless (Wi-Fi-based). Both types can be connected to a TV so you can turn them into cameras for streaming:
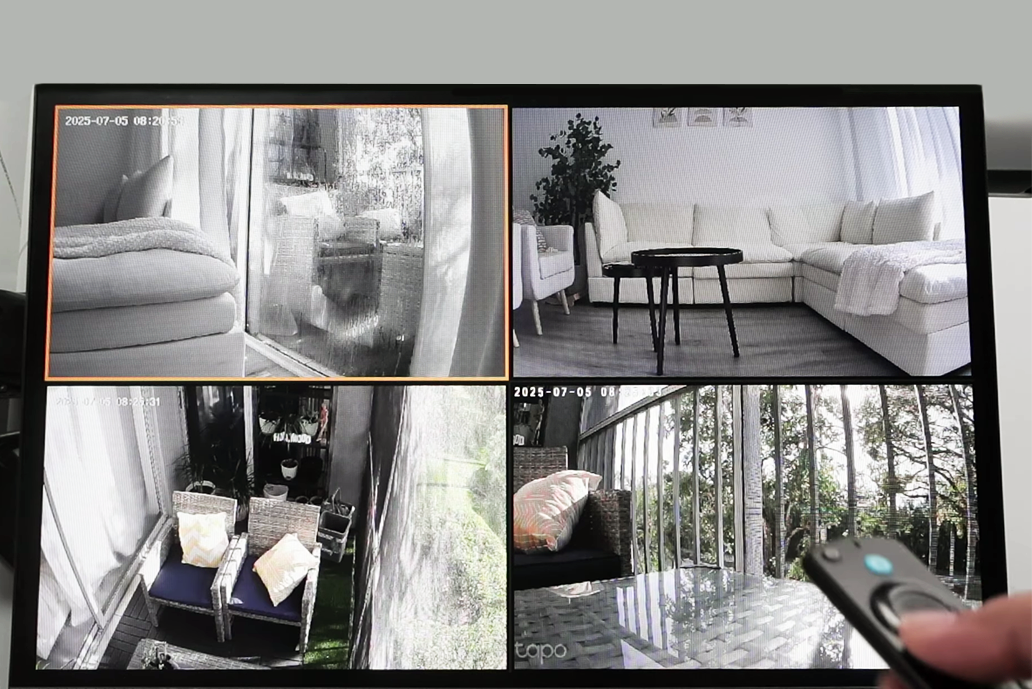
Single or multiple cameras with a DVR/NVR. If you have a home security setup with more than one camera, they usually connect to a DVR (Digital Video Recorder) or NVR (Network Video Recorder). To see all the cameras on your TV, you just connect the DVR/NVR to the TV with an HDMI cable.
Single camera without a DVR. If you only have one camera, you can sometimes connect it directly to the TV. If the camera has an HDMI or VGA output, just plug it into the TV and change the input source.
Analog cameras. Older CCTV cameras use BNC connectors. Usually, these connect to a DVR, but if your TV has composite inputs (yellow, red, white ports), you can use a BNC-to-RCA and RCA-to-TV adapters to connect. If your TV only has HDMI, you’ll need a converter that changes analog signals into HDMI.
Security camera DVR system. Many affordable security camera kits come with a DVR that plugs into a TV.
Outdoor cameras. Outdoor cameras work the same way. To hook up the camera to your TV, connect it like you would an indoor camera.
Wi-Fi cameras to phone/TV. Even budget security cameras can sometimes stream directly over Wi-Fi to an app. You can open the app on your phone or tablet and then “cast” it to the TV.
Smart TV apps. Some camera brands offer their own apps for smart TVs. For example, Arlo and Nest have apps for Android TV, Samsung, and LG smart TVs.
Wireless to DVR/NVR. Some security cameras for Mac come with a base station, which acts like an NVR. The cameras connect wirelessly to the base, but the base connects to your TV with HDMI. So, the wireless part is between the camera and base, but the display is still wired to the TV.
Here are some quick fixes if things aren’t working:
No signal on TV. Make sure the camera is turned on and the cable is firmly plugged in. Try switching through the TV’s input options (like HDMI 1, HDMI 2, or Video) until you find the right one.
USB camera not recognized. Many TVs cannot show live video from USB cameras. If you see “USB device not supported,” put the camera in playback mode or connect it to a computer first. Also, check that the camera is charged or plugged in, since some only send video when powered.
Blurry or poor quality image. If the picture looks grainy or blurry, check the resolution settings on both the camera and the TV. Low light makes the camera increase its gain, which adds noise. Also, cheap HDMI cables may not handle 4K well, so use a good-quality one.
No sound. HDMI usually carries both video and audio. If you hear nothing, make sure the camera’s microphone is on. Some setups automatically mute sound.
Camera overheating. Some cameras get hot if left in live view for too long. We had one mirrorless camera turn off after 30 minutes of HDMI use because it got too warm. If that happens, take breaks or cool it with a fan.
Video delay. If you connect your camera to a TV wirelessly, casting will have a small delay of 1–2 seconds. That’s fine for casual use, but not good for sports or fast action. If you want no delay, use HDMI.
Compatibility issues. Not every camera can send live video. For example, some Fujifilm cameras only send images in playback mode. With some Nikon cameras, you need to turn off “device control” in the settings. Always check your camera’s manual if things don’t work.
When we write how-to guides for the FixThePhoto blog, we don’t just assume the outcomes; we test every method ourselves. For this camera-to-TV guide, our whole FixThePhoto team worked together.
I led the testing, but I also had some help from portrait photographers (who were previewing images on monitors), retouchers (who know cameras and displays well), and our security camera expert. This mix was important because what works for a studio photographer (like HDMI to a monitor) may not work the same way for home security cameras.
We tried all methods: USB, HDMI, memory cards, and wireless (casting, TV apps, IP streaming). We also experimented with extra gear like HDMI splitters, USB hubs, and analog converters. In one test, we even connected a DSLR to a MacBook, then sent the video to a 4K HDR TV to compare image quality.
We used different devices to test the best way to connect a camera to a TV: 10 DSLR/mirrorless cameras (Canon, Sony, Fujifilm, etc.), 5 webcams, and 6 security camera setups (both wired and wireless). We connected them to 8 TVs, including Samsung, LG, a 4K HDR TV, and an older 1080p HDMI-only model. For wireless, we tested both Chromecast and Samsung SmartThings.
For each method, we scored them on:
Ease of use. How fast could we connect and see video? Did we have to spend time in menus or inputs?
Image quality & delay. Was the picture sharp? Was there lag? (Lag-free is very important for live monitoring.)
Reliability. Did the connection drop? For example, one cheap micro-HDMI cable failed when moved around.
Flexibility. Could we adjust things later? HDMI is simple, USB depends on modes, and wireless often needs app updates.
Cost & gear. Did we need to buy extra adapters or devices?
The testing took a few weeks. We also compared setups side by side – for example, plugging a camera in by HDMI and USB at the same time – to see which worked better. Overall, we found there isn’t one “best” way for everyone. Instead, the best method depends on the type of camera, TV, and what you want to do with it.