To send a file by email and save space on your computer or in the cloud storage, I recommend you to find out how to compress PDF files in Adobe Acrobat. In this tutorial, I will show you how to do it in the desktop and online version of this program and answer frequently asked questions about working with PDFs in the program.
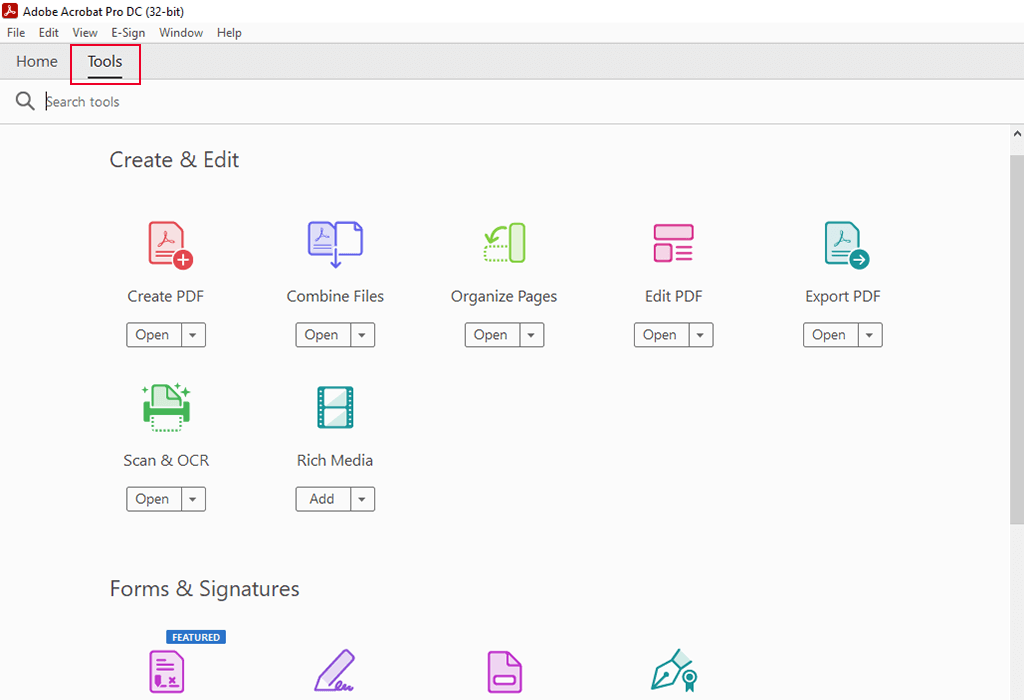
To compress your PDF in Adobe Acrobat, you should go to the Tools center. Then click the Tools tab. You’ll find it at the top on the left.
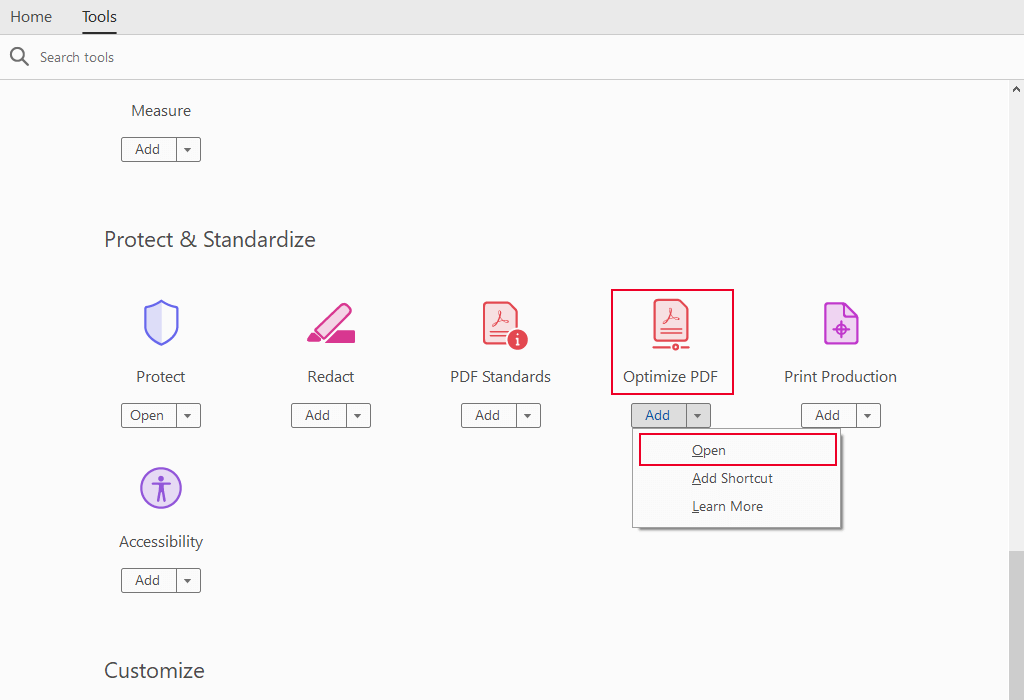
In the tab, look through the available tools and select the Optimize PDF option. The drop-down menu will appear. Choose Open.
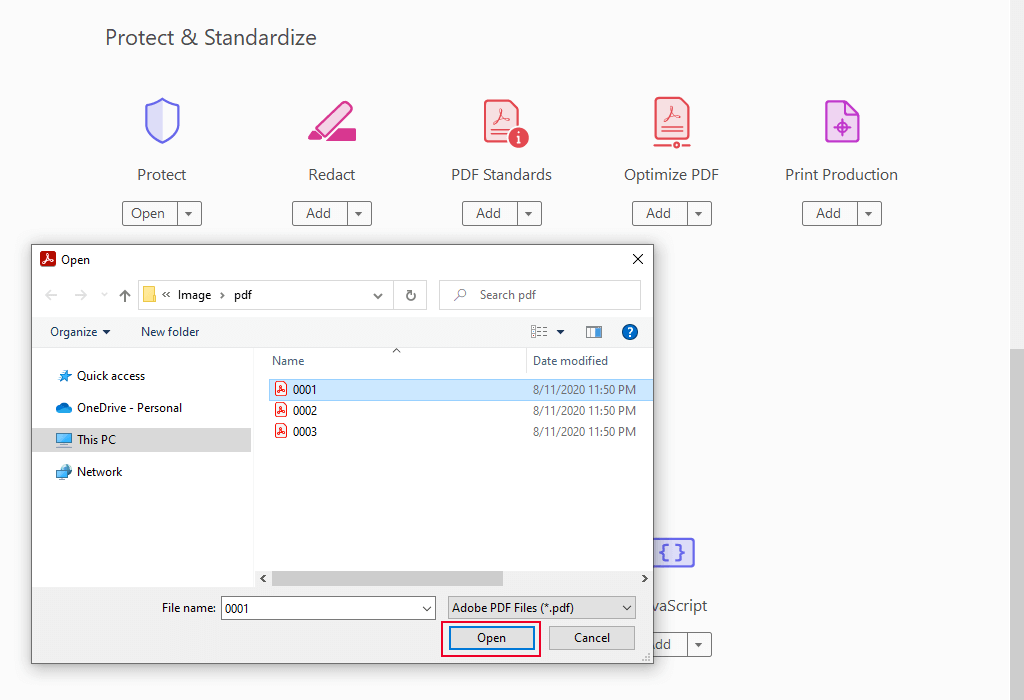
In the dialog box, you will see your files. Select a PDF file to reduce its size. Click Open.
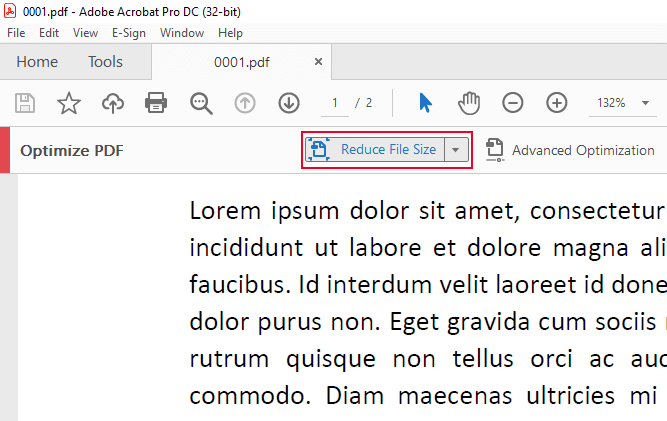
Go to the top menu and choose Reduce File Size. You will see a dialog box where you need to check the drop-down menu options and select file version compatibility. Then click OK.
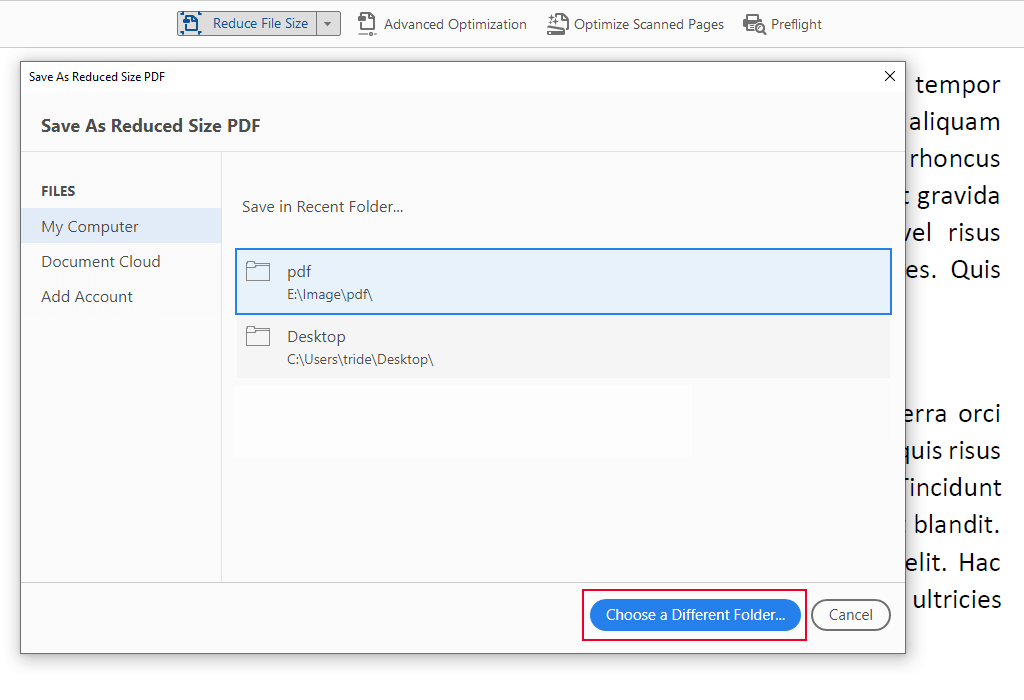
When the Save As tab opens, you need to write a new name or use the old one. You can rewrite not only the file name but also change the location of the reduced PDF. Then click Save. That’s all you need to know if you are wondering how to reduce PDF file size in Adobe Acrobat.
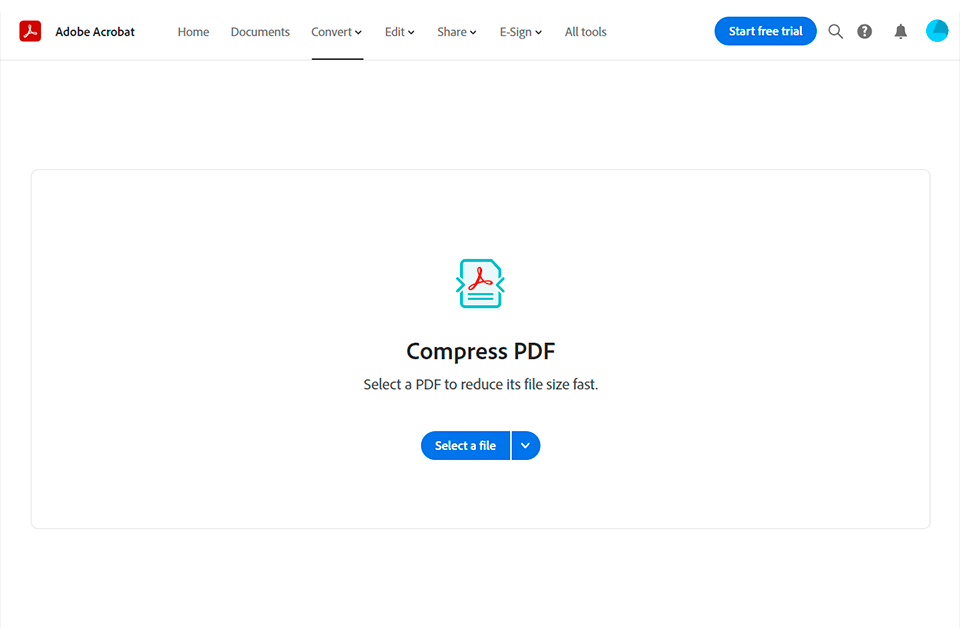
A number of online tools are available to Adobe software users, including the Compress PDF tool. You can use this online PDF compressor tool to reduce files up to 2GB.
If you need more tools to work with PDF, then the desktop version of the program is more suitable for you. Mac and Windows versions include PDF editing tools, options for editing scans with OCR functionality, the ability to convert PDF files to Microsoft PowerPoint and other file formats, features for splitting PDFs, and so on. So, let’s find out how to decrease PDF file size in Adobe Acrobat online.
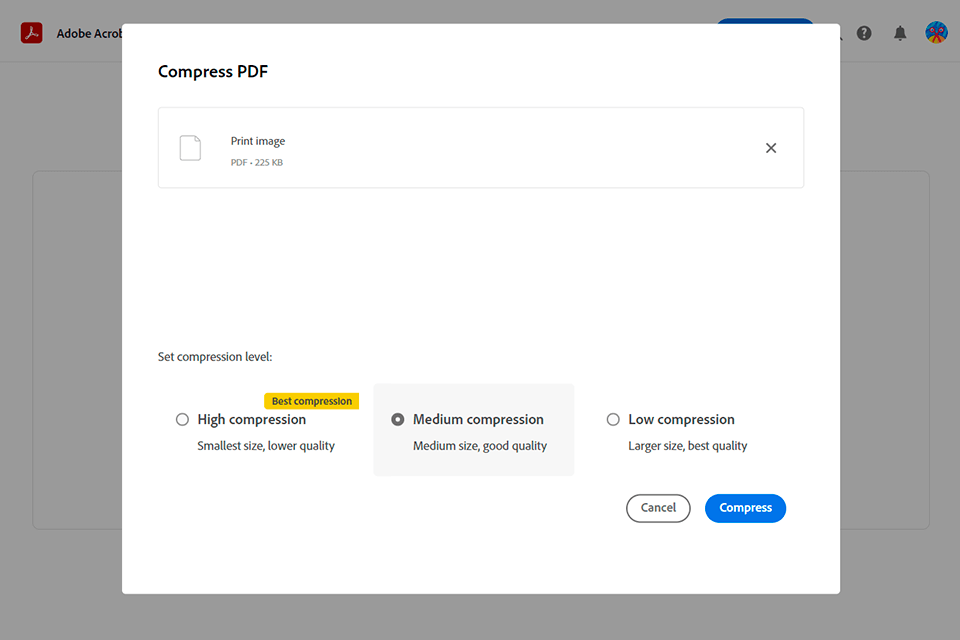
After downloading the file, select the compression level. There are three options: high (smallest size and standard quality), medium (medium size and better quality), and low (larger size and best quality). Under each level, you will see what file size you will end up with.
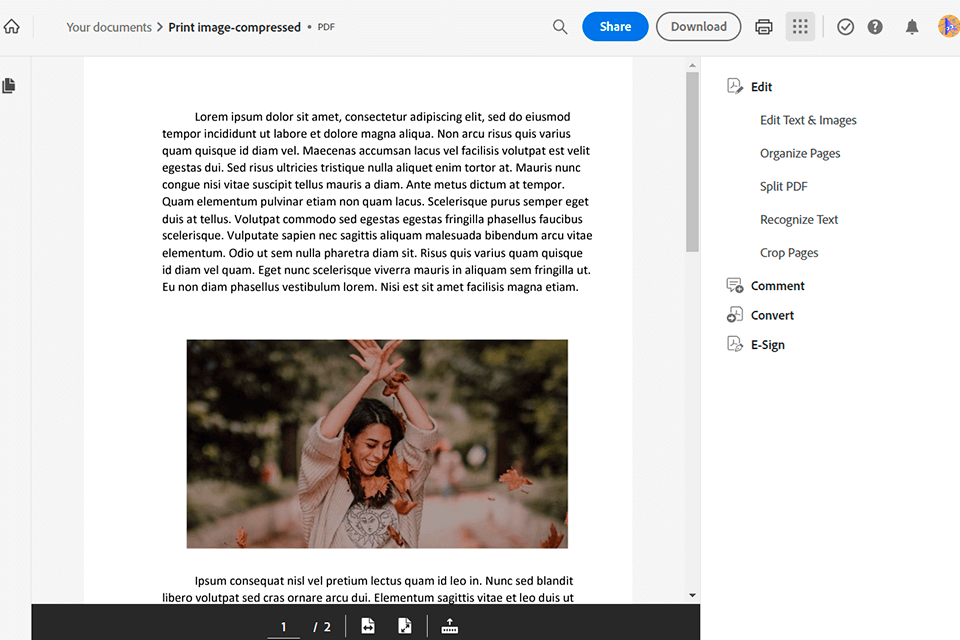
Next, click Compress. After a few seconds (in my case, it took 4 seconds), you will receive a compressed file. You can download it to your computer or register to store it online. As a registered user, you can store your PDF documents on the service and share a link to them or open them from any device.
Analyze space usage with the audit option. You will get the total size of the PDF file as well as the number of bytes used for fonts, bookmarks, images, forms, and other specific document elements. All information is given in bytes. Plus, you get a percentage of the total file size. How to perform an audit: The first way is to open the File tab and choose Save As Other. Then select Optimized PDF. Alternatively, you Go to Tools and select Optimize PDF, and then choose Advanced Optimization. After that, you’ll see a PDF Optimizer dialog box. Go to the top of the dialog box and find the Audit Space Usage button, click it.
First, you should open the program and go to the Tools tab. Find Optimize PDF and click it. There is a Reduce File Size drop-down list in the toolbar. Select Reduce Multiple Files. Then you should choose Add Files > Add Files in the Arrange Documents dialog box. Select and add files you want to compress. When you have selected and added the required documents, select Open, and then click OK. The next step is to specify the compatibility version. When you're done, click OK. Open the Output Options dialog box. Select folder and filename, and then click OK.
Yes, you can. For this, you need to go to the PDF Optimizer dialog box. Open the Make Compatible With menu and select Retain Existing. This option lets you keep the PDF version unchanged. Alternatively, you can choose an Acrobat version. You can check the box next to the corresponding panel (for example, Transparency or Fonts) and adjust the parameters on this panel. If you don't want all options in a panel to be executed during optimization, you need to deselect the check box for that panel. You can save customized settings. To do this, you must select Save, name the settings, and then click OK. Open the Save Optimized As menu and choose Save to overwrite the original file with the optimized PDF. Besides, you can save the file using a new name or select a new location.