
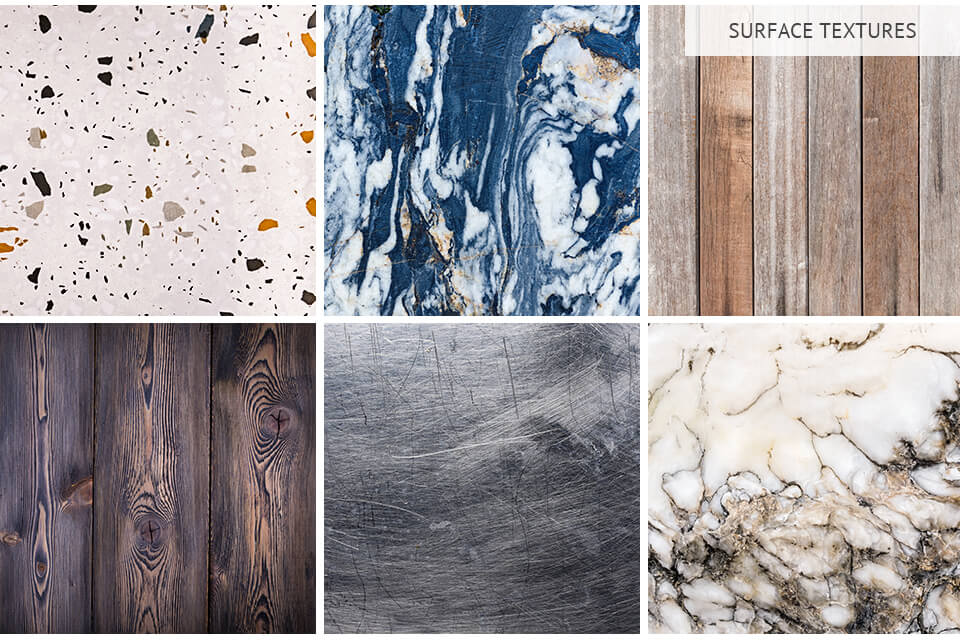
You can find examples of texture in photography in nearly any image you see. Whether it’s a sculpture, furniture item, artwork, or something even more mundane like a bush, sand, or clothing.
Texture can be a powerful tool for making your photos more creative and engaging, and the advice below will teach you how to utilize it properly.
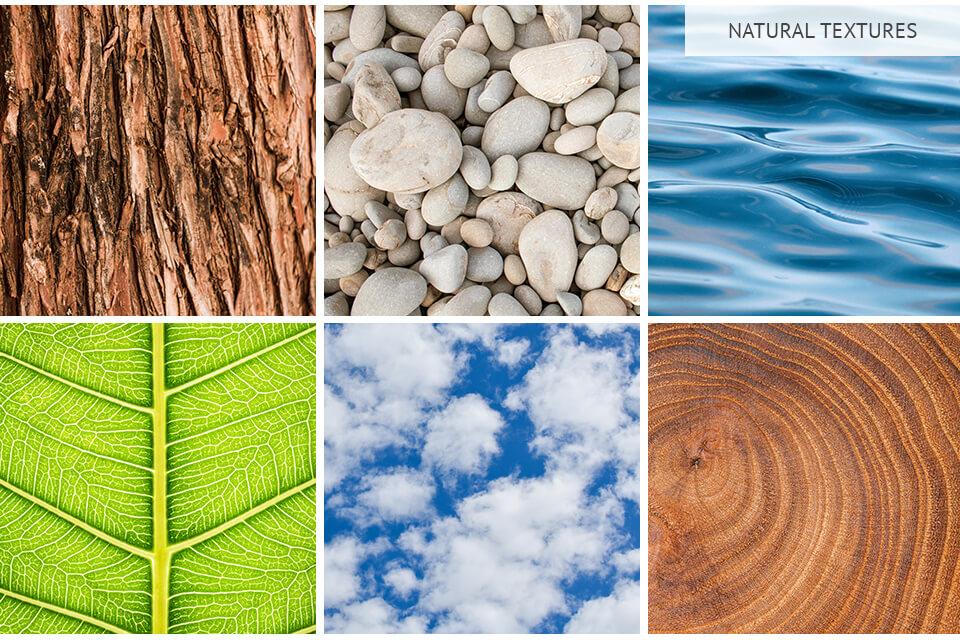
These textures can be found anywhere the moment you venture outdoors and include tree bark and foliage, stones and cliffsides, water surfaces, sand, dirt, and even the sky itself. Textures that are found in nature photography frequently serve to emphasize the beauty of the world whether it's its serenity or harshness.
The smaller details of different elements – be it the rough surface of bark, the calm surface of a lake, or the intricate patterns of a leaf – present countless options for you to enrich your photos with.
| Setting | Value |
|---|---|
|
Aperture
|
f/2.8 - f/16
|
|
ISO
|
100 - 400
|
|
Shutter Speed
|
1/125 sec or higher
|

Urban textures cover a broad range of objects in a city such as brick walls, cobblestone, concrete, metallic surfaces, and glass. Such texture examples in urban photography help convey the character of the city, providing a unique look at its history or culture. For instance, old brick can highlight the age of a structure while large glass panes help add a sense of modernity. Urban textures come in different styles, making it easy to find a suitable option for your ideas regardless of what mood you’re going for.
Contrast and juxtaposition: Take pictures of contrasting textures, like transparent glass against aged marble to add tension to the scene.
Find reflective surfaces: Employ reflections found in puddles or glass to achieve a multilayered composition.
Experiment with multiple perspectives: Take photos from several angles to highlight the texture of different subjects and create a more compelling visual narrative.
| Setting | Value |
|---|---|
|
Aperture
|
f/5.6 - f/8
|
|
ISO
|
200 - 1600 |
|
Shutter Speed
|
1/250 sec or higher
|
| Setting | Value |
|---|---|
|
Aperture
|
f/2.8 - f/4
|
|
ISO
|
100 - 800
|
|
Shutter Speed
|
1/60 sec or higher
|
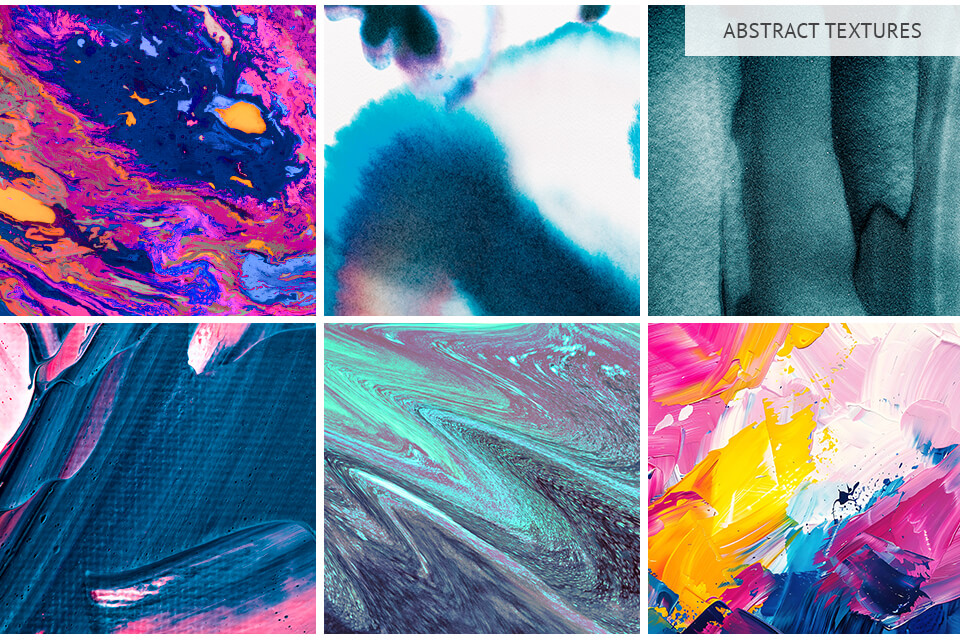
Abstract photography texture examples are usually found in random locations, such as a paint splatter, rust on a tool, or any other unconventional surface. They draw the viewer's attention with their color and shape without representing something specific.
By implementing various abstract photo ideas, you can produce aesthetically captivating photos that speak directly to the viewer’s imagination. By focusing their attention on a shape or pattern, you can turn a mundane object into an interesting artwork.
| Setting | Value |
|---|---|
|
Aperture
|
f/2.8 - f/8
|
|
ISO
|
100 - 1600
|
|
Shutter Speed
|
1/125 sec or higher
|
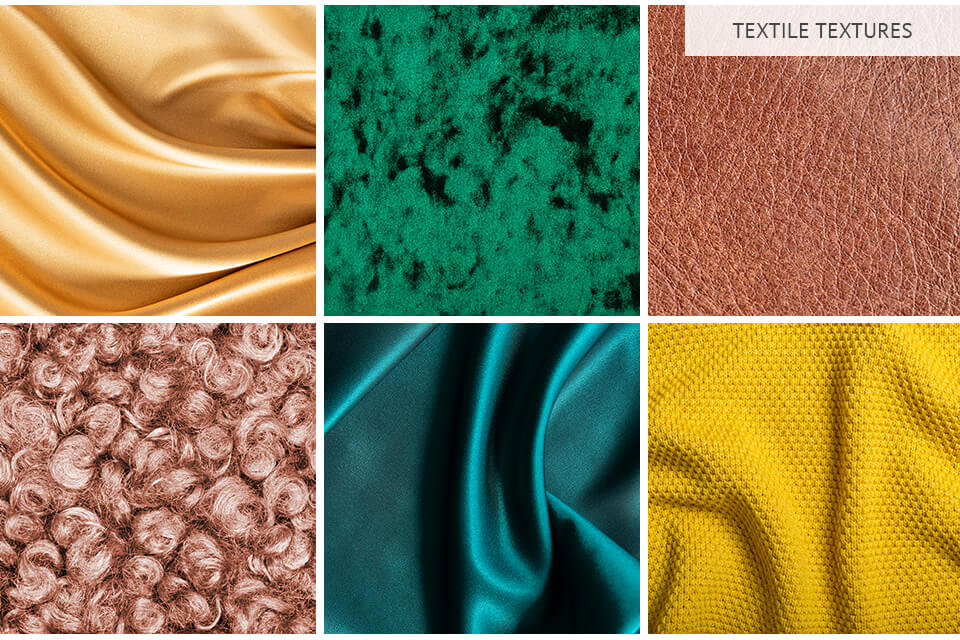
Textile textures involve the surfaces of different fabrics like cotton, silk, leather, and wool. By using such textures, you can have your photos evoke a sense of familiarity, comfort, and coziness. They’re especially popular among fashion, still life, and product photographers, allowing them to emphasize the detailed craftsmanship that goes into producing different fabrics.
Experiment with light: Employ side lights to emphasize the texture and weave of the fabric.
Feature layers: Place the fabrics in a layered manner to add dimension to the shot.
Look for patterns: Highlight the patterns found in different fabrics to make the photos more aesthetically pleasing.
| Setting | Value |
|---|---|
|
Aperture
|
f/2.8 - f/5.6
|
|
ISO
|
100 - 400
|
|
Shutter Speed
|
1/60 sec or higher
|
| Setting | Value |
|---|---|
|
Aperture
|
f/2.8 - f/8
|
|
ISO
|
100 - 400
|
|
Shutter Speed
|
1/125 sec or higher
|
| Setting | Value |
|---|---|
|
Aperture
|
f/2.8 - f/4
|
|
ISO
|
100 - 800
|
|
Shutter Speed
|
1/60 sec or higher
|
Knowing the texture photography definition does nothing without putting it into practice, which is why you should visit different photo locations and urban scenery can be a great start. Search for eye-catching textures in street art, aged surfaces, and different architectural elements. Nature is also the perfect source of inspiration, as you can snap close-up shots of leaves, tree bark, or stones. Water surfaces also tend to have amazing texture.
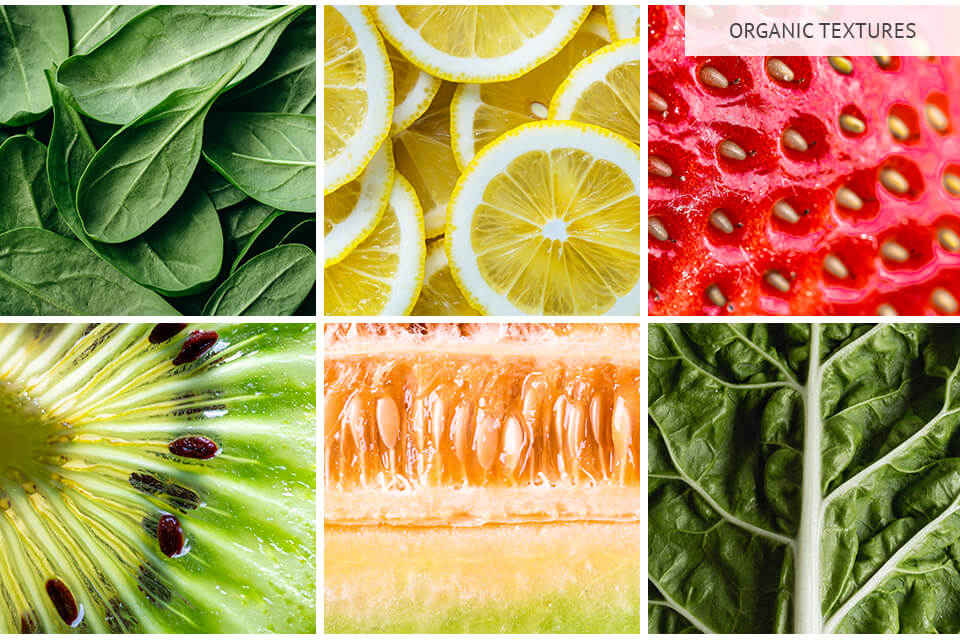
Another avenue you can explore is food. Take pictures of the skin of different fruits and vegetables. Alternatively, you can look for interesting textures in the comfort of your home, by examining different furniture and your clothing. You can also go to Instagram and Pinterest and type in hashtags like #texturephotography and #macrotextures. Another option is to sign up for a local photography class or workshop to gain even more insights into how you can utilize texture for your work.
Lastly, teach yourself to attentively abserve your surroundings wherever you are, and pay attention to how the lighting affects textures at different times of day. Consider starting a photography journal to note down all your ideas and inspirations.

By enhancing the textures in your photos, you can make them look more eye-catching and professional. Some of the main edits you can do include:
1. Enhance Contrast: Boosting the contrast will make the textures pop more, as it will strengthen the shadows and brighten the highlights, achieving a wider dynamic range.
2. Sharpening: By increasing the sharpness, you can boost the clarity of your images. It’s important to find a balanced approach here since overly sharpened photos will have visual noise.
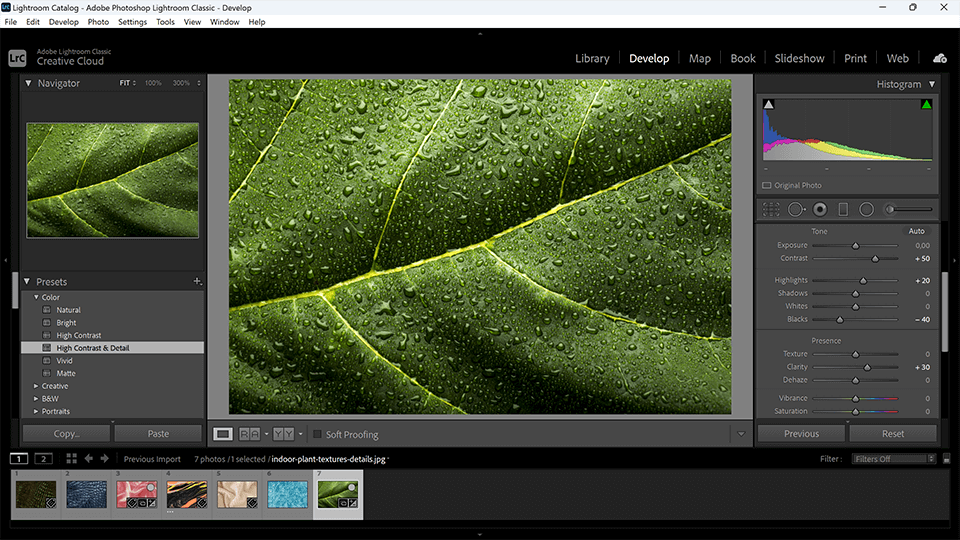
3. Dodge and Burn: Use dodge and burn tools to choose which parts of the photo you want to lighten or darken. This technique can add dimension to your textures, directing the viewer’s focus to specific elements.
4. Texture Overlay: Try applying a texture overlay, for instance, dust texture overlays, to enhance the photo with a creative effect. Blend it with the help of layer modes in an application like Photoshop, tweaking opacity to achieve a harmonious mix with the original photo.
5. Color Grading: Try out different color correction techniques to set different moods in your photos. By tweaking the colors and saturation, you can alter the perception of your textures, making them more or less defined based on your vision.
6. Use Filters: Some editing software lets you apply filters for enhancing or adding diferent textures. Get creative with such filters to learn how they can help make your texture photography more interesting.
7. Emphasize the Details: Zoom in on individual parts of the photo to fine-tune specific elements. Employ features like the clone stamp or healing brush to get rid of unwanted elements and highlight the most important details.

Any texture in photography makes the image more dimensional and eye-catching. With proper use, it can set the mood, evoke a specific emotional response, or further tell the story of your photo. It can also allow you to direct the viewer’s attention to specific image areas and improve the overall composition.
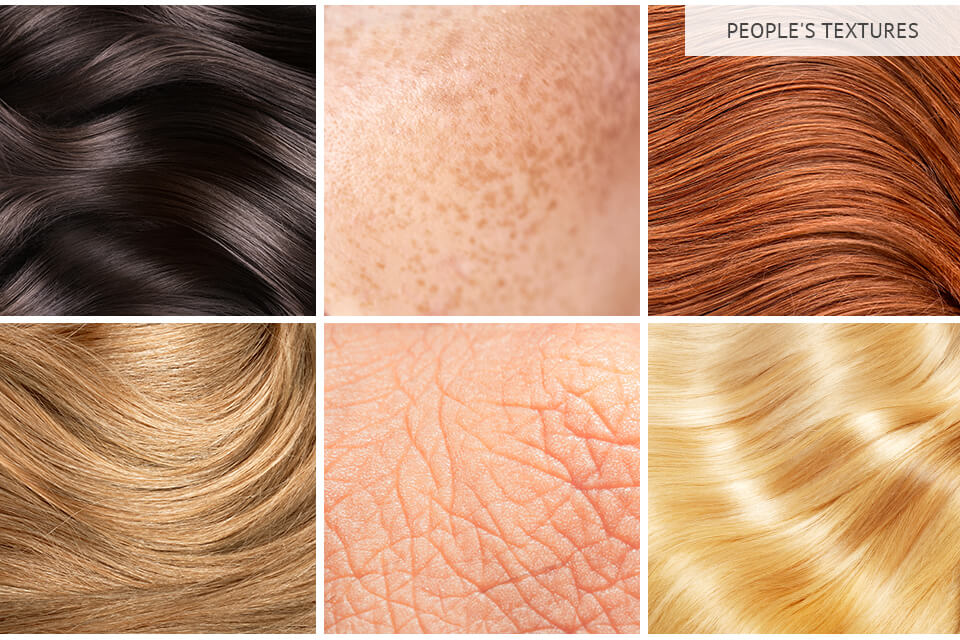
You can consider creating abstract art using the impasto technique to achieve rich colors and distinct surfaces. Alternatively, you can stick to natural subjects like stones, leaves, or dry flowers. Other suitable options include flour, feathers, or even water in motion. By trying out various action photography ideas, which can be flowing hair or poured flour, you can get truly unique results with stunning textures.
Stay clear of direct midday light, as it tends to create overly contrasting colors, and avoid soft evening light since it can make the texture look grainy. Try to work in natural light in between those hours. Alternatively, you can put together a home studio and use a key light, side lights, and a diffuser to get the perfect results.
Textures can make portrait photography more eye-catching and multidimensional, as you emphasize various features like hair, wrinkles, and freckles. Providing a closer look at such details will get the viewer more engaged in the photo. You can also leverage backdrop textures to add visual interest but stick to complementary colors instead of busy patterns that will divert attention from the model.
Double exposure is a result of mixing two or more photos, usually featured a silhouette and a textured backdrop. The texture serves to add meaning or visual weight to the silhouette while telling an engaging story in the process. You can achieve such an effect by trying out various textures or even applying several textures to one photo.
Typical mistakes include: not accounting for the lighting, which can blur out the detail or add noise, setting a shallow aperture and depth of field that will result in only parts of the texture being in focus, and ignoring the background, which can be too distracting.