Best Portrait Photographers
High end retouch meaning
It's one of the most demanded type of modern retouching services. You will find it difficult to make but with the help of PS tutorials and years of experiencing you will be good at this post-production technique.
Easy and deep retouching can be distinguished. In the following blog post we are going to talk about a High-End Level of retouching, as well as its specific features and differences. Basic Level of editing is the post-production process which makes a photo look professionally retouched, it includes:
• Color and Tone correction.
• Brightness, contrast and saturation changing.
• Little blemishes removal.
• Vignetting and toning (according to instructions).
 High-End level of retouching is wider in the photos’ retouching. Thanks to it the photo takes a more expensive and expressive form as if from the cover of a popular magazine. The name of this retouching speaks for itself: a retoucher pays attention to the details in the photo, it’s not only about the basic color correction, that’s why the editing is more difficult and is hard to do. The qualitative detailed editing is rather a laborious and time consuming work, a single picture editing can take several hours. In the Hi-End Level editing you will find:
• Everything the Basic Level consists of.
• Teeth whitening.
• Eloquent eyes and hair editing.
• Hair retouching (stray hair removal, making a great hair shape)
• Undesirable elements deletion.
• Sharpening.
• Following a professional photographer style.
• The photomontage (background replacement and extending, clothes/hair/eyes color changing)

How to distinguish High-End Level of retouching?
There are a great variety of levels and styles of post production photo editing, but today we will discuss the High-End Level of post-production. High-End is an excellent solution to a 21st century magazines’ problem of deep images processing. This method is about filling a photo with brightness and emotions. These are the new opportunities realized in a professional editors’ skills. Before starting to do a High-End editing, read about the Top 3 Retouching Mistakes and How to Avoid Them.
Professional magazines’ High-End retouching, as well as any other, has the same difficulties and peculiarities, but despite all of this, our service is ready to accept any level of complexity dealing with this style of post-production. The most important nuance of such types of retouching is that it suggests using a large number of tools and a set of effects to achieve the desired goals. The result depends on the initial pictures and tasks at hand. Besides, this level uses complex processing instruments, but doesn't consist of basic retouching of the pictures’ details, such as skin smoothening, eyes and lips shape changing, and so on. In this case, the editor does a lot of work which demands not only the intellectual expenses, but also a lot of time should be spend on this, which means that it can't be done on the fly.
What steps does High-End Level of editing begin with?
Converting RAW files and Basic retouching. Raw files are often called the digital negatives, meaning that in order to receive the end result, you have to carry out a number of manipulations with the "raw" file, as it has been processed during the film photos. A digital camera raw picture file includes minimally processed data from the image sensor of either a digital camera, or a motion picture film scanner. In the RAW format all the information from an untouched matrix is saved by algorithms of the camera, which are often set automatically. Shooting in the JPEG camera suppresses the noises, increases sharpness, optimizes dynamic range, etc. Also the JPEG means the data compression that leads to the falling of the photo quality. Such things don’t happen with RAW. One more advantage of shooting in RAW is that it has the redundant data which allows changing of the white balance and correcting exposition without being afraid of losing quality. The first and probably, the most important step is photo color correction, it gives to any picture a bigger expressiveness and realness. It also serves to give a shape to the photo, underline the important point in a shot, etc. The next stage is the defects of skin editing, namely the general retouching of a picture. Skin wrinkles and everything that normally doesn’t appear on a face, these are the scratches, zits, and so forth. Sharpness increasing. At this step an ideal combination between a sharp picture and concealment of skin defects is being founded. For each shot these parameters are looked at separately.
Detailed photo retouching
After converting the RAW format and basic post-processing – a deep retouching begins. This stage of editing means using various tools and techniques. Nowadays, Dodge&Burn has a leading role among them.

Generally, Dodge and burn is the process of partially brightening and darkening a photo made from a negative using an enlarger in a traditional darkroom. But Photoshop also has this function, but it works much simpler. Its purpose is to bring out details, play with contrast and even direct the viewer’s eye towards the main point by selectively darkening and lightening some parts on the picture. This technique has received its name from the tools in Adobe Photoshop— Dodge Tool and Burn Tool which locally clarifies and darken the image. In practice, with the various tools from the Dodge Tool and Burn Tool to Curves, manipulations with masks and layers are used. Everything that can clarify and darken the photo according suits this effect.
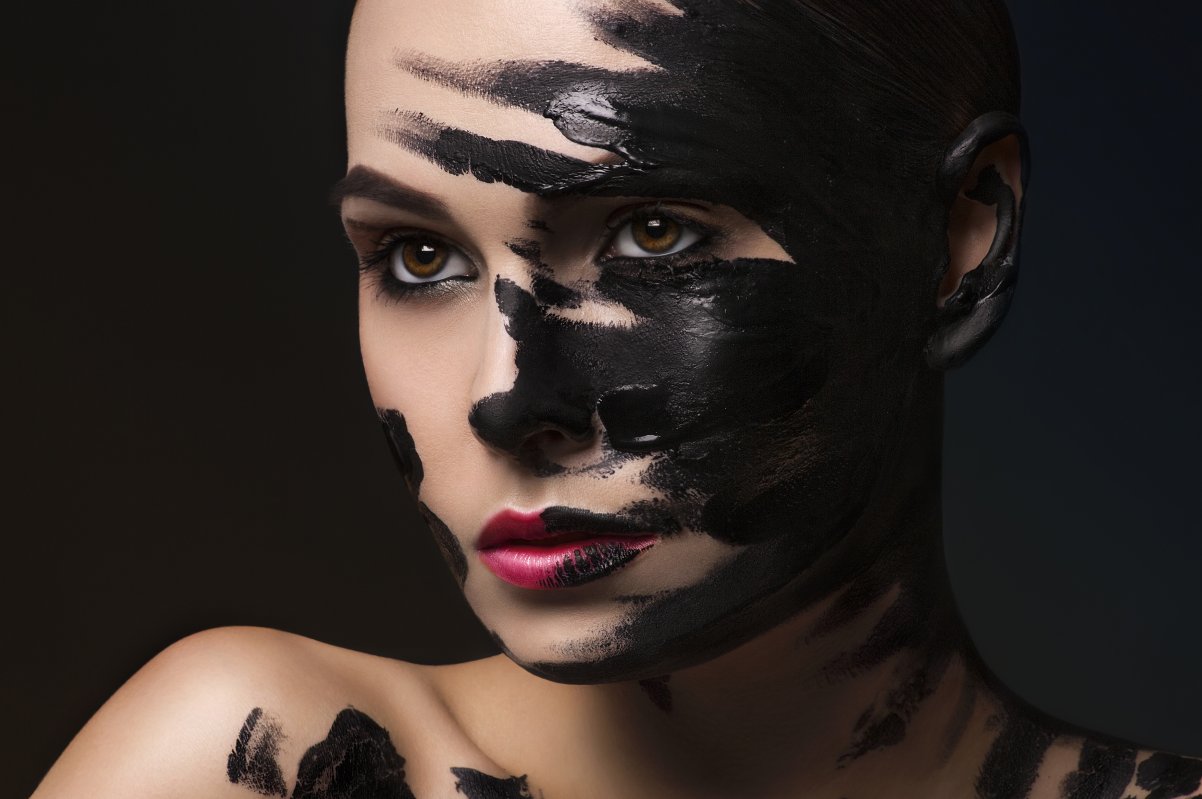
In this type of a portrait retouching it is very important not to retouch too much in order to give a photo a professional look. That’s why only professional retouchers who are skillful and experienced, and have a sense of proportion can do it. You see now that the High-End Level of retouching requires much time and effort. Look at our retouching examples and sign in to try it.
YOU MAY ALSO LIKE:
ABOUT US

RECENT POSTS
-
-
Best Photo Editing Software
-
Photoshop Free
-
Adobe Lightroom for Free
-
Cameras for Amateur Photographers
-
Wedding Photography Tips
-
Real Estate Photography Tips
-
Fine Art Nude Photography
-
Photoshop Online
-
Illustrator Online
-
Download Lightroom Online
-
Watermark Remover Online
-
Free Adobe Software of 2025
-
Best Free Graphic Design Software
-
Best Free Drawing Software
-
Best Motion Graphics Software
CATEGORIES
- Retouch Tips
- Guides
- Photo Editing Tips
- Professional photography
- Software Reviews
- Cameras & Lenses
- Software reviews
- Ann Young
- Photo Tips
- Comparisons
- Discounts
- Create with Adobe
- Wedding Photography
- Lightroom Tips
- Lighting & Studio
- Julia Newman
- Tech tips
- Photography Tips
- Amateur Photography
- Photoshop Tips
- Hardware
- Kate Gross
- Business Tips
- Photography Gear
- Editorial Photography
- Camera File Formats
- Graphic Tablets
- Eva Williams
- Photo Contests
- Inspiration
- Portrait Photography
- Capture One Tips
- Tripods
- Video Editing Tips
- Tata Rossi
- Photo Events
- Product Photography
- On1 Tips
- Bags
- Tani Adams
- Most popular
- Newborn Photography
- Photo Accessories
- Services Review
- Robin Owens
- Apps and Software
- Vadym Antypenko
- Drone Photography
- Drones
- File Formats
- Tati Taylor
- Jacqueline Dornbusch
- Deutsch Blog
- Tetiana Kostylieva
- Nataly Omelchenko
- Real Estate Photography
- Monitors
- Elisabetta Ferritto
- Italiano Blog
- Kate Debela
- Lifestyle Photography
- Computer Mouse
- Marcos Mancebo
- Food photography
- Spanish Blog
- Binoculars
- Luna Rebelo
- Photography storage
- Portuguese Blog
- Keyboards
- Nicolas Ardouin
- French Blog
- Kamata Miyuki
- Headphones
- Scanners
- Japanese Blog
- Phatchara Kanjanapas
- Projectors
- Chinese Blog
- Cui Jin Pau
- Speakers
- Arabic Blog
- Hamdi al-Kazmi
- Extenders
- Korean Blog
- Akshey Jadhav Chopra
- SD and Graphics Cards
- Turkish Blog
- Kerem Kurt Altınay
- Printers
- Thai Blog
- RAMs
- Polish Blog
- Roksana Kasza
- Modems
- Russian Blog
- Routers
- Hindi Blog
- Nagy Éva Rakoczy
- Thunderbolt
- Vietnamese Blog
- Madalina Iordanescu
- Microphones
- Czech Blog
- Adriana Vlasáková
- TVs
- Hungarian Blog
- Irene Angelopoulos
- Security Cameras
- Romanian Blog
- Pin Tae-Ran Kwon
- Additional Gear
- Indonesian Blog
- Greek Blog
- Vladimir Fokin
- UK Blog
- Tri Farida Sudjarwadi
- Dutch Blog
- Lourens Wilmerink
- Danish Blog
- Elena Nissen
- Australian Blog
- Mirjeta Sapunxiu
- Albanian Blog
- Gayane Melkonyan
- Armenian Blog
- Ali Hassan
- Azerbaijani Blog
- Nedim Sabanovic
- Bosnian Blog
- Salza Stoeva
- Bulgarian Blog
- Kong Samnang
- Khmer Blog
- Blaženka Slavić
- Croatian Blog
- Aleksander Mitt
- Estonian Blog
- Abeba Goytom Gabra
- Antivirus Reviews
- Amharic Blog
- Elma Niemi
- Finnish Blog
- Otar Kobalia
- Georgian Blog
- Serena Halldórsdóttir
- Icelandic Blog
- Gedeon Kagan
- Hebrew Blog
- Umoja Abebe
- Kazakh Blog
- Swahili Blog
- Moke Douangmala
- Kyrgyz Blog
- Lao Blog
- Sedriks Rozītis
- Latvian Blog
- Violeta Leketaite
- Lithuanian Blog
- Aleksandra Mitreska
- Macedonian Blog
- Mathis Ravatomanga
- Malagasy Blog
- Rose Pulmano
- Chichewa Blog
- Sophia Oletta
- Maltese Blog
- Bugurul Ganbat
- Mongolian Blog
- Naveen Pokhrel
- Nepali Blog
- Annette Dammen
- Norwegian Blog
- Emilijan Pešić
- Serbian Blog
- Elisa Bešiæ
- Slovenian Blog
- Peter Egnell
- Swedish Blog
- Nazar Antonyuk
- Tajik Blog
- Samat Kapanov
- Turkmen Blog
- Aiza Aydarova
- Ukrainian Blog
- Rustam Karahanov
- Uzbek Blog
- Idris Aksoy Alimov
- List of Authors at FixThePhoto
- Oumri Manzurova
- Tống Xuân Cung
- Mario Petrone
- Photographer
- Shannon Harris
- Allen Gray
- Nicky Sullivan
- Tina Baker
- Tina Parker
- VPN Deals & Reviews
Get New & Fresh Content From FixThePhoto