Are you only getting acquainted with the world of image editing and want to discover how to post process photos and establish an efficient workflow? This article covers everything you need to know about how to do it right: from simple steps to more complex actions.
There’s a ton of potential software you can use for post processing photos but the techniques covered below will be performed in the world’s leading options: Photoshop and Lightroom.
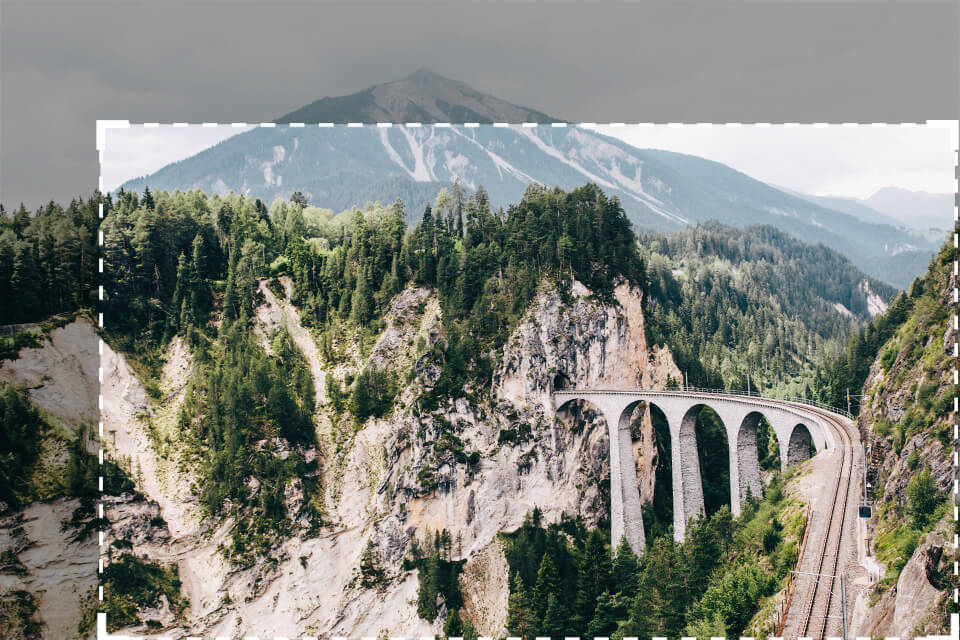
While you should always check if the horizon is even before taking a photo, straightening is one of the first things you’ll have to do anyway.
Start by cropping the photo to fix small compositional issues and removing some distracting objects at the edges of the shot.
Photoshop’s crop function gives you plenty of control and allows you to straighten the photo, change the aspect ratio, fix perspective distortion, and fill in missing parts of an image using AI.
In Lightroom, cropping is done in the Develop Module. To access that feature, simply press the “R” key.
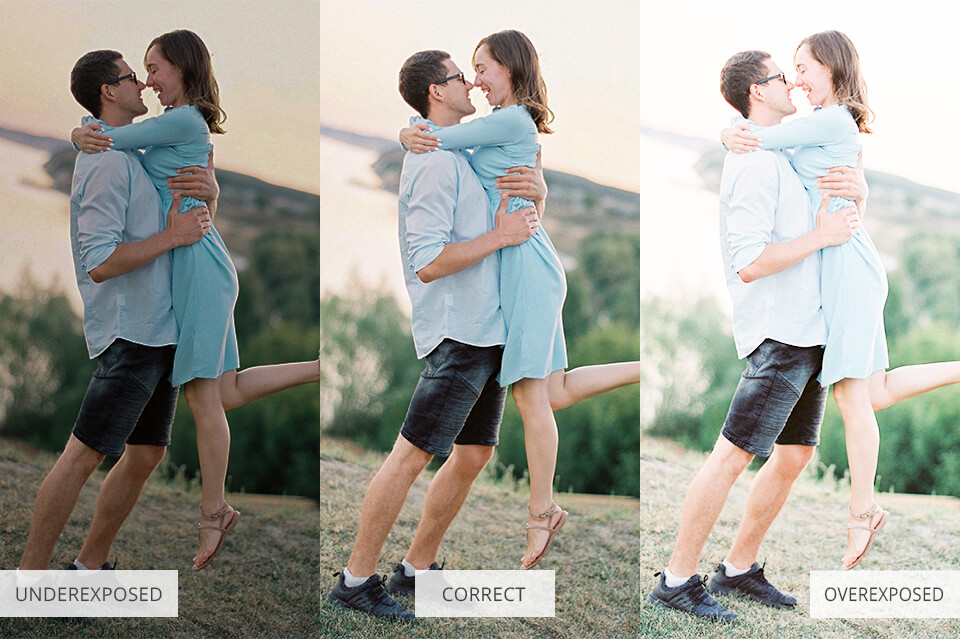
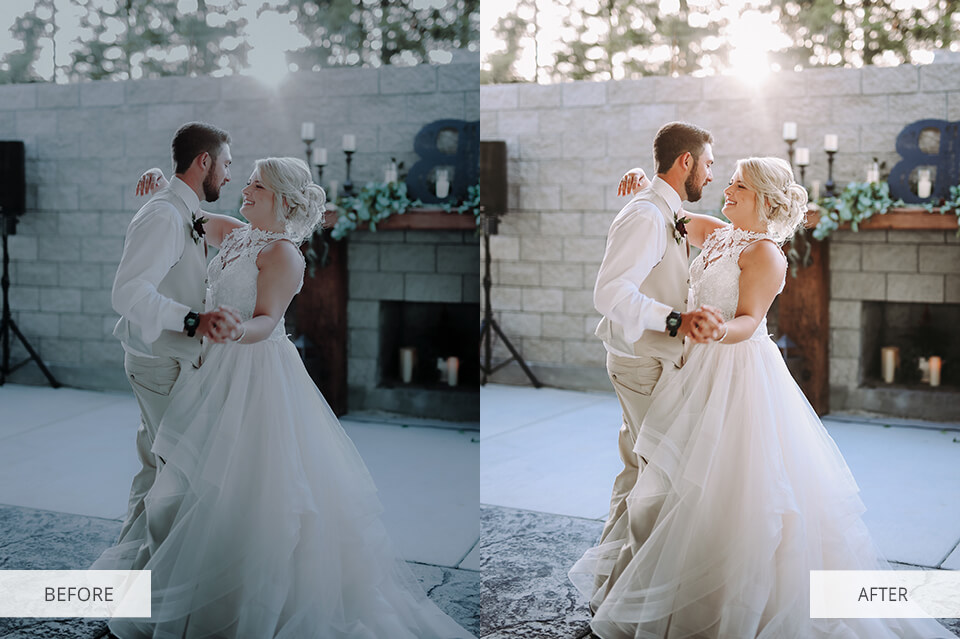
If you’re a newbie photographer, exposure mistakes are bound to happen frequently, with some of your photos being overexposed and others being underexposed. That's why the second image post processing step you need to take is adjusting exposure.
In Lightroom, you can change the exposure by using one of the top sliders in the Develop module. Drag the slider around to either brighten or darken the photo. Below the main slider, there are also sliders for setting the exposure for specific light and darker picture areas.
In Photoshop, you have to choose “Image” in the top panel, go to adjustments and exposure to access similar settings.
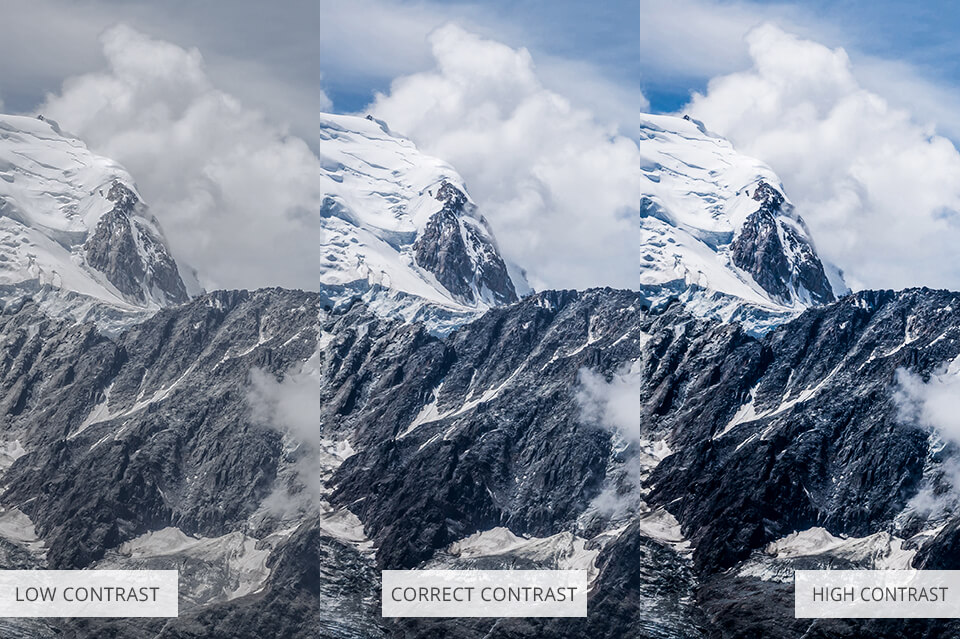
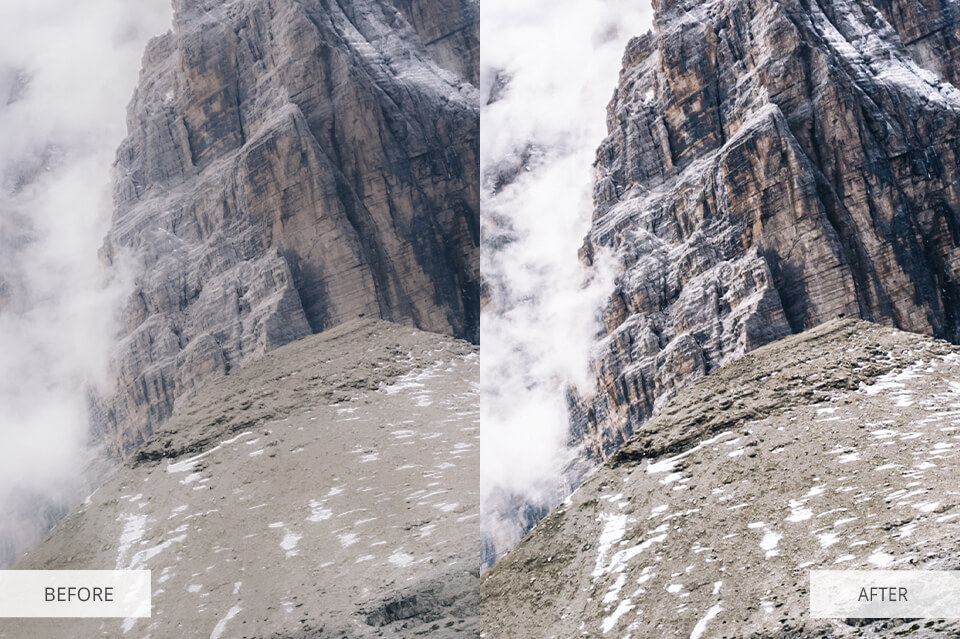
Contrast deals with emphasizing the distinction between the lighter and darker photo areas. By raising the contrast, you can significantly enhance the impact an image has on a viewer, as the boundaries between different areas become more visible.
If the contrast is very small, the photo will appear flat. In most cases, your goal is to find the golden balance between the two extremes.
In Lightroom, you change the contrast by moving the appropriate slider under Exposure. Keep sliding it to the right until you're satisfied with the result. Feel free to change the Blacks and Clarity settings too as they also affect contrast.
In Photoshop, pick Image > Adjustments > Brightness/Contrast. Play around with the slider until you get the needed contrast.
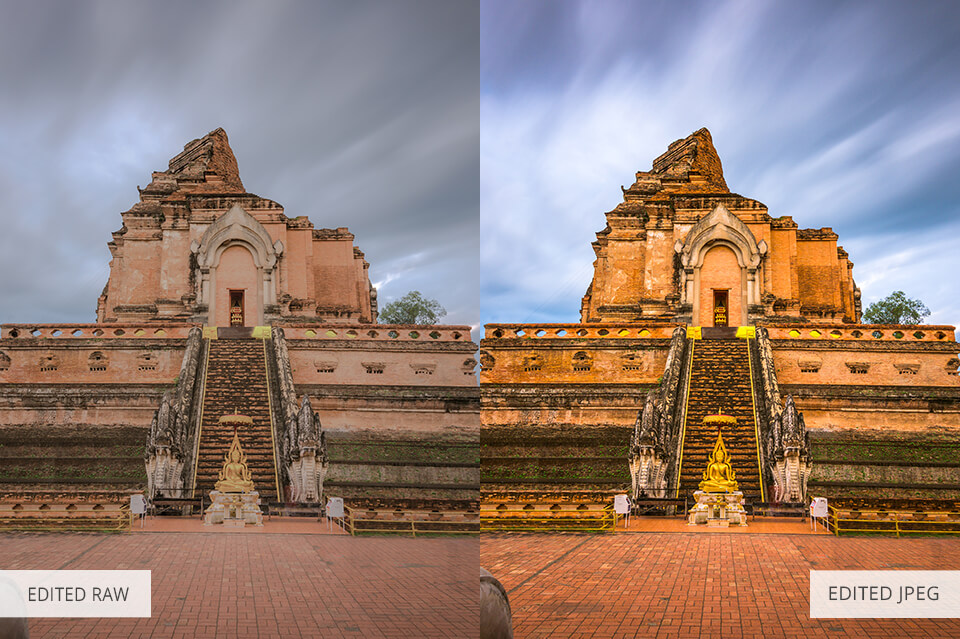
The majority of DSLRs shoot in JPEG by default, but it’s better to change the go-to mode to RAW if you want to have more freedom for photography post processing.
RAW images preserve more details and brightness and have a higher dynamic range compared to JPEG. Moreover, enhancing poor images is a lot easier in RAW, as you can adjust the exposure, highlights, and shadows without having artifacts or noise appear.
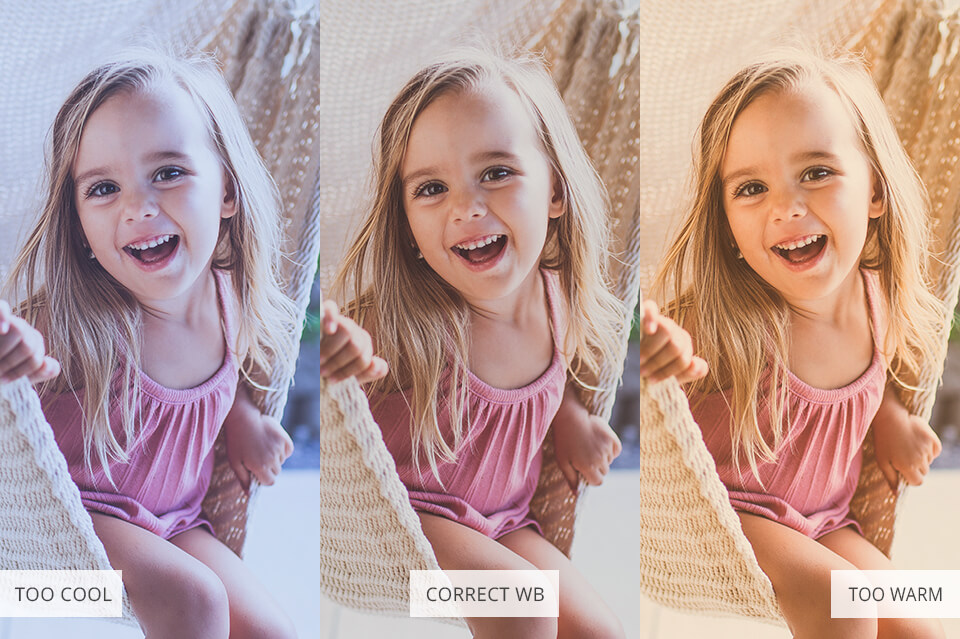
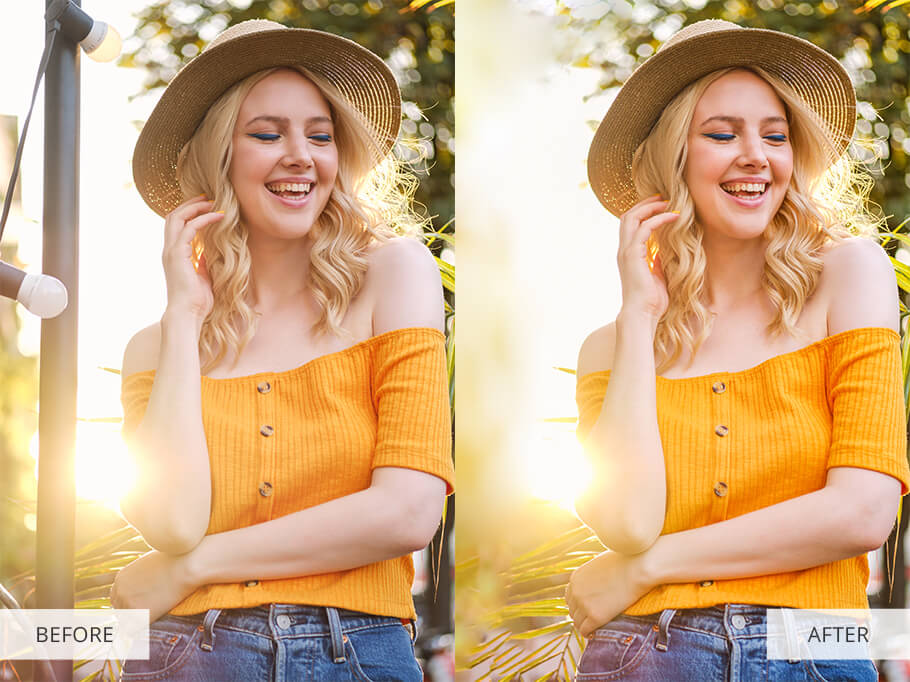
White balance is determined by the color temperature of the lighting in a photo. If you carefully examine your images, you’ll often notice a color cast.
To easily deal with that problem in Lightroom, select the dropper tool, and click the area of the image that has to be neutral white or grey. That will fix most color temperature problems.
In Photoshop, you can correct white balance by picking Image > Adjustments > Color balance. Use the sliders to set the colorcast of the photo. Alternatively, you can visit the Image > Adjustment > Curves menu to achieve the same result. Pick the white dropper and click on the part that has to be white and you’ll see the tint disappear.
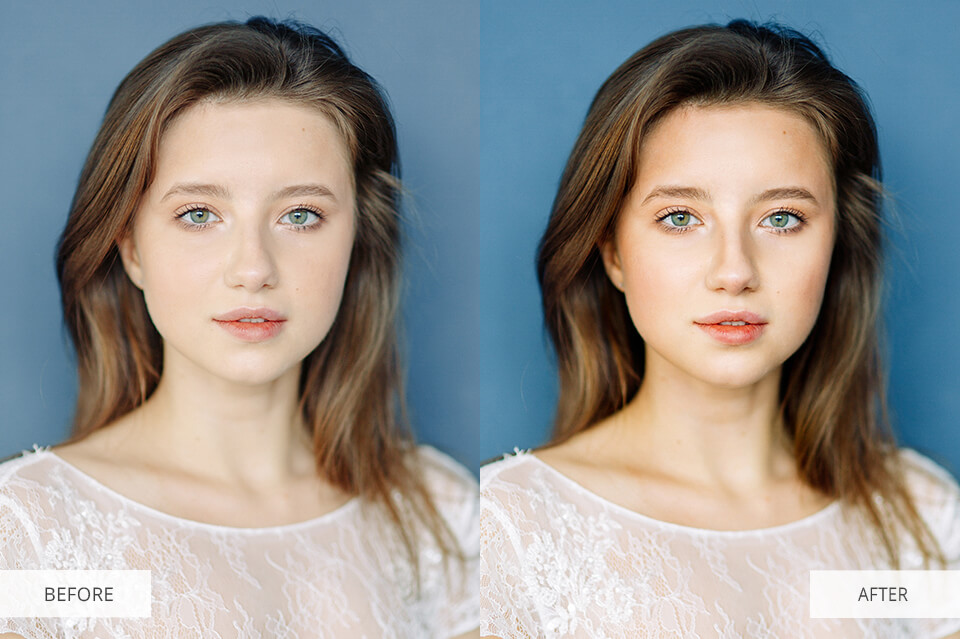
Once you've properly set white balance, it's time to further improve the colors by using the saturation and vibrancy settings. The difference between the two tools is subtle.
By raising vibrancy, you increase the intensity of neutral color shades and keep the intensity of brighter tones unchanged.
You can also change separate colors if you want more control over the photo editing. The HSL (hue, saturation, luminance) sections in Lightroom or Photoshop are extremely powerful tools for enhancing colors.
Alternatively, you can improve your photography post processing workflow by getting high-quality Lightroom presets and Photoshop actions, that are great for achieving a professional look in a couple of clicks.
When taking photos in RAW, they aren’t sharpened by the camera, which means you have to increase the sharpness yourself.
Lightroom: You’ll find the sharpening tools below the detail slider. The amount determines how much the image is sharpened. Radius defines if the sharpening occurs at the edges of the pixel or in the middle. The detail setting is used for fine-tuning as it focuses on the smaller details instead of the entire photo. Masking lets users decide which image parts the effect is used on.
Photoshop: Select the Filter > Sharpen menu, which offers multiple varying options. The most commonly-used tools include unsharp mask and smart sharpening, both of which have amount and radius settings, just like Lr.

Curves are an intricate and very useful tool for post processing photography. It can be used to adjust contrast, increase or decrease the brightness, make barely visible objects pop up more, tweak the colors, etc. You can alter the curves by going to the “Tone Curve” section of the develop module in Lightroom, or to Image > Adjustments > Curves in Photoshop.
There are four different types of curves:
Highlights: The brightest parts of a photo.
Lights: Mostly lighter parts, but not as extreme. It covers the brighter part of mid-tones.
Darks:The darker part of mid-tones, covering everything between the lights and the shadows.
Shadows: The darkest parts of a photo.
This step is often covered in skin retouching tips. The Dodge and Burn tool lets you brighten or darken certain parts of a photo. Dodge lightens the selected area, while burn does the opposite.
It acts like a brush, so you have complete freedom in choosing where to apply the effect. Both options are included in Photoshop and can be found in the toolbar, while the menu on the top lets you select the range, exposure (how bright or dark the effect will be), and the size of the tool.
If you run a studio, you can use Zenflowchart an online flow chart creator to document this processing procedure and ensure consistency among your team.

Frequency separation is the first technique you’ll see covered in any guide on how to smooth skin in Photoshop. It entails a complicated process of separating the colors and textures of a photo into distinct layers, giving you the freedom to tweak them individually.
High frequency covers hair, texture, pore, fine line, and skin imperfection data. Low frequency covers data on shadows, tones, and colors.
Dividing the information into separate layers allows you to alter some of the aspects of a photo without affecting the rest of them, which can be crucial when learning how to post process photos. You’ll be able to smoothen the skin without changing its color. As another example, you can brighten shadows without affecting the texture. Due to the precision this technique offers, it’s often used in highend retouching.
One of the most useful aspects of post processing for photographers is the ability to delete objects that don’t belong to a scene. You have to learn how to remove stray hairs in Photoshop, random people walking, distracting spots and light flares.
Most professionals perform this type of image editing in Photoshop. It offers the handy clone stamp and healing brush tools, which are perfect for object removal. Healing brush offers 2 options: one where you establish a reference area, and the second one where the AI automatically adjusts the selected area according to the surrounding pixels.
Lightroom can’t offer the same amount of control, but its spot deletion tool can be used similarly and is more than enough for simple adjustments.
Adjustment layers and brushes take all of the changes that could affect the whole photo and limit them to a selected area.
Adjustment layers in Photoshop apply changes to a layer, not the photo itself. You can add them by selecting Layer > New Adjustment Layer and picking one of the available options like exposure or vibrancy.
Layer masks are similar in function and allow applying an effect only to the selected image area. Learning how to mask in Photoshop is a fast and simple process: at the bottom of the Layers menu, pick the white square with a black circle to add such a mask.
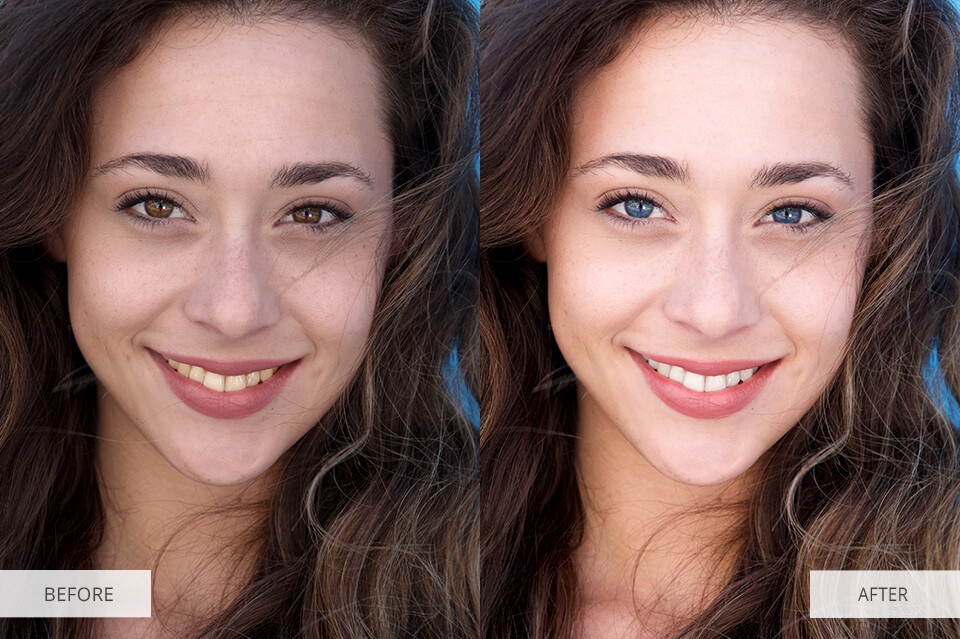
Even though Lightroom doesn’t have as many tools for precise image editing, its adjustment brush works similarly. Once you've chosen it, you can move around various sliders to pick what exactly you want to change, then apply the effect over the needed image areas. For instance, you can use the brush for teeth whitening.
Freebies allow you to save a ton of time while still receiving beautifully-edited images. They also help even complete newbies give a professional look to their photos, which is great if they don’t know how to post process photos properly yet. You're welcome to download this bundle of overlays, presets, and actions for Photoshop and Lightroom.


