Are you going to take some snow photography? Then ensure to stay away from such widespread mistakes as overexposed pictures, snow with a blue tint, bleak highlights and ruined equipment. Go on reading this article to discover more helpful tips for capturing snow in the most beautiful way, without doing any damage to your equipment.
By following these snow photography tips and tricks, you are sure to achieve captivating snow shots even if the weather conditions are far from perfect.
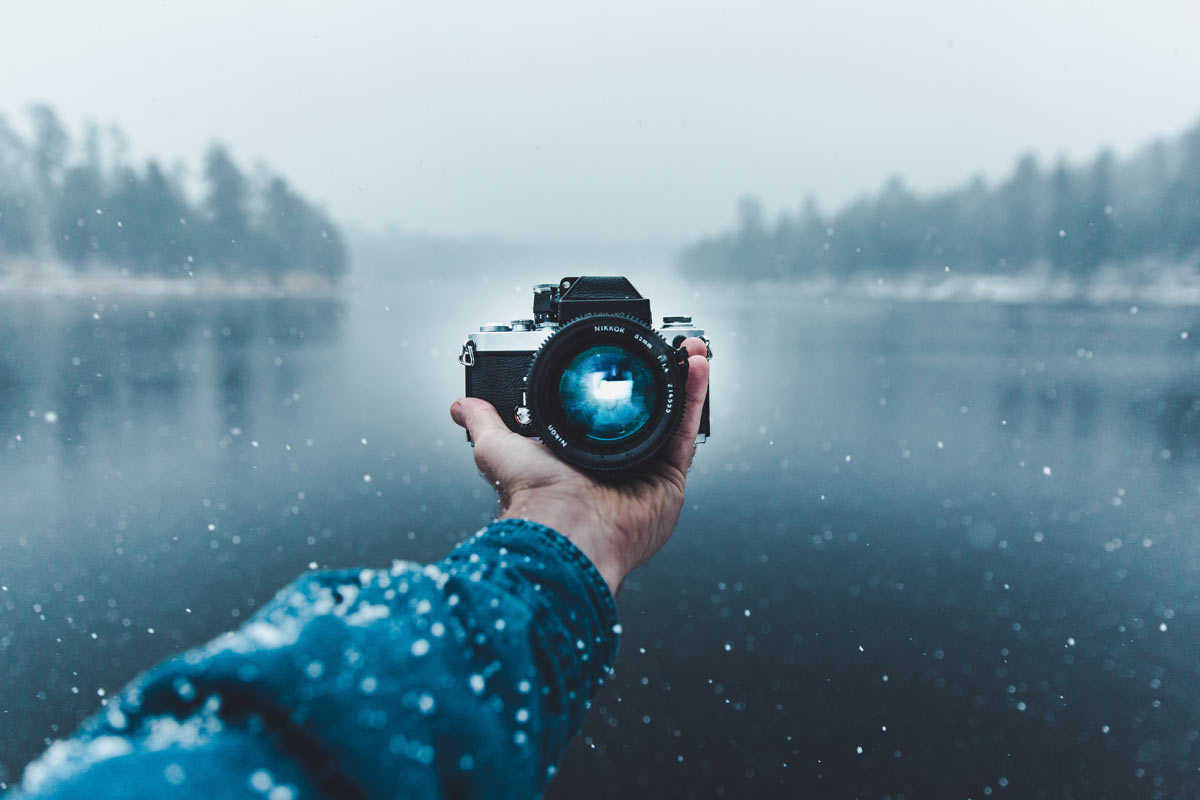
Try to steer clear of a sudden temperature change as it will lead to condensation forming on your piece of equipment. To do that, place the camera and lens in a ziplock bag when you are outdoors. After that, come into the warm out of the cold. The camera should stay in the bag or case until it reaches room temperature.

As a result, the camera will acquire the normal temperature gradually. The condensation will form not on the camera but on the bag itself. In case you don’t have a plastic bag at hand, use a towel instead. Once you are done taking photos in the snow, wipe off the exterior of the camera/lens, camera case and the rest of the equipment in order to eliminate any moisture.
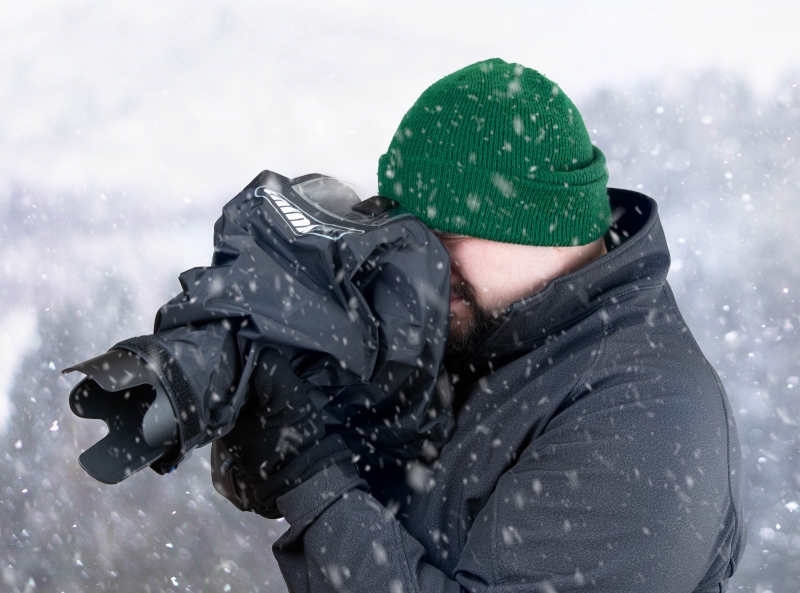
If you have to photograph during snowfall, a rain cover is a must-have to prevent the camera and lens from getting wet and covered in the snow. By allowing this to happen, you might as well ruin your equipment forever.
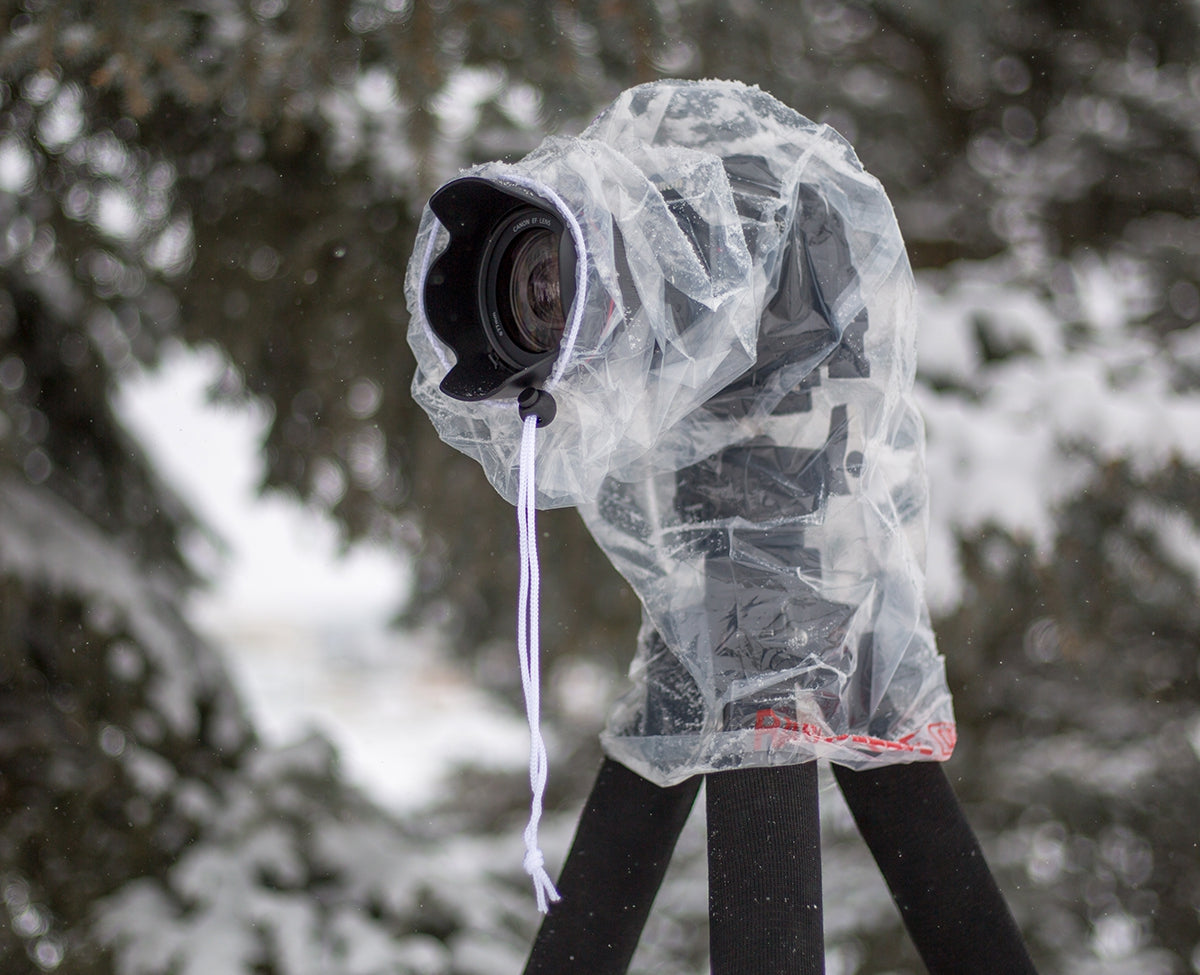
For top-notch protection, invest in a thermal protector cover.
With its help, you can forget about cold, frost and snow ever reaching your precious camera and lens.
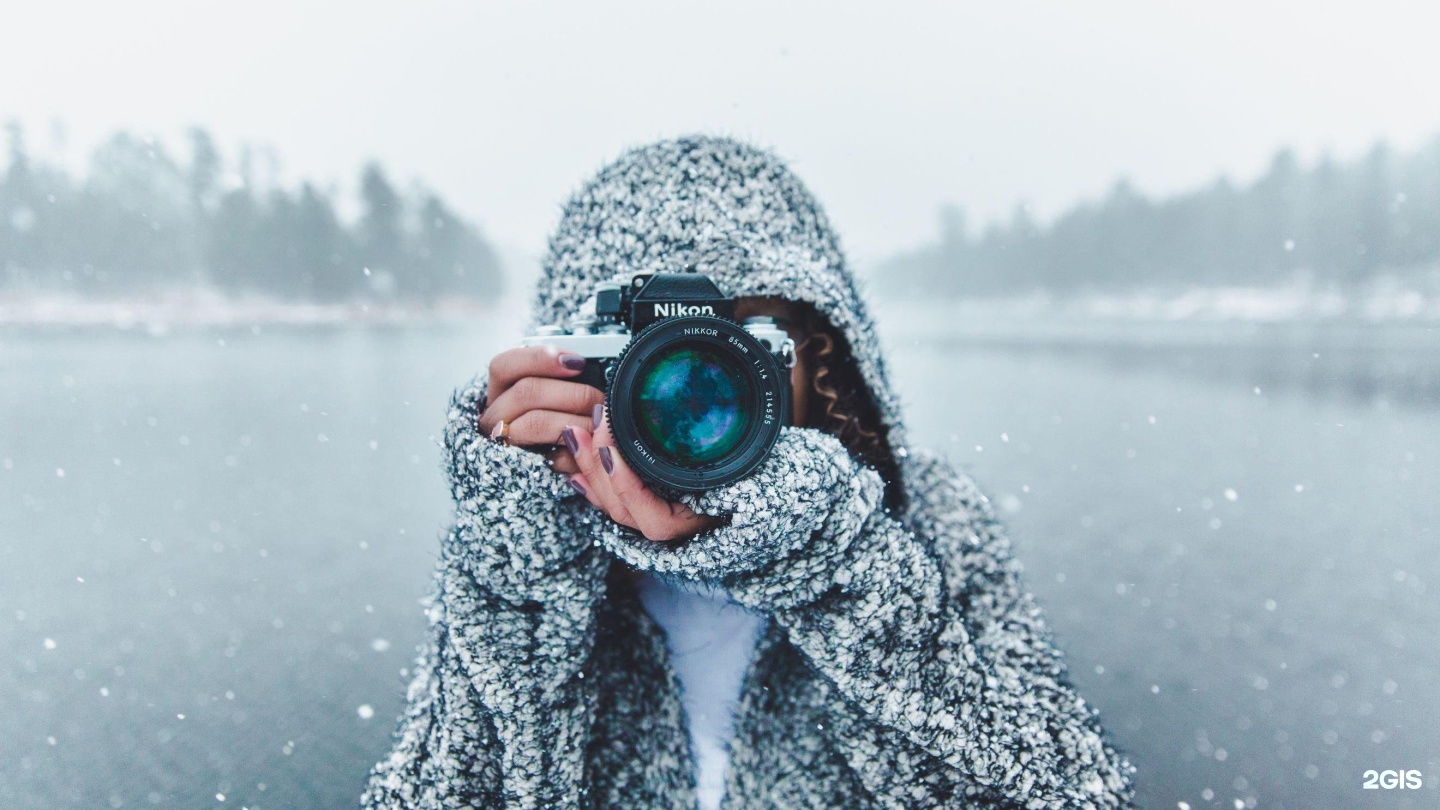
Since condensation is a disturbing problem, you shouldn’t change lenses very often when photographing snow. Still, using a single focal length lens may not be enough. Therefore, I suggest that you bring a zoom lens with you. 24-70 mm lenses or 70-200mm lenses provide for a vast array of focal lengths.
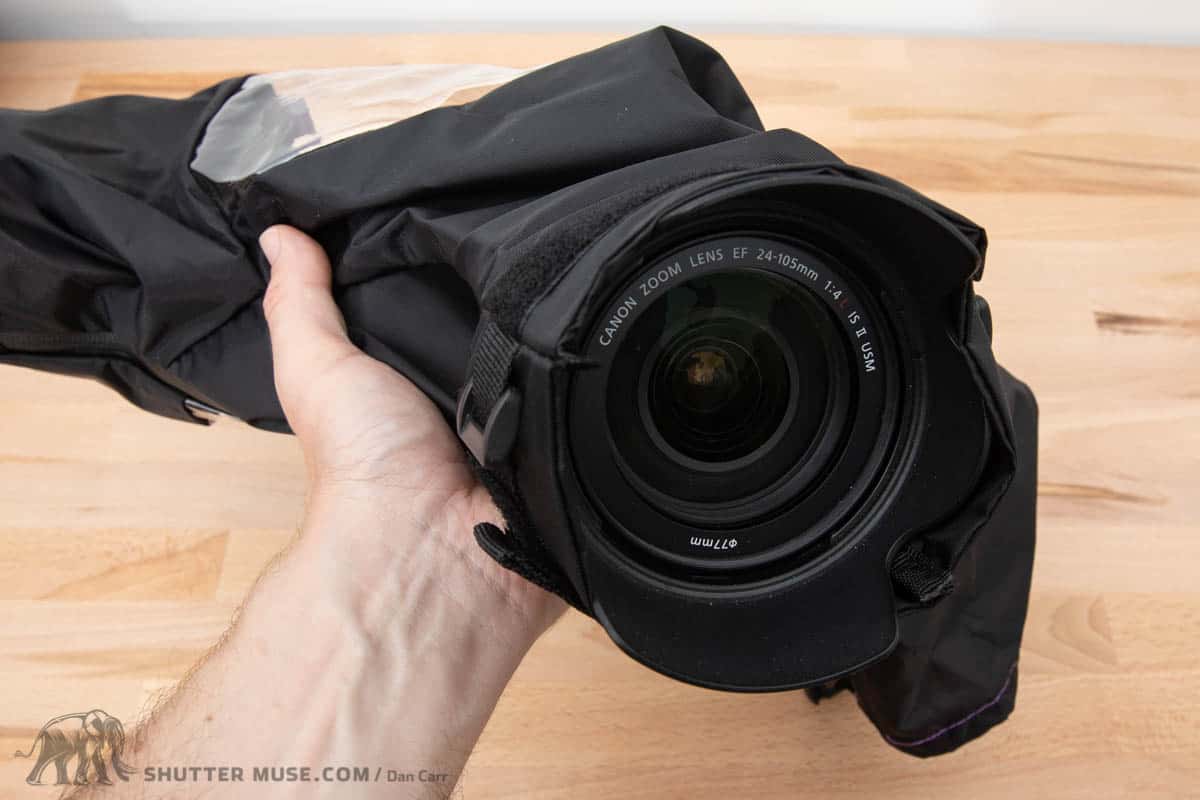
Besides, you wouldn’t need to worry about the safety of the equipment while having the full creative freedom to implement any of the winter photo ideas. My top pick for snow photography is Canon EF 75-300mm.
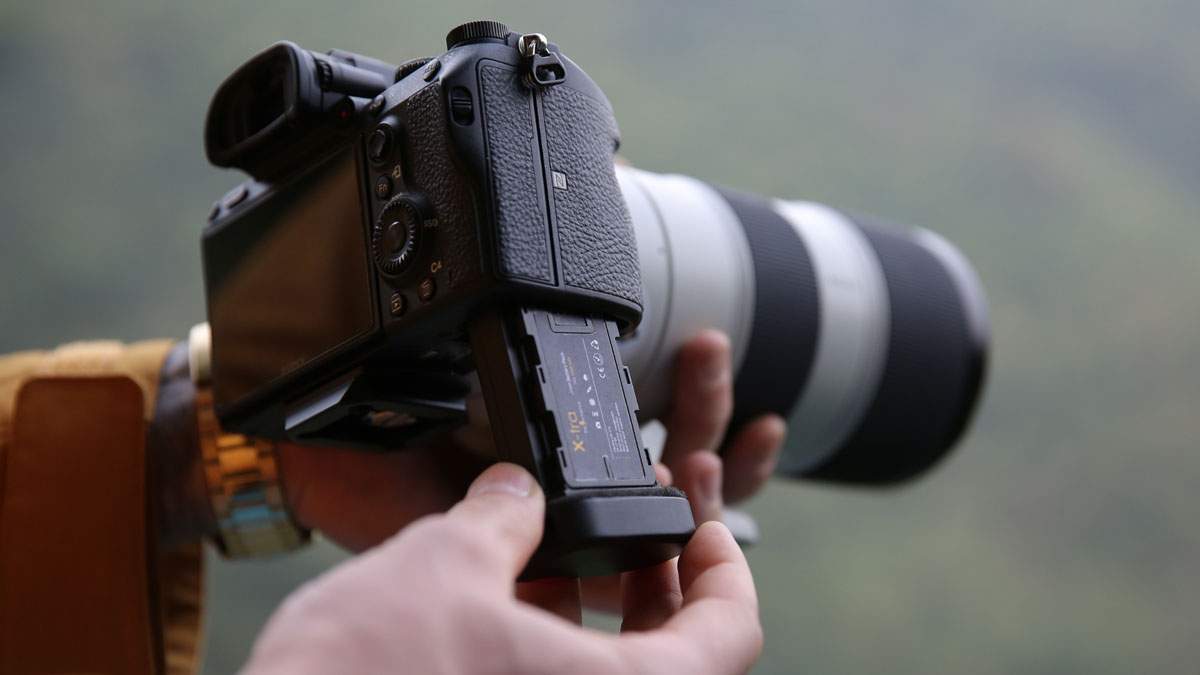
A battery may simply die out due to the cold temperature outdoors. Think ahead and bring an additional battery with you. Keep it in a warm place, for instance, in your pocket, as the battery’s charge may run out as well – once again because it is freezing.
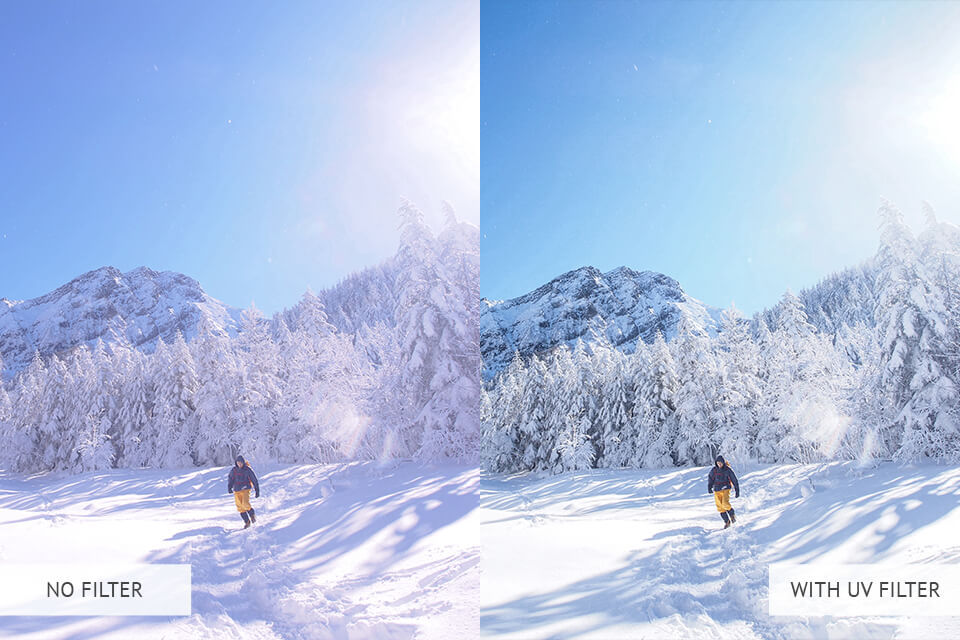
One of the most significant snow photography tips is to take filters for landscape photography with you. Unless you want moisture and condensation to cover the front element of the lens, purchase a UV filter or clear filter. In case of extensive glare, a polarizing filter will minimize the reflections of the snow.
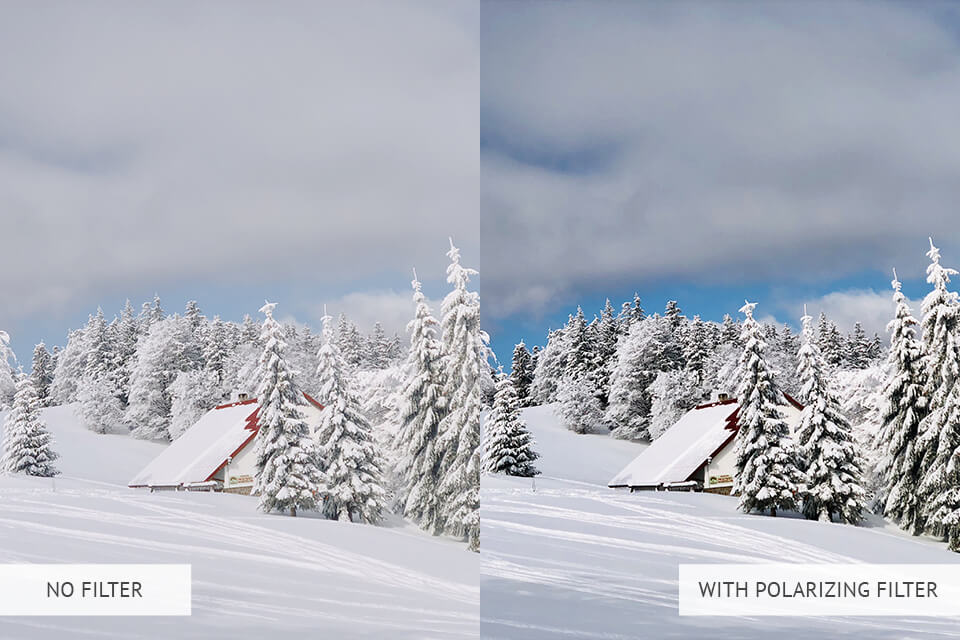
With a polarizing filter, it is possible to make a bright unclouded sky darker or effectively boost the saturation. For long exposure photography throughout the day, particularly if it is clear outside, an ND filter will come in handy. This way, the shutter remains open for a longer time period while the sensor isn’t flooded with light.

A lens hood may seem helpful only for shooting in sunny weather. But when it comes to photography in the snow, this item becomes indispensable as well. With extra coverage, it will be difficult for snow and rain to reach the front lens element. Moreover, a lens hood will prevent the lenses from smearing and frequent cleaning, which are common consequences of photographing in poor weather conditions.

The standard winter gloves are unlikely to help you during the snow photography process. That’s where special photography gloves come to the rescue. Among its benefits are the warmth they provide your hands with, decent grip and excellent flexibility while you are shooting outdoors. With such gloves, it won’t be an issue to press small camera buttons properly and use all the gear to the full extent despite the cold.

As you already know, snowy weather leads to moisture accumulating inside and outside of the camera. Therefore, it would be wise to bring microfiber cloths and wipe off all the equipment using them as often as possible.
If you choose to leave the wet areas on the camera/lens, they may turn into thin layers of ice, which is surely not the best thing to happen. Once the moisture gets inside, it can even result in lens fungus.
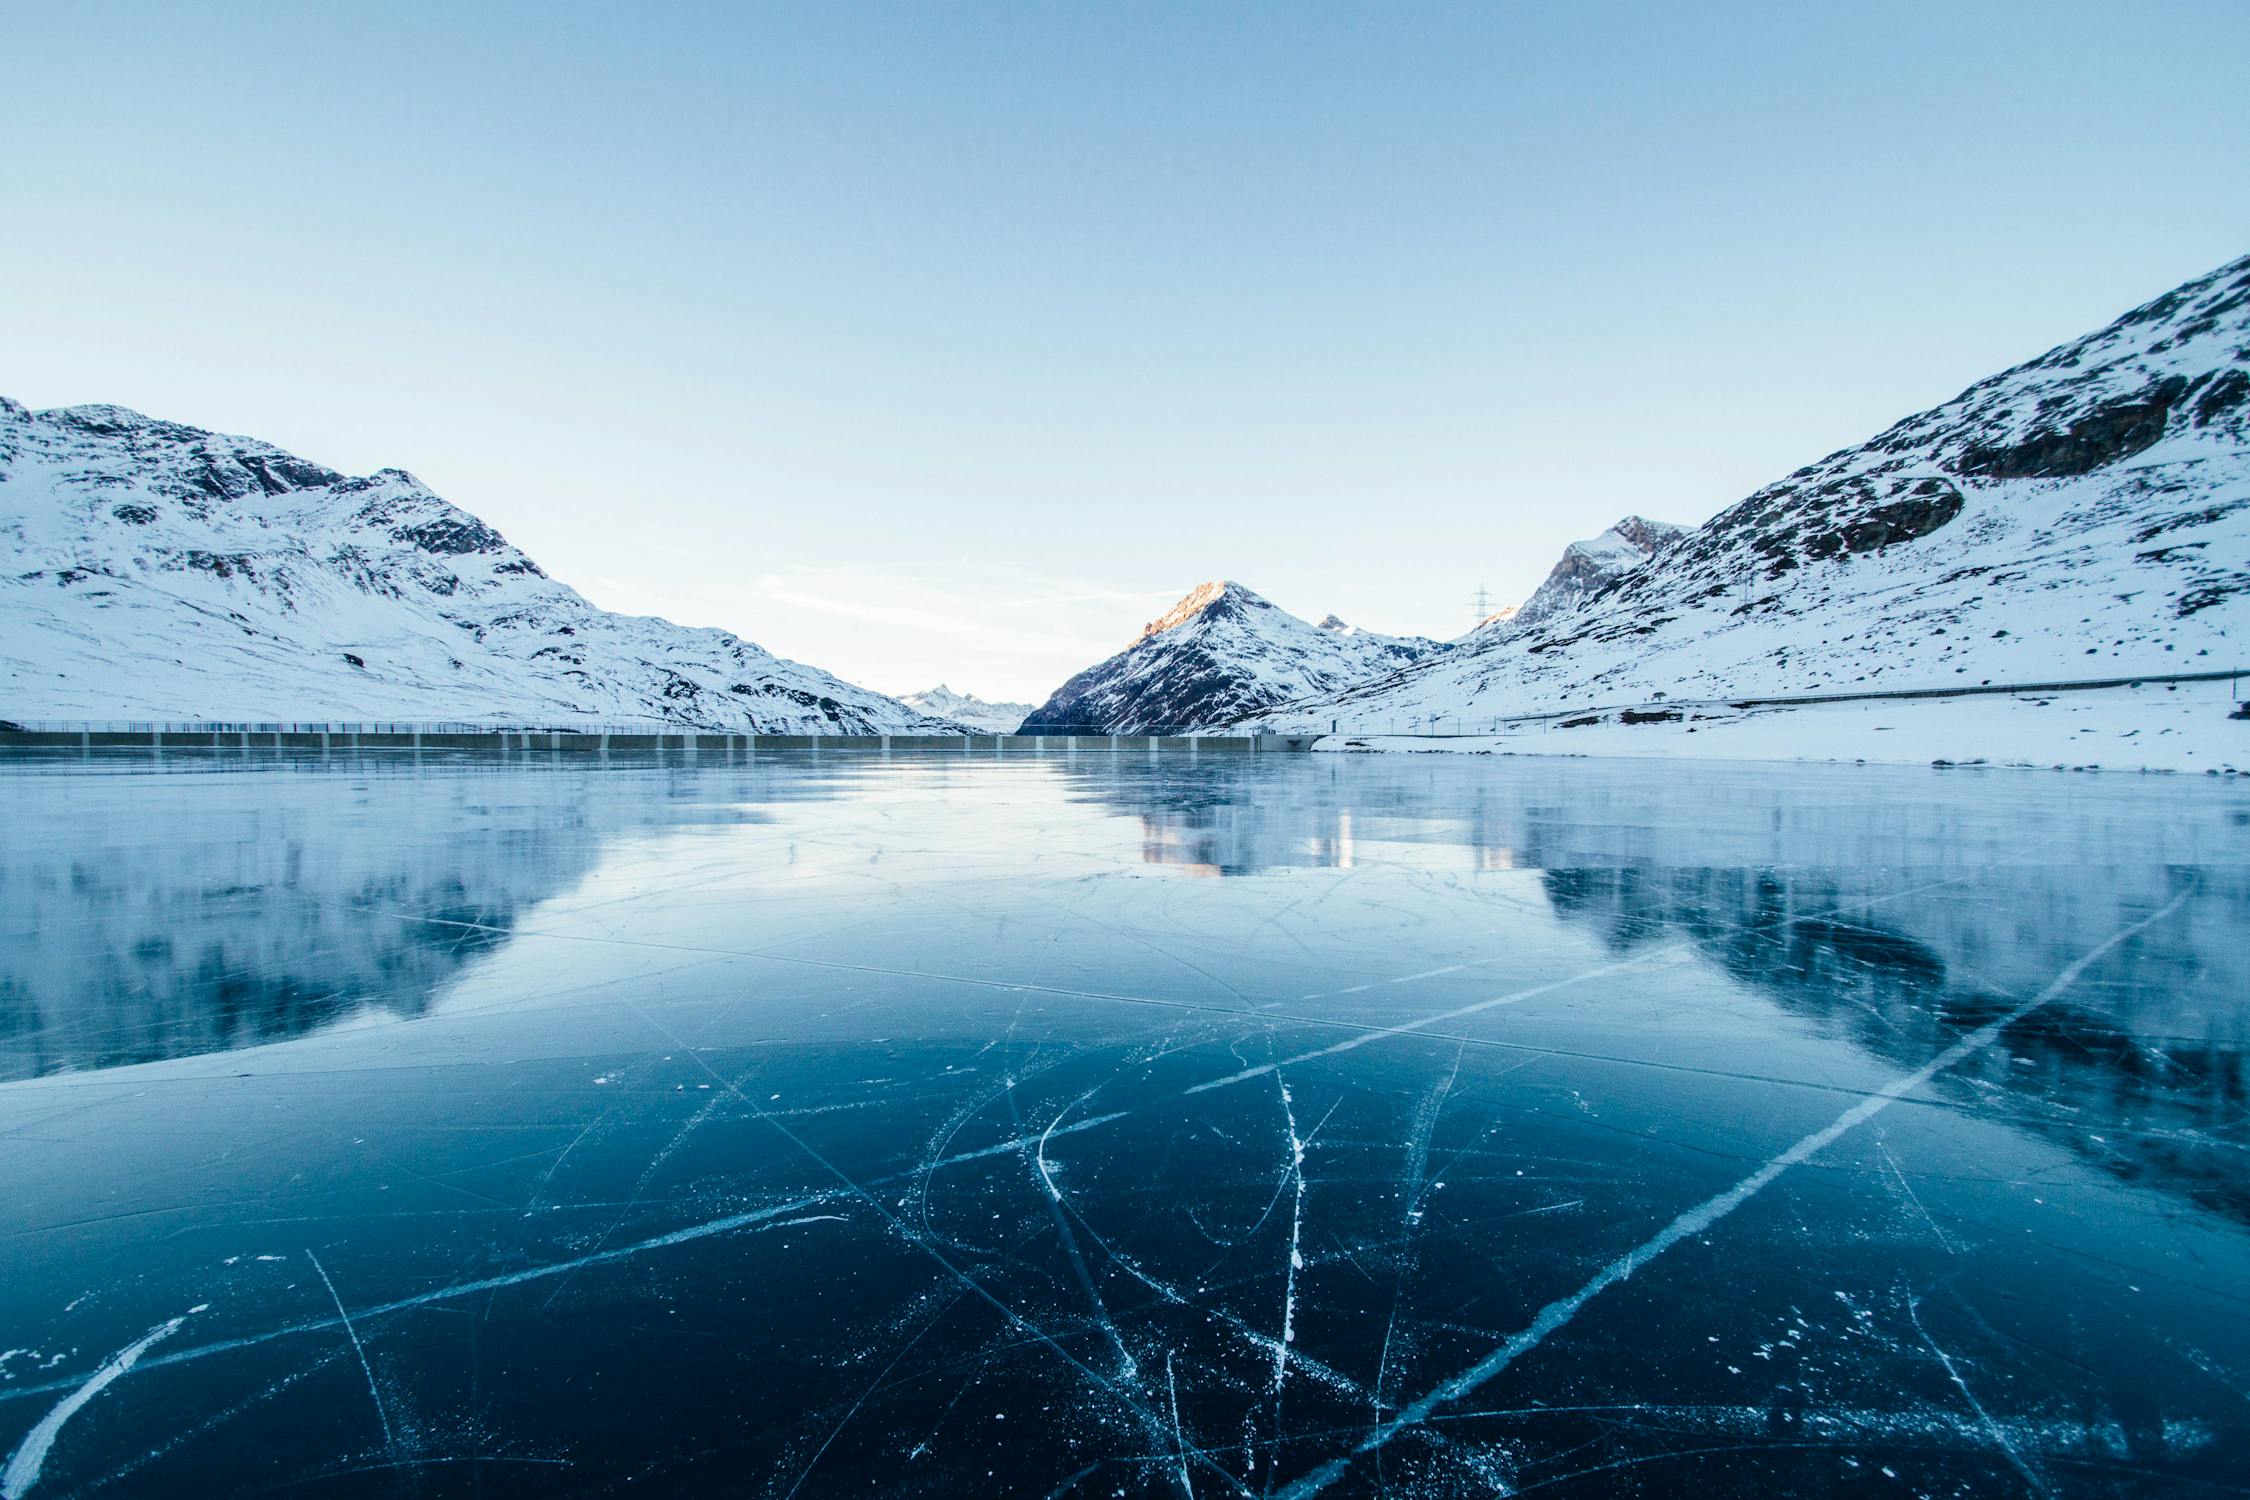
Even if you stick to all the given tips while learning how to take pictures in the snow, you and your equipment aren’t immune to weather-related damage. If you end up breaking or ruining something, photography insurance will be your safety net in this case, covering the cost of replacement or repair.

More often than not, the camera’s white balance is set to Auto. However, in winter, the snow can easily mess with your camera. The camera’s auto white balance will misplace the snow so that it acquires a blueish tint.
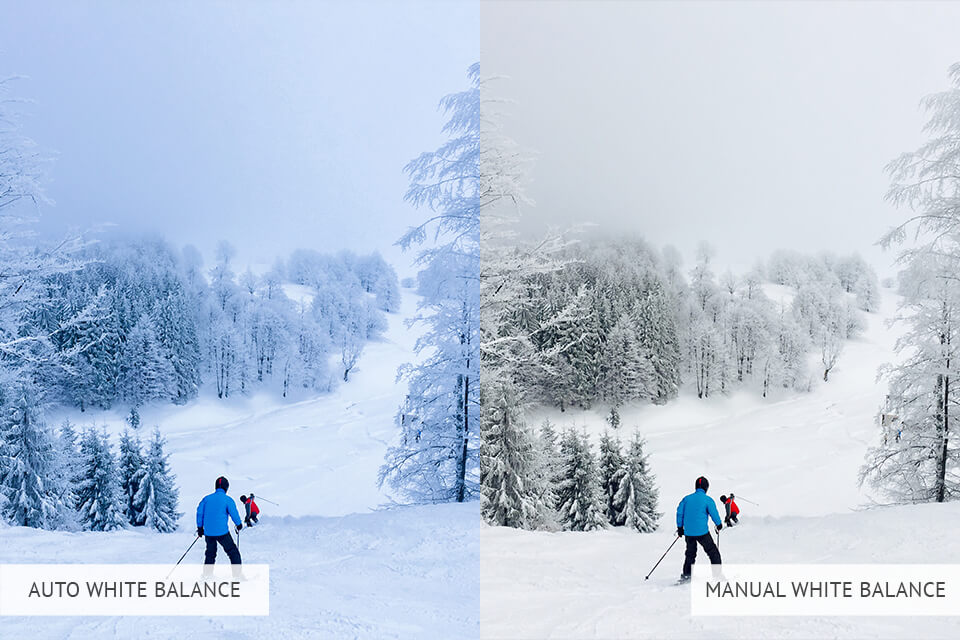
When taking photography in snow, manual adjustment of the white balance is required. With a low WB value, the picture will appear bluer. For greater warmth, keep the white balance value high. My recommendation is to configure the white balance to approximately 6,500 kelvin, or resort to the cloudy white balance setting.
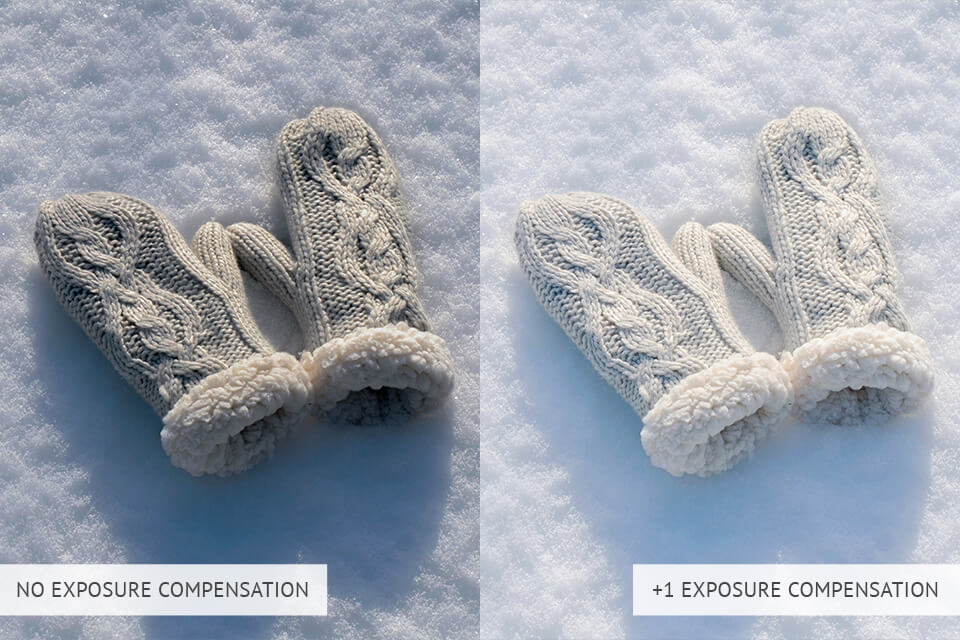
The meter in the camera is configured in such a way that it exposes a “middle grey” picture. For the majority of scenes, it works fine. The only exception here is snowy weather. Although the meter may state that the exposure is on point, the snow in the picture won’t appear as white as intended. In fact, the snow will be darker, and the final shots will be underexposed.

To achieve pure white snow photography, mind to tweak the exposure. The suggested values are +1 or +2. Even if the snow seems to be overexposed a bit, don’t get upset. You will easily make the shot darker at the picture post-production stage.

In order to capture the dynamic actions of snowboarders or skiers and stay away from unclear areas in the shot, set the shutter speed value to no less than 1/1000. In case it is snowing, and you wish to capture the snow falling down, do it using a monopod by a good tripod brand while keeping the shutter speed slow, to approximately 1/15. With the wind blowing, you should definitely configure a faster shutter speed.

Relying on the picture from an LCD screen is a bad idea. The given picture may be misleading as the pure white snow around can mess with your vision. Underexposed shots will appear bright while the properly exposed ones will seem to be too bleak.
When you are taking photos in the snow, remember to view the histogram. This way, you will check the exposure and ensure that the picture details aren’t lost in the snow. With the help of a histogram, you can see whether the highlights are either too bright or too dark.
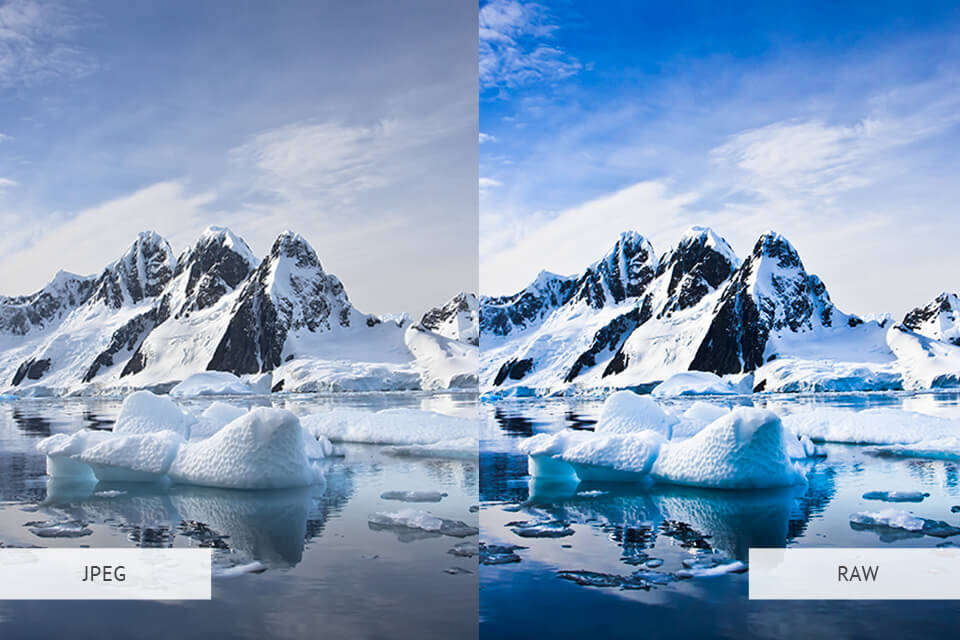
Whenever pure white snow seems to be surrounding you everywhere, it may be challenging to photograph with proper exposure and color temperature. By picking the RAW file format over JPEG, you will be able to regulate all the necessary parameters at the picture post-production stage. Shooting in RAW, you are free to restore highlights and tweak shadows later.

Snow outdoors means that it is the perfect timing to go out and implement amazing macro photography ideas. To take nice close-up shots in winter, try snowflake photography, capturing icicles in a row, or grass making its way through the snow.

If you are wondering how to photograph snow in macro, a regular macro lens won’t be enough. Search for a lens that can get way closer to snowflakes. As an alternative, add an extension tube to a macro lens in order to achieve that sought-after zoom effect.

A simple snowy scene captured on camera is unlikely to catch the viewer’s eye. That’s why you need a pop of color to spice up your snow shots. Look into the viewfinder and search for a bright spot. If you succeed, you will create vivid contrast in photography, as well as provide viewers with a primary focal point. Among the subjects that can give you a desired pop of color are red berries, yellow leaves, green trees, orange gloves, etc.

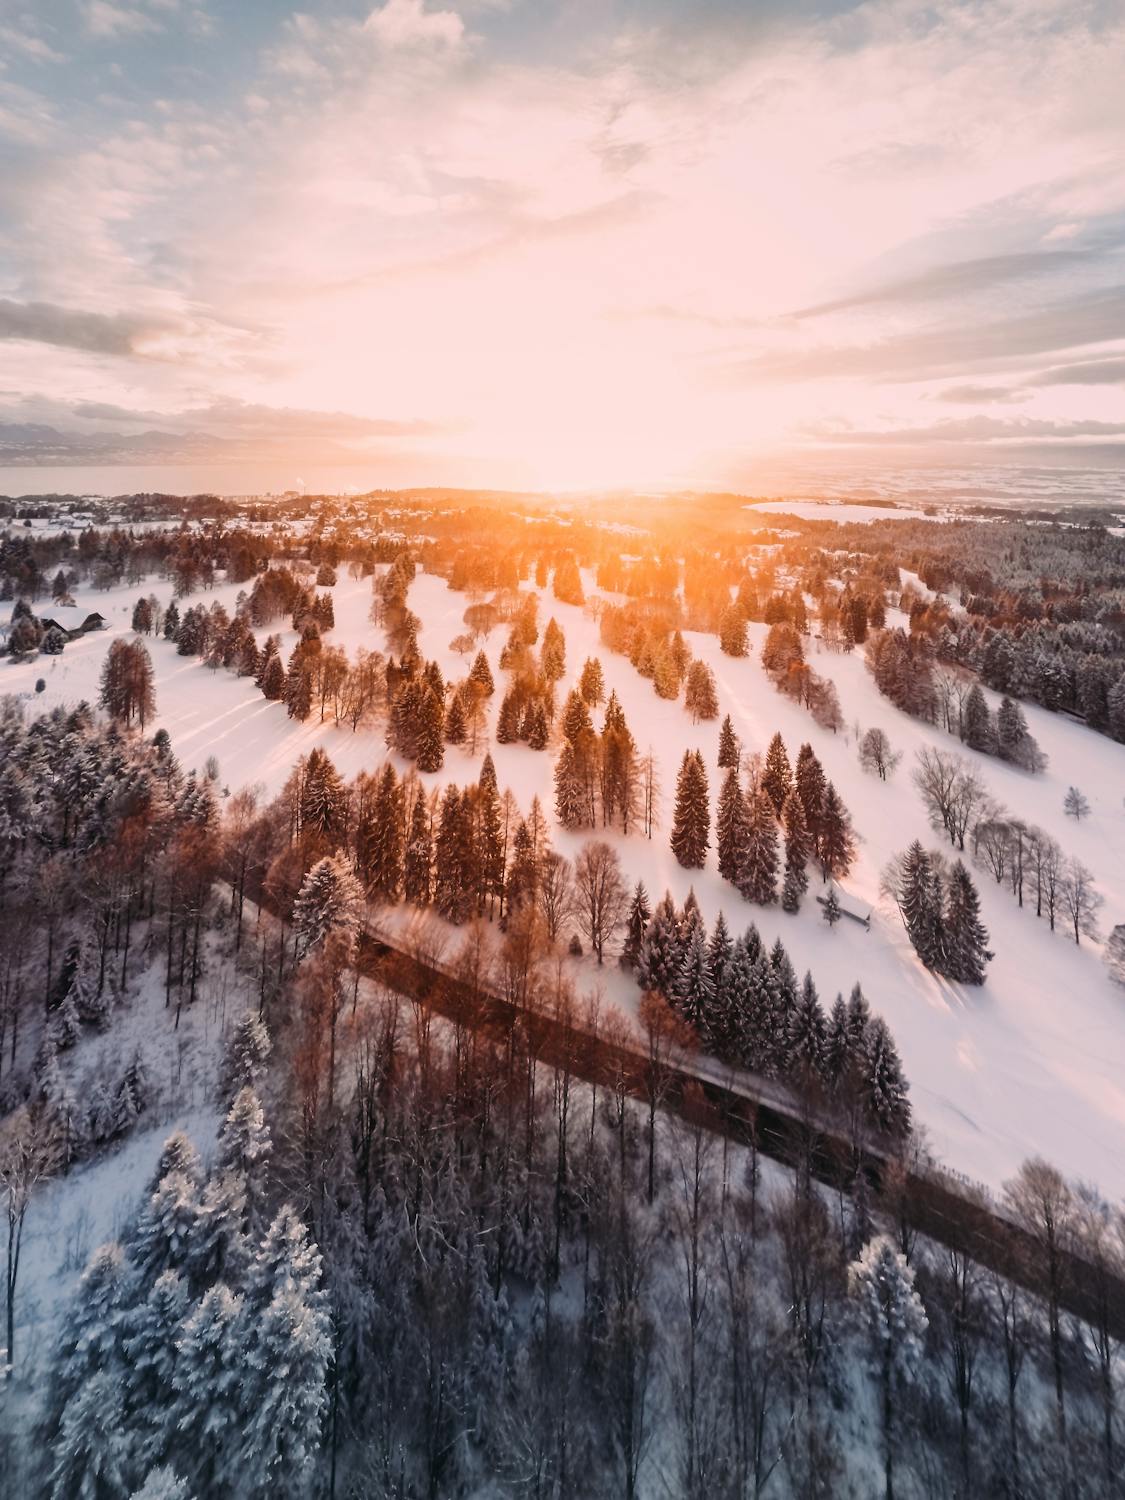
Depending on the colors of the winter sky, your snow photography may turn out to be very different. If you are after warmer shades, shoot during sunrise or sunset that will be reflected in the snow. For a more mysterious atmosphere in the shot, expose the sky, thus making the rest of the scene darker.

While you are building the composition of winter landscape shots, don’t attempt to capture everything or the first best thing you see. Remember that the composition should bear some meaning. So, think of how you can integrate eye-catching foregrounds in the shot. It is an excellent technique to make snow photography more profound and expressive.
Did you fail to achieve the perfect snow in the picture? Or were you taking pictures on a day when there was no snow, and you wish to make the pictures cozier and more atmospheric with the help of snow? Take advantage of this set of actions, overlays, brushes and presets to transform your winter shots in a couple of clicks.