21 Bird Photography Tips for Beginners

21 Bird Photography Tips
If you are a complete beginner in bird photography, I recommend starting with this article. It’s a great chance to get acquainted with the most useful bird photography tips. The more nuances you know – the more skillful you are.
1. Explore the Behavior of Birds

Don’t be too quick to present yourself as a professional bird shooter if you have all the best equipment. Although cameras and lenses are very important in any genre, when it comes to birds, we should also know their habits and understand their behavior.
Admit that the most expensive equipment will not help you find the bird if you know nothing about its habitat.
However, if you are an amateur photographer shooting for pleasure, you may start with a park or garden in your city. You will greatly simplify the process of photographing birds if you thoroughly study their habitats, activity during the day and at night, etc. Knowing all of it, you will easily choose the right place for shooting.
2. Keep Track of Lighting

It’s not a secret that the key to a successful shot is appropriate lighting. Speaking about bird photography, the best time to shoot is early in the morning or in the afternoon.
There are two reasons for it ‒ first of all, the light is very soft, and, secondly ‒ the birds are active.
Advantages of soft light:
- No shadows on the bird
- Bird’s feathers glow
- You may catch light in the bird’s eye
3. Stage Composition Correctly

Working with birds photography, don’t forget about the composition. If you compose the frame correctly, you will easily convey the desired message. Don’t worry since the composition is very simple when it comes to bird photos. Check out the following principles and try to follow them:
- Don’t forget about the rule of thirds in photography and mind that the bird is not necessarily the center of the shot
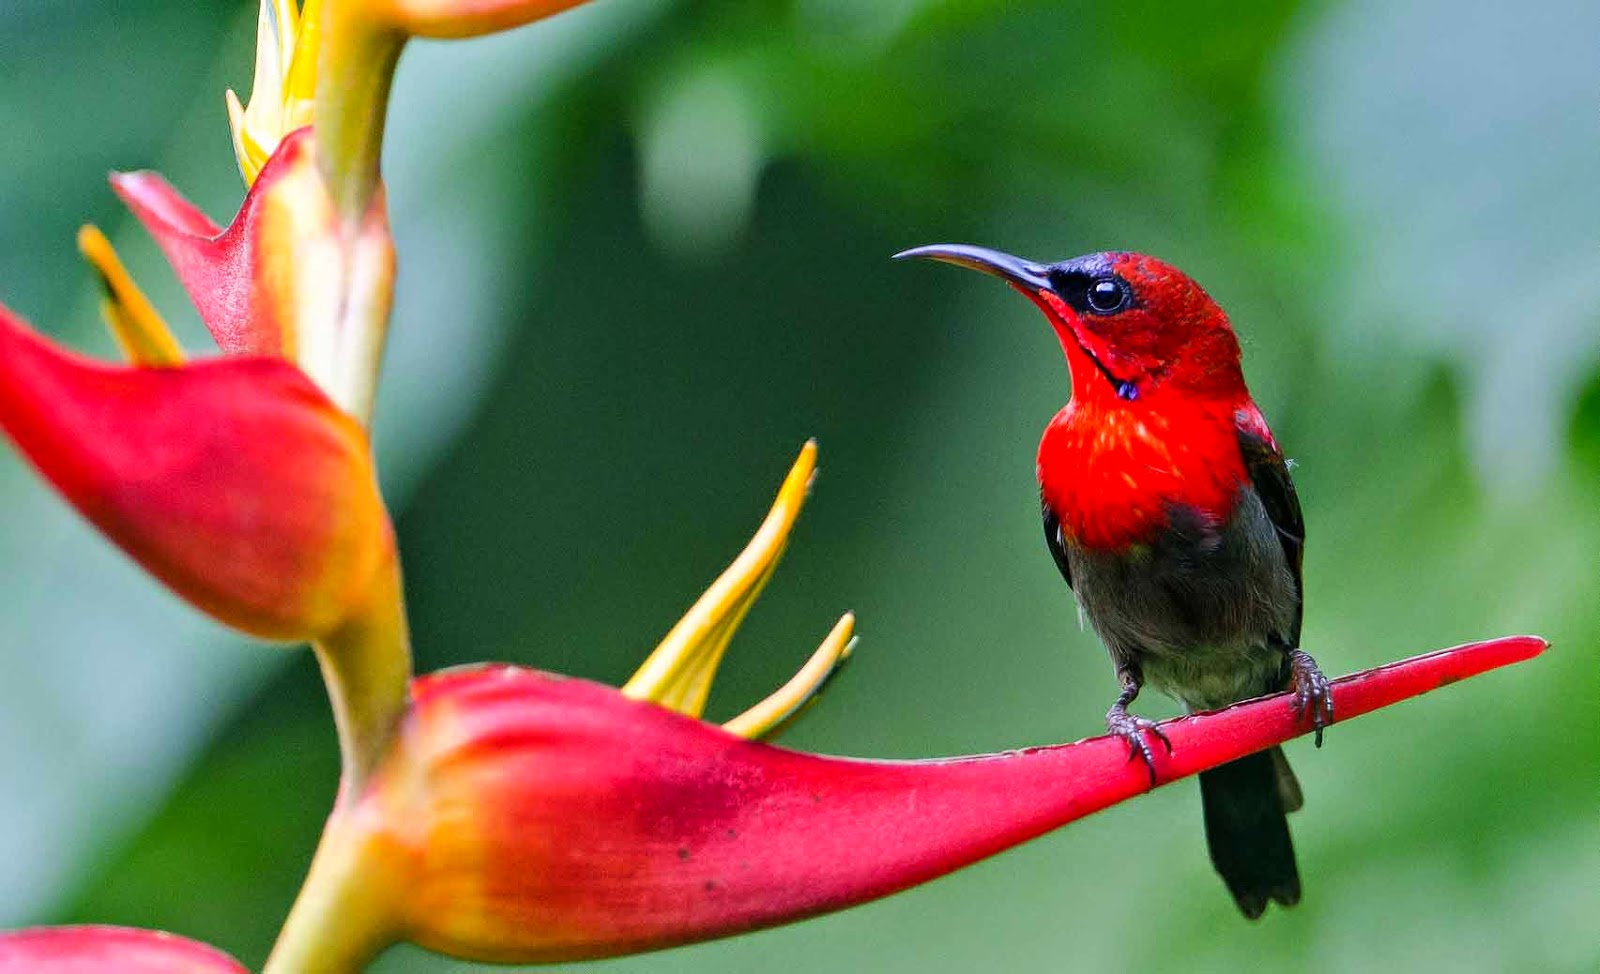
- Choose an appropriate background to maintain the color contrast
- The shot should be filled with the bird
- Choose a clean background
4. Stick to the Ethics of Photographing Birds


Ethics is very important in birding photography. I have chosen the most important rules for you to follow:
- Bird’s safety is your priority. You should not harm it in the process of shooting. If you see that the bird is excited or goes away ‒ perhaps, you have scared it. Leave it alone and find some other model to photograph. But, next time, be more patient and careful not to fright it off.
- If you need to come closer to the bird, first of all, wait till it gets used to you. In such a way, the bird will understand that you are not going to injure it and, later, you will take a great shot.
- Don’t flush birds for flying pics or use callbacks. Nothing good may come if you try to manipulate birds’ behavior.
- If you are not the only shooter to work in this location, don’t bother others. The most important thing is not to scare the birds. Also, you should be polite with other photographers and behave calmly.
5. Use These Bird Photography Spots
.jpg)
One more challenge that bird photographers face is that it’s not as easy to find different species. That’s why I have prepared the list of locations where you can come across various birds and get great shots.
- Tucson, Arizona
- Port Aransas, Texas
- Point Reyes National Seashore, California
- Everglades National Park, Florida
- Takoma Park, Maryland
6. Decide on the Choice of Camera

I never get tired of claiming that a camera is very important in any photography genre. However, don’t be too quick to buy the most expensive DSLR.
Remember that after you get a camera that will cost you an arm and a leg, you will also have to splurge on a decent lens. In bird photography, lenses are even more crucial than cameras are. But a good lens may even cost like a maintained car.
Your goal is to find a model (bird) with a good frame rate and autofocus since these parameters are essential in photographing birds. I recommend cameras featuring shutter speeds of at least 1/2000 second at a speed of 6–9 frames per second. Moreover, an autofocus system should be fast enough to capture the focus.
7. Choose the Right Lens

When it comes to lenses in bird photography, you have two options. The first one is to find a qualitative lens that will cope with any distance. The second – to buy several lenses for various conditions.
Today, there is a great choice of lenses on the market. Some of them are not cheap at all and may cost even more than $10,000, especially when speaking about such top companies as Canon and Nikon. The prices are really crazy, to my mind.
Fortunately, you don’t have to get top lenses since there are plenty of decent variants at reasonable prices. Pay attention to inexpensive lenses by Sigma and Tamron or consider the 4/3rds systems of Panasonic and Olympus.
Moreover, don’t forget that length is not as essential as glass quality. What I mean is that it’s better to have a qualitative 300mm lens than a poor 600mm one.
- 70-200mm lens is produced by the majority of companies. This variant is perfect for bird photography since it allows capturing the best moments of the wildlife. Moreover, you will “get closer” to the bird being not very close in reality.
- 150-600mm is an advancement of the telephoto lens. In this segment, Sigma and Tamron dominate. The prices usually vary from $1,200 to $2,000.
- 100-400mm lenses are very popular in bird photography. In this category, I may highlight Canon 100-400 and Nikon 80-400. They are very portable, lightweight and the price is affordable. If you are looking for a lens right now, consider this variant.
- 300mm fixed-length lens is better than zoom ones since 300mm f4 and f2.8s are sharp indeed. They provide better results if they are used with a 4/3 sensor or APS-C sensor.
- 400mm, 500mm or 600mm lenses are known for their speed and quality. The only drawback is that they are expensive. The main manufacturers here are Canon and Nikon. If they suit your budget, they will become your first helpers while photographing birds.
8. Do Not Forget the Tripod

It is extremely inconvenient and tiresome to shoot birds without a tripod, especially when using long lenses. The thing is that they are quite heavy and the pics will be clearer if you have one. Don’t know what kind of tripod you need?
First of all, pay attention to the material of the tripod’s legs. They should be made of solid carbon fiber to withstand a heavy lens.
Moreover, carefully study the articulated head. It should be qualitative and flexible. Flexibility is extremely important in bird photography as you have to shoot birds in flight. Finally, check the fasteners in order not to worry about your expensive camera and accessories.
- Read my detailed guide on choosing the best carbon fiber tripod.
9. Learn to Choose the Right Aperture
The amount of light entering the camera is controlled by the diaphragm. Aperture, in its turn, operates in inverse proportion.
If the aperture value is small, the amount of light getting to the camera sensor is big and vice versa. In general, aperture influences the picture in two ways. First of all, the shallow depth of field is created by an open hole.
Secondly, when it is wide open, the lens is not the sharpest one.
Lenses are sharp about two stops closed from wide open. Therefore, in case you bought an f / 4 lens, the sharpest aperture will be f / 11.
10. Use a Shutter Speed

Being engaged in professional bird photography, you should provide really clear pics. If you are not eager to carry a long lens with you, you need a wide-angle one with fast exposure.
However, many shooters follow the rule that the shutter speed should be equal to the lengths of the lens. It means that in case you have a 500mm lens, the shutter speed should be 1/500th of a second.
If the speed is slow, the images will be blurred. It happens because of the bird flying or it is the shooter who is to blame. In some situations, it is appropriate but not always.
11. Understand ISO Settings

The camera’s sensor sensitivity to light is controlled by ISO. It is how the camera interprets the info coming from the sensor. However, shooters working in the field are not influenced by such intricacies.
In reality, if you set high ISO, you may use high aperture values and high shutter speed. But mind that high ISO values may create unnecessary digital noise. So if you want to get clear photos, balance the noise level and the shutter speed.
12. Try to Customize Back Button Focus
Beginner shooters working with bird photography may have problems with focus. If you are a lucky owner of a Canon or Nikon SLR camera, you will be able to set the focus using the button on the back of the camera body.
Therefore, you may simultaneously control the focus and press the shutter button. In such a way, the photographing process is not interrupted.
This option is called “Focus on the Button” and it is your great helper. If you are not sure how to apply this button, read the manual or find the necessary info on the net.
13. Use Focus Modes

Photographing birds, I suggest applying AI Servo or continuous focus. Here, the benefit lies in the fact that the camera continues to focus when the bird flies or you move.
The focus is preserved when the focus button is activated. If you are planning to shoot birds flying, believe me, you will not find a better method.
- Read more about horse photography.
14. Practice Clean Bird’s Portrait

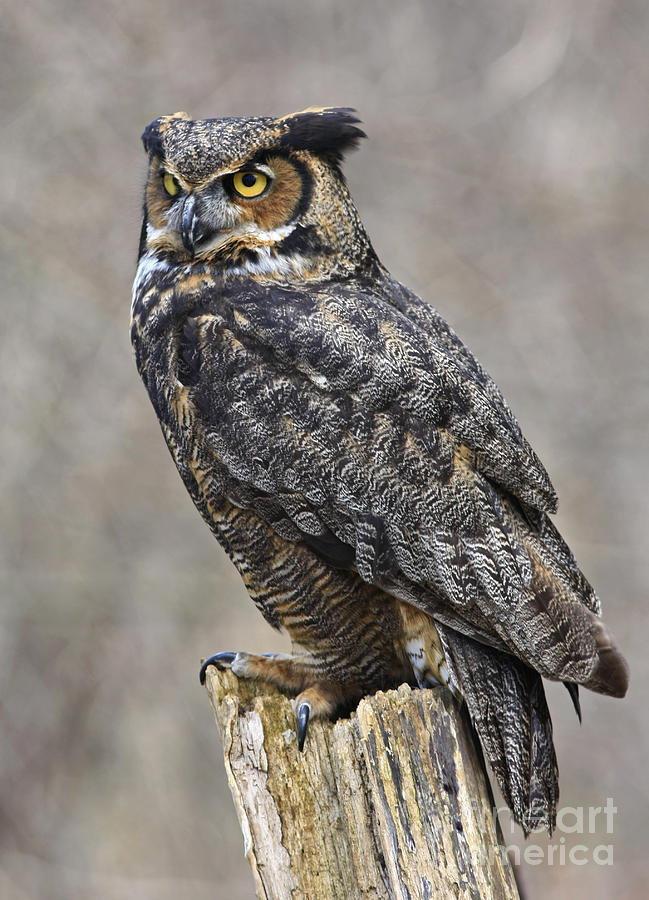
It may sound strange but this type of birds photography as portraiture also exists. Moreover, the bird’s portraits usually look like perfect pieces of art.
If you decide to try your hand at bird portraiture, prepare a long lens with a fast aperture and narrow your depth of field. As a result, you will set the bird apart from the background.
- Mind the lighting. The best time to photograph birds is early in the morning or in the afternoon.
- When you shoot birds, always keep the focus on the eye.
- You need a shallow depth of field. It is achieved with long lenses. If your lens is a medium one, you should open a very wide aperture in order to narrow the depth of field.
- Choose an appropriate background. It should be neutral and calm in order to highlight the bird itself.
- Remember about the composition. Don’t place the bird too close to the edges, there should be dead spaces. Moreover, the subject shouldn’t be in the middle of the frame. Try to create a sense of movement.
15. Take Some Habitat Photo

Although portraits fascinate people with their beauty and excellence, they do not convey much history. If you want to communicate with a viewer, consider other types of bird photos. For example, photograph birds in their natural habitat.
In this case, follow the rules of shooting landscapes. It means that you don’t need to highlight one bird; it shouldn’t take all the attention. Of course, this particular bird is your main subject but try to present it in the wild.
16. Shoot Sharp Flight of Birds

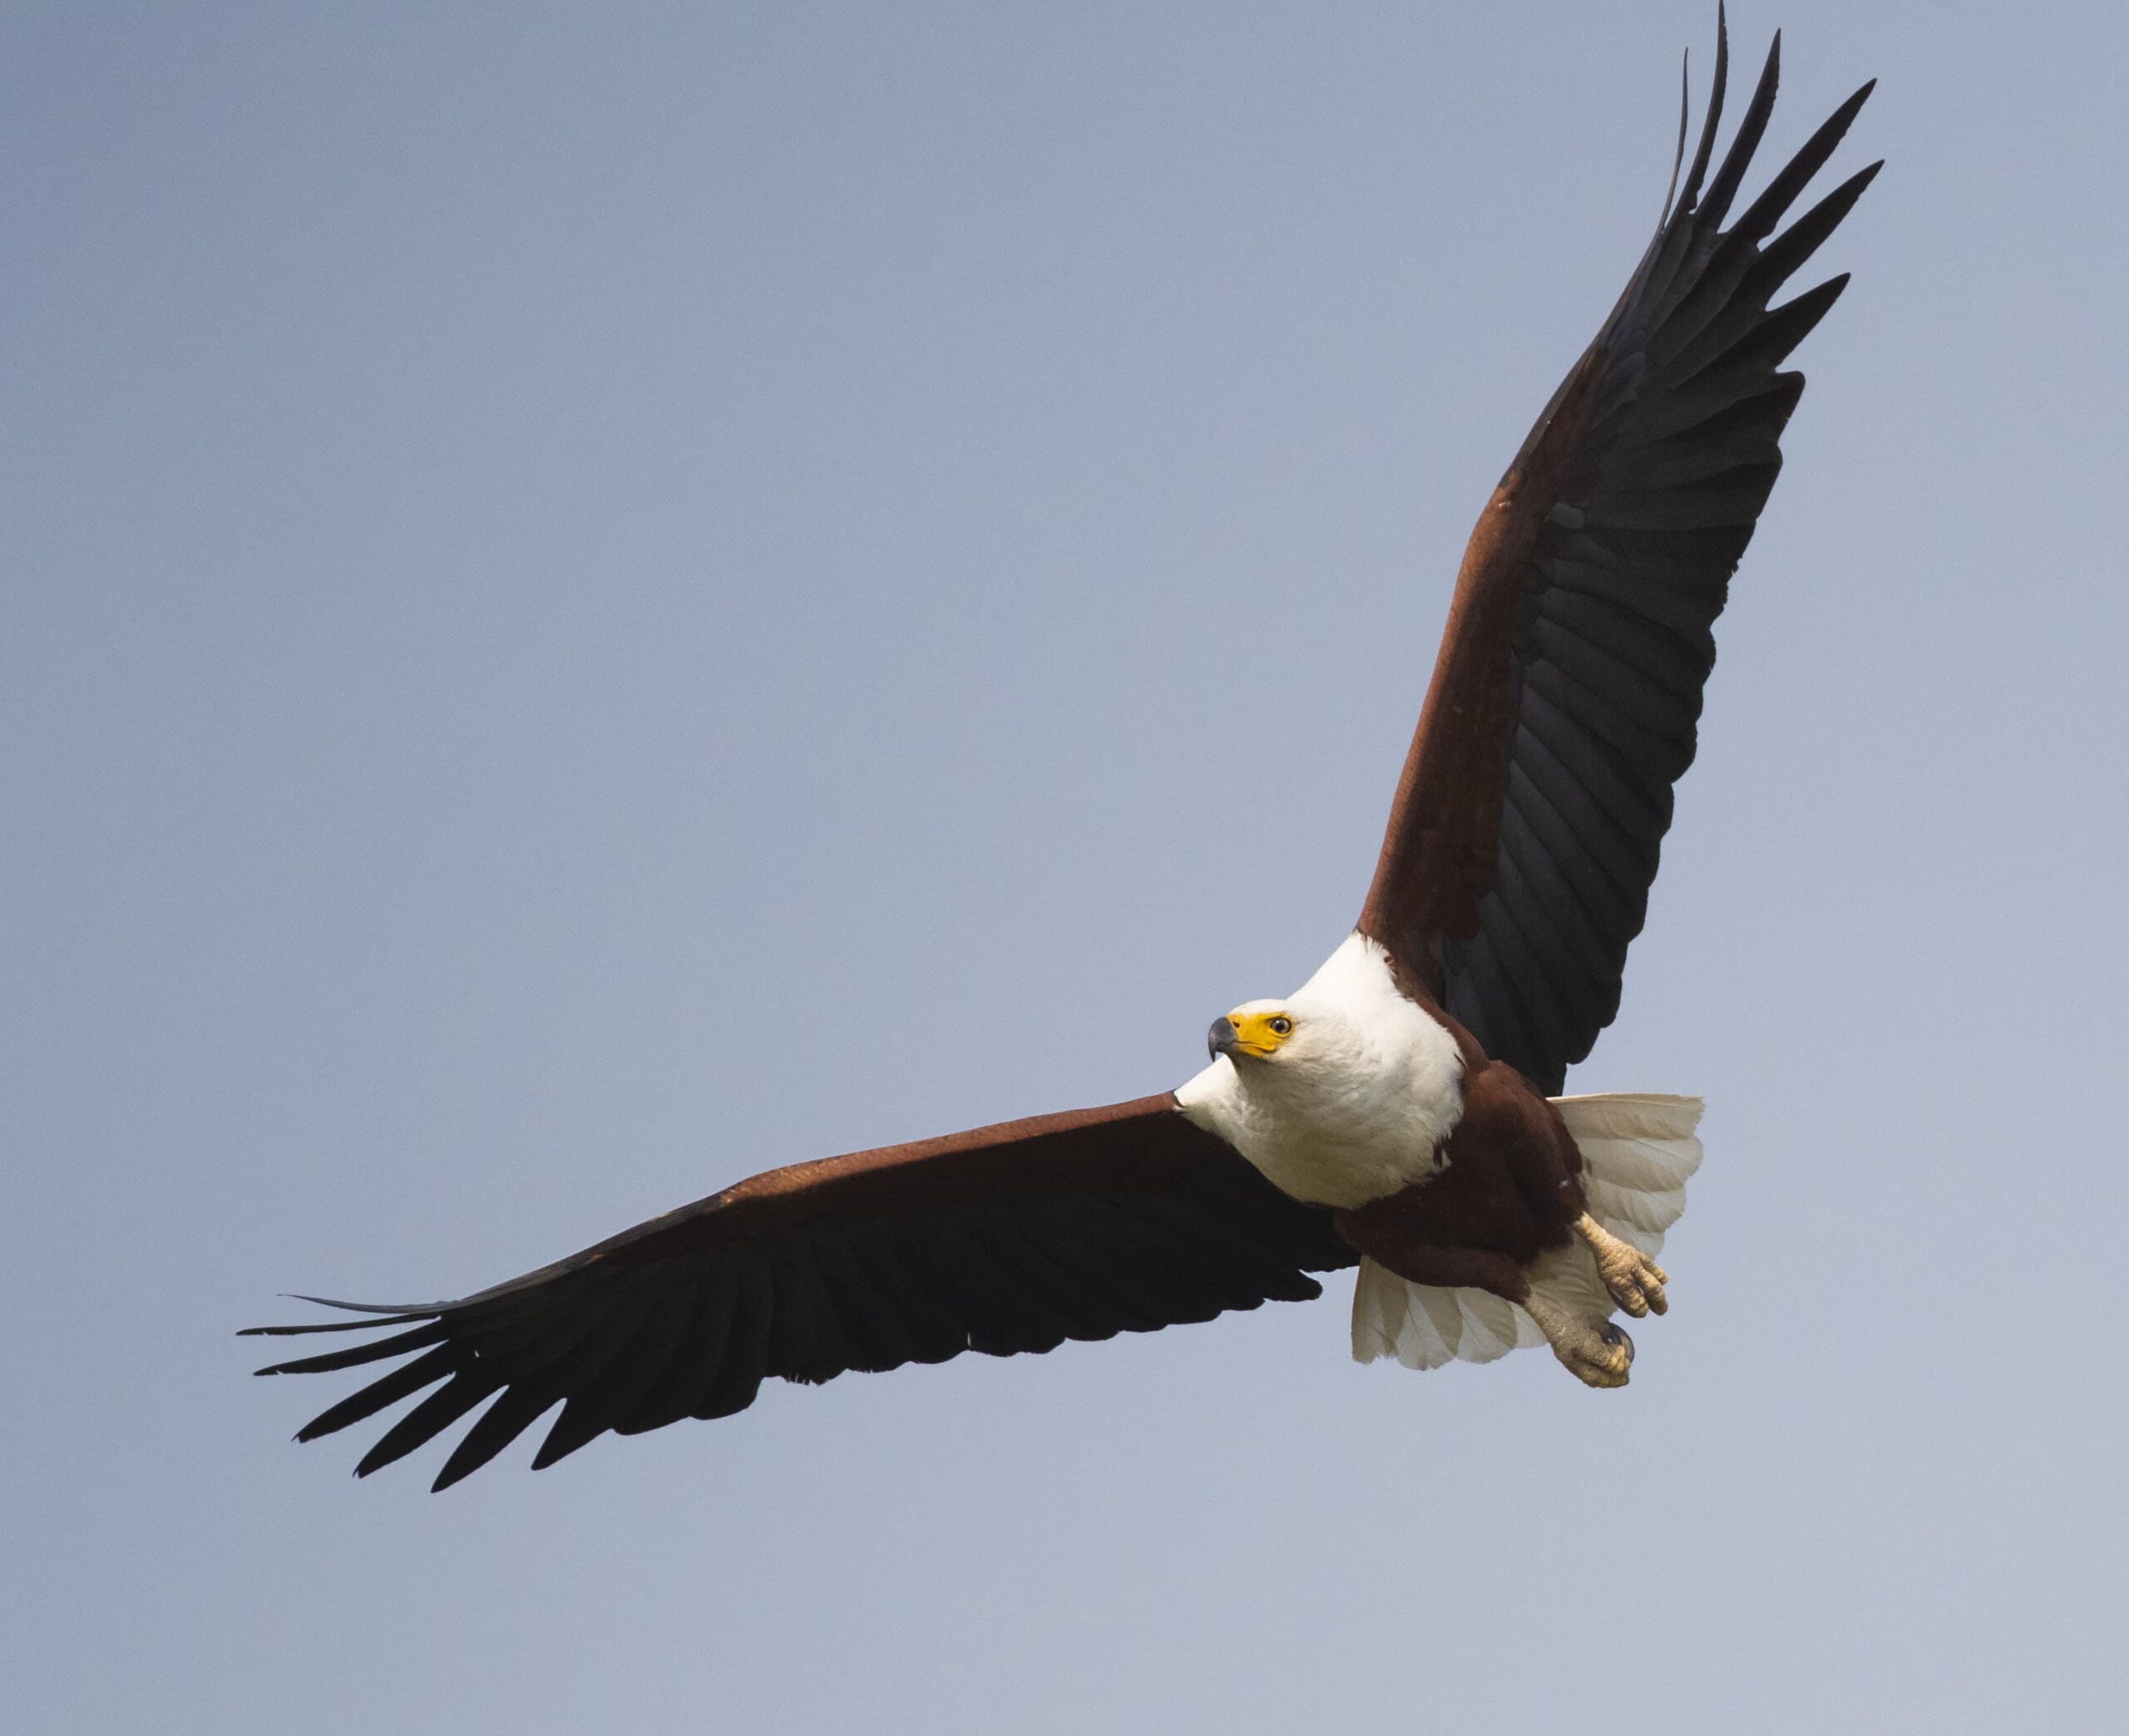
Birding photography is not an easy genre, especially when it comes to shooting birds in the air. Therefore, you should pay attention to many aspects. First of all, it’s shutter speed.
If you want to get sharp bird photos, it should be very fast. So, set the priority of exposure and select 1/2000th of a second. Moreover, don’t forget about ISO since it should also be adjusted appropriately.
Select the focus and AI Servo will focus from this point. The focus will be held during the movement of a bird.
I recommend setting a manual shutter. It allows you not to remove your finger from the shutter to take multiple photos. In such a way, you will greatly simplify your work.
17. Make Intentional Blur in Flight

In wild birds photography, shooters often apply a technique called “Intentional Blurring”. As a result, they get artistic and unique bird images. Moreover, it gives limitless opportunities for experiments.
To achieve this effect, you should follow all the principles mentioned above and increase shutter speed. I got decent results from 1/2 second to 1/100 second.
If you want to apply this technique appropriately, the shutter speed should be released and the camera should be moving.
If you follow these recommendations and make all the adjustments, the bird will be in the same place and the background will be blurred. In such a way, you will achieve a sense of movement. Deliberate blurring may provide really decent results.
Don’t worry if your first shot is a complete disaster, and the next 10 shots too. It shouldn’t bother you at all. Feel free to experiment with the shutter speed and your movements to gain experience.
18. Shoot Bird Silhouette

Although photographing birds in the air is quite a tricky procedure, there is also a simple way to shoot them in a flight. You just have to capture the birds flying against a sunrise or sunset.
As a result, your image will only show the silhouettes, but it doesn’t make it worse. Such photos tend to look unusual and fascinating. Due to the high contrast between the bird and the background, the picture will be ideally focused.
19. Capture Their Action

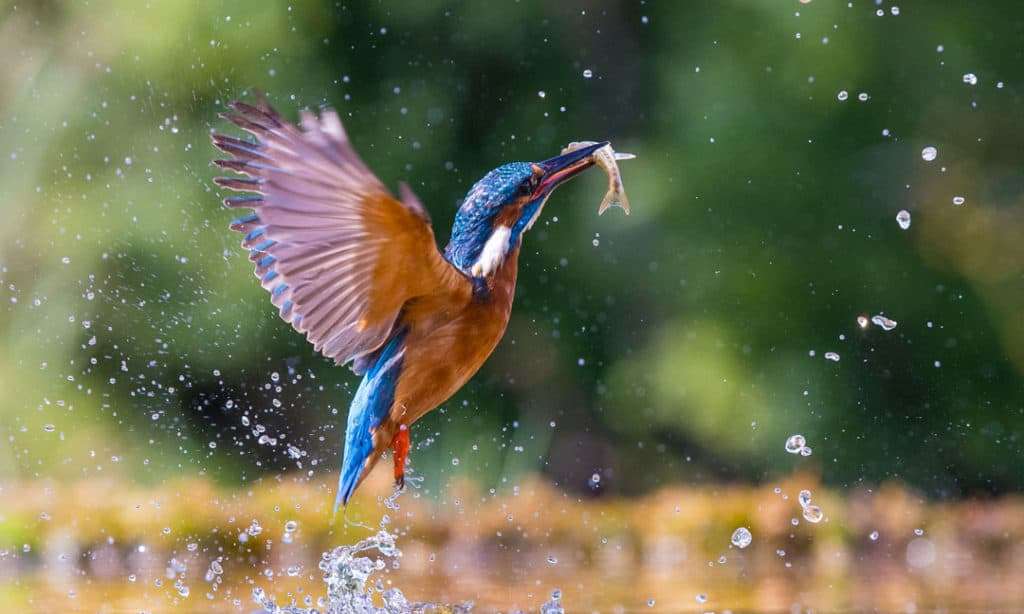
If you want to photograph birds, remember that they are moving all the time. Sometimes, they provide great shooting moments themselves and you just have to capture these creatures.
For example, when the bird is hunting, it may not even notice you. However, you should also mind particular rules:
- Don’t bother the bird and keep an appropriate distance.
- Birds are very active in the morning and in the evening so note it to yourself.
- In this case, it’s better to activate a burst mode.
- If you read about birds, you will learn to predict their actions.
20. Capture Bird Natural Behavior

It’s very challenging to capture the bird doing something. So, if you want to get really a great shot ‒ be patient. The thing is that if the bird notices you, it stops its activity or simply flies away and, as a result, the moment is lost.
- Try to hide. It should be a kind of a natural disguise. For example, a tree, a bush, or something like that.
- Don’t be too quick to photograph the bird. Let it get used to you. In such a way, you get more chances to get a great shot.
- Choose the place and visit it several times before the shooting. The bird shouldn’t be afraid of you and feel comfortable.
- Moreover, when visiting the location, pay attention to the view and the background. It will help you save much time and simplify the working process.
21. Fill the Frame

Photographing birds, you usually focus on one individual. Therefore, to get decent pics, follow a very simple rule ‒ the frame should be filled with a particular bird.
Check out the advantages of using this method:
- You will easily blur the background.
- No difficulties with exposure.
- You don’t have to look for an appropriate background.
- You will focus on the bird without any problems.
Freebies for Bird Photography Editing
Check out the best image editing freebies that will make your bird pics more impressive.
Sun Rays


This overlay is perfect for enhancing dark images. In several clicks, you will be able to lighten the image. The results will surely look great since this effect was developed specifically to make the photos radiant.
Natural Sky


This free Ps overlay is a great variant for those who want to add drama to their bird photos. Thick, gray and fast floating clouds will make your pics more eye-catching.
Vignette Effect


If you want to improve sharpness and contrast in your images, this overlay will help you. Also, it adds brightness and saturation, making the overall image more appealing.
HDR Effect


This HDR Lightroom preset is a great chance to add more clarity to your photos. It highlights the center of the picture and darkens the edges.
Bright Colors


This Lr preset improves the colors of the images, making them realistic and true-to-life. Also, it perfectly works with exposure and enhances lighting.


