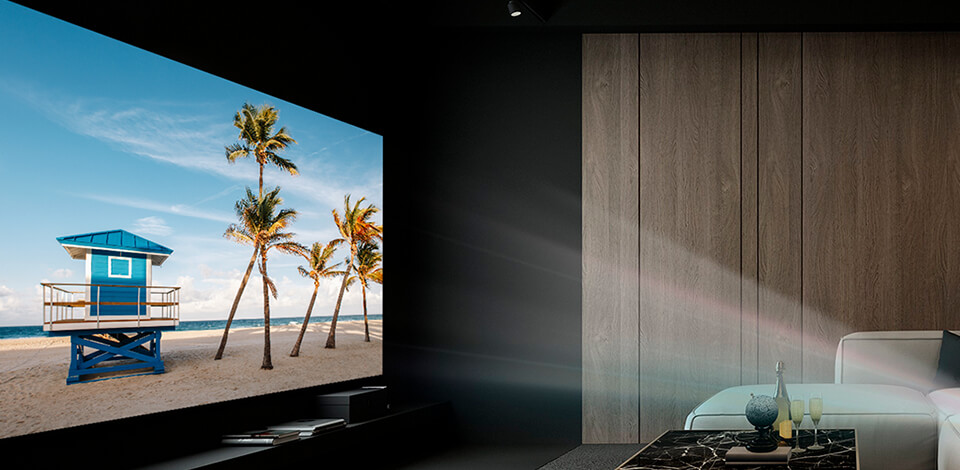
If you have a projector, you also need a proper screen for displaying images, videos, presentations, etc. There is a huge variety of manufactured screens, but the price may reach 200 dollars and not everybody is ready to spend this sum.
Fortunately, you can choose an alternative way and create a projector screen yourself. We have collected the best DIY projector screen ideas, which involve using budget-friendly materials available in every household.
The screen models described below are truly universal, as you can easily construct them both for outdoor and indoor use. Either your main concern is a limited budget or you just feel like producing your unique screen, read the overview till the end and you will surely select a proper option.
Besides, if you’ve already learned how to create a DIY smartphone projector and have one, you can easily pair it with your original screen to organize a cozy place for entertainment.
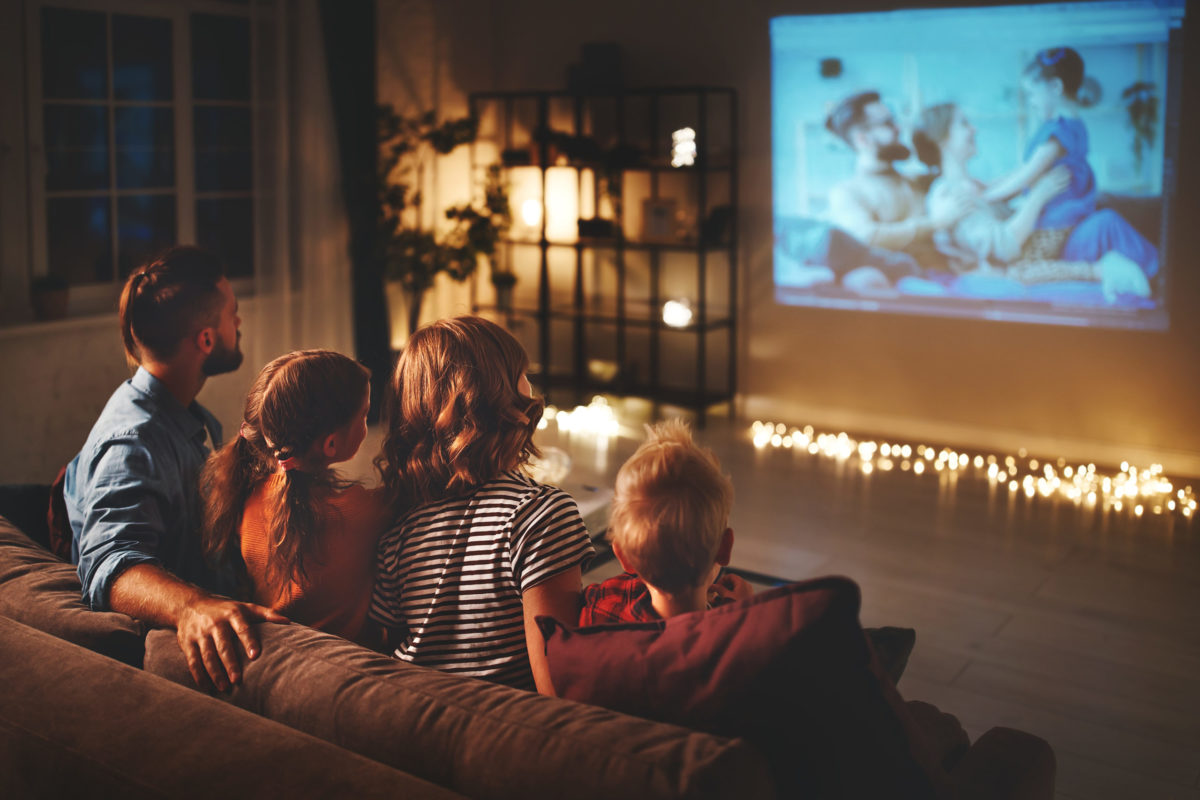
This is the simplest alternative to a projector screen and this idea has probably popped up in your mind. Instead of getting an expensive screen, you can simply project directly onto the wall without worrying that your image will be cut off due to size limitations.
The most important part is to find a solid white wall. There are shouldn’t be any color shifts or patterns that can deteriorate an image projected. You also have to remove any décor items, e.g. framed photos, words, etc. Prepare a uniform, blank wall.
Tip: A textured wall won’t serve as a projector screen. You need to make it as smooth as possible. Sometimes, the only way out is to sand it down before building a projection system.
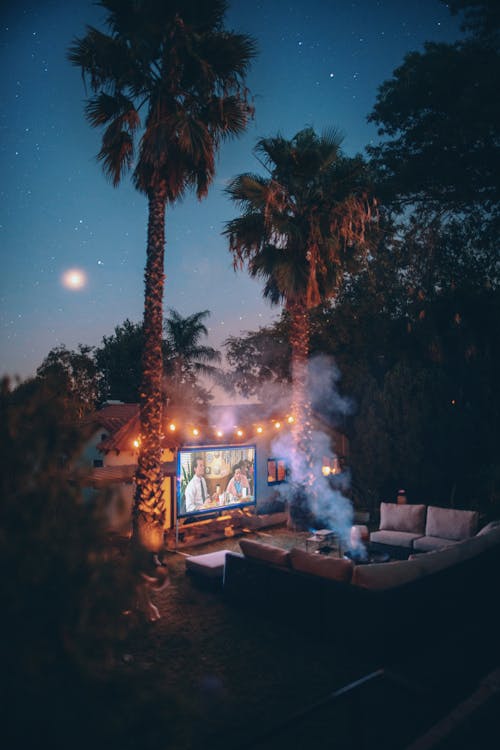
Another alternative to indoor and outdoor projector screens is a simple sheet. Since you can hang it anywhere, it is a more versatile option than a wall and can be easily transported to any spot if you are going to use outdoor projectors. You don’t have to narrow down the choice to bedsheets only, any piece of smooth, white fabric will do.
However, while attaching a sheet, you need to ensure there are no wrinkles, folds, and that it is firmly fixed. Even if the cloth is thick, you need to put something behind this cheap DIY projector screen. This can be a large piece of cardboard or several layers of fabric attached together. This way, you can prevent the light from getting through.
Tip: The simplest way to hang your fabric sheet screen is to use a clothesline and pins. This variant is suitable both for indoor and outdoor use because of its simple setup.
Using wrapping paper, mainly its white side, is a wonderful projector screen alternative. It has a glossy surface, which perfectly reflects light. However, when choosing wrapping paper, opt for thicker rolls that won’t tear while stretching.
Besides, don’t use paper if its white side is dull or unshiny. Do calculations and choose as many rolls as you need to create a proper-size screen. Tape the pieces together to a wooden frame or cardboard.
The biggest disadvantage of this cheap projector screen material is that it isn’t very durable. It may get damaged while storing and immediately shows wrinkles and rips if there appear any.
Tip: If you plan to install a projector outdoors, you’d better choose another replacement for a traditional screen. Paper gets wet easily and you’ll need to replace it all the time.

Every time you use a projector, you cover up the windows to organize a dark space and avoid light pollution. However, regular window blinds can serve another purpose – become a makeshift projector screen. In this case, you have to use smooth soft cloth surface or roller shades instead of slatted vertical blinds. Pull-down roller shades are the best option in this situation, as they cover the window and function as a perfect screen.
Going this way, ensure the screen is bigger than the window, so no light will ooze around the edges. With window shades, you are likely to get a decent picture quality, but some other variants described here cope with the task better. A white roller blind excels at delivering brighter, more vivid projections, and if you paint it gray, you will get a deeper contrast.
Tip: To avoid small surface ridges, you should use a blackout roller blind and flatter backside.
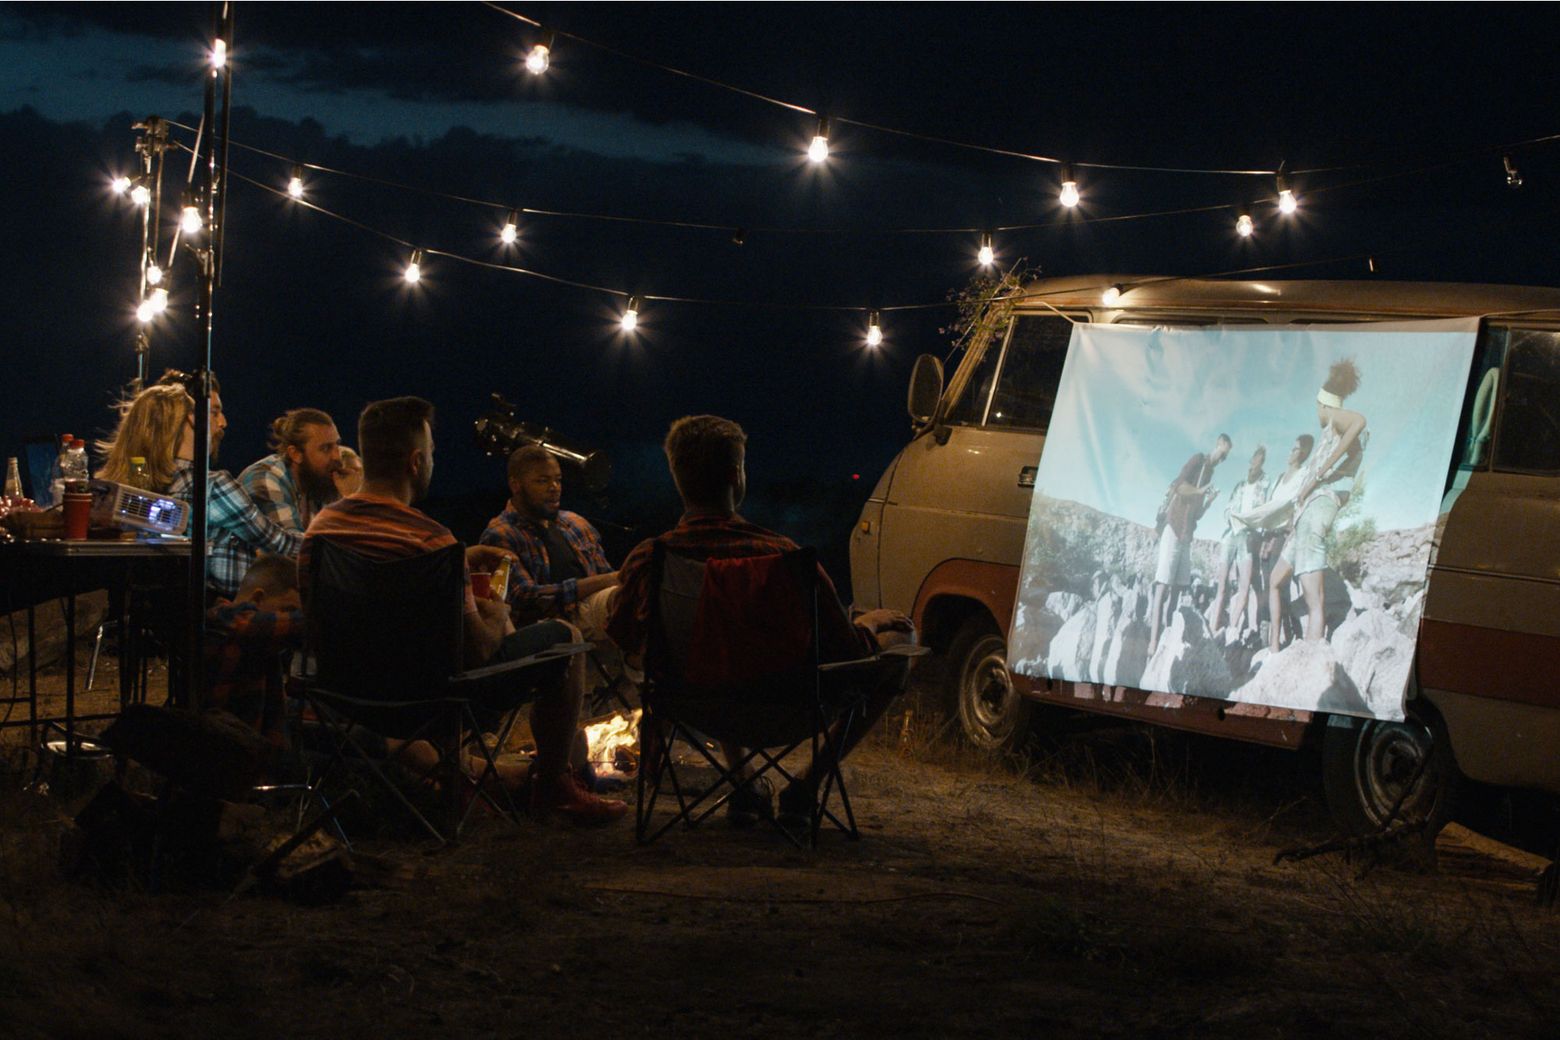
Blackout cloth is a great cheap projector screen material. It appeals to many owners of home projectors because it is non-reflective and ensures a crisp image from any angle.
Such cloth blocks out light, and it isn’t subject to ripping and tearing even if you frequently take it with you for outdoor movie nights. If you use such a screen with your 4K home theater projectors, you won’t regret it.
Some people hand a white fabric sheet and attach blackout cloth behind it. Thus, you can be sure no light will get through the threads of your sheet, so the image quality will always be on point.
The only preparation you have to make is to fix the blackout cloth tight against the frame. It neither deforms nor collects wrinkles and creases. But note that the material may be heavy, so ask your friend to help with attaching it.
Tip: In case your space is limited, you’d better invest in short throw projectors.
Paints for projector screen allow turning any surface into a full-featured screen capable of replacing pre-manufactured options. If you cover a surface with projector paint, it will reflect light the same way as a traditional screen does. Such paints can be applied to multiple materials, including cardboard, plastic, particleboard, wood, and more. Standard walls in houses are no exception.
If you have a bright space filled with ambient light, you should choose white paint. Gray paint is ideal for less bright rooms.
However, this is the most expensive home made projector screen on this list. The cost involves getting not only the paint (you need to cover the surface at least 2 times), but also primer, which is applied before paint.
Anyway, there are undeniable advantages of this idea. First off, you can experiment with screen dimensions and styles instead of choosing what manufacturers of screens offer. Besides, you can create unique custom screens you’ll be proud of.
Tip: To get the best result, we highly recommend using flat or matte paint. Glossy paint is less helpful at reflecting light. Semi-gloss is also a wrong variant.

If you are engaged in photography or have a good friend organizing studio photo sessions, you can borrow a regular photo backdrop, and adapt it to your home projection needs. Such backgrounds are usually white, with finished edges and a non-reflective surface. They are believed to be the best DIY projector screen, as they perfectly reflect light.
Besides, they are made of durable materials, so you can transport them without worrying about accidental damages. Thanks to roll-up assembly, relocating these backgrounds won’t be a problem. If you like to spend time outdoors, watching movies, you can set up your portable projector and unroll a photo background to enjoy viewing. However, some backdrops require a special frame for setup.
Tip: Use a frame to create an effect of depth. Use felt tape or black velvet for fixing.

If you mainly use a projector for work-related tasks, e.g., show presentations to your business partners, then projecting on a whiteboard may be a nice idea. This way, you can use a stationary whiteboard instead of carrying a bulky screen with you.
Moreover, modern conference halls have a whiteboard mounted in a convenient place for every person to clearly see it, so you can install projectors and start presenting the material straight away. If you like this idea, you can also use a whiteboard projector screen alternative even at home.
Tip: Check the lineup of portable projectors for business presentations, as they are specifically optimized for displaying graphs, charts, docs, digital tablets, and illustrations.