If you want to learn how to quickly create full-fledged scrolling web pages, professional Instagram posts on various topics, or video content with an advertising message without leaving your browser, then these short Adobe Express tutorials will be useful to read.
The Web-Page tool, available in Adobe Express, is helpful if you need to create a single-page website with all the content appearing on the screen when a person scrolls down. Of course, it can’t compete with professional website builders for photographers but the features available are fully sufficient for novices, who aspire to create simple websites.
You can create a free Adobe Express account (previously called Adobe Spark) online on the official site or download a free app from the App Store. Thanks to the constant synchronization between devices, you can start building a website online and then make slight adjustments on the go.
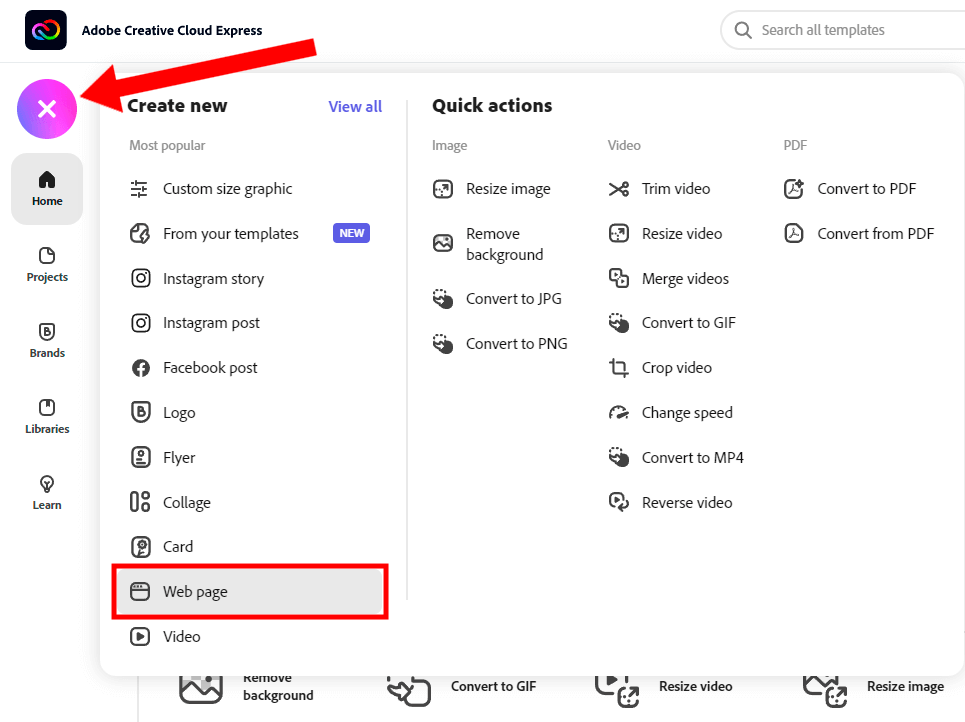
To start working on Adobe Express Page, click on the «x» button and choose Web page.
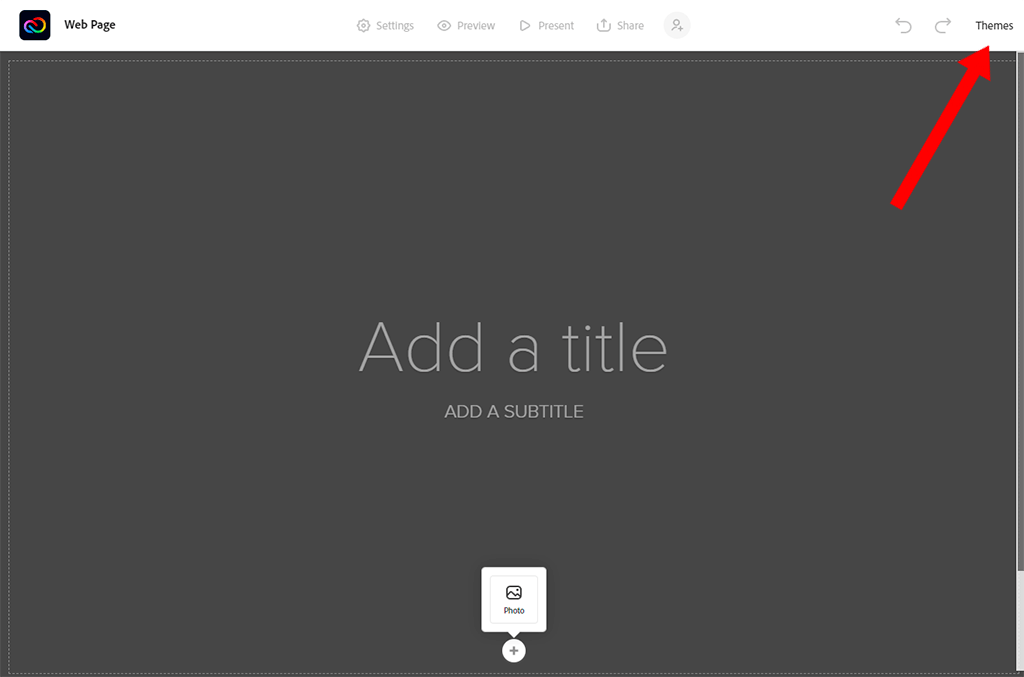
There is a special “Themes” gallery where you can choose the most fitting variants.
This way, you affect the look and feel of your website by dint of different fonts and styles. If you see that the chosen theme doesn’t fully meet the content you are going to share, you can change it at any moment.
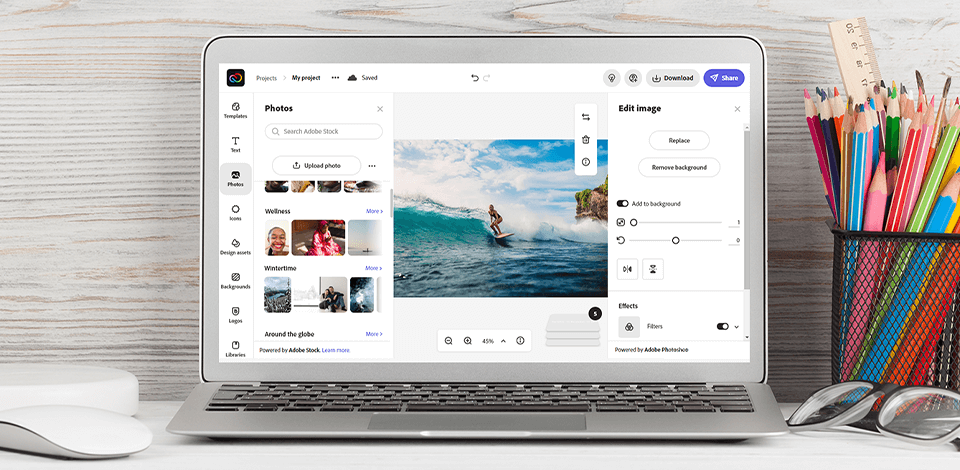
To make a website even more riveting, you need to complement it with beautiful images. You can upload them from your hard drive, Dropbox, or Lightroom account. Alternatively, you can visit stock photography sites, and download or buy copyright-free photos that match the aesthetics of your site.
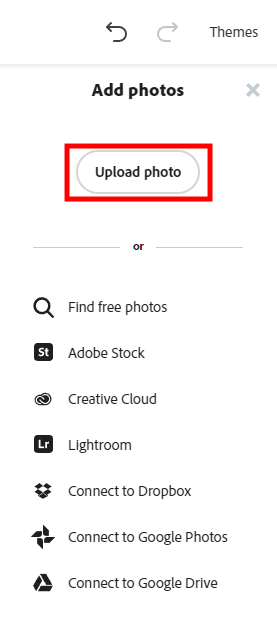
Being on the new Page, click the + and choose Upload photo.
This is how your page will look after uploading the photo.
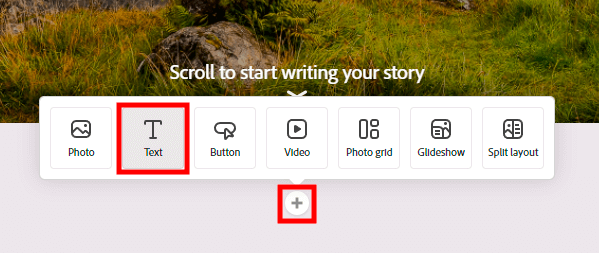
To do it, click on the Text button, then on «+».

If you want to add text to the page again, you can do it by clicking on the "+"
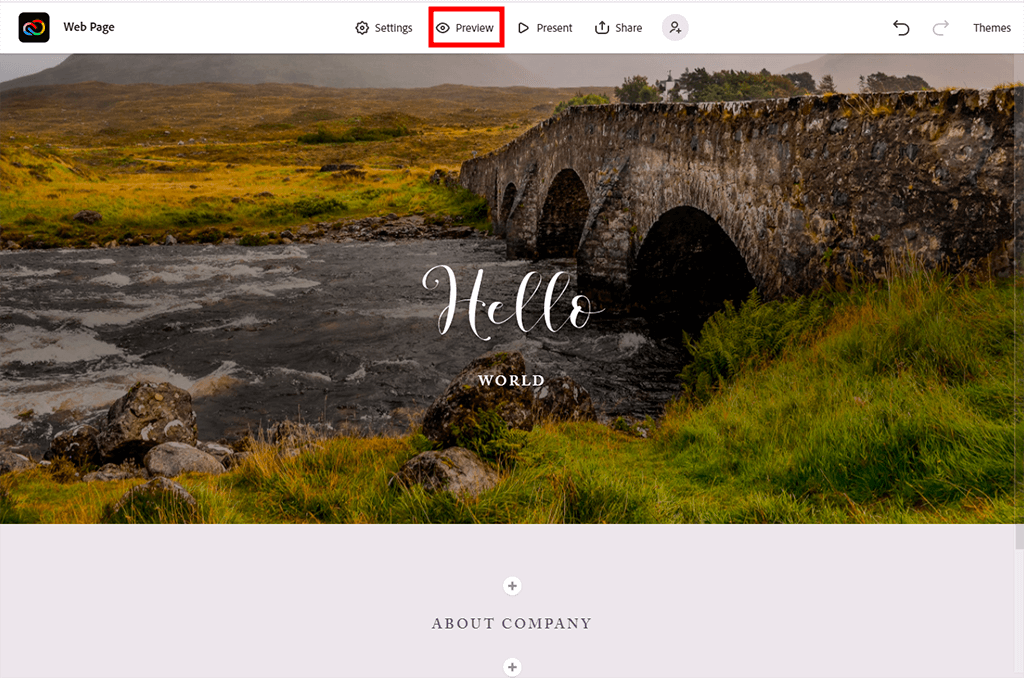
Click Preview to check how the site looks before other people will see it.
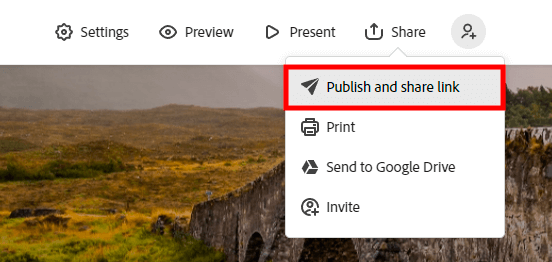
Once you are satisfied with what you’ve made, click “Publish and share link” to get a new, unique URL.
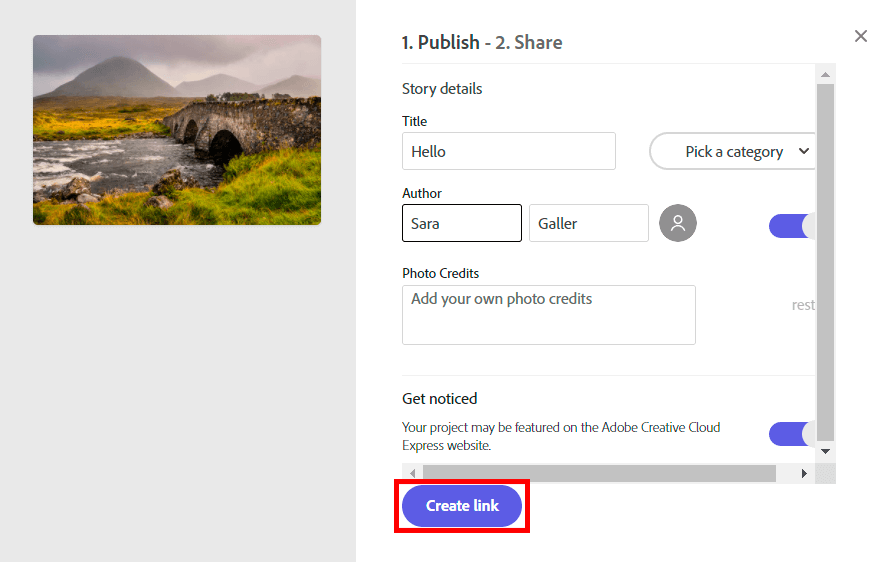
Click on «Create link» to share your page.
Now, you can share your website with other people, sending the URL via email, attaching it to newsletters, etc. You can use the Share option to get a snippet of code, which allows embedding a new page into an already functioning website by pasting a code into the site files.
Unlike similar programs, Adobe Express (formerly known as Adobe Spark alternatives), the Adobe Post is rather intuitive to use, though may require some time for you to discover all handy features. Primarily, you need to log in and click the plus sign to create a new project.
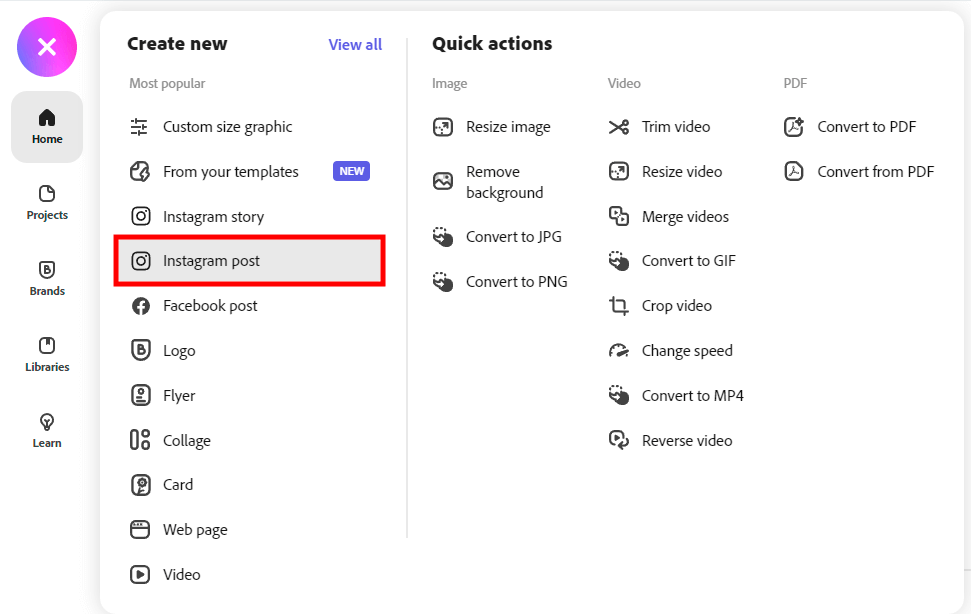
Go to the official website. If you have an account, you need to open Adobe Express Post and sign in. If not, you need to click on the Start button to sign-up. Click on the Instagram post button.
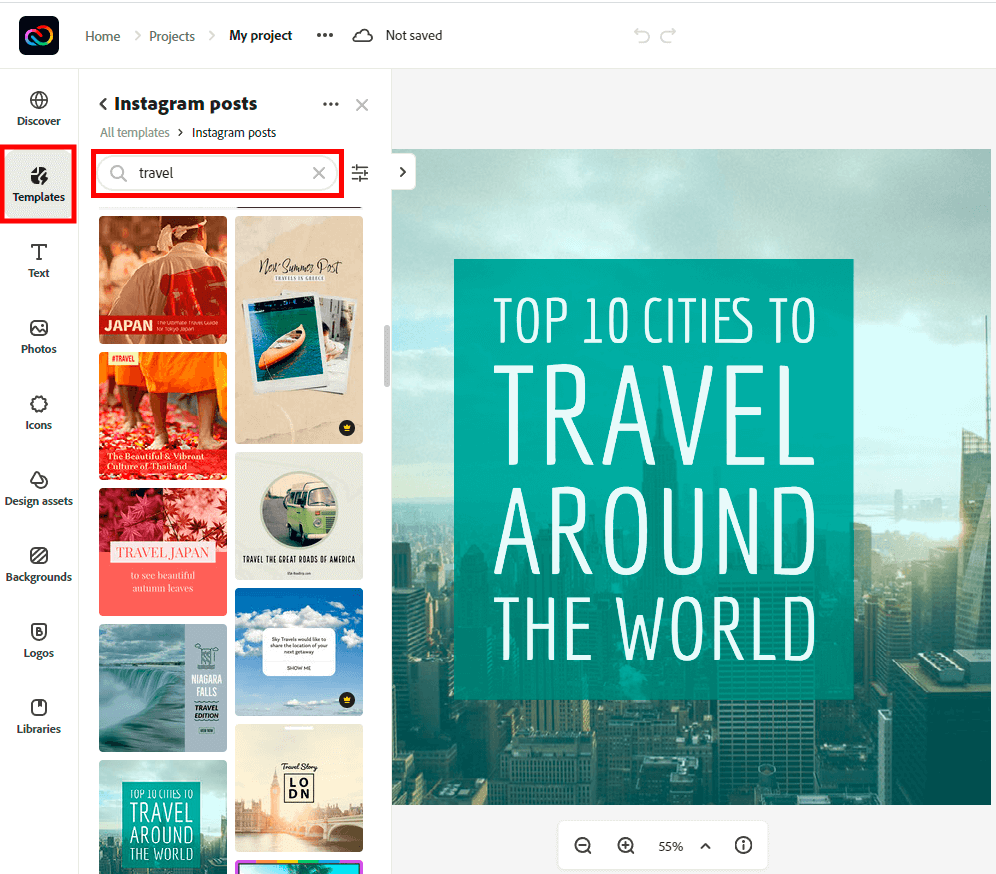
Then use the search and find the desired topic by key phrases. This will make it easier to create an Instagram post.
Adobe Express Post offers a very intuitive approach to work and you can start with a customizable layout. No matter how many images you are going to use for a future project, there is a suitable layout to match your vision.
After clicking on Layout, there will appear a collection of offered projects to choose from or you can simply pick the photo you like and adjust its graphic size.
After the layout or photo is uploaded, you can proceed with different adjustments available in the app. This includes adding a filter (there is a selection of those), adjusting colors, changing shape, etc. At this stage, you can also remove the background.
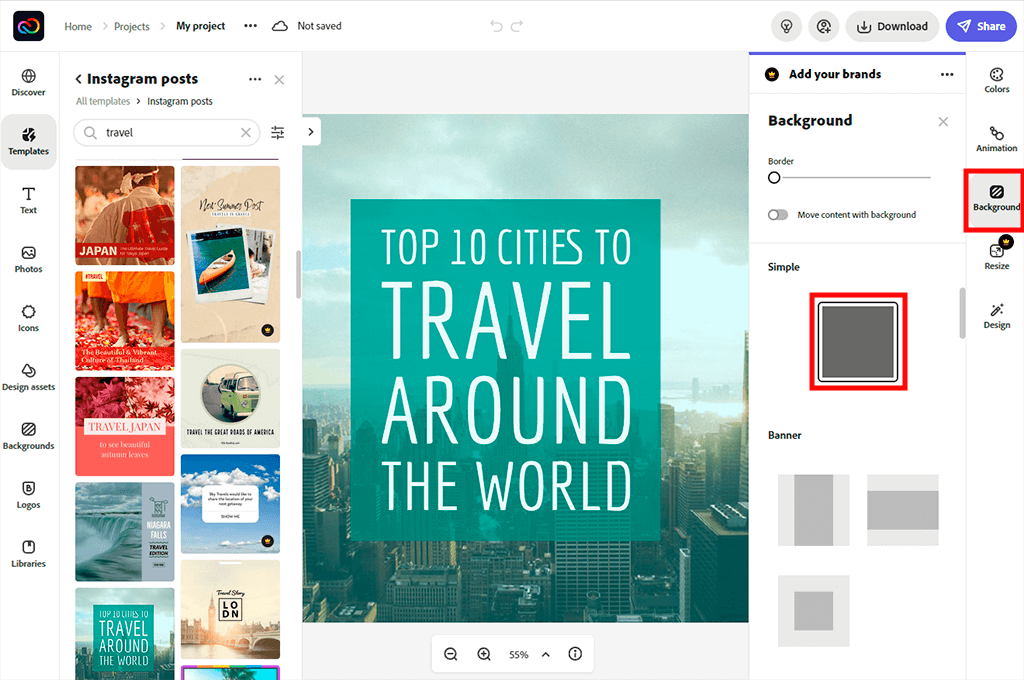
Whether you’ve decided on using a ready-made design or uploading a photo, you will get access to different customization options stored under the Design icon. You can use an offered design or add one if you work with your own image.
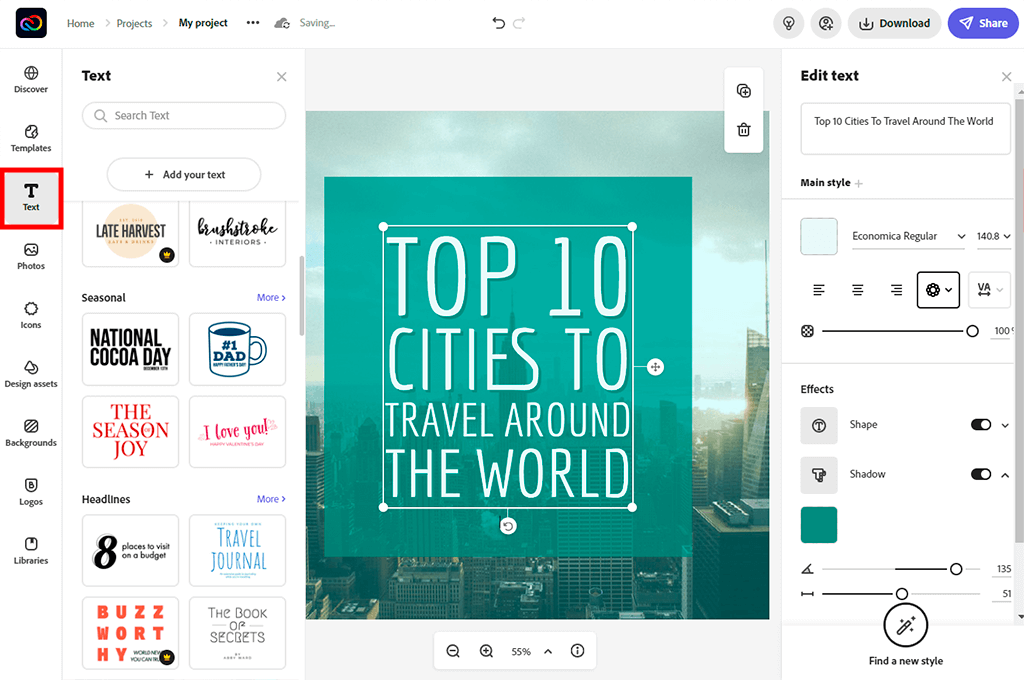
Clicking on the Design icon, you’ll see the app automatically adjusts the text and image you’ve selected. Or, you can tap the text added by Adobe Express if you need to make changes. Though this possibility is often skipped in many Adobe Express tutorials, I believe that knowing manual adjustments instead of fully relying on the auto setting is always beneficial.
Thanks to the AI tools, you can return to any stage of the process and make slight fixes – change colors, photos, or text.
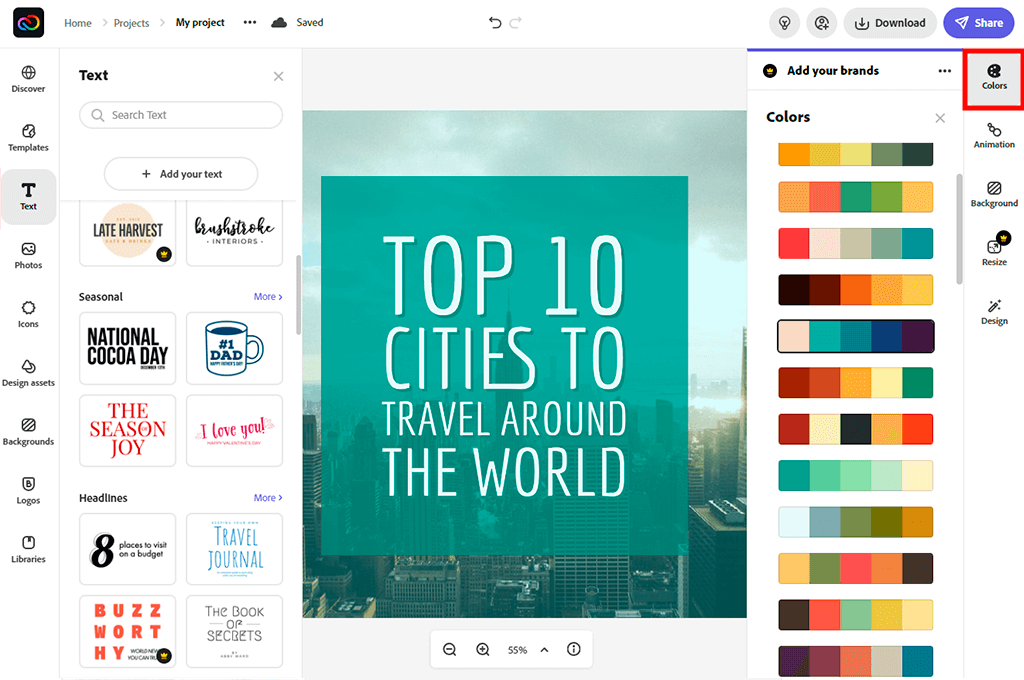
You can rely on the app while playing with colors for your graphics or click the Colors icon to see available options and have a closer look at an individual color inside the palette.
Tip: click on the color in the palette you want to change and hover the Eyedropper over the color in the image to select colors right from the photo.
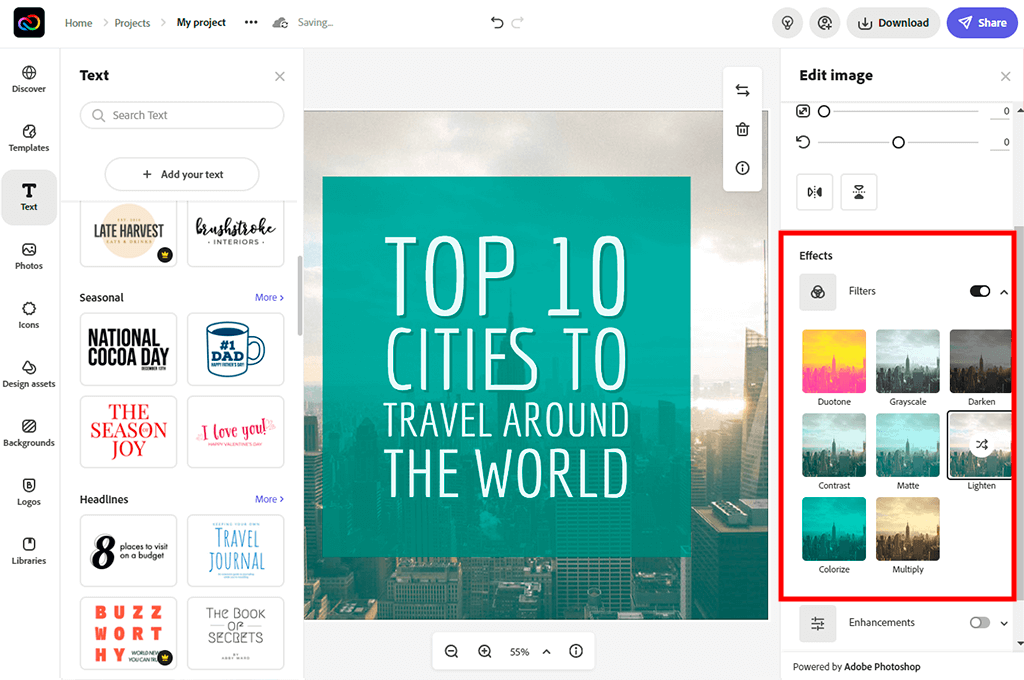
When you are satisfied with the filling of the layout, you need to adjust its look. Adobe Express will offer certain suggestions based on the number and variety of added elements. To add a filter to your project, click on the Filters button and choose the best for you. There is an undo option at the top of the window, so make use of it if something in the layout seems to be out of place.
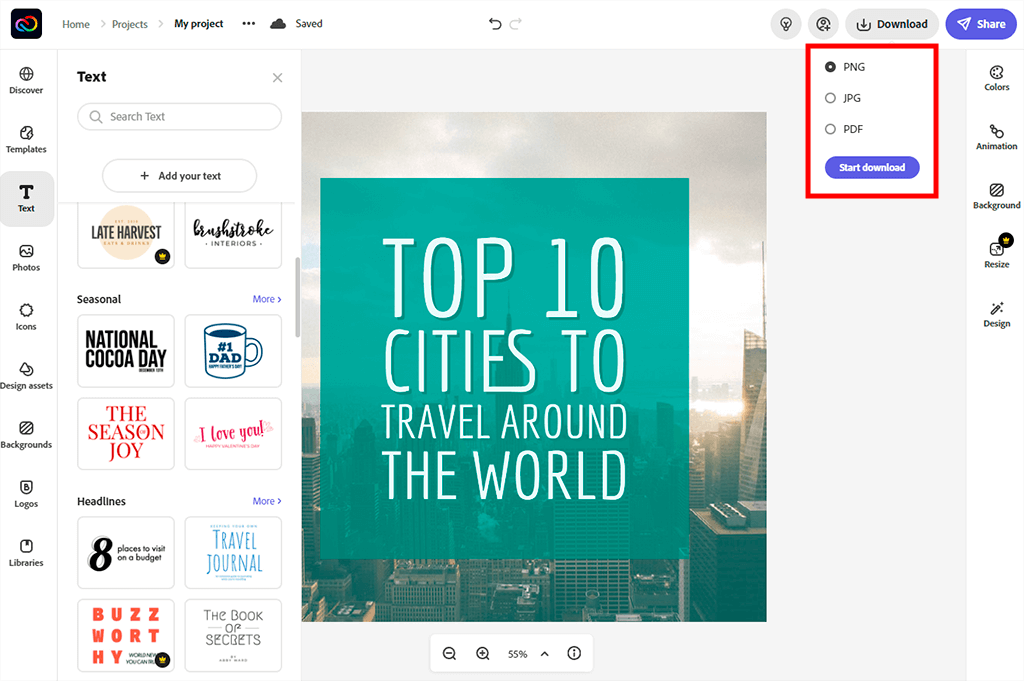
If you think that everything is perfect, save it by clicking on the Download icon at the top, then choose Start download.
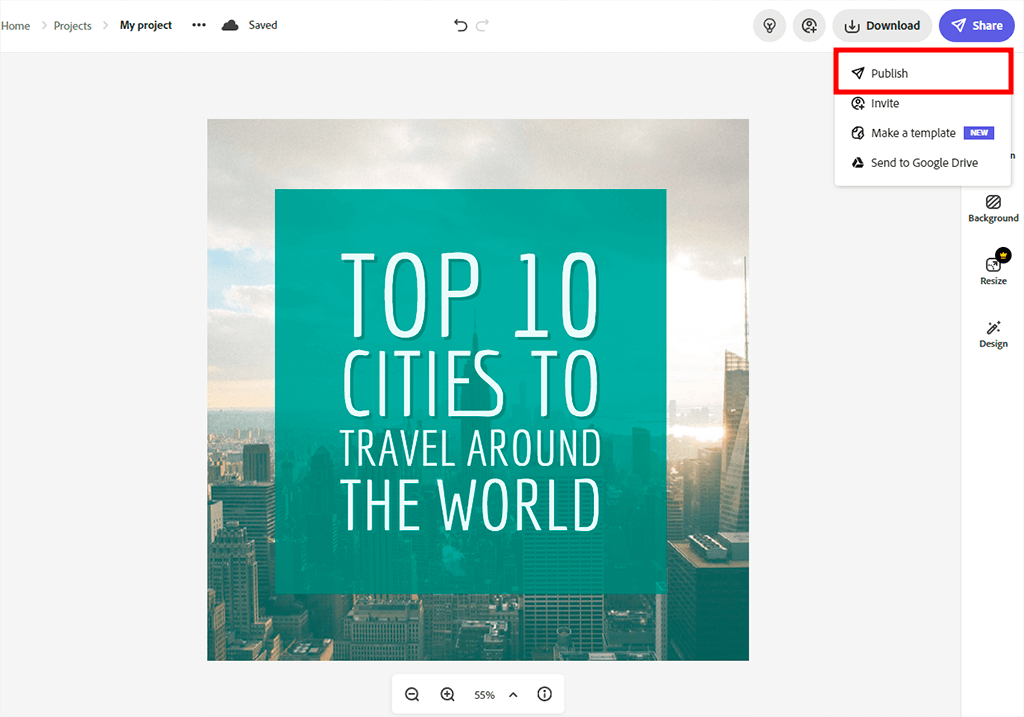
Another thing that I want to mention in this Adobe Express tutorial is that you can format your post so that it looks great on various social networks. For instance, you can convert a square format, which is more suitable for Instagram into a Facebook one. To do it, click on Publish button.
You will be prompted to choose one of the social networks where you can publish the finished project. Choose the one you need.
However, I strongly advise you to learn more about Instagram photo requirements to choose the right size for your profile picture, story, or cover.
Adobe Express Video was designed to help users create short clips and animations by using footage, pictures, and backgrounds. This service takes after Adobe Voice, which may now seem a bit outdated among other Adobe video editors for iPad as it was released in 2014.
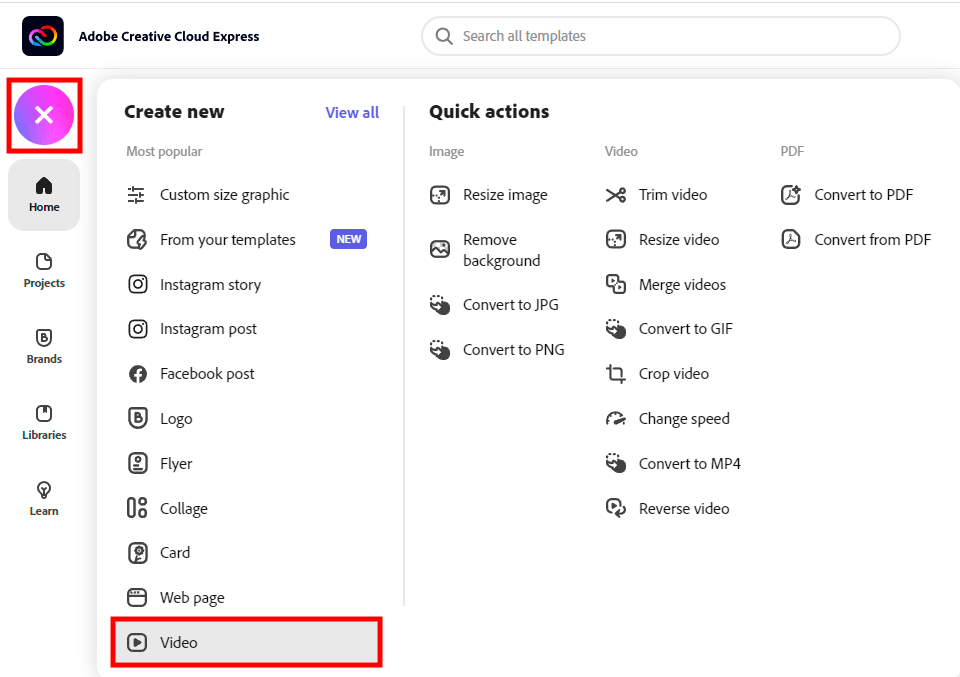
Visit the official website. If you have an account, you need to open Adobe Express and sign in. If not, you need to click on the Start button to sign up. When everything is ready and you have signed in, click on the Create a project button. Then, choose the Video option from the pop-up menu.
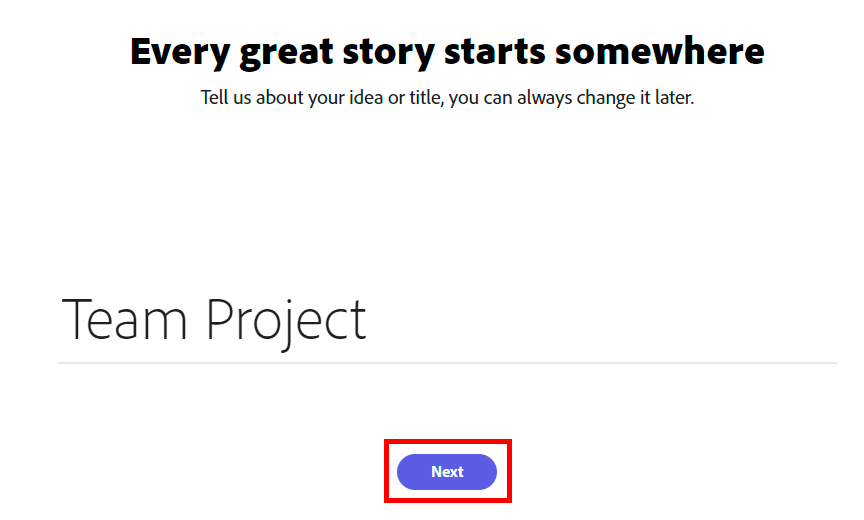
Next, try to come up with the name for your project.
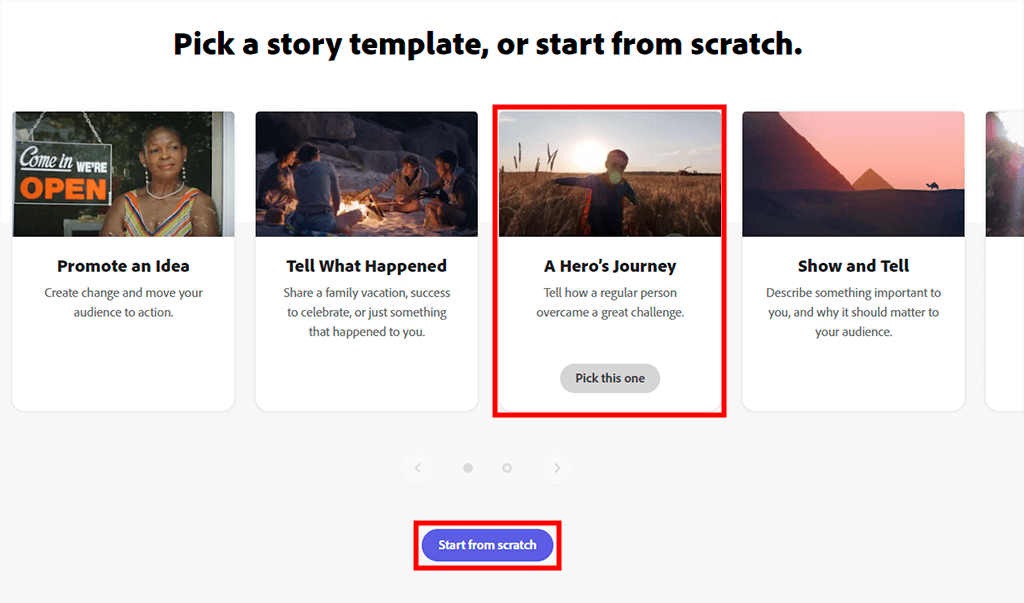
You can either use any of the available templates or create a new project.
When everything is ready, you will be re-directed to the workspace where you can work on your project.
The thing that is often mentioned in Adobe Express tutorials is that there is a wide array of layout themes.
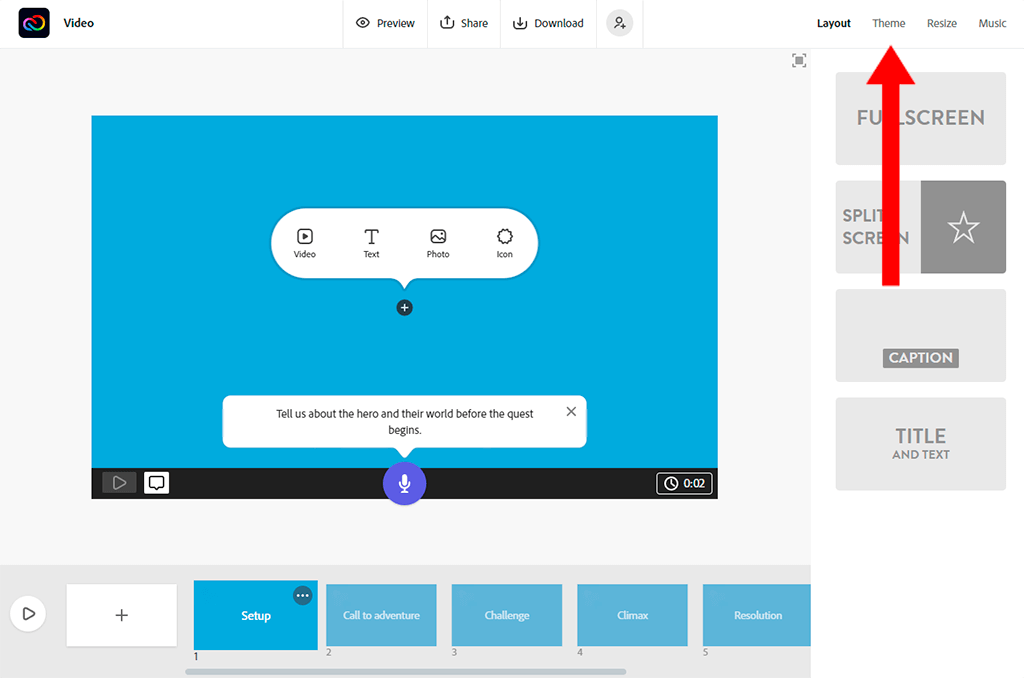
To preview and select them, left-click on the Theme menu in the top right part of the project window.
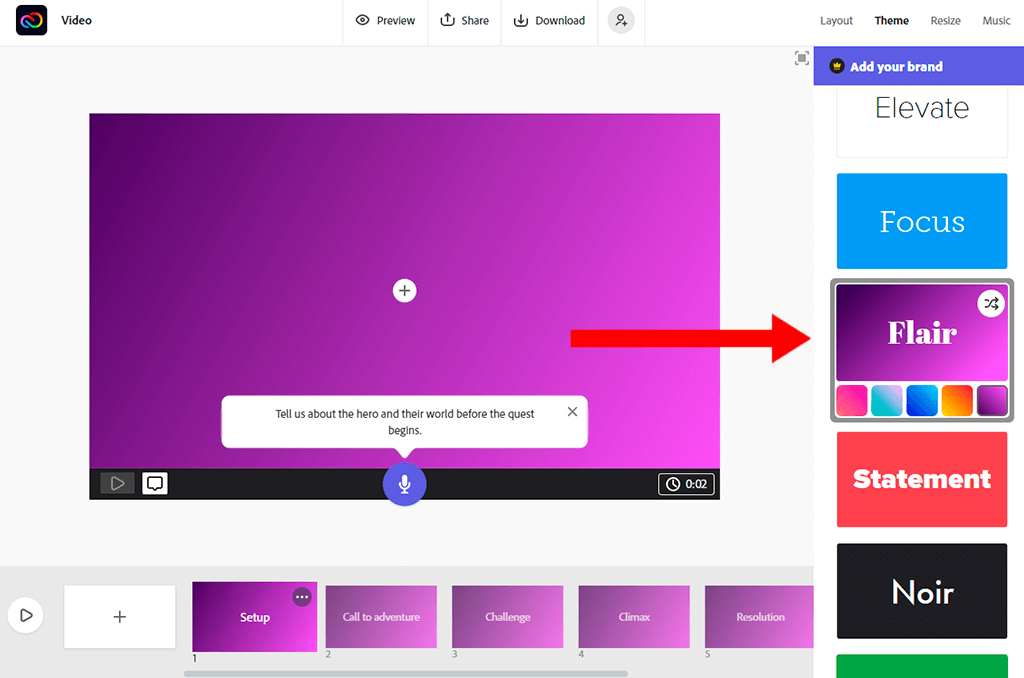
In the Theme menu, you will find a great choice of available designs.
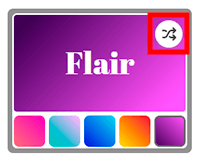
Each of the options can be further customized. You can adjust colors and shuffle the color palette to find a perfect tone.
After choosing the right design, you can create slides for your project.
I will describe several ways of creating slides.
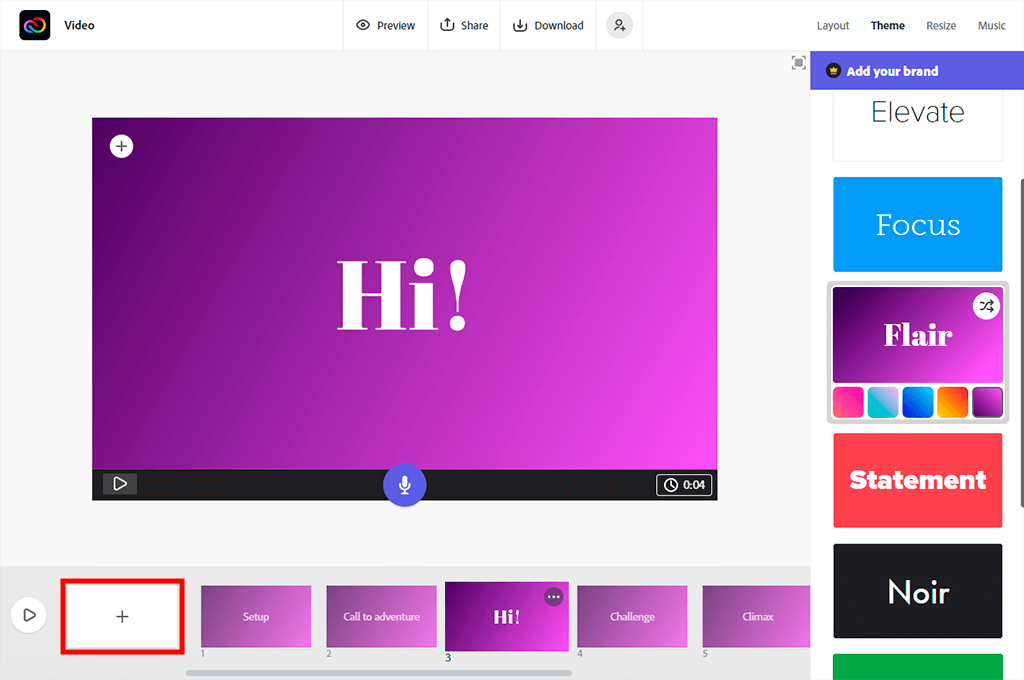
You can click on the blank box in the bottom right corner to create a slide.
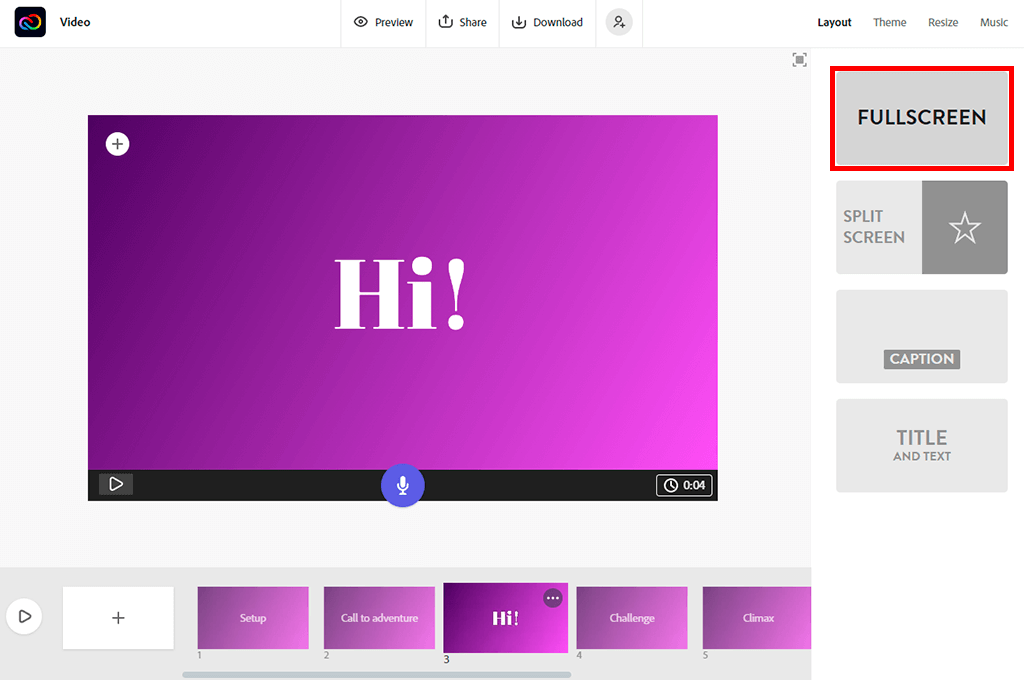
It’s also possible to find some designs for your slides in the Layout menu.
If you like the layout that you’ve chosen, you can make your slide more informative by adding text and videos.
It’s important to remember that the duration of every slide is up to 30 seconds. You can decide on how long each slide will be displayed and click on the Clock icon in the bottom right part to set the time. It’s possible to duplicate slides if you need one of them to be displayed longer.
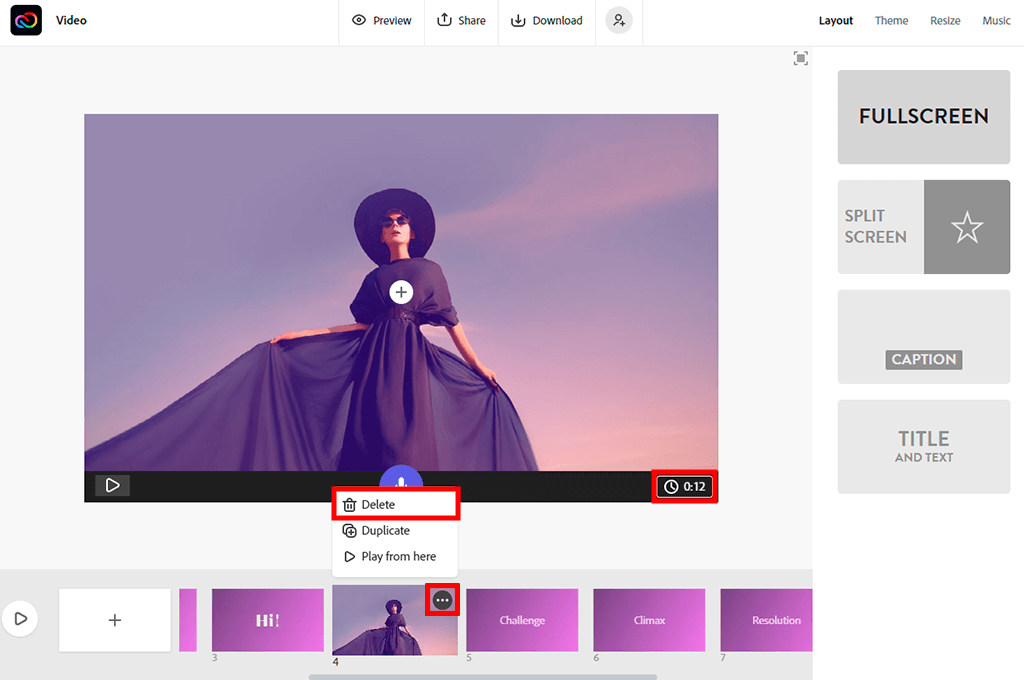
To duplicate a slide, right-click on it and select the Duplicate option.
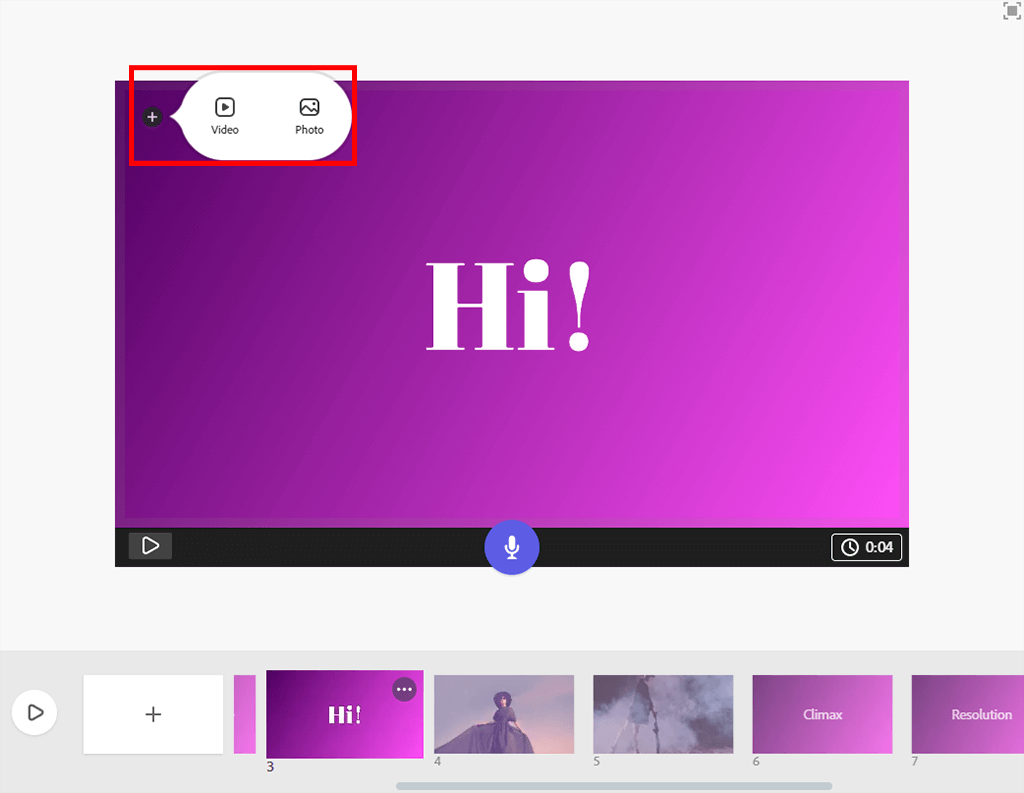
If you use Adobe Express, formerly known as Adobe Spark for education or work-related tasks, it is important to know how to add multimedia content. To do it, just click on the “+” button and select the option that you need.
When a corresponding menu opens, just choose the type of file that you want to add.
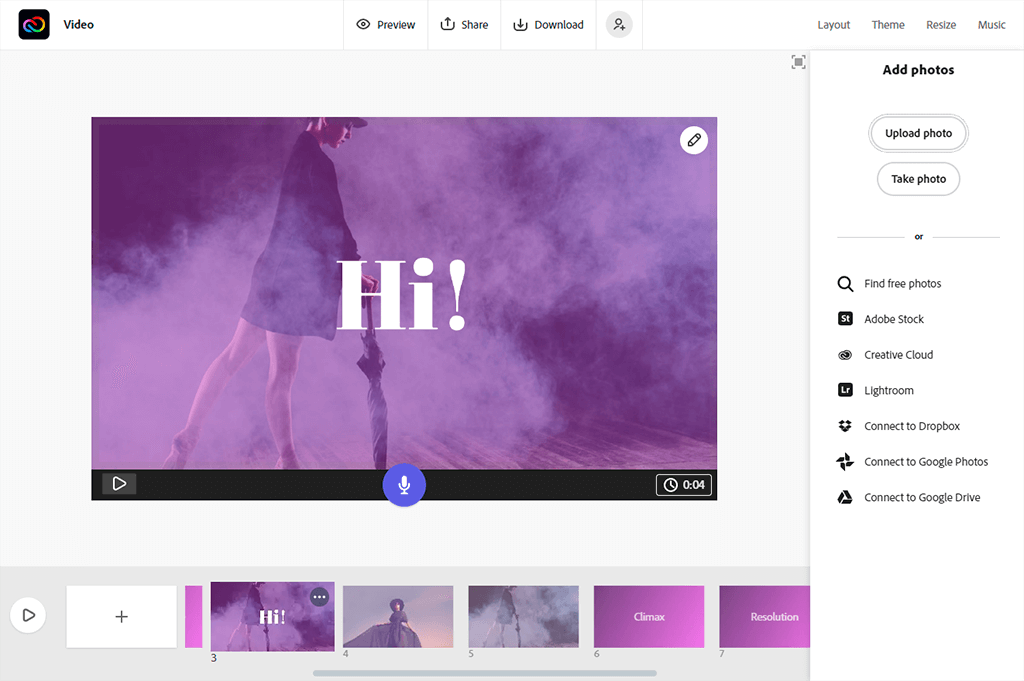
In Adobe Express, it’s possible to upload clips and pictures directly from your PC or use the images from file sharing services, for instance, Dropbox or Google Drive. On the right, you will find several options to choose from.
Once you have uploaded a picture or a video, Adobe Express will automatically add it to your slide. The placement depends on the layout design.

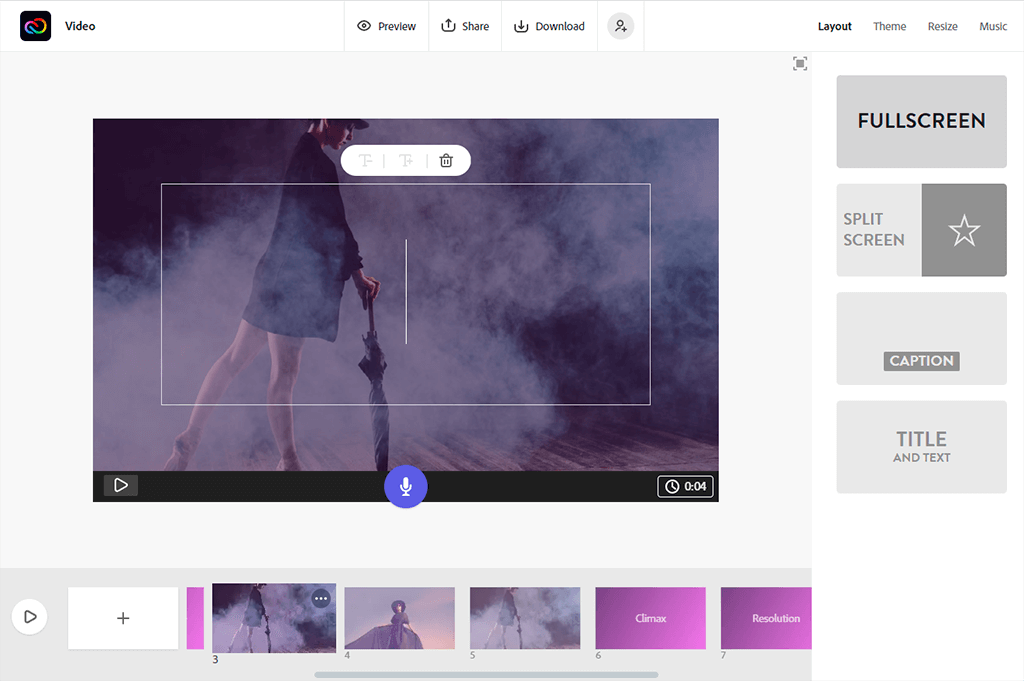
Adding text is simple as well. Just left-click on the “+” icon in your work area.
You will be offered to add text or an icon.
If you decide to add text, you will see a text editor.
Note: It’s possible to drag the text window to any area of a slide.
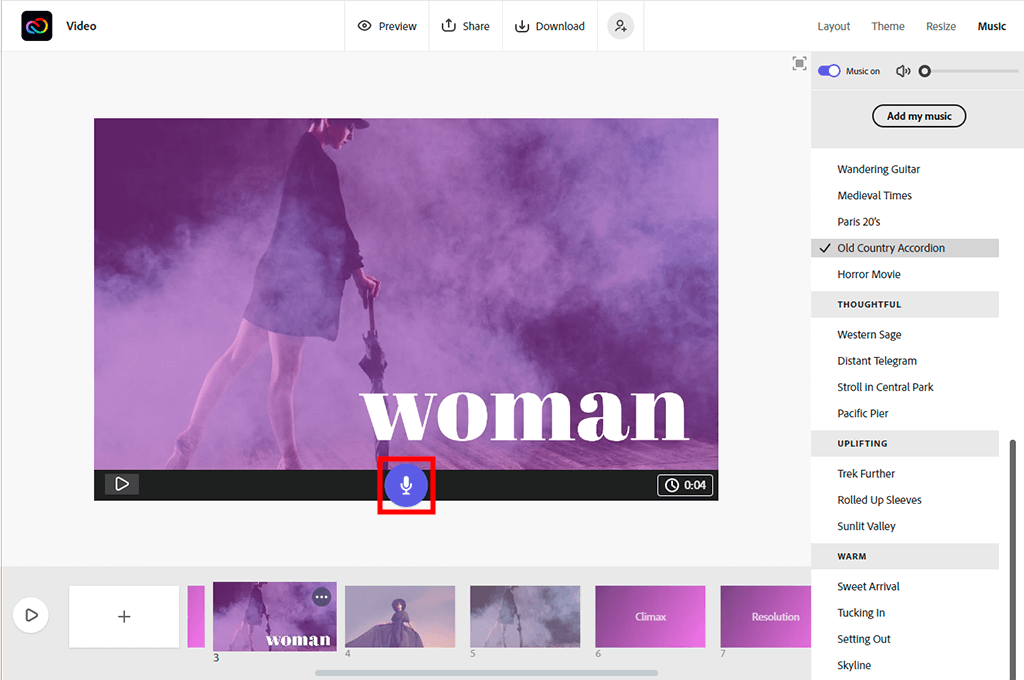
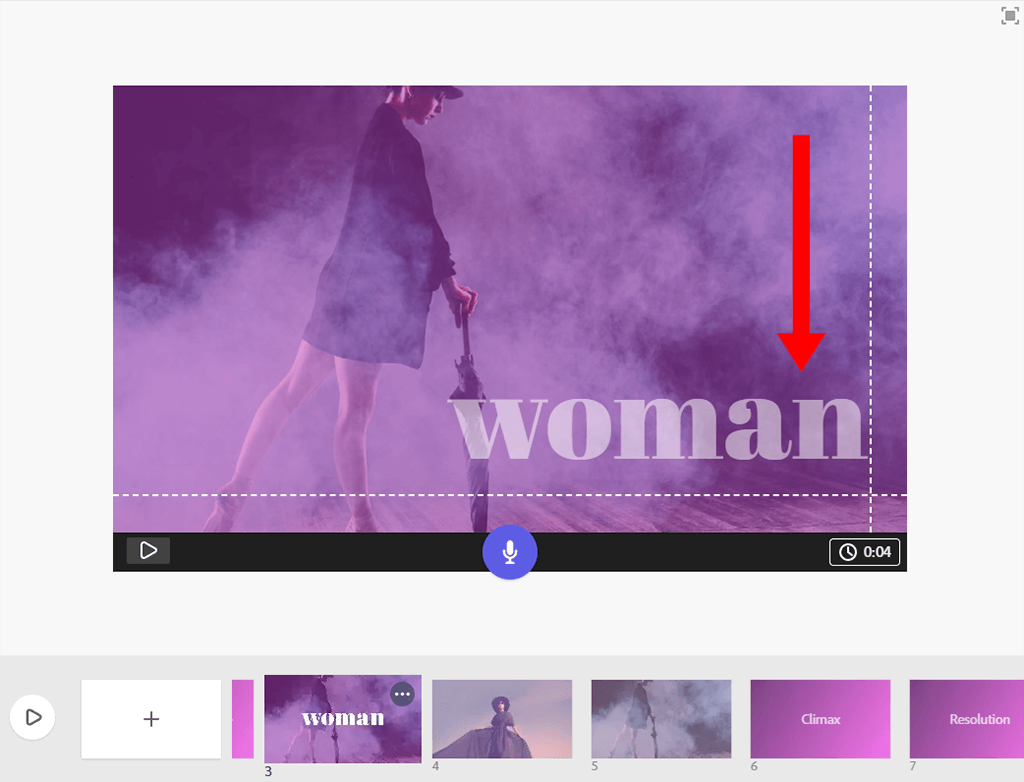
With Adobe Express, a user can upload any MP3 audio recording to make a presentation more engaging. It is also possible to record audio using the in-built tools.
If you want to add prerecorded MP3 files, go to the Music menu that can be found at the top on the left. There, you need to choose the Add my Music option.
Once you have added a track, it will be automatically played during your presentation. You can also record a voice-over by clicking and holding the microphone icon. You can find it at the bottom of a slide.
Each slide is displayed for 30 seconds max. If your recording is longer, just duplicate your slide and add audio to the new slide as well.
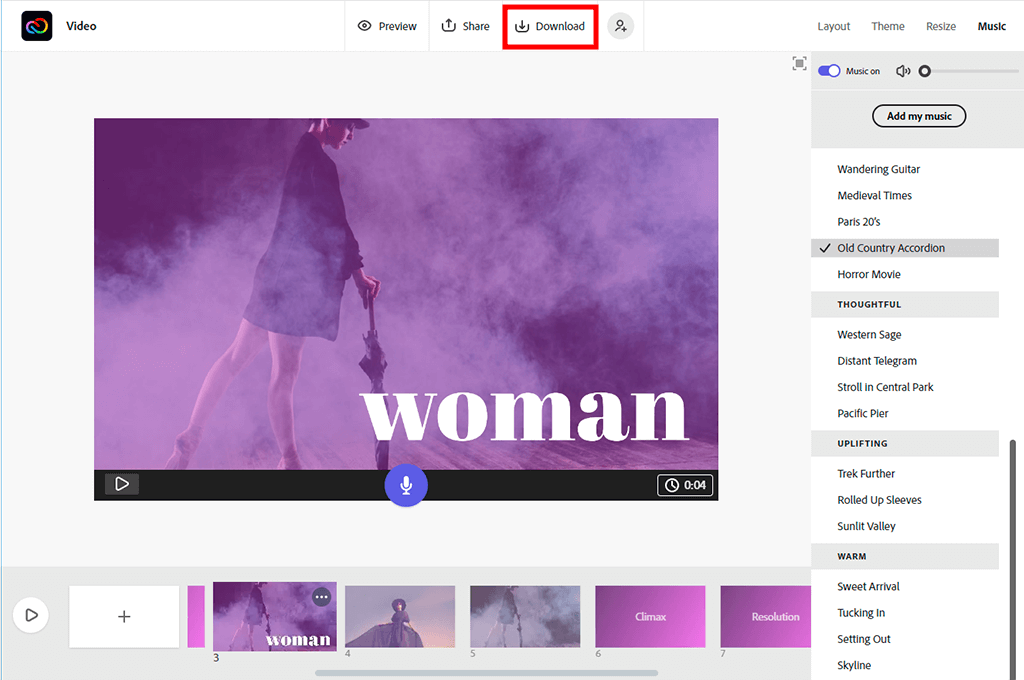
If you are wondering how to use Adobe Express to add videos, you should start by clicking on the Download button at the top of your project window.
Adobe Express will automatically convert your presentation into an MP4 video, and you will need to select a folder to save your file.


