Adobe Project Neo is a new tool from Adobe that is currently in the beta development stage. This software combines powerful AI algorithms with traditional Adobe capabilities, providing users with new tools for creating graphics, automating tasks, and improving the overall content quality.
This product is aimed at professionals involved in graphic design, image editing, and animation creation. Its main goal is to reduce the amount of time spent on complex tasks like color correction, background removal, automated design element generation, and even 3D model creation, which allows designers to focus on their creative ideas.
I had the opportunity to learn what is Project Neo from Adobe and here are my main impressions:
Speed and productivity. One of the first things I’ve noticed when using Neo was its speed. Many similar tools tend to “freeze up” when handling large files or complex projects, but Neo offers terrific performance even when dealing with large numbers of layers and elements. Its features work nearly instantly – be it image editing or applying filters.
Intuitive UI and automation. Project Neo has an intuitive interface. During my tests, I didn’t have to spend a lot of time studying it since it’s similar to standard Adobe software. However, I was surprised by how automated most tasks are.
For instance, this tool automatically adjusts the white balance and colors in images, while also making context-aware stylistic adjustments. I also tested the automated background deletion feature and the result was perfect.
Artificial intelligence and machine learning. Adobe Project Neo’s main innovation is its use of AI. This algorithm gets smarter every time you use it, providing more accurate and personalized results. For instance, the AI can perform color correction based on your stylistic tastes. I and my team at FixThePhoto used this feature to create color palettes for designer projects and the result was significantly better than what was achievable with traditional manual editing.

Animation and 3D modeling technologies. The provided animation and 3D graphics tools are also worth mentioning. Neo Project by Adobe allows creating basic 3D models out of 2D images, which makes it a powerful tool for creating complex animation and graphic design projects without forcing you to use third-party software.
In this Adobe Project Neo tutorial, I’ll tell you how to efficiently use it as graphic design software. You’ll learn the basics of working with its UI, AI-made automatic corrections, and several innovative features that will help you work faster and with maximum convenience.
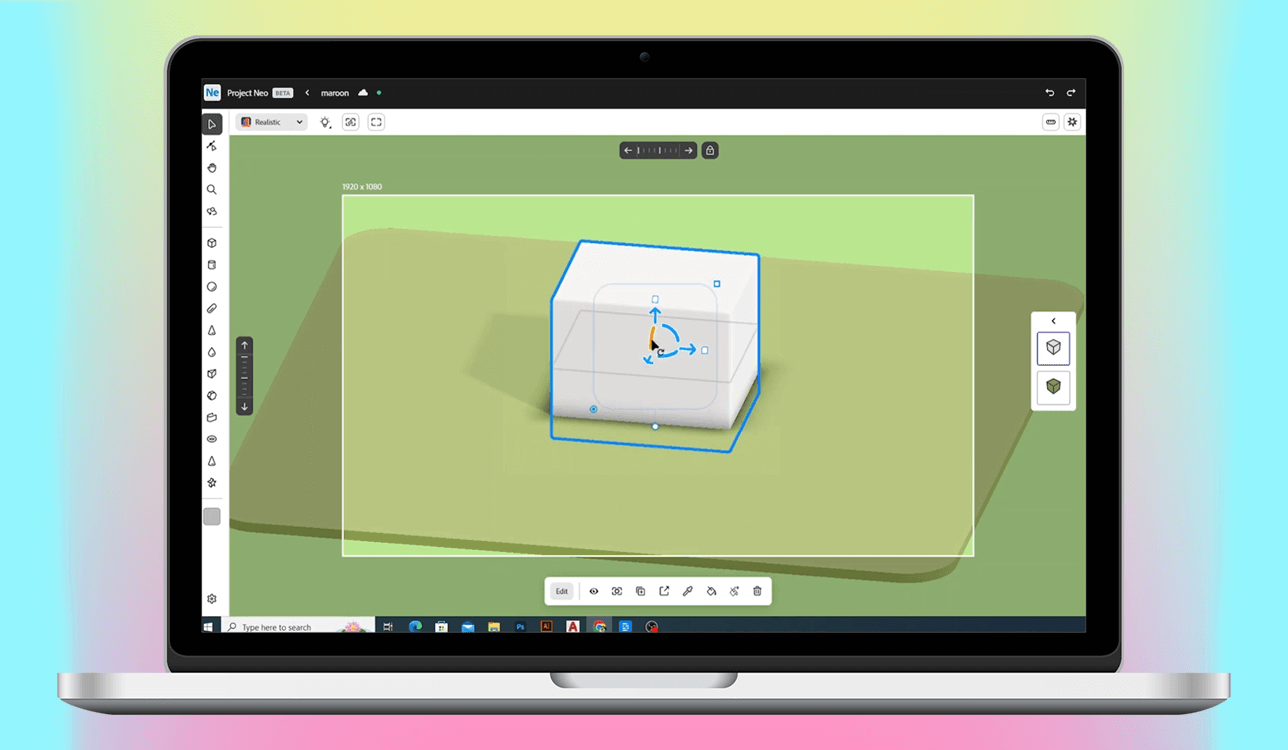
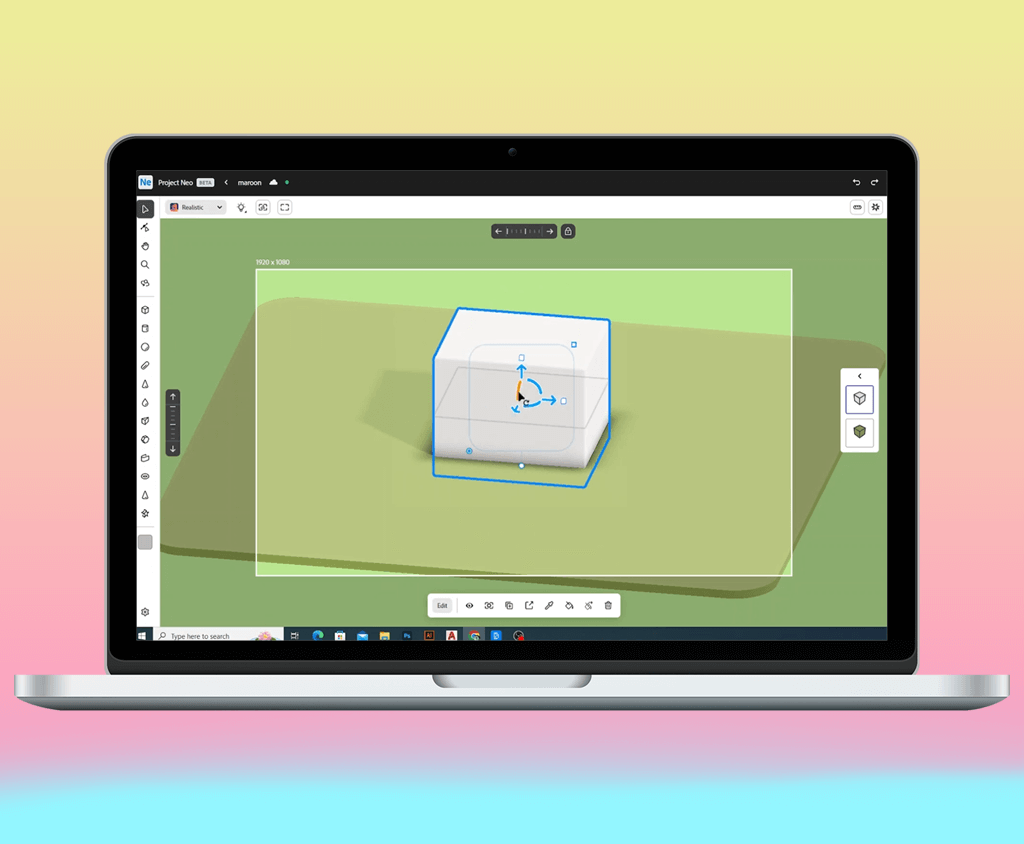
Step 1. Download and setup. Before you can begin, you first need to download Adobe Project Neo. Go to the official Adobe website or use Creative Cloud to get the beta or demo version (if available). Once installed, the software will greet you with a UI that resembles other Adobe products like Photoshop or Illustrator.
The software has an intuitive UI that consists of the following elements:
Step 2. Creating a new project. To create a new project, click on "Create New Project". Choose the canvas size and tweak the parameters (access, image type, etc.) depending on what type of graphics you plan to create.
Step 3. Using AI for corrections. As AI software, Adobe Project Neo comes with built-in artificial intelligence algorithms for automatically adjusting the colors, contrast, and other parameters. Pick an element that needs work and use the AI tools to automatically apply the necessary corrections.
Step 4. Creating vector elements using AI. To create vector elements, go to the Auto-Create Shapes tool. Upload an image and the software will automatically vectorize it. If needed, you can adjust its shape, line width, and colors.
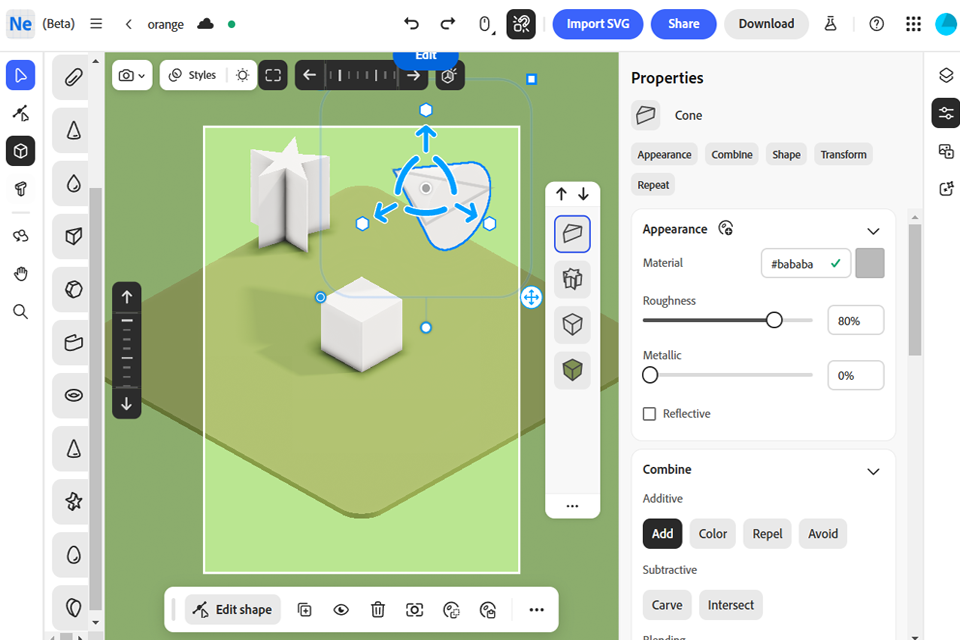
Step 5. 3D modeling functionality. Import a 2D image and convert it to 3D. Using the available 3D tools, adjust the lighting, textures, and edges to create a volumetric model.
Step 6. Save and export. Once you’re done, save the project by clicking on File and picking the desired format (PNG, JPG, TIFF, SVG, and so on). If you’ve worked on a 3D model, export it in OBJ or FBX format.
Step 7. Template use. Adobe Project Neo allows using different templates for a quick start. Go to the Templates tab, pick the required category, and apply it to your project before customizing to your specific needs.
Project Neo by Adobe allows digital artists to work faster and more efficiently without sacrificing quality. Here are some tricks that can help maximize your productivity when using this software.
First, hotkey combinations are the foundation of establishing a convenient workflow in any software. In Project Neo, you can adjust the hotkeys to your needs. For instance, Ctrl+T allows transforming objects on the canvas, Ctrlz+Z cancels the last action, and Ctrl+Shift+I inverts the selection, which is important when working with masks.
I would also like to highlight the "Auto-Create Shapes" tool that allows automatically generating vector shapes out of regular images. This is very useful for creating illustrations since the software uses AI algorithms to detect edges and convert them into editable shapes. After importing an image, pick the “Auto-Create Shapes” feature, and the software will automatically select the objects and create vector elements that you can manipulate as you wish.
Another important feature is the ability to customize the workspace to your liking. Project Neo’s interface is very flexible and can be adapted to different projects. Customizing the toolset panel allows you to easily and quickly find the features you use most often.
Don’t forget about the feature for saving and reusing templates. If you’re creating similar templates or graphics often, this tool will help you save time during the initial stages of the project. Simply save the design as a template, and you’ll be able to quickly adapt it to new projects.
The preview mode is also worth mentioning, as it offers a convenient way to check how your project will look on smartphones, tablets, and desktop computers. This allows you to find any possible adaptability issues related to different screen resolutions before sharing your creation.
Obviously, the Adobe Neo Project isn’t the only such tool on the market. There are alternatives that have long been used by professional designers. Some of its most popular competitors include CorelDRAW and Affinity Designer. Both options come with numerous benefits, but Project Neo offers unique capabilities thanks to its AI integration, which significantly simplifies a lot of common tasks.
Here’s how Adobe Project Neo compares to CorelDRAW and Affinity Designer:
| Adobe Project Neo | CorelDRAW | Affinity Designer | |
|---|---|---|---|
|
AI-based tools |
✔️ Built-in AI tools for automatic corrections and shape generation
|
❌ Doesn’t have AI-based tools
|
❌ Doesn’t have AI-based tools
|
|
Automatic color correction |
✔️ Automated AI-powered color correction
|
❌ No automatic corrections
|
❌ Requires manual color adjustments
|
|
Layer workflow
|
✔️ Intuitive layering and masking
|
✔️ Good layer-based functionality
|
✔️ Supports working with layers
|
|
Vector graphics
|
✔️ Professional tools work vector projects
|
✔️ Terrific vector-based tools
|
✔️ Powerful tools for handling vector elements
|
|
Software integration
|
✔️ Supports integration with other Adobe products
|
❌ Limited integration
|
❌ Limited integration
|
|
Interface |
✔️ Intuitive and customizable
|
✔️ Flexible UI elements
|
✔️ Convenient but no customization options
|
|
Task automation |
✔️ Automation of many tasks
|
❌ Requires manual input for all tasks
|
❌ Requires manual input
|
|
3D tool support
|
✔️ Powerful 3D capabilities
|
❌ Limited 3D support
|
❌ Minimal 3D support
|
![]() Using the Adobe Project Neo beta has significantly streamlined my workflow and helped me reach new levels of efficiency. Thanks to its intuitive UI and powerful AI-based features, I could significantly reduce the amount of time needed to create and edit projects.
Using the Adobe Project Neo beta has significantly streamlined my workflow and helped me reach new levels of efficiency. Thanks to its intuitive UI and powerful AI-based features, I could significantly reduce the amount of time needed to create and edit projects.


![12 Best AI Presentation Makers in {{%year}} [Reviewed & Tested]](/placeholder-450x300.svg)


