Need some help precisely positioning the elements in your photos and designs? In this tutorial I will teach you how to create custom Photoshop grids and Photoshop guides layouts. This will help you create more appealing compositions, line up text, shapes and images.
Go to View-Show-Grid to add a grid to your image, or use the shortcut Ctrl + ' (Cmd + ').
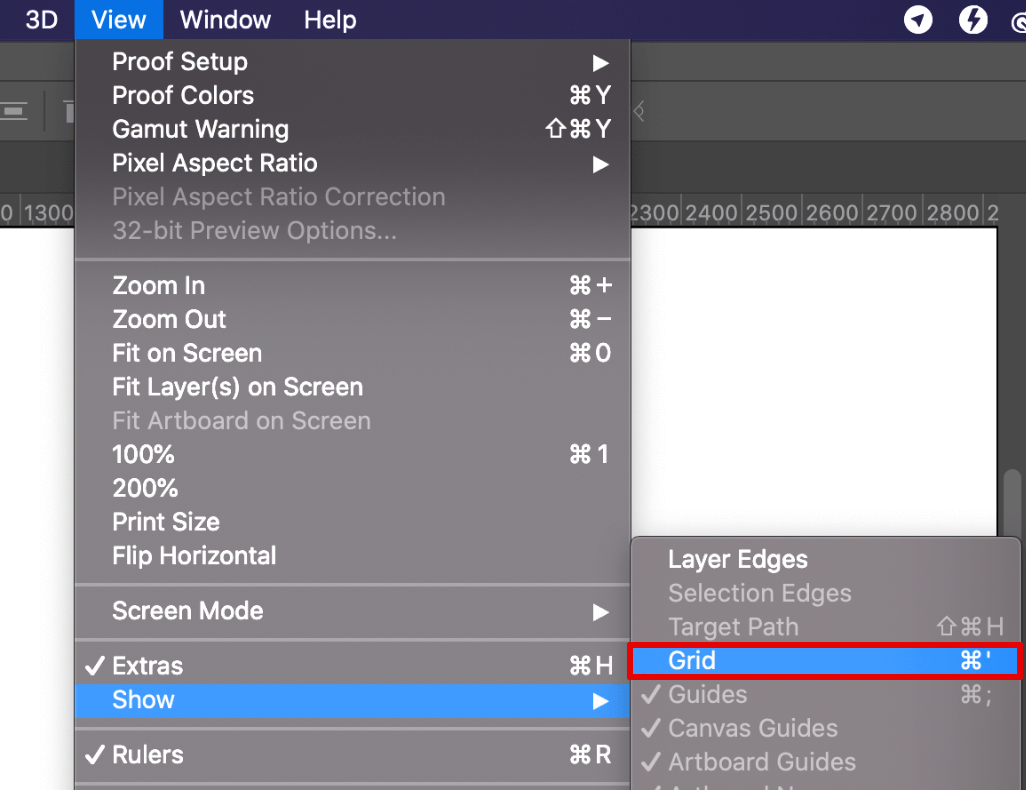
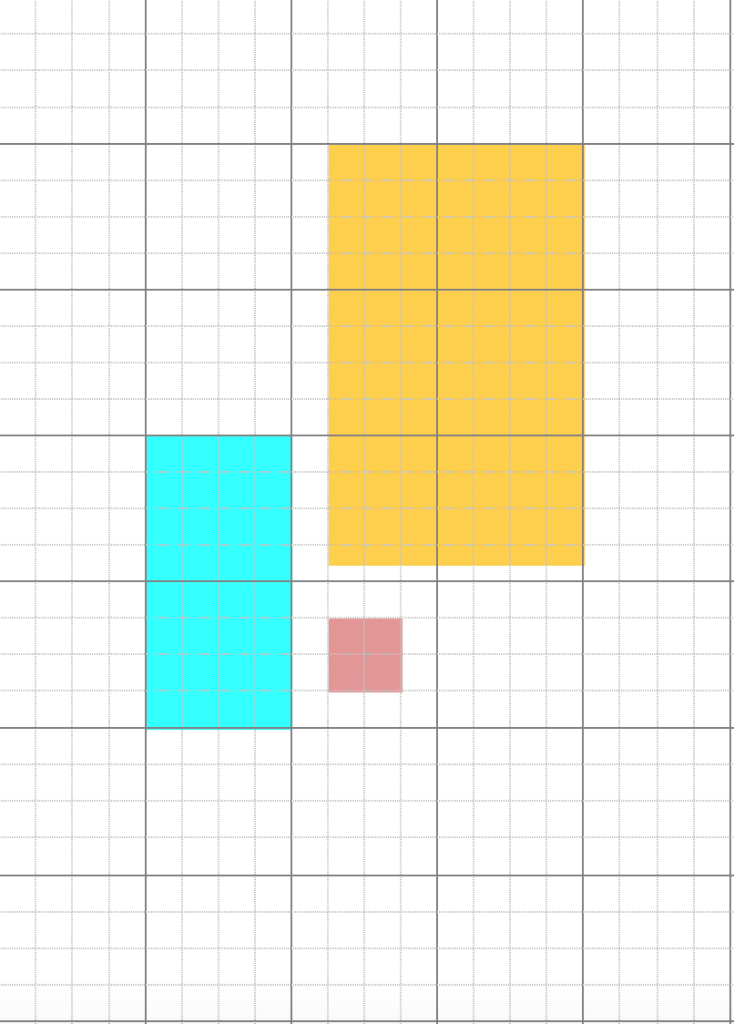
The grid should now be superimposed over the image. It’s a perfect tool if you like to use the rule of thirds in photography. You can also use grids as a template when making a collage in Photoshop.

You can also use it for your drawings and designs to align the objects more precisely. Remember, that the grid is there just for your reference. If you decide to print your work, the grid won’t appear on the printed image.
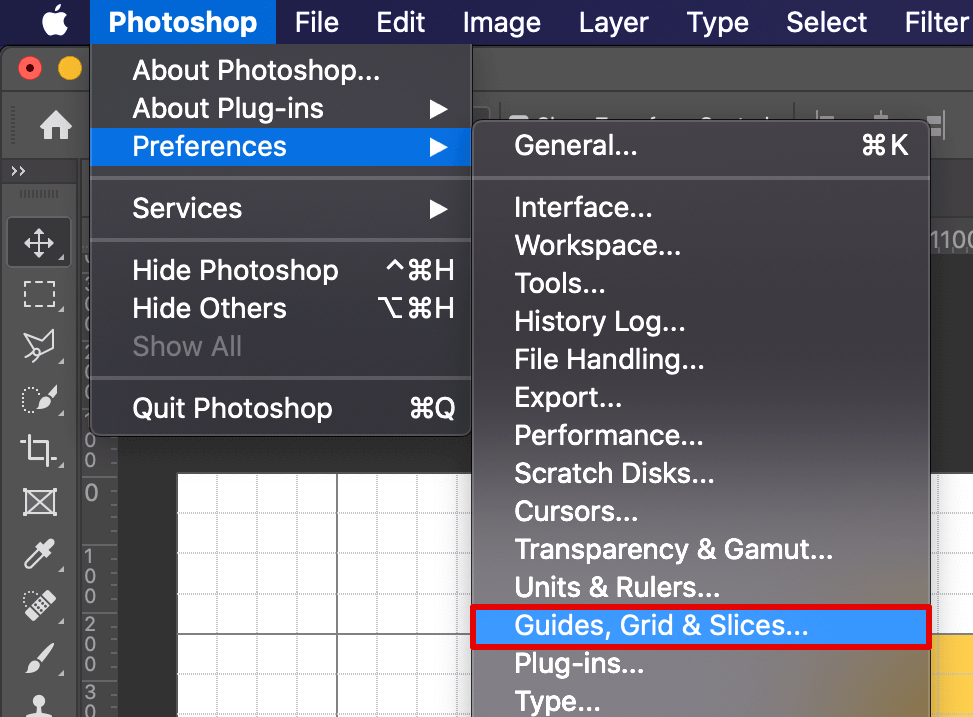
To adjust the color of the grid, open the Photoshop menu, and go to Preferences (Ctrl + K/Cmd + K) – Guides, Grid & Slices.
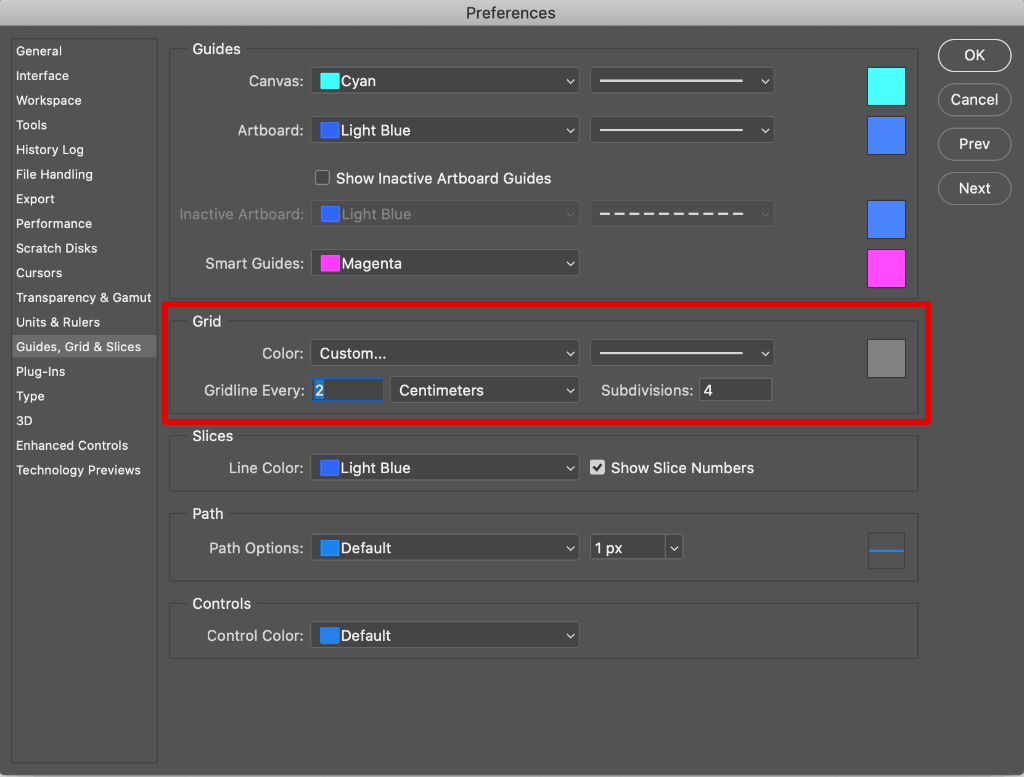
Find the “Grid” section in a window that appears. Here you can adjust the color, size of the lines, as well as the number of subdivisions. You can also choose between 3 styles: lines, dashed lines, and dots. Click “OK” to apply changes.
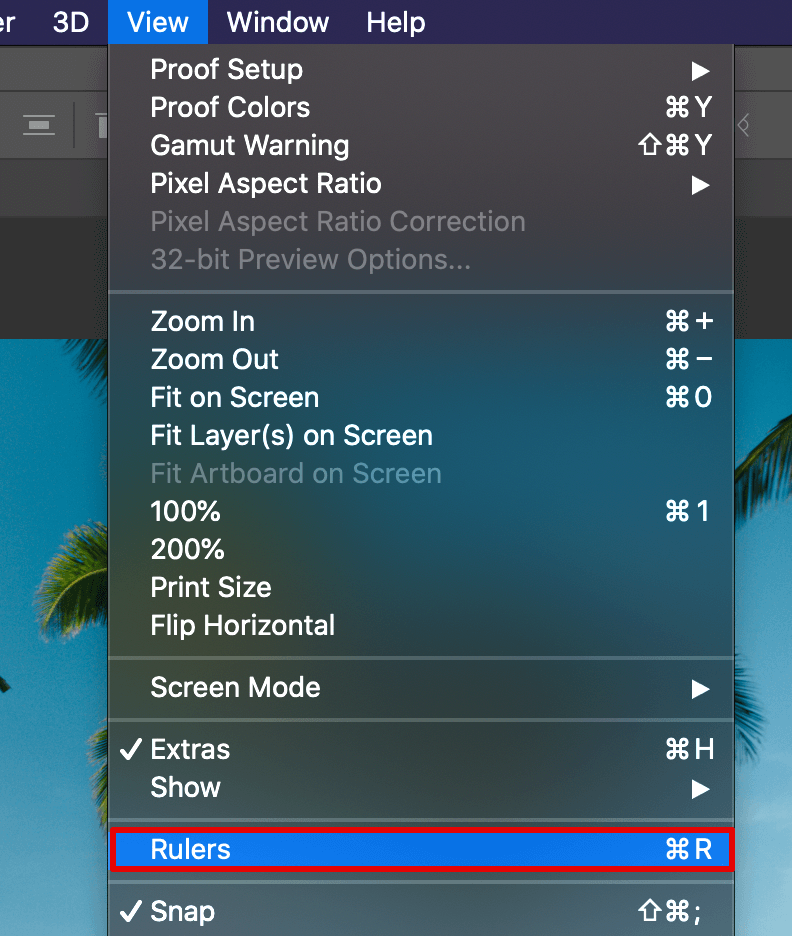
Go to View – Rulers to make the rulers visible, or use the shortcut Ctrl + R (Cmd + R).
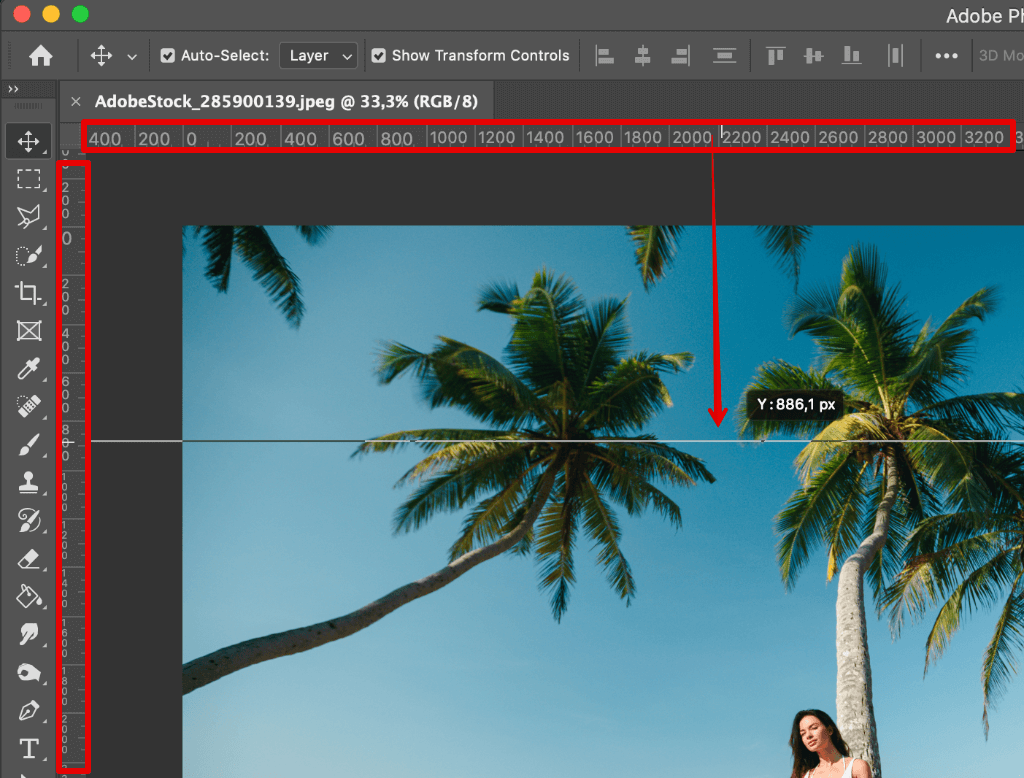
The rulers should now be displayed around your working area. Click on the ruler and start dragging out as many guides as you like.
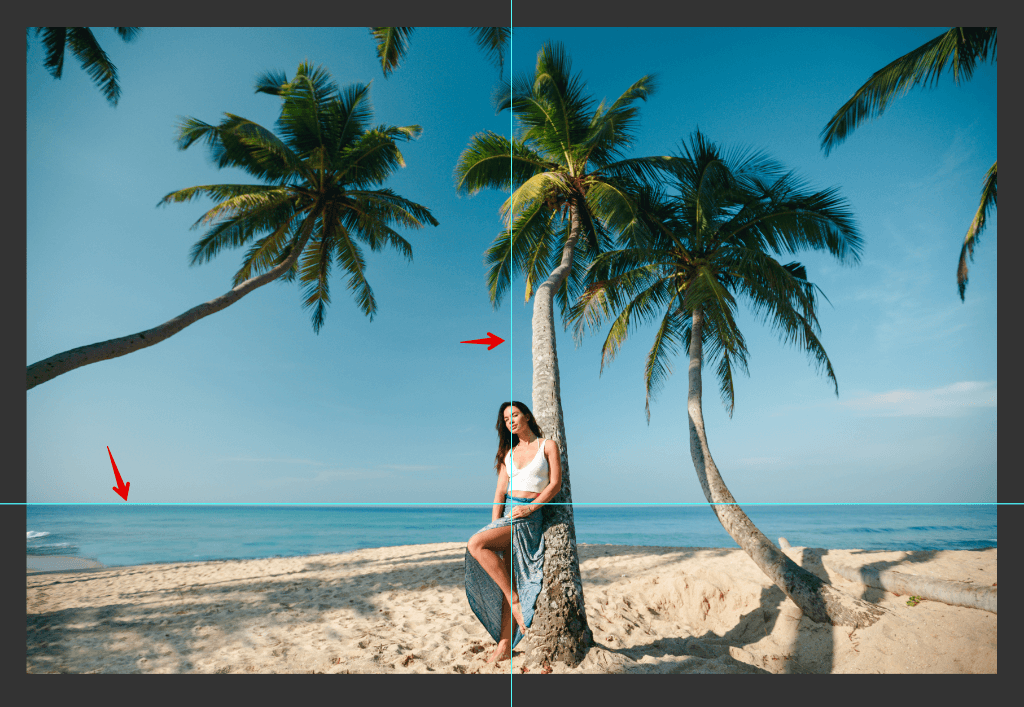
Select the Move Tool (V) to drag the lines to the desired position and orientation.
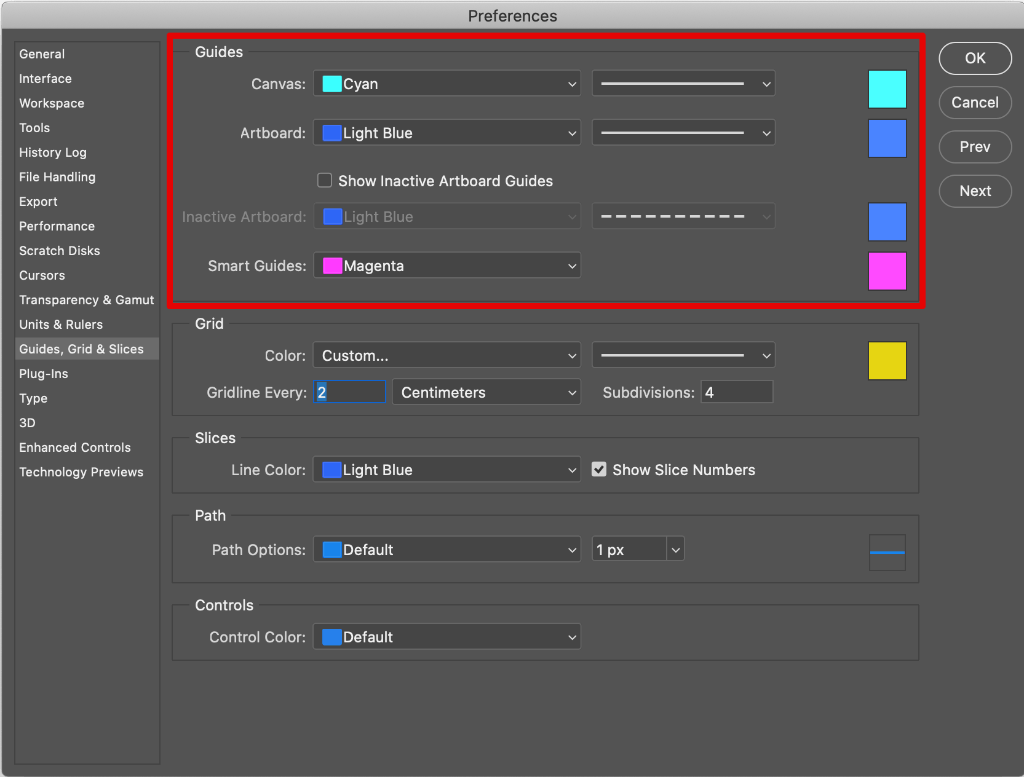
To adjust the guides further go to Photoshop – Preferences (Ctrl + K/Cmd + K) – Guides, Grid & Slices.
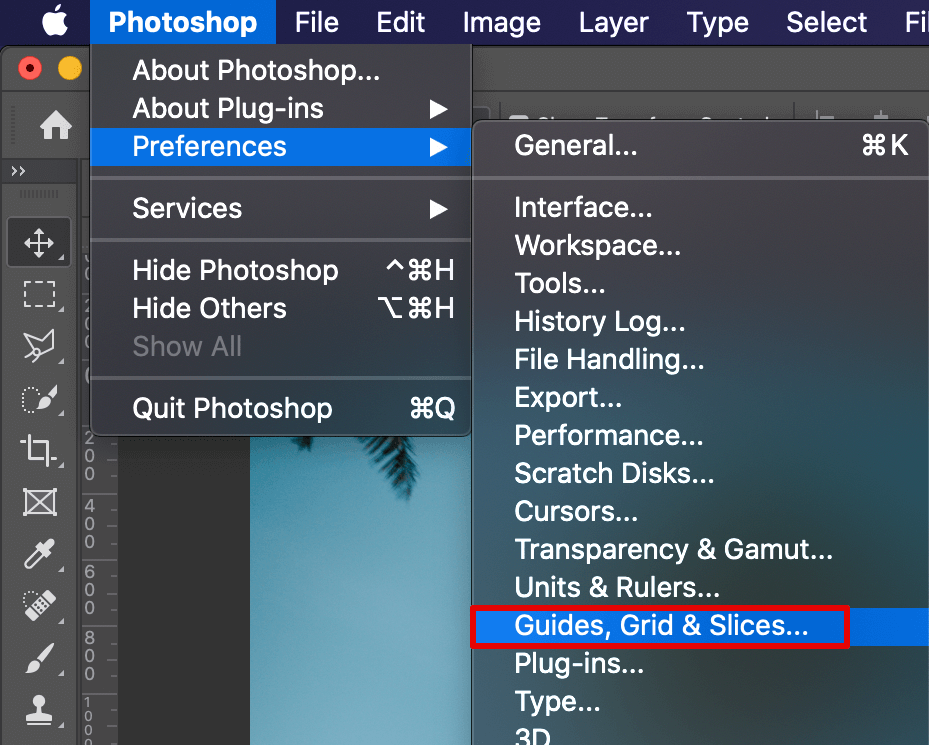
Find the “Guides” section at the top of the window. Here you can adjust the color and the style of guides. Click “OK” to apply changes.

Want to get professional results in photo editing with minimal effort? Here are several PS freebies created by pros that will help you achieve a polished look in a matter of minutes.