How to Transfer a Picture to Canvas in 2 Ways
When you purchase through affiliate links on our site, we may earn a commission. Here’s how it works.
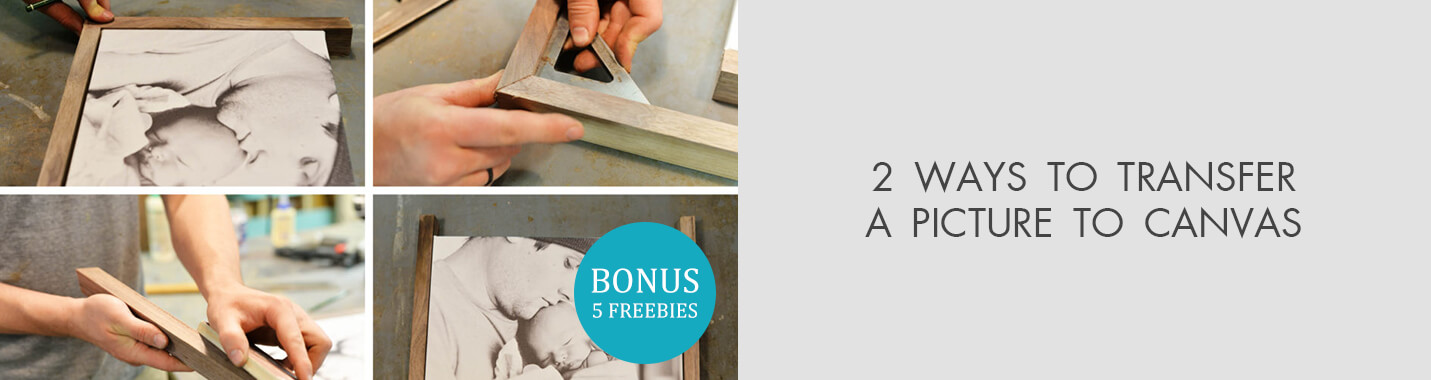
2 Ways to Transfer a Picture to Canvas
I have prepared 2 easy methods of how to transfer pictures to canvas. Look them through and try to repeat.
Method #1 for Color Images

Step 1. Prepare Necessary Materials
You need to be very attentive with the colors of the original shot, as they must be accurately reproduced on the new surface. Prepare an iron or any other similar thing producing the flattening effect (e.g. a stack of magazines), a canvas, fine tissue paper, a sealer glue, such as Mod Podge.
Step 2. Trim the Tissue Paper so That It Matches the Size
Find a hard surface and put the tissue paper on it. Take your framed canvas and lay it onto the paper, so that their front sides match.
Use a pencil to outline the canvas, marking all 4 sides on the paper. Cut along the lines to get rid of the excess tissue paper.
Step 3. Get Rid of Creases
Start ironing the piece of the tissue paper you got to remove all creases and bends. Set the iron to a high temperature without steam.
Step 4. Manually Place the Tissue Paper into Your Printer Tray and Print Out the Selected Photo
It may take several attempts, but the result is worth trying. Anyway, you can eliminate possible problems by choosing the canvas of a regular size.
An 8 ½ x 11 canvas is an ideal option.
Otherwise, you will have to tackle printer settings, so that the photo you have chosen perfectly fits the trimmed paper. If you still go for a non-standard size of the canvas, just be patient.
Step 5. Use Sealer Glue
Take your sealer glue, for example, Mod Podge, and apply it to the canvas. Mind that the layer should be thin with the adhesive evenly distributed. Use a brush to cover every part of the canvas.

Step 6. Work with Paper Picture
You have to be very quick, but accurate. Center the tissue paper over the canvas. If everything is OK, lay and press the paper onto the glue coatstarting from one corner. Don’t try to overlay the entire picture at once, as you may spoil everything.
Step 7. Smooth Out Creases
No matter how careful you are, there will probably be some creases. Use a clean foam brush to smooth them out. Start from the middle and move to the sides to get the best image transfer result.

Step 8. Apply Another Coat of Clear Glue before the Canvas Dries (Optional)
You can use either the same glue or get another colorless one to seal the canvas picture you got. Simple as that!
- Use these DIY photo album ideas to create your own album.
Method #2 for B&W, Sepia-Tone Images


Step 1. Collect All the Necessary Supplies
If you have a monochrome photo and want to transfer it to canvas, prepare such materials as a canvas, an image, a spray bottle filled with water and a clear “acryl gel medium”. It will be great if you manage to find the canvas almost identical in size to your picture.
Step 2. Print Out the Photo on a Laser Printer
To transfer picture to canvas, you should print it out on a laser printer, as an ink-jet one won’t produce a proper-quality photo. I suppose you know what type of printer you have at home, in case, you don’t, pay attention to the size of the toner.
The bigger toner means you have a laser printer, while a toner of a compact dimension is more typical for ink-jet printers.

It is great if you can find a photo and a canvas with identical sizes since the result will look wonderful, but it isn’t obligatory. If your image is a bit smaller than the canvas, actually, no more than an inch, the final product will still look nice.
Mind that the photo will be reversed. If you don’t like it this way, reverse the picture before it is printed.
Step 3. Apply a Thick Layer of Gel Medium to the Front of Your Canvas
This step doesn’t require much time, just check whether the entire surface of the canvas is covered with gel medium. This is necessary to transfer the whole image.
Step 4. Center the Photo with the Canvas — Ink-Side Down — and Press Down to Flatten
Don’t ever try to glue the entire image in one go. As in the previous method, you need to attach corners of a print one by one to have the lines and edges of the picture and those of the canvas perfectly match each other.

Once the image is attached to the gelled surface, flatten the photo to get rid of possible creases.
Step 5. Leave the Canvas Overnight to Dry
Find a place with the temperature below average and leave your project there overnight. Mind that there should be no moisture for the gel medium to dry.
Step 6. Spray Some Water on the Surface
Remove the wet paper with your hand to see the image under it. Spray more water and repeat the scraping action until there will be as much of the picture as you need.
Try to do everything gently, otherwise, you risk damaging the underlying image. The process may seem a bit messy.
If there is a small piece of a print that doesn’t go off, it is okay. In fact, it will add a special feel to your work, resembling rustic and vintage canvases. Besides, such a technique perfectly complements B&W and sepia tone photos.
Step 7. Final Actions
When you are done with scraping the paper, you need to apply one more layer of gel medium. Again, leave the canvas to dry overnight. The canvas, you will get, can be a nice gift for your friend or a beautiful decoration for your studio.
Canvas Shapes and Sizes
I hope you’ve grasped how to transfer photos to canvas, but there are other important issues to clear up. For instance, what shapes and sizes of the canvas you should use. Let’s find out.
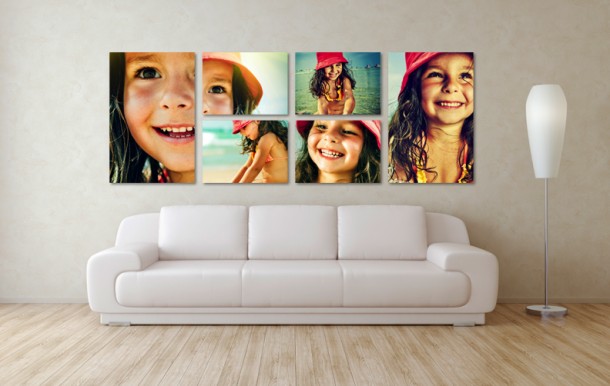
Square
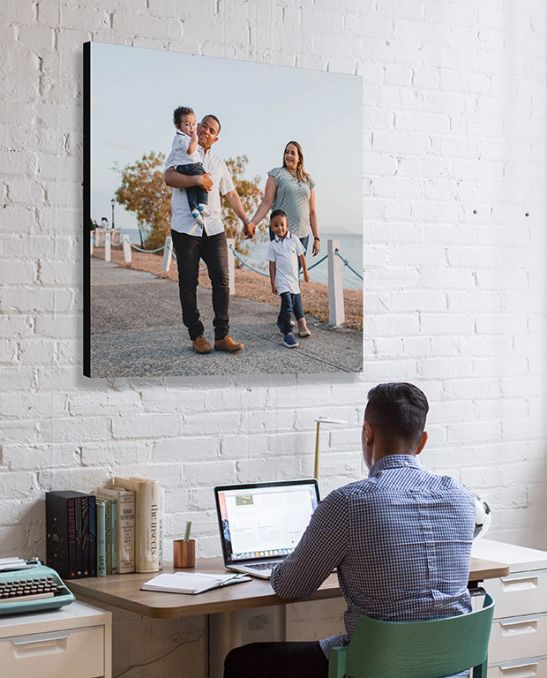
Obvious from the name, all 4 sides are equal. I recommend selecting this shape if you are going to create multiple canvases or a grid layout on the wall. You may address The Canvas Prints who will offer a wide range of canvas prints in different form that are designed to meet your requirements.
Rectangular
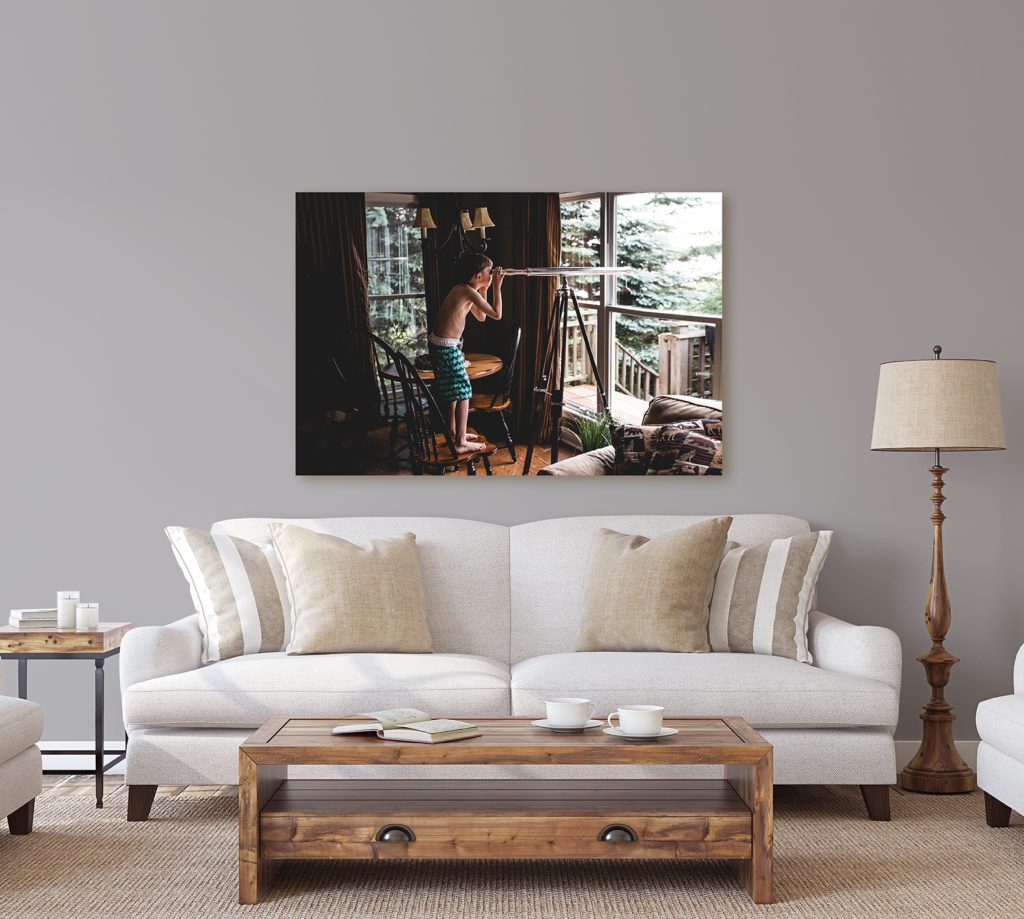
Similar to the geometric figure, a rectangular canvas has 2 longer and 2 shorter sides. Such canvases are an ideal option if you need to fill in the gaps in an asymmetrical layout or want to decorate the wall with uneven amount of vertical or horizontal space.
- Have a look at these wall photo ideas.
Hexagon
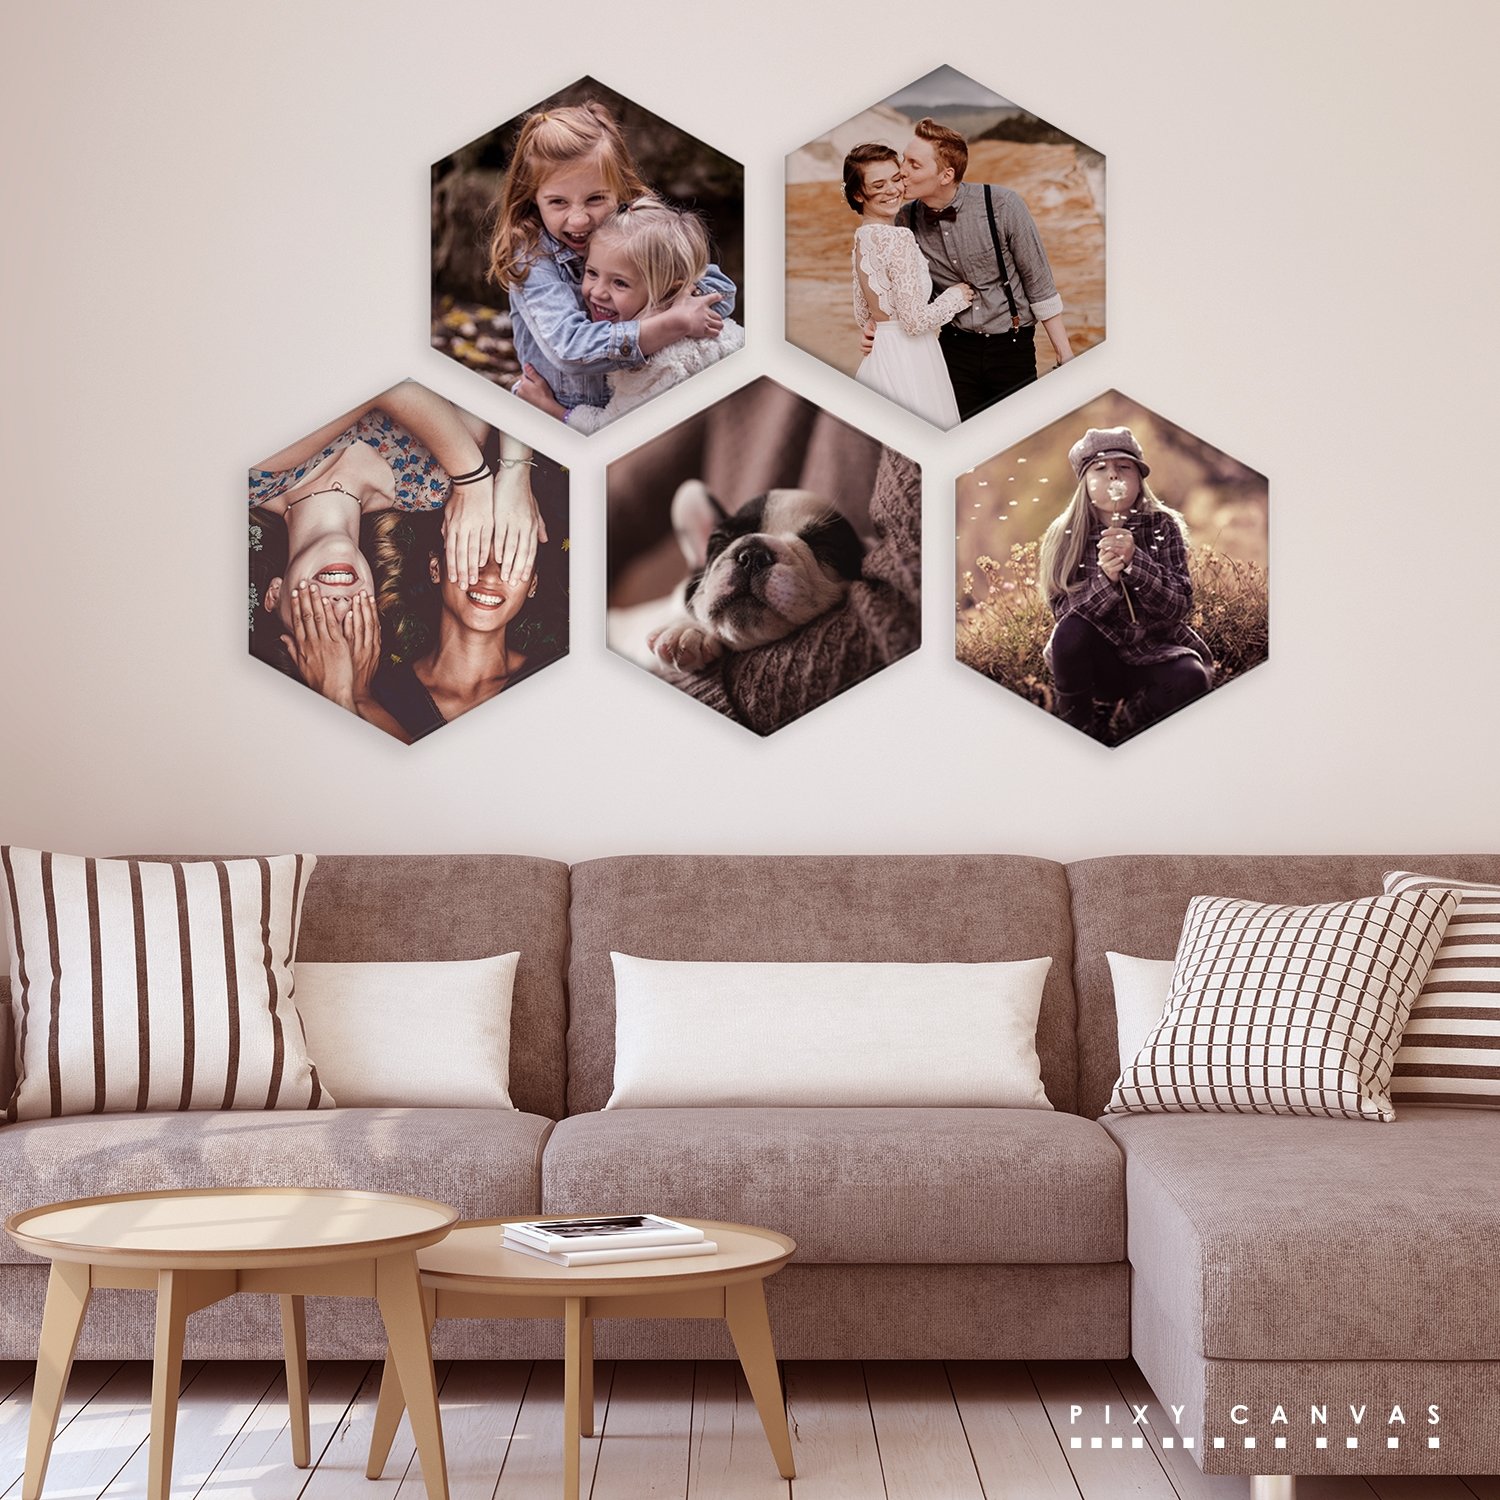
Hexagon canvases have 6 identical sides and 6 edges. You can choose this shape if it fits into the general décor of the place or if you want to imitate the honeycombs structure.
Most Popular Sizes
If you wonder whether you can transfer picture to canvas of any imaginable size or there are certain standards, have a closer look at this paragraph.
The thing is that in the old days, artists either made stretcher strips on their own or paid carpenters for such a service. In the second case, they also received custom frames for their paintings.

Nowadays, you can also go this way, but, mind that getting a canvas of a non-conventional size is rather expensive. Fortunately, there is a more cost-effective way out – purchase stretcher strips and frames of fixed sizes.
Of course, commercially produced canvases can be of different sizes, still, the most popular ones are as follows (indicated in inches).
Common Questions about Canvas Prints
Here is the list of the most frequently-asked questions concerning canvases and DIY photo transfer to canvas. So, if you want to ask something related to these topics, look through the list, as the answer may be already there.
How Much Does a Canvas Print Cost?
The size of the canvas print is the first thing that affects the price. You may pay about $20 for small canvas prints, while larger ones can cost up to $200. If you have a discount coupon, you will pay less, while various additions, for instance, adding a frame, will inevitably raise the price. Besides, don’t forget about the shipping fee.
Can You Frame Canvas Prints?
It depends on your personal choice. In case you want a canvas print to be framed, check whether the frame is solid enough to contain the entire canvas print.

If you don’t want to look for a proper frame separately, just order framed canvas prints.
Will Canvas Fade over Time?
While printing canvases, reputable companies like Stelava, use fade-resistant inks, which ensure the “long life” of a product. However, you can also do some things to preserve the beautiful state of your print canvas as long as possible.

First of all, enquire whether the company, from which you ordered canvas printing, creates UV resistant products. Besides, you need to find such a place for your print canvas that is inaccessible for direct sunrays. If you want to be sure that your canvas will last very long, just attach a protective glass over it.
How Do I Clean the Canvas?
Since canvases have a protective coating, they aren’t exposed to smudges, scratches, etc. So, to keep them look nice, you can simply remove the dust with a soft, dry rag.

For deeper cleaning, use a wet cloth, but this isn’t the safest way as you can damage the ink. If this happens, go over the damaged area with touch-up paint or waterproof felt-tip markers.
What Is the Best Way to Hang the Canvas?
You can either hang a canvas unframed (suitable for gallery wrap options) or choose an appropriate frame if you have rolled or thick canvases. I don’t recommend attaching wires near the canvas not to damage the product.
Freebies for Your Canvas Photos
If you want to transfer pictures to canvas, they must be perfect. So, you should edit images at first. The free tools described below will come in handy.
Watercolor


If you want your photo to look elegant on the canvas, apply this free action.You will get a beautiful light picture with excellent texture.
Oil Paint


A wonderful action to get a canvas effect. Use it for dynamic images with a one-colored background.
Low Poly


If you want to give your image a zest before transferring it on the canvas, apply this action.
Sharpening


Use this preset to make your photos sharp and accentuate the smallest details. This is a very helpful tool for close-up portraits.
POP


A nice match for portrait, wedding and fashion photos that will benefit from acquiring a red tint.


