A sensor in interchangeable cameras accumulates dust and smudges when changing lenses. The longer you use your camera, the more dust particles appear on the sensor surface. If you cannot afford to order professional cleaning, you can try to get rid of the dirt yourself.
Even though some modern cameras are fitted with a handy sensor-cleaning function, it cannot remove all dust and stains. In this step-by-step tutorial, I will tell you how to clean a camera sensor using dry and wet methods and what you need for this.

Sometimes dry cleaning is enough to return a sensor to its pristine state. But as a rule, it is necessary to combine dry and wet cleaning methods to get rid of debris. Remember to remove the dust inside lens.
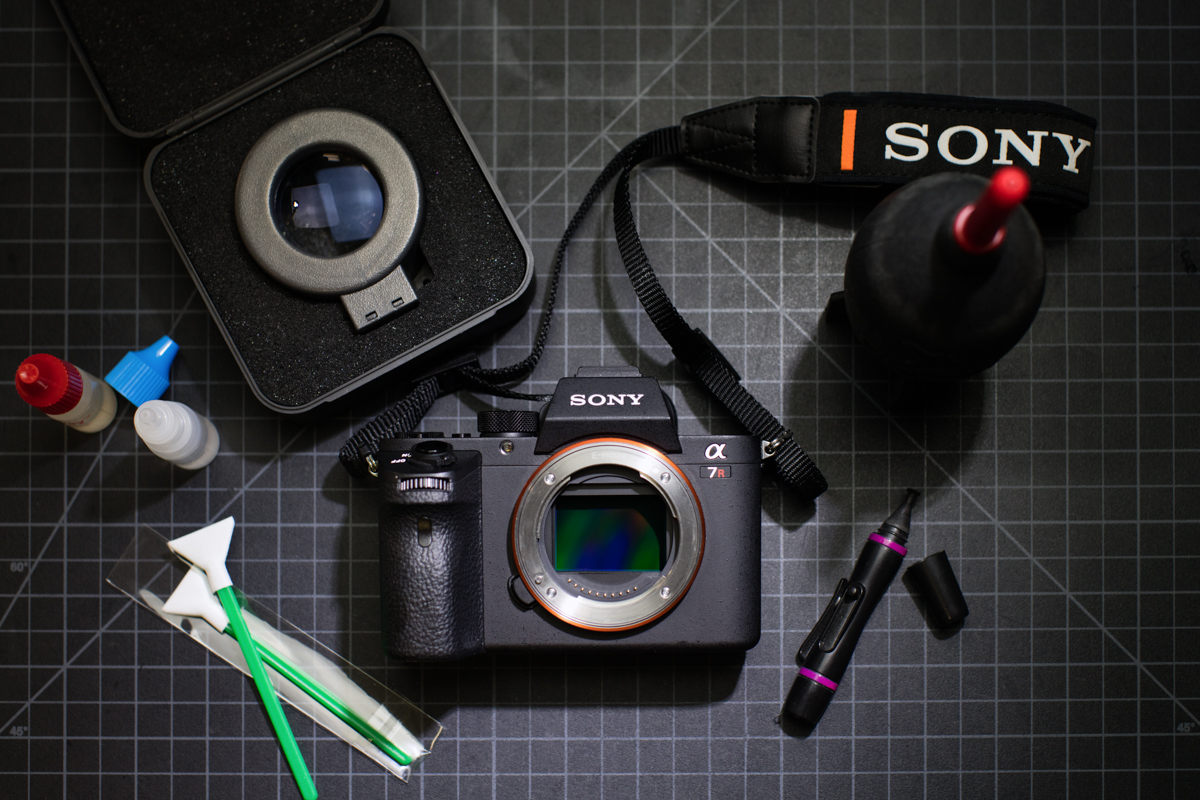
To clean a camera sensor without any fluid, you need a bulb blower. Prepare a flashlight to look inside the camera and check whether you need to clean the body. A sensor loupe will also come in handy. This is a magnifier with LED lights that provides a better view of the sensor and allows you to see all dirt particles.

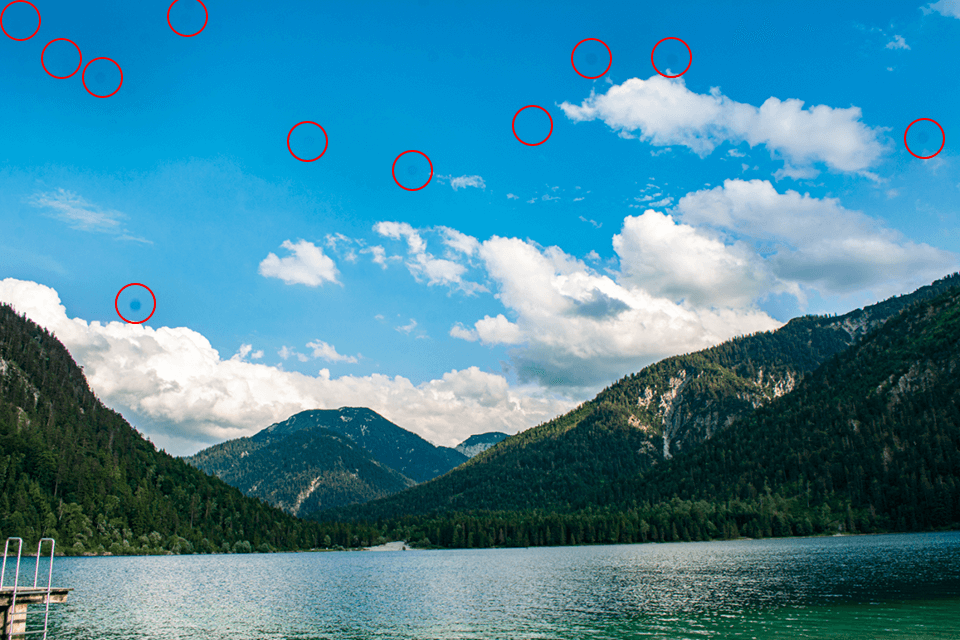
To determine how muddy your sensor is, photograph a sheet of white paper. Make sure to take a pic with the narrowest aperture, as a shallow depth of field can obscure dust spots. Besides, you need to defocus the scene by choosing ISO 100 and using manual focus. Upload the photo to your PC to scrutinize it on a big screen.

Open the Tools menu on your camera and find the Sensor Cleaning option. It can have a bit different name. Chose the Clean Now option if available. Once the cleaning mode is enabled, your camera sensor will start vibrating. It means the cleaning process has started. Perform this procedure before deep cleaning or zap dust particles from your sensor once in a while.
Most camera models come with this feature. If not, you need to perform dry cleaning manually.

Use a screw to detach a lens from a camera body. If you are afraid of doing something wrong, read the instructions provided by the manufacturer. It happens that photographers cannot find the maintenance manual supplied with a camera. In this case, look for the tutorial on the net. Enter "detach camera lens" + camera name and model in the search field.
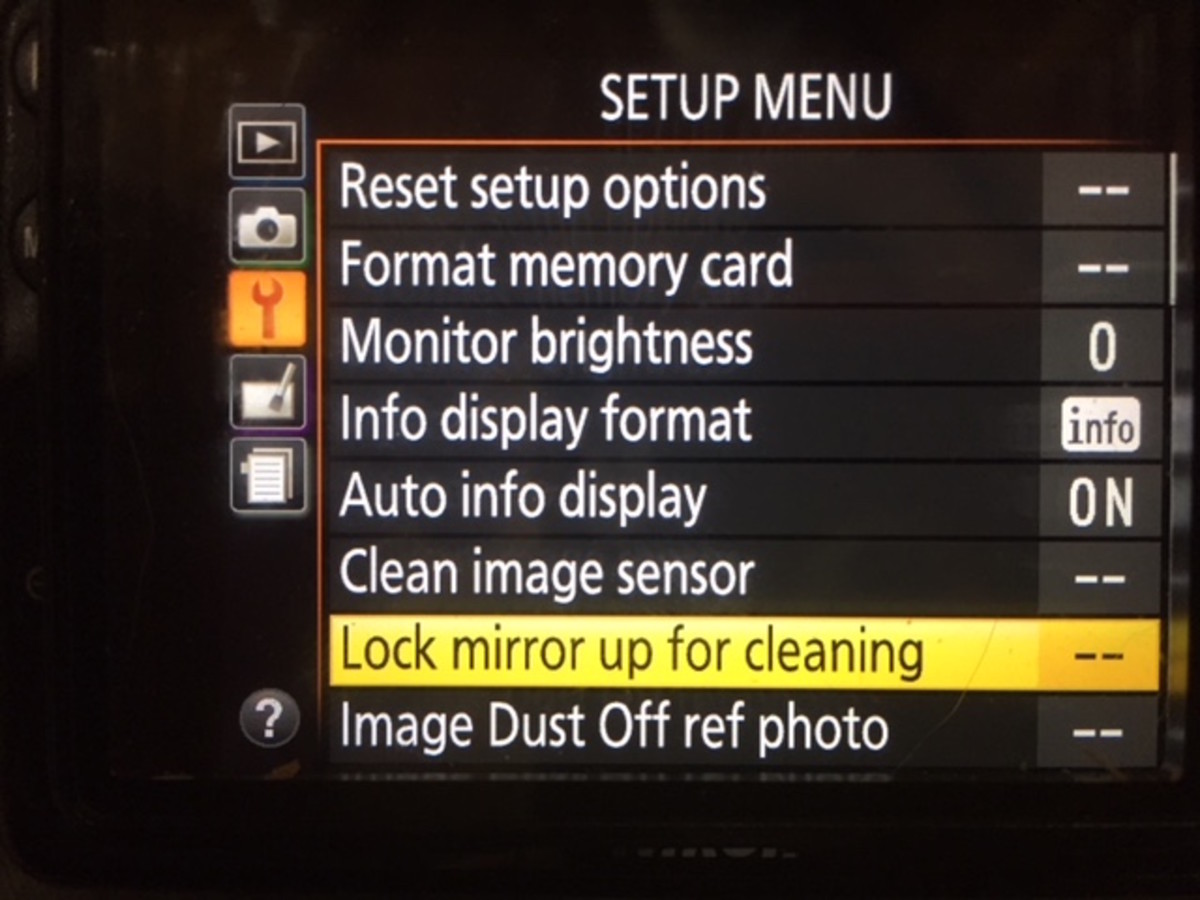
To clean DSLR sensor, you should flip the mirror in the upright position. To do this, go to the camera settings and look for ‘Lock mirror up for cleaning’. Press the shutter release button to lift the mirror. Note that it will remain in this position for as long as your camera is on. So, charge the battery beforehand.

Hold your camera with the sensor directed downwards. Then use a filtered air blower to blast air into the body. Approximately 10-20 squeezes are required to remove dust from a sensor. Of course, more severe debris and smears will remain, so a wet clean is a must.
We do not recommend removing dust using canned air blowers. They emit air at high pressure, so you can damage your camera sensor.

Check if a sensor is clean by using a sensor loupe. This is a magnifying glass that outputs light sufficient for meticulous examination. If the result does not satisfy you, repeat the procedure or use the method described below.

The first step of the camera sensor cleaning process is to prepare all the needed things. Nowadays there are many cleaning swabs on the market but you need to choose the one designed for your sensor size. Note that swabs are usually 24mm or 16mm large, so you can use them to remove spots from both FX and DX sensors. You also need to purchase high-quality cleaning solution, a flashlight and sensor loupe to evaluate the result.
There are many camera sensor cleaning kits and they usually include all items needed for accurate cleaning. I recommend using Altura Photo Professional and UES APSC-16.

Unwrap a sensor swab. Then drip several drops of fluid on both sides of a swab. Make sure to study all instructions attentively.
Do not start the cleaning process at once and wait until the swab absorbs liquid. Then, lift the swab over the bottle with the solution to get rid of excess liquid.

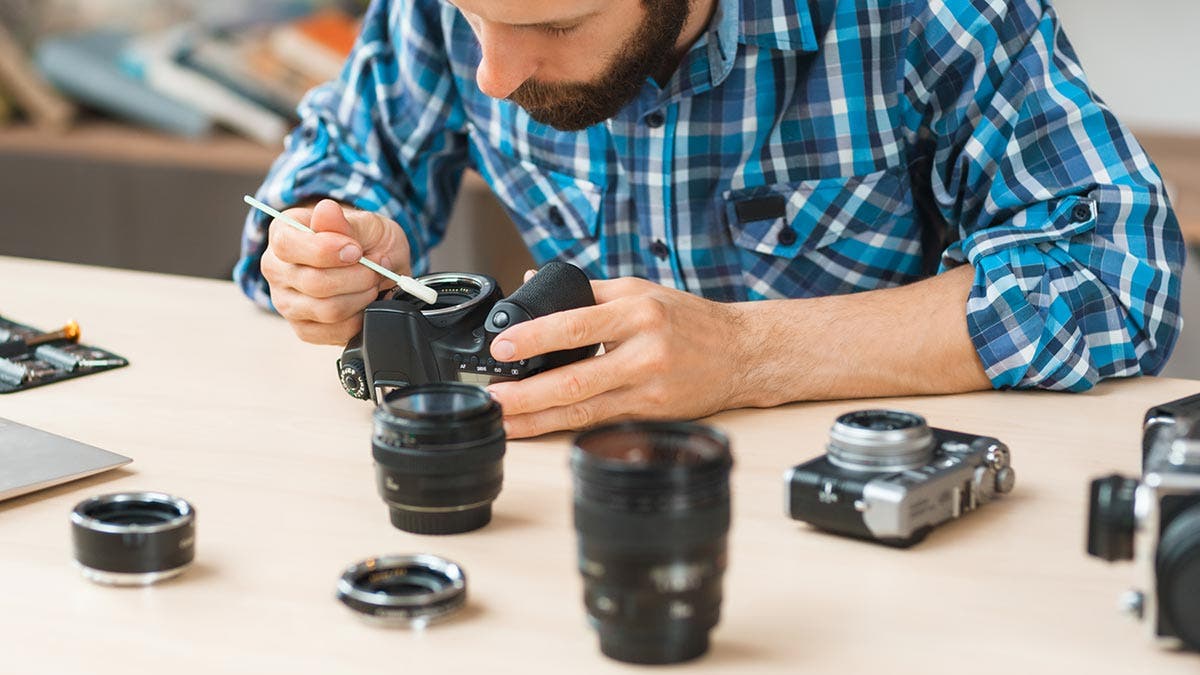
Move a swab carefully through the mount, holding it in a horizontal position. Then make it parallel with the sensor sides. Wipe across the sensor to remove debris. If one wipe is not enough, turn it 180 degrees to use the clean side and repeat the procedure in the same direction. Use a sensor loupe to check whether the sensor is clean now.
The majority of modern DSLR cameras can automatically return the mirror to its initial position (over the sensor) when you turn them off. You can attach the lens to a camera body.
Now you know how to clean a camera sensor. Make sure to take a test photo. Use f/22 aperture to get an out-of-focus image. Upload a photo to your PC and open it in Photoshop or any other program. Zoom in the image and determine how well you’ve coped with the task.
Dust particles make images you take less beautiful. They are usually accumulated on the edges, so you can crop images to get rid of them without resorting to manual cleaning. Professional photographers regularly clean their camera sensors to get only crisp and clean images.
A camera with a self-cleaning sensor is a good investment, as you don’t need to clean a sensor very often. However, you cannot be sure that it is absolutely dust-free, so you may need to perform manual cleaning. Some photographers order professional cleaning services. However, not everybody can offer such assistance.
Even a single touch can leave a smudge or fingerprint on a sensor surface. However, nowadays many manufacturers cover a camera sensor with a thin layer of IR and or anti-aliasing filter that serve as additional protection. It is really great, as these filters are relatively cheap and easy to replace. When it comes to removing greasy smudge, the process gets really challenging. Dust particles are easier to remove. Be patient, as very often you need to repeat the cleaning procedure to get a perfect result.