When working on social media content recently, I discovered that I was no longer able to achieve the right level of engagement using only static photos. Besides, it took me a lot of time and effort to create full-length videos for every post. I wanted to create small but attention-grabbing videos that would allow me to boost engagement without publishing long videos.
This is why I decided to find the best cinemagraph maker and worked together with other members of the FixThePhoto team to discover the programs designed to create engaging loop animations in a style consistent with a client’s brand. These videos should be easy to post on Instagram and Facebook or even send in email newsletters.
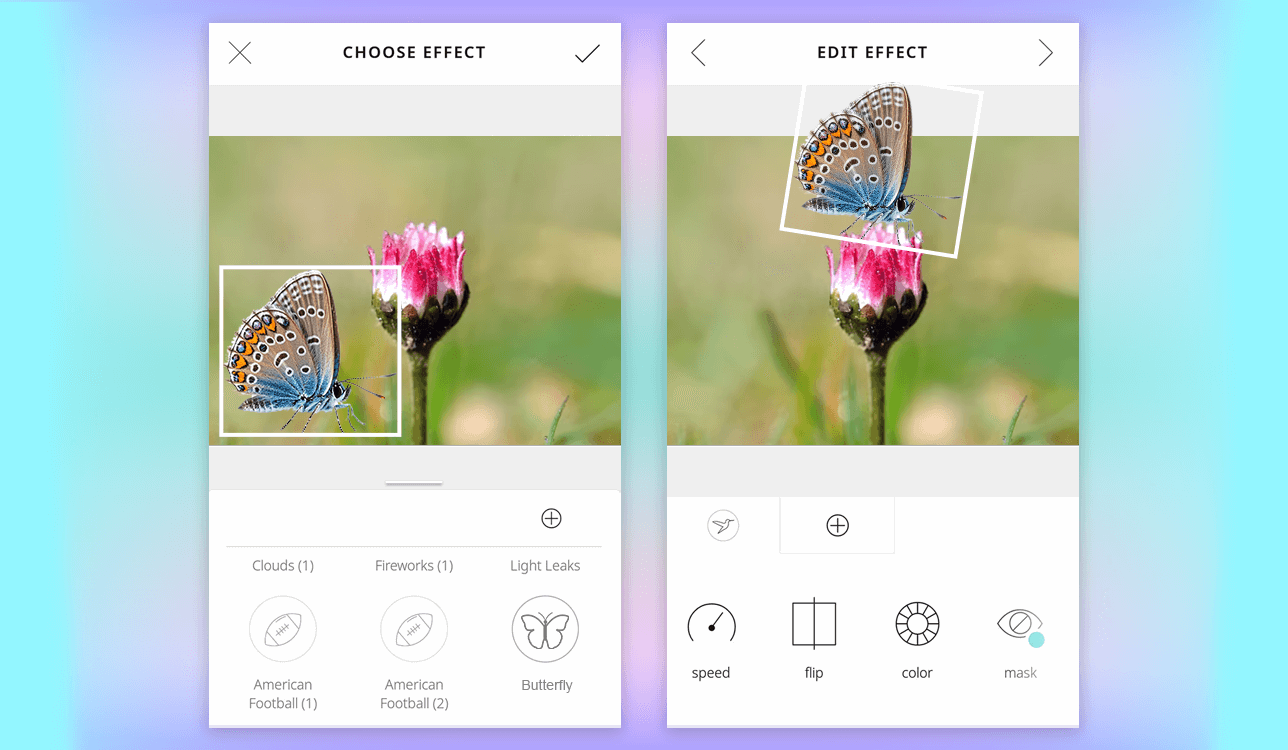
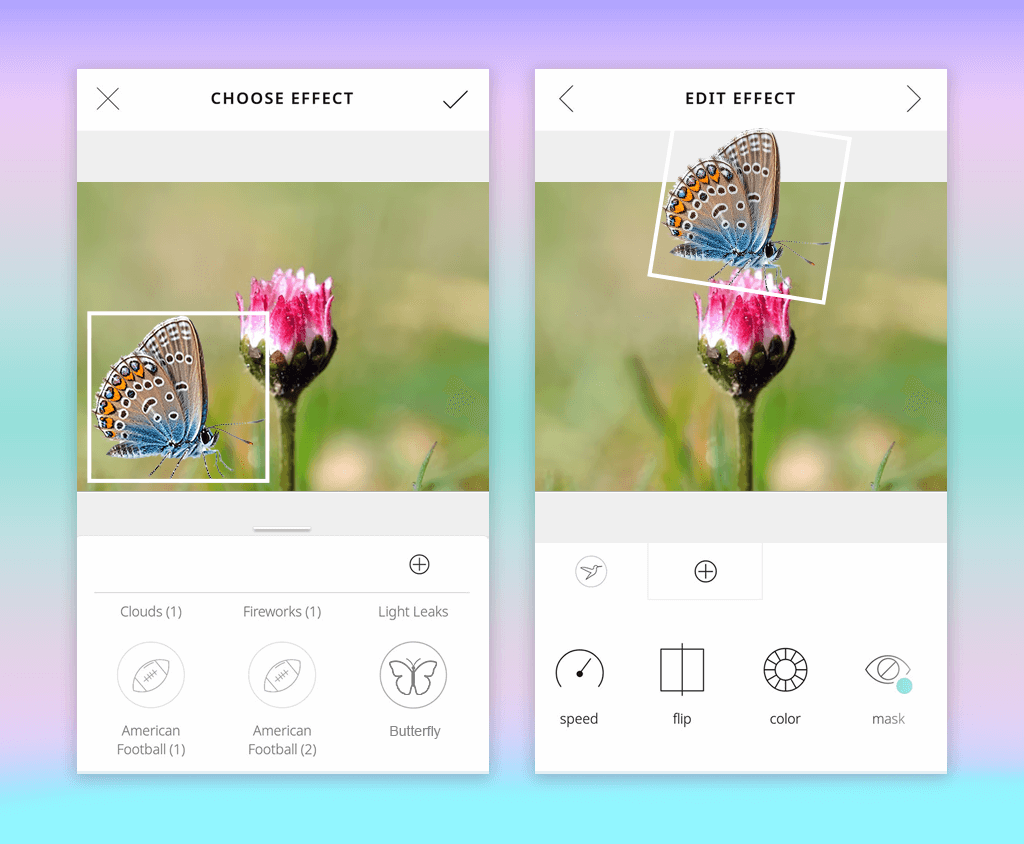
Cinemagraph makers are programs that allow you to animate certain parts of your picture or a video clip. The rest of the frame looks like a still image. The most reliable solutions come with high-accuracy masking tools, allow users to configure loop settings, and have multiple export options, enabling users to save videos in various formats without quality loss. Some programs also have collections of templates and motion presets, allowing users to expedite their workflow.
When I started to create content for social media campaigns, I used stills or short videos. However, soon enough, I noticed the shortcomings of this approach. Still photos failed to stand out in a feed, while full-length videos were challenging to create and weren’t worthy of all the effort when I needed to implement basic ideas.
This is when I decided to discover the best way to make a cinemagraph. Such looped animations are perfect for grabbing a viewer’s attention. I was immediately enticed when I saw them in my feed. I started to post them regularly and noticed that they generated more engagement than other posts I published.
I created cinemagraphs to advertise skincare products and other items. They helped me leave the model’s hair moving or capture the motion of a droplet sliding down a bottle. When creating content for travel blogs, I used a cinemagraph of a flickering campfire or waves. This format is also perfect for email marketing. You can create small, looped videos in a GIF format to achieve a higher CRT without increasing load time.
Nonetheless, cinemagraphs are hardly suitable for projects that require audio or narration. They won’t do well on YouTube, as users visit this platform to watch videos. However, they are perfect for Instagram stories, product teasers, and banner ads. They will allow you to keep your audience engaged.

I have been using Adobe Premiere Pro for years to edit videos and photos. This is why I decided to use it to create cinemagraphs, as the demand for looped videos increased significantly. After the recent update, it became even easier to use it to create cinemagraphs using the Generative Extend and Dynamic Waveforms tools. With them, I was able to achieve the right timing and adjust the settings of my loops.
As I needed to create a cinemagraph for a perfume brand, I captured a short video of smoke curling off a bottle. With the help of the tools available in the Editing workspace, I used a still frame as a background and created a mask over the smoke to keep it moving. There was no noticeable jump in the looped video. When saving the result, I was able to adjust export settings to make the compressed GIF file look sharp. It stood out for its high quality when displayed in an Instagram carousel.
However, it might not be the best idea to buy Premiere if you need to create only cinemagraphs and have never used this software. It’s too advanced to use it just for creating small animated loops. Nonetheless, if you already know how to use this software or want to adjust advanced settings when performing color grading, creating masks, or choosing export options, Premiere is one of the best apps to make cinemagraph you can ever find.
Price: from $22.99 per month, free trial is available.

Cinemagraph Pro is one of the most useful tools I use regularly, as it was created for making cinemagraphs. What makes it different from regular editors is that it does not have any unnecessary tools and was built solely for animating a still frame. I bought it as a part of a software bundle a long time ago and started using it when a client asked me to create a subtle motion effect.
When working on that project, I captured a video of a coffee steam rising from a mug. I used a tripod to achieve better stabilization. Besides, I utilized a clean background and natural light. There was no timeline, so I did not have to work with keyframes or combine layers. I just needed to draw over the motion area, adjust playback, and enjoy the result.
While I like the simple functionality of this software, it has its shortcomings. You need to shoot a video from a tripod, as you won’t be able to make any advanced edits. Cinemagraph is hardly suitable for creating complex animations. However, if you need to quickly create a loopable animation without any pro-level tools, this program will be the perfect solution for your needs.
Price: from $8.33 per month.

My colleague Kate recommended I take a look at Graphitii. As she often creates Instagram and TikTok content, she uses this program daily. I decided to test this web-based service as well. I like the fact that it allows users to create cinemagraphs from any browser, as I did not have to install it on my device.
I created a looped animation of a candle flame with the help of this program. I needed it for my holiday campaign. After uploading my footage, I found a template and created a mask over the flame. The process was quite streamlined. You just need to paint over the part of your video that you want to keep animated. I was pleased with the fact that this GIF maker had tools for adding text or filters. It helped me add a call to action to my file.
This cinemagraph maker will come in handy for marketers or social media managers. It does not allow users to access advanced video control tools, but enables them to achieve the desired results in no time. Unfortunately, it does not allow users to perform deep editing or create an accurate mask. Besides, I noticed some lag when trying to edit longer clips. However, Graphitii is an excellent, lightweight program for creating cinemagraphs on the go.
Price: from $47 one-time payment.

I discovered ClipGraph when reading a Reddit thread where several people recommended it as the perfect offline cinemagraph maker. I decided to test it when shooting an Instagram story for one of my clients. It required me to apply a slight motion effect. I needed to make water in a fountain flow to create a beautiful product setup. I used my phone to capture a short video, chose a nice still frame, and erased the area where the water was flowing. It helped me create a realistic motion effect.
What I liked the most was how quickly I was able to finalize the process, as it’s not cloud-based. I did not have to deal with any lag. In less than 10 minutes, I created a professional-looking cinemagraph. There was no need to deal with render queues or crashes, as my workflow was not interrupted by any issues.
I also enjoyed the flexibility. I did not have to use templates or libraries. I used footage captured with my phone, but it also allows users to use any files released under the Creative Commons license.
However, ClipGraph does not have filters, text tools, or auto-masking features. Its interface feels a bit outdated. However, if you need to quickly create a cinemagraph for Instagram Reels or background loops for TikTok, it’s exactly what you need.
Price: from $67 one-time payment.

I discovered Lumyer while looking for a suitable app in the App Store. It grabbed my attention due to its high rating and an impressive number of downloads. Even though this picture animation app was not designed specifically as a cinemagraph maker, it can still be used for this purpose. It allows users to apply animated effects to still photos or short videos.
I tested Lumyer when working on a post for our spring campaign. After uploading a portrait photo, I added a looping animation of a cherry blossom. The app has a variety of seasonal and themed effects, making it easier to add sparkles, snowflakes, butterflies, and other elements to photos. The process was quite streamlined and did not take a lot of time. I did not have to perform masking or use a timeline. I just added the animation and exported the file.
Thanks to the simplicity of use, Lumyer is an excellent choice for those who want to create dynamic content but do not need to use a lot of advanced video editing tools. This cinemagraph maker has an extensive collection of filters and does not allow you to control advanced settings. It’s impossible to use its tools to isolate a specific movement from a video. Besides, its effects have an artificial feel, and it degrades a file’s quality when you save it in GIF format.
Price: free version or from $19.99 per month.
I’ve already utilized Zoetropic to make GIFs from product images, so I knew a thing or two about its motion tools. I decided to convert a regular beauty product image into a cinemagraph. I wanted to animate steam in the background by adjusting motion points.
The program has intuitive functionality, as a user just needs to indicate the direction of the movement and use a mask to stabilize the rest of the image. The output did not look overly edited, but it added some depth to a static composition. I was able to achieve a 3D parallax effect. However, it was a bit challenging to apply it to complex images with a lot of detail.
The only shortcoming of this software is its music feature. When I decided to use it, the application became unresponsive, and I had to reinstall it. Despite this issue, I often use Zoetropic when I need to animate product photos without shooting a video. It’s perfect for creating engaging content for social media and achieving an attention-grabbing motion effect.
Price: free version or from $0.99 per month.

Loopsie is a widely used image editing software. I decided to install it to apply fun effects to my product photos and accidentally discovered that it has a cinemagraph feature. I tried applying the same effect to a lifestyle flat lay and animating the steam from a teacup. It allowed me to achieve a subtle, attention-grabbing effect.
I was pleased with the built-in stabilization. There was no need to use a tripod or any complex setup, as the output image had a professional feel. It was challenging at first to mask the areas I wanted to animate, as Loopsie is not exactly known for its precision. However, its interface is not cluttered, making it easy to use.
The app has some notable shortcomings. It makes it challenging to animate hair, small objects, and other fine details. It’s impossible to manually adjust the loop or configure the animation speed. It makes this program rather difficult to use for complex tasks that require higher flexibility.
Price: free version or from $14.99 per month.
When testing these cinemagraph makers, we adopted the most effective approach. I used a photo or a short video that I had previously published on social media, such as a product or lifestyle photo, and used a specific program to create an animated cinemagraph. It helped me understand whether it was possible to use this software to save the existing content in a specific format and whether it produced a high-quality output.
We considered three main aspects: UI usability, the accuracy of in-built tools when it came to masking motion areas, and output quality. When testing some programs, we noticed that the results did not look accurate enough. Besides, there were some perceivable issues with glitter, fire, smoke, and other similar details. In addition, I focused on stabilization, as I often need to shoot a video in a handheld mode.
Some programs allowed me to create perfectly smooth animation without any distracting elements, while others produced an output that required some improvement or had significantly degraded video quality.
As we wanted to thoroughly test and rate each tool, we compared these programs in terms of the output quality and tested the available export options. I wanted to export cinemagraphs in .MP4 and .GIF formats without any noticeable blur, as I needed to use such files in paid campaigns. In addition, I checked whether the programs had overlays and tools for working with text and audio. Such programs helped me streamline my workflow and avoid switching to other software.
Finally, we saved each cinemagraph we created as a draft on Instagram and previewed it with the help of an ad manager to see how they would be seen by a regular user. Some programs stand out for their streamlined functionality, while others have a more limited choice of features. The testing process helped me see which cinemagraph makers had the best value for the money.


