Backlit Portrait Tips
When you purchase through affiliate links on our site, we may earn a commission. Here’s how it works.

Backlighting Photography Definition

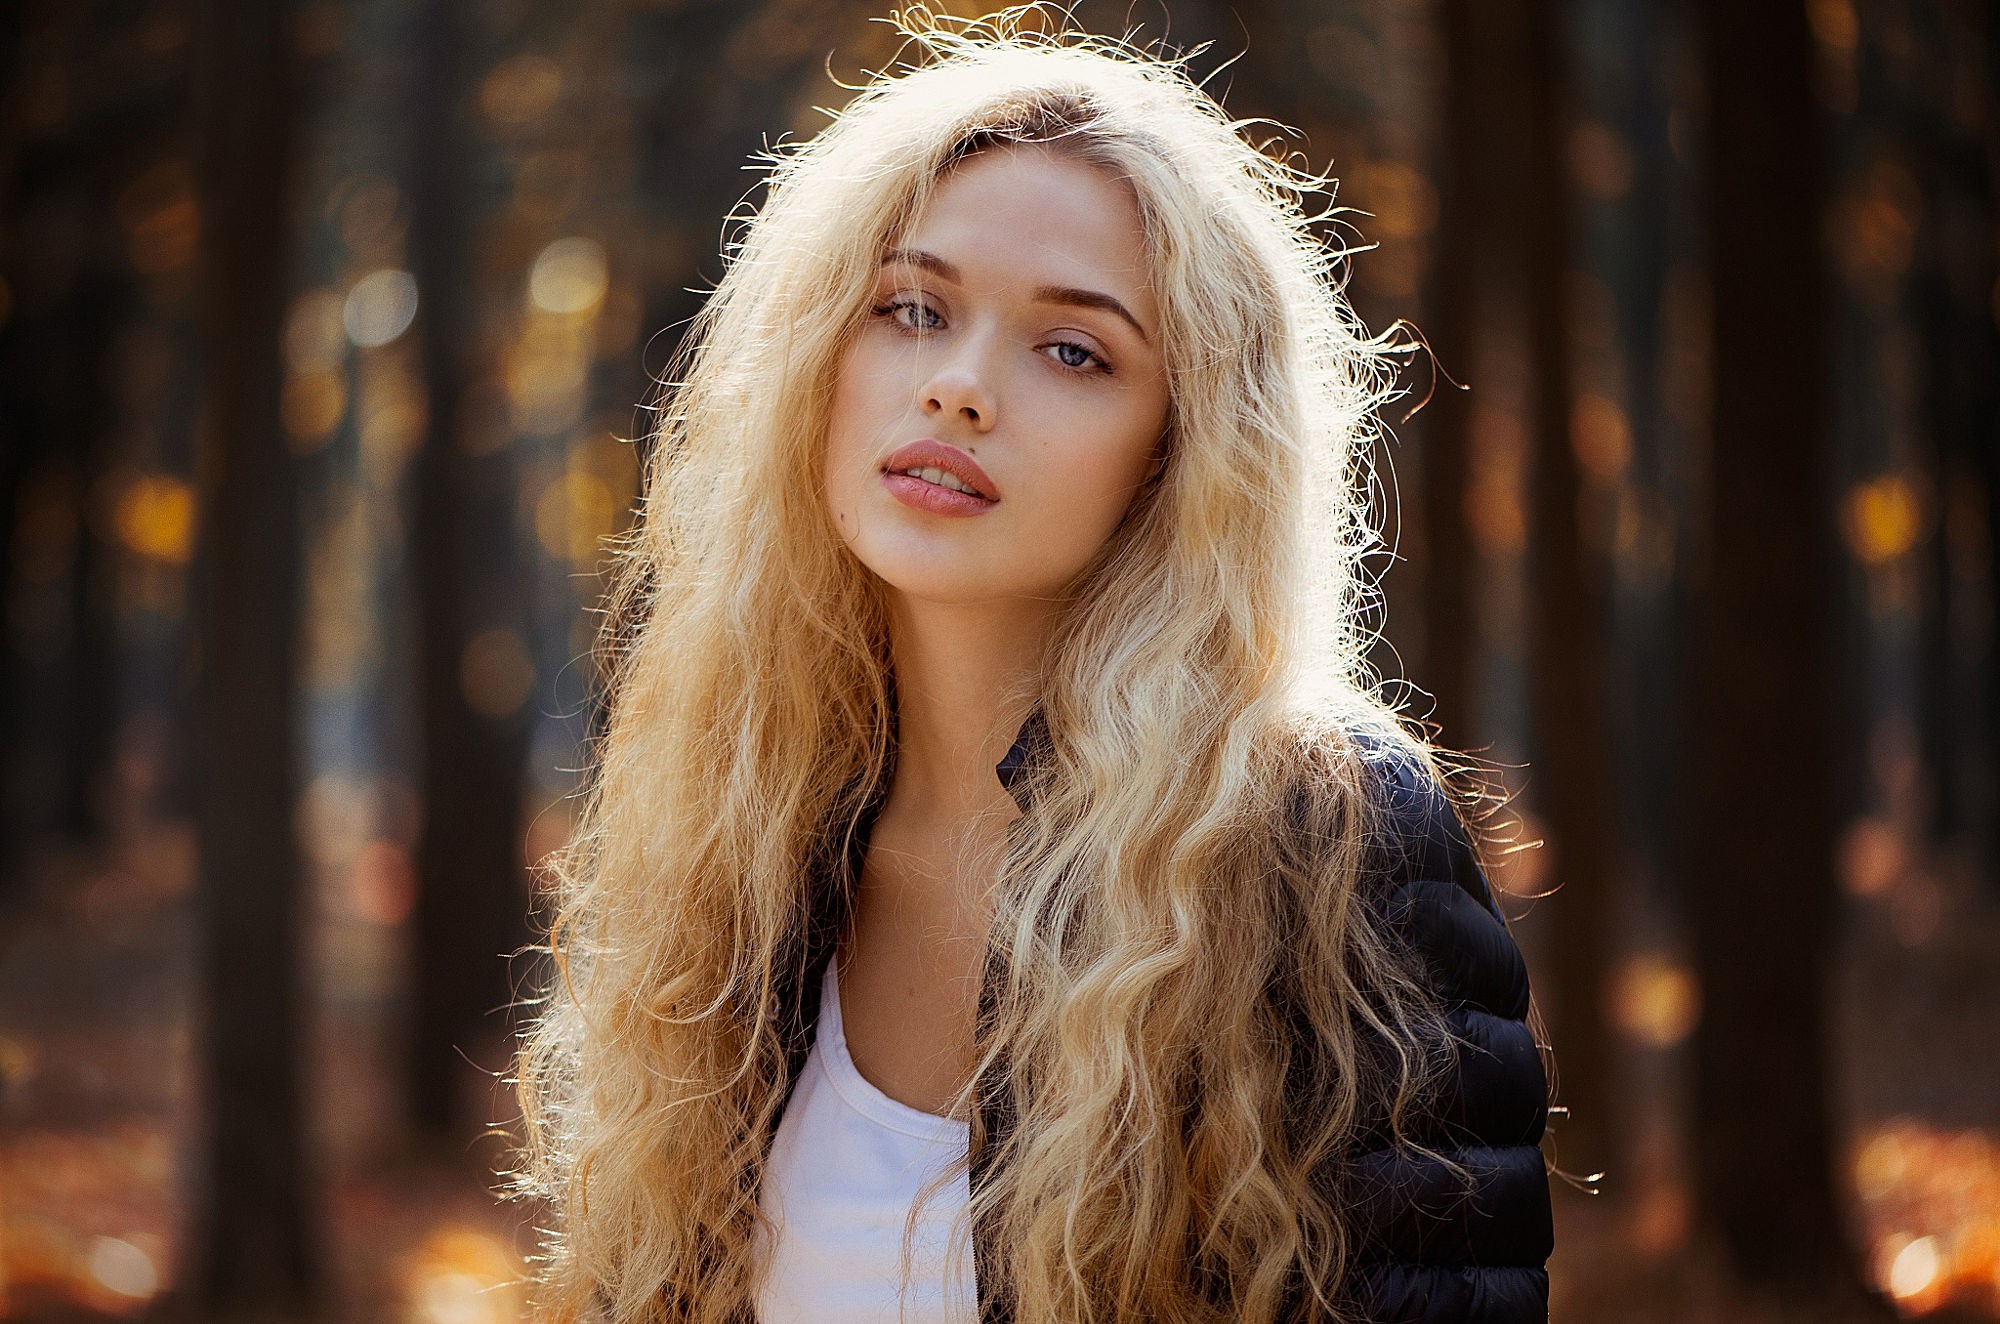
When I use the term backlighting photography, I’m referring to any photo genre where the object is placed in front of the light source, so it is lit from behind. Typically, portrait photographers choose this shooting style when performing photo sessions in warm seasons, when the sun is too bright and will inevitably cause deep shadows on the model’s face. Another reason to opt for this technique is to enable your clients to comfortably pose, without the constant need to squint because of the bright light.
Professional Lightroom Brushes for Editing Backlit Portraits
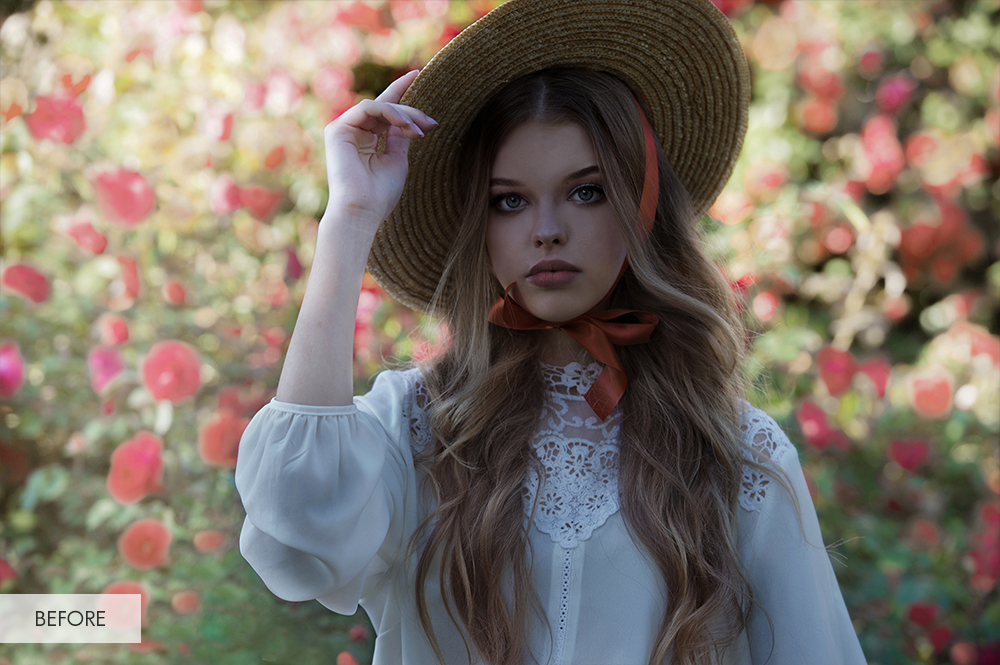
In most cases, photographers decide on using flash behind subject to achieve the desired effects. Still, you may save on additional equipment and use natural light. It is done in such a way that the light reaches the lens and results in a beautiful glow around the model. Using this method of taking portraits, you can interestingly emphasize the facial features, highlight the posture, and make the model more noticeable against the background.

10 Basic Backlighting Photography Tips
The most pleasant thing about outdoor backlighting portrait photography is that you don’t have to spend a dime on the lighting equipment. The natural light is absolutely free. Besides, you can conveniently pose your client and he/she won’t squint facing the light. Editing backlit photos, you won’t need to fix deep shadows on the model’s face. Keep on reading to learn some effective tips that will make the process even more enjoyable.
1. Choose Proper Time of the Day
You can’t backlight all the subjects so that they will look naturally beautiful. No matter what photography backlight equipment you have, it is more important to choose a background which will be suitable for different lighting conditions, and can favorably accentuate your model’s grace. Another thing to keep in mind is that a more powerful light source will give more intense backlight.

If you happen to take backlit images at noon in natural light, the effect may be somehow different. Mainly, with the sun up high in the sky, only the upper part of your model will be properly lit. The rest of the body (the back part) receives very little light.
To get well-balanced backlit pictures, you should organize the photo session early in the morning or late in the afternoon with soft, natural light. Being at a lower angle, the sun will evenly light your model. Having such an intensive backlight, you may pose your subject in a different way depending on the mood you want to achieve in the photo.

Many specialists decide to combine a studio lighting setup with natural light. This is a very clever decision, especially if you have to work at noon, when the sun is too strong and blinding. Thus, you use the fill light (the artificial one) to brighten the model and some dark parts of the frame (mainly the foreground). Opt for this technique if the light source is located right in front of the lens.
2. Set Camera Settings
Aperture – from f/2.8 to f/5.6
Shutter speed – from 1/100 to 1/640 seconds
ISO – 100
Don’t use Autofocus
Photographers typically use the manual mode if the backlight is too strong. A backlit photo tends to be overexposed, which is necessary for the model not to look absolutely dark, while the horizon part is perfectly lit. You may even take several backlit images with the auto settings to understand where to start experimenting. Besides, you can opt for the second way – use the spot meter to measure the light. As the camera can measure only a small part of a shot, just focus on the model and minimize underexposure.
One of the most frequent problems you may face while taking a beautiful backlit portrait is the focus control. Since most cameras aren’t made to shoot in the strong light, the autofocus may simply refuse to work. Looking in the viewfinder, you won’t be able to clearly see your subject or anything else at all.

In order not to take awful photos, you have to keep the ISO at the lowest value possible. Thus, you’ll get enough light to take a perfect backlit portrait. Actually, all the sample images have been taken with ISO 100.
3. Adjust Light


Sometimes you have to shoot in strong lighting conditions, which results in many sun flares in the images. Flares typically appear because of too bright and harsh lighting that falls on the matrix. In some cases, retouchers intentionally add the flare effect to the photos during post-production, but generally, this is a problem. If you have flares on the backlit photos, your model will be almost invisible, while the shot itself will resemble amateurish work of poor quality. That’s why you should filter the sunlight using umbrellas or a lens hood. Moreover, you can opt for a shadowy location with many trees to eliminate glares and block superfluous light that reaches the lens.
 |
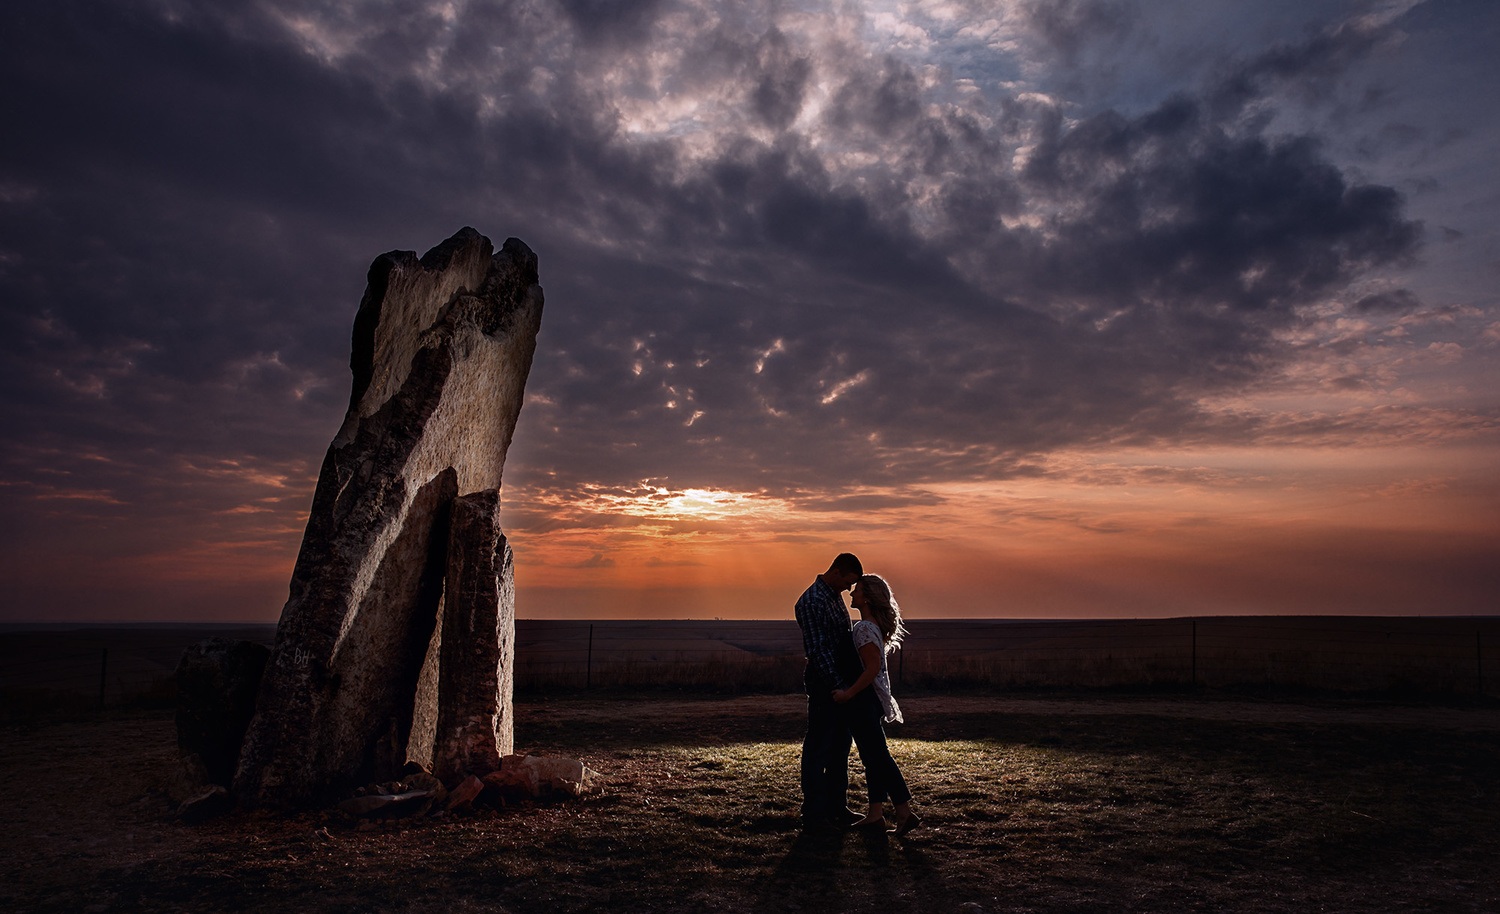
58MM Tulip Flower Lens Hood |
This is rather a budgetary way to eliminate possible glares in the image. Both amateurs and professionals opt for lens hoods if they have to shoot in strong lighting but want to get clear backlit portraits with minimum money spent. |
Check PRICE → |
 |
Westcott 45-Inch Optical White Satin with Removable Black Cover Umbrella |
Use this umbrella to soften and evenly dispel the light onto the model to get a naturally backlit portrait. |
Check PRICE → |
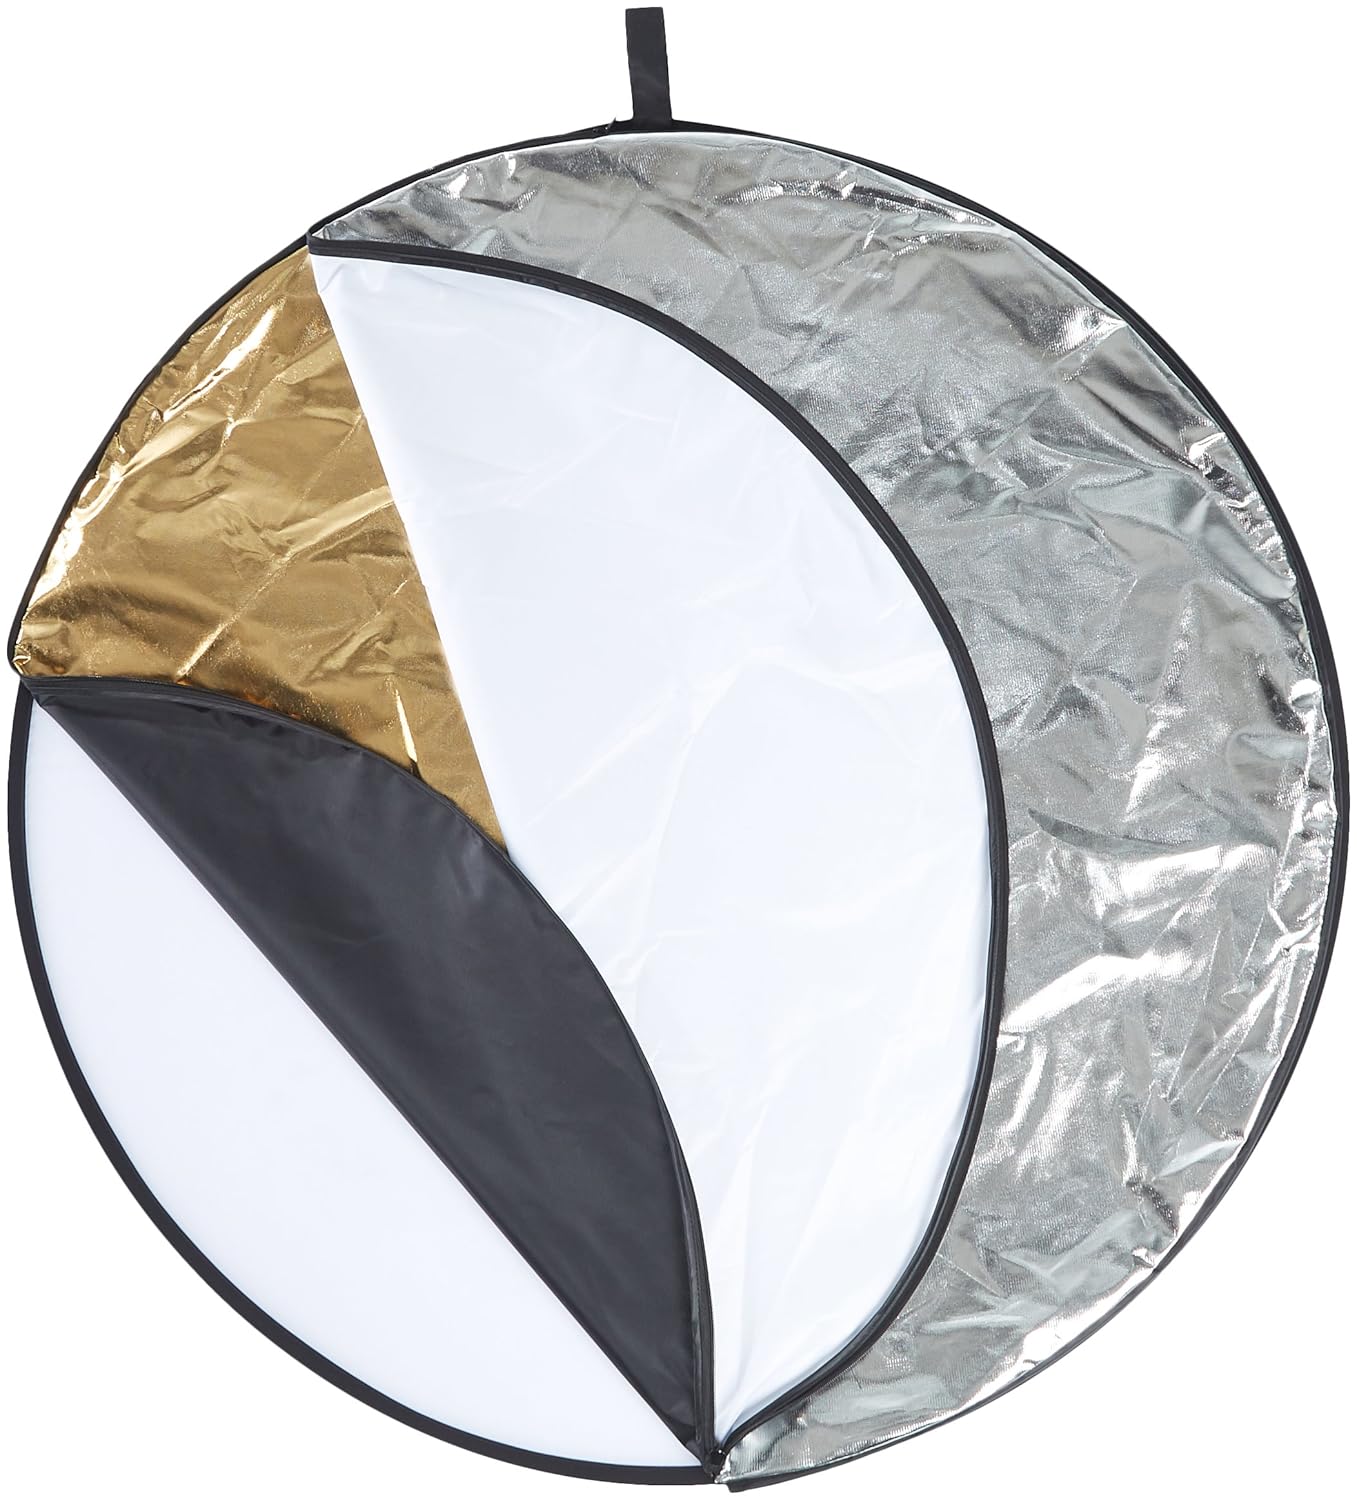 |
AmazonBasics 43-Inch 5-1 Reflector |
This is an indispensable tool of backlit silhouette photography. Whether you work in the studio or shoot outside, such a reflector will help to brighten shadowy spots. |
Check PRICE → |
Don’t forget about all sorts of reflectors. This photography equipment will make spots with deep shadows brighter. Hold or attach it in front of the light source and adjust the angle until you get the necessary amount of light reflected towards the shadowed area. Thus, you can perfectly light your model.
4. Use Different Angles

You shouldn’t stay in one place, taking dozens of identical shots. Feel free to change your position and see how the light affects the frame. Thus, you will understand what angle to choose to favorably present your model, highlighting his/her strong points. Many shooters sometimes feel confused when they have to take backlit pictures. Actually, it isn’t a problem if you have figured out how the light works and are ready to experiment.
5. Use Fill Flash


Though backlit photographers commonly use reflectors to balance the light, there is another piece of photography equipment for beginners that also helps a lot. It is called the fill flash. When you have a person posing against a powerful light source, his/her face may look darker than all other elements of the composition. Place an external flash so it won’t directly face the model and so there will be no flat lighting in the photo. You can combine a fill flash with sunlight to get a more distinct balance between the person and the background. Anyway, if you are determined to compile the best photography lighting kits that provide more flexibility while shooting, it is highly recommended to buy a flash.
6. Learn How the Spot Meter Works
Using a spot meter, you can accurately focus the camera on a certain area regardless of how bright the rest of the frame is and define the best exposure. It helps read the exposure of the entire photo and its central parts separately. Beginners especially like this method, as they can learn the basic exposure settings in order to correctly expose the subject and improve his/her features in situations when the background is either too dark or bright, or occupies 80 percent of the frame.
- Read about how portrait photographers take backlit photos with gentle sunshine and play with shadows. Find out what portrait photography poses to offer your models when you shoot outdoors.
7. Adjust the White Balance Correctly
There is hardly a photographer who has never faced problems related to improper white balance. With backlit photography everything is even more complicated, so don’t neglect this camera setting. If you really want to provide your clients with natural and appealing images, you have to figure out how to correctly adjust the white balance and in which way it influences the coloring of a picture. Therefore, you will deliver natural-looking photos even if you happen to work in harsh natural light or strong backlight. If the white balance is right, the colors won’t be washed out.
8. Avoid Wide Horizon Stripe behind the Model
People tend to focus on the brightest part of the picture. Would you like all the attention to be paid to the model? Or the sky? No matter how beautiful the horizon is, you have to concentrate on your subject. If there is a wide horizon stripe behind your model, it will turn into a large, ugly and distracting element of the frame. Keep this in mind!
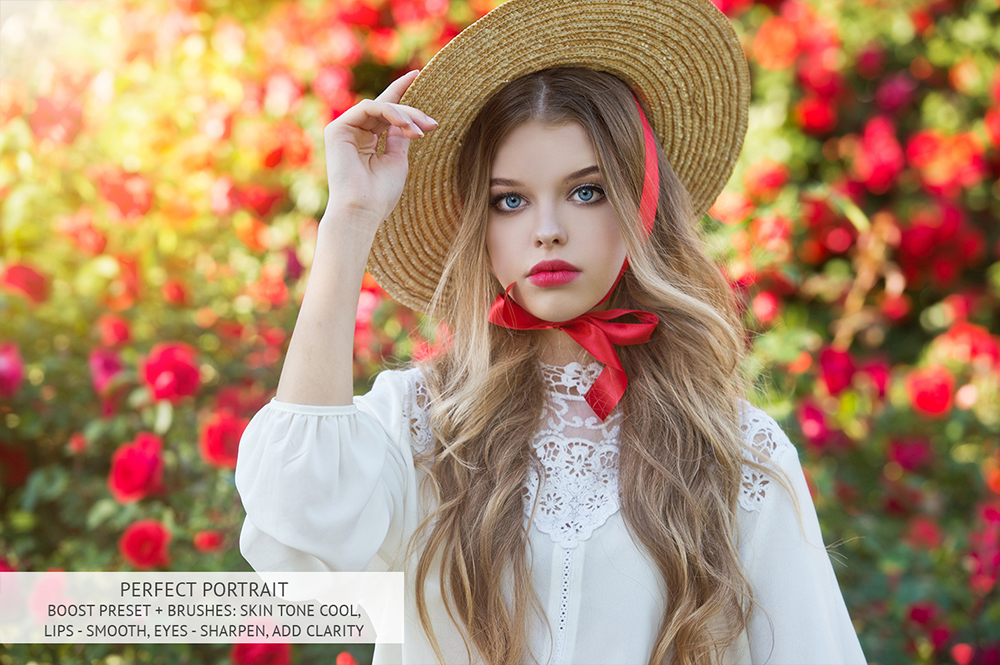
9. Hide the Light Source

If you want to backlight portrait properly, but lack some practical skills, it will be great to find a location with a partially or even totally hidden light source. Check that you can clearly see your model in the frame. It is necessary to tone down the light that appears in the scene. There may be a house, clouds, trees, or anything else to hide the sun. The light you get will be very soft and pleasant to work with.
10. Choose a Beautiful Location
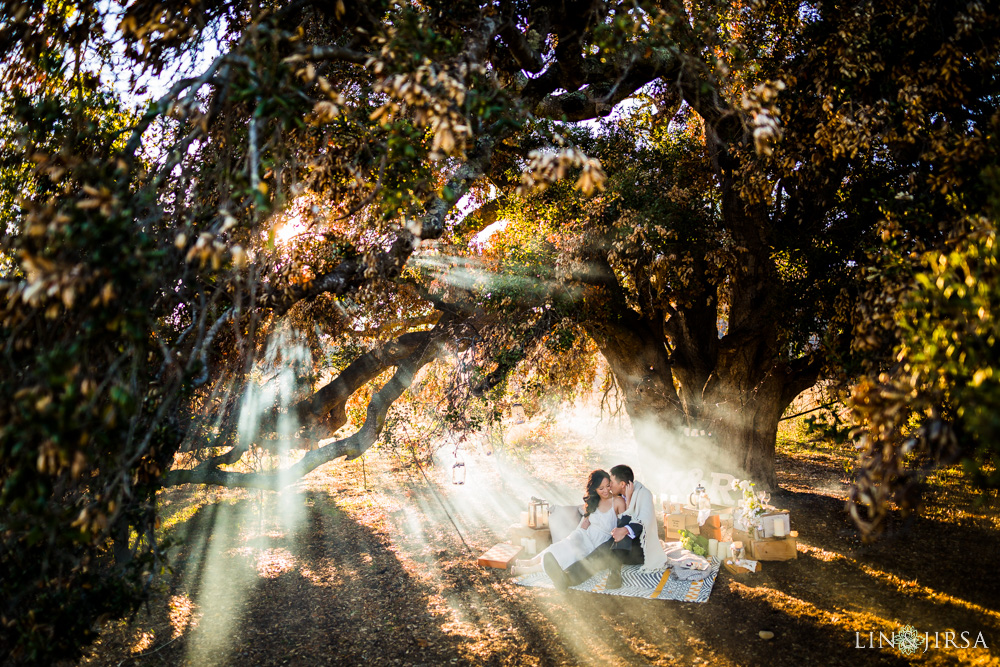
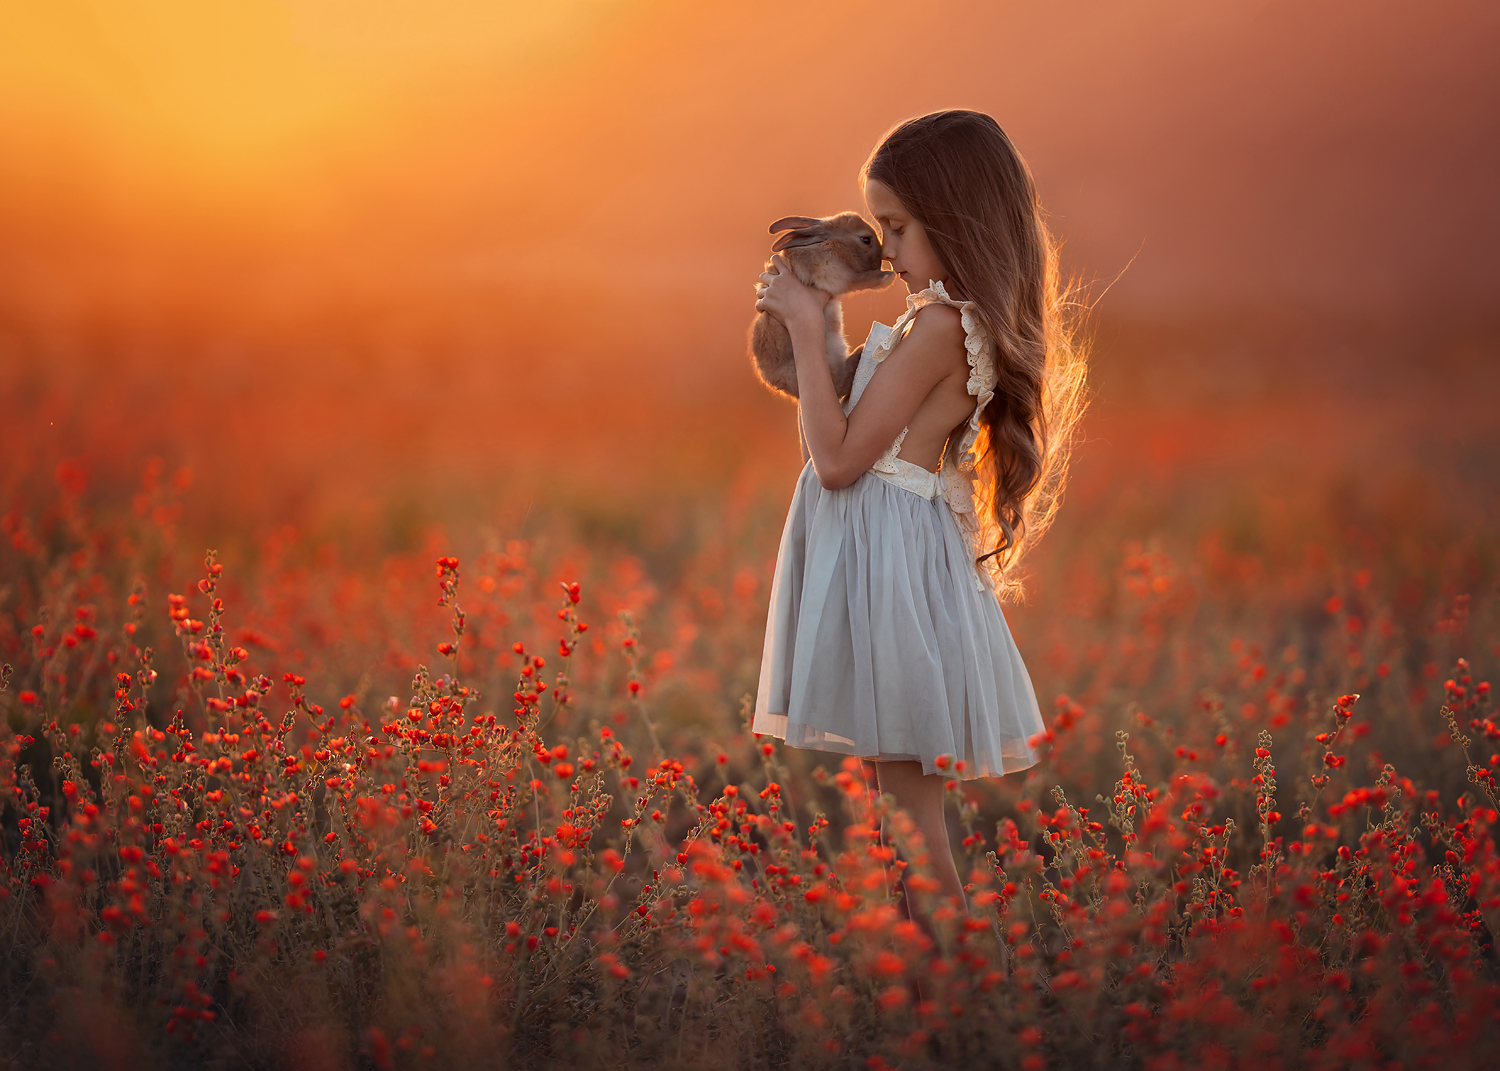
Choosing the place to take a backlit portrait requires the utmost attention and accuracy. As you wish to photograph the person posing against the sun, find a suitable location that allows this. Personally, I like places with lots of greenery such as dense grass or tall trees, which perfectly catch the light and have minimum distractions. In such a way, you will keep the light that reaches the lens soft and get admirable bokeh in the images. Another advantage is the hazy light, which gently enhances the model’s skin. Many shooters enjoy photographing people full-length, having trees and grass in the composition. It is also a great photography backlight trick to focus all the attention on the person, not the sky behind her/him.
BONUS TIP. Use Hoodman Loupe
You can’t always be accurate when evaluating the focus, composition, and exposure. But Hoodman Loupe absolutely can. That’s why it’s a must-have if you want to learn how to take photos with sun behind the subject and get natural colors.
5 FREEBIES to Help in Editing Backlit Photos in Lightroom and Photoshop
Editing photos is as important as taking them. Everything comes with experience, but you have to spend some time mastering your image editing skills. Even if you managed to take almost an ideal photo, enhance it a little bit in Lightroom to achieve a really top-notch result.
- Receive professional portrait photo editing services from about $5 per photo.
FREE Portrait LR Preset "Sunshine"


This preset helps adjust all parameters that are responsible for bright colors, such as clarity, shadows, blacks, vibrancy, and a red/yellow tone. Tweaking almost all colors, it is super useful for backlit photography.
FREE Glow LR Preset "Gentle Light"


Want to regulate highlights and add some details to the shadows? Wish to raise clarity? Choose this free Lightroom preset to cope with such a task on your outdoor photos.
FREE PS Overlay "Warm Haze"


A beautiful bokeh effect combined with gentle, warm light will turn any backlit photo into a real masterpiece. When applied, this preset imparts a gentle glow and a cozy atmosphere to the photo, enhancing its overall warmth and giving it a dreamy, romantic feel.
FREE PS Overlay "Light Bokeh"


Initially designed for wedding and baby shots, this overlay can be successfully applied to a backlit portrait. It adds tiny light bokeh to the picture, giving it a fairylike mood.
FREE PS Overlay "Sunrise"


If you aren’t an early bird, but wish to have photos with beautiful morning light, you can simply use this free Photoshop overlay. The picture will acquire realistic orange and yellow tones.
All in all, backlighting photography is a simple technique, though it requires some theoretical and practical preparation. Get ready to experiment, use different photography backlight equipment, follow the above-mentioned tips, and you will surely get awesome results.


