If you’re looking for the easiest way to create videos in MiniTool MovieMaker free 2.3, keep on reading.
MiniTool MovieMaker is a free video editing software that comes in handy when you need to create stunning video footage. The program suits both novices and semi-pros who need to make their videos look more professional.
MiniTool offers basic trimming and splitting tools, as well as allows putting audio or text over your videos. Thanks to its user-friendly interface, you will easily cope with every tool.
If you are stuck, make sure to use the Manual in the Help menu in the upper corner of the main window. Besides, the program offers time-saving movie templates.
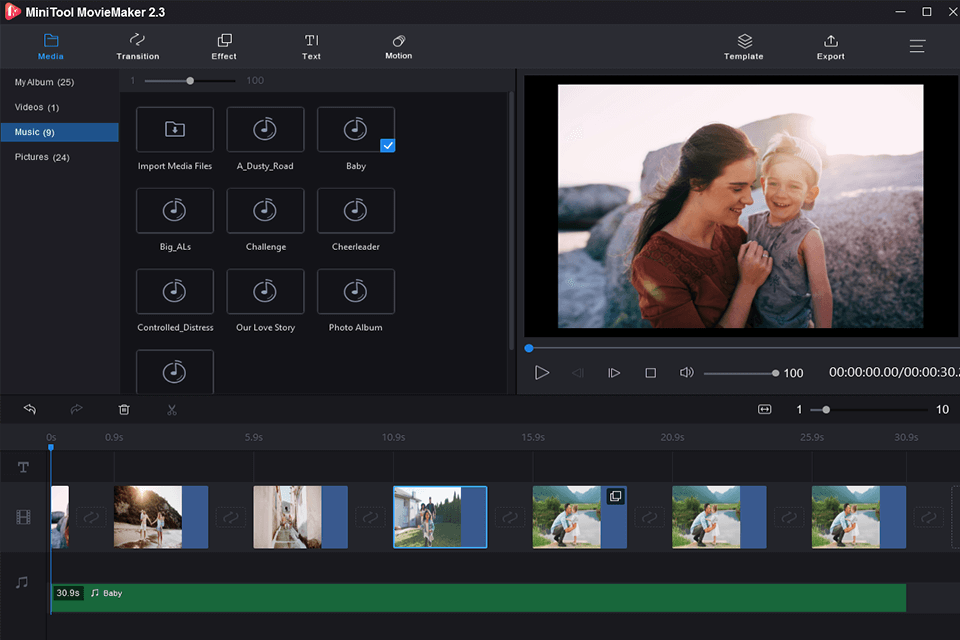
To process your video, you need to import a source file first. Here is a guide:
In some cases, you might get notified that Movie Maker is preparing your files. The program creates video previews to enhance playback. If the notification comes when you are adding files, you need to wait until the previews are generated before editing the videos. If you upload several large-size videos, this process might take some time.
Windows Movie Maker allows making movies by adding pictures and videos from Photo Galleries, DVDs, digital cameras or mobile devices.

To delete some parts of your video, you can split the footage and remove the unnecessary areas.
Follow this step-by-step instruction:
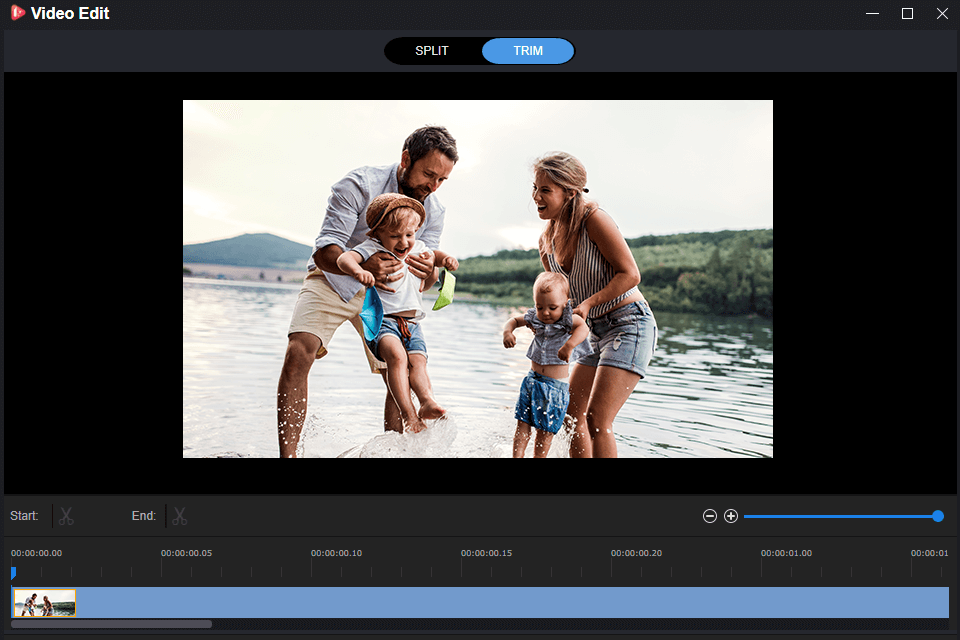
Sometimes we need to delete the opening and final parts of a video. To do that, use the trimming option. I’ll tell you how to proceed:
Besides, you can trim the video by moving the start and end points across the timeline.
The majority of video editing programs, such as Windows Movie Maker, offer special tools that ensure smooth transitions between video clips.
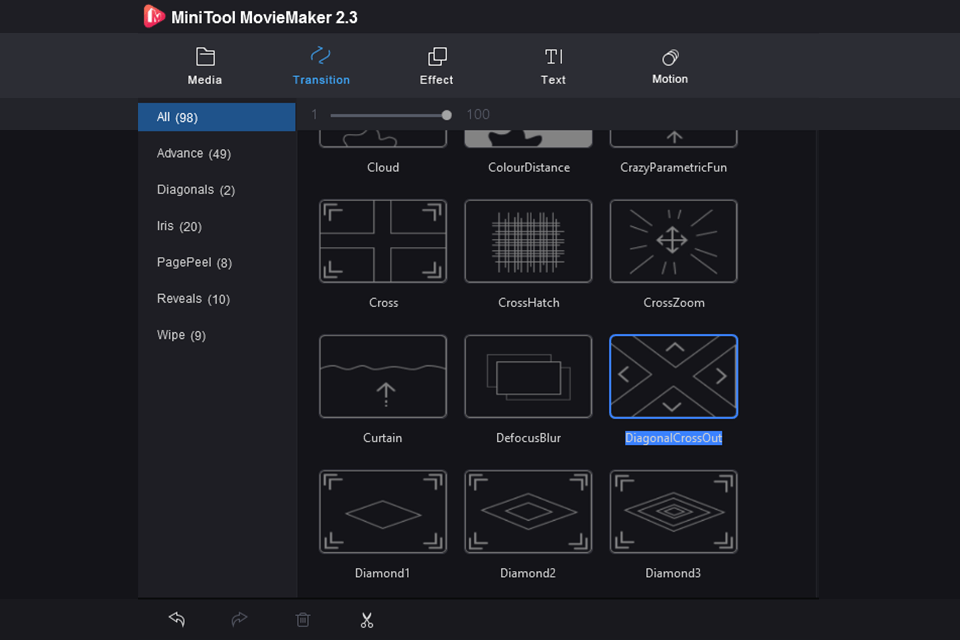
You can choose different transition effects from Movie Maker, such as Diagonals, Dissolves, Patterns and Shapes, Reveals, Shatters, etc.
Follow these guidelines to learn how to use the transitions:
Before choosing the necessary effect, you can preview it by hovering your pointer over the desired option. Movie Maker 2012 automatically applies the effect to the selected area between the start and end points. The duration can vary from a quarter of a second to 2 seconds.
You must have seen the Pan and Zoom library while applying transitions. The so-called Ken Burns effects make a static picture look as if it were a motion one. By applying these effects, you can create the illusion of motion.
Let’s find out how to use them:
Windows Movie Maker offers various visual styles to enhance your works.
You don’t need to worry if you’ve mistakenly added transitions or effects to your video, as you can easily delete them.
Delete the transition: Choose any part of the video, then press on the Animations tab and choose the No transition option at the far left end of the transition toolbar.
Delete visual effects: Choose a clip, press on the Visual Effects tab, go to the top of the list, and choose No effect.
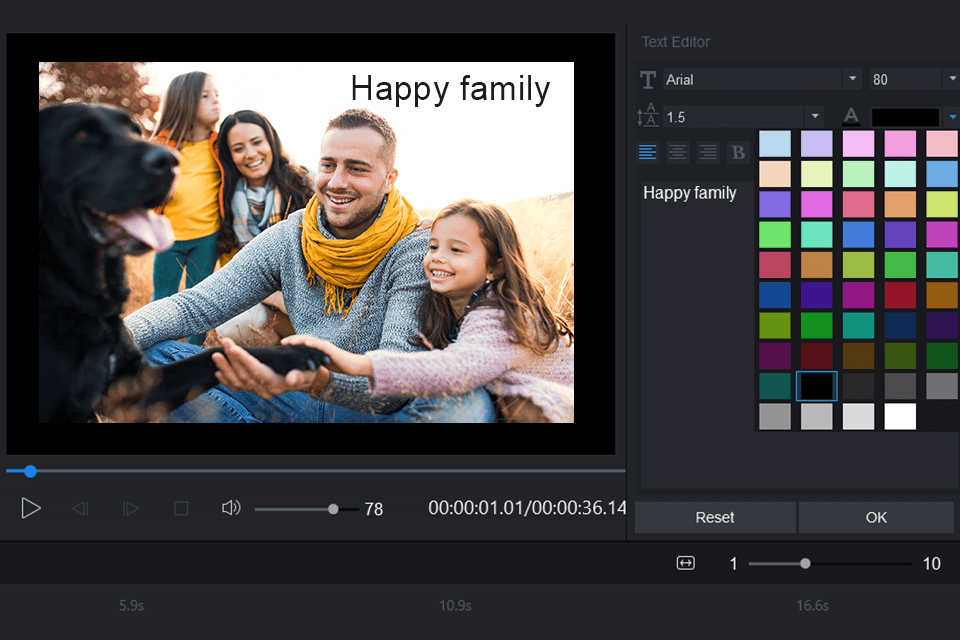
The program lets you place text or credits to make your video more engaging and add the names of the cast and crew members. I will show you how to create videos in MiniTool MovieMaker free 2.3 and add captions to them.
If you want to indicate the movie title or add opening credits, place them to the beginning of the selected fragment. Besides, you can add other credits at the end of the clip to list stars, soundtracks, crew members and locations.
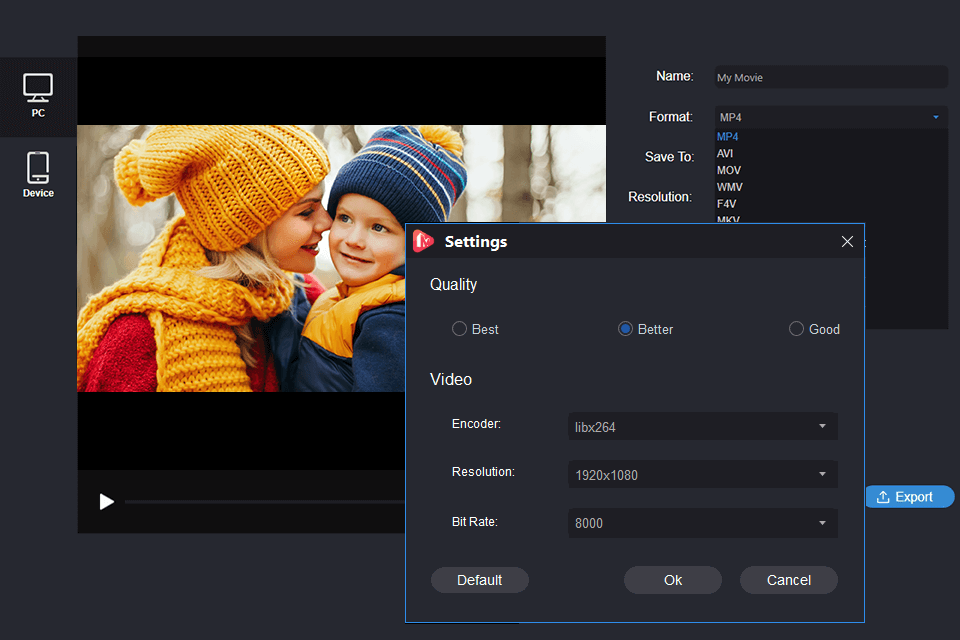
After you’ve completed the editing, save your video on your PC, smartphone or other devices. Besides, you can burn the movie to DVD or share it on YouTube, Facebook, Vimeo and Flickr.
To save your file in MP4, press on the Save movie in the Home tab, then write its title and click the Save button.


