How to Take Wedding Reception Photographs? – Tips for Beginners

Universal Wedding Reception Lighting Kit
| Image | Name | Features | |
|---|---|---|---|
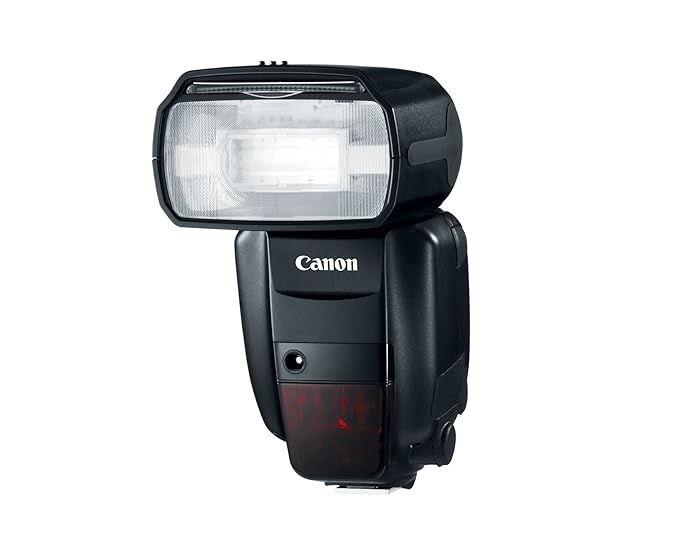 |
Canon's 600EX-RT
|
Check PRICE → | |
 |
Nikon SB-700
|
Check PRICE → | |
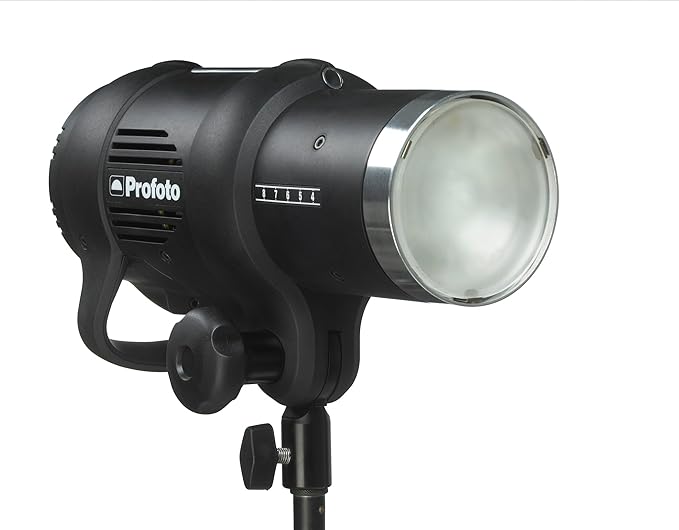 |
Profoto D1 Air
|
Check PRICE → | |
 |
Impact 7' Parabolic Umbrella (White Diffusion)
|
Check PRICE → | |
 |
Westcott Collapsible 2-in-1 Silver/White Bounce Reflector (40")
|
Check PRICE → |
For each wedding photographer, it is important to understand that even in conditions of insufficient light, like in the reception, you cannot count on using a lot of special lighting equipment since it all needs to be carried. In this case, I always recommend finding an ideal flash for you. Use devices that can be folded, because you will not have time during a busy, noisy celebration to arrange the light.
Wedding Reception Photography Tips
1. Incorporate the Guests’ Reactions and the Décor into the Grand Entrance Photos
While you’re taking pictures of the grand entrance, it’s vital to remember that this process isn’t all about the newlyweds walking inside. The images should also include the family and friends who are cheering on the happy couple. After all, the goal is to demonstrate the importance of the occasion. The best way to do that when it comes to wedding party photography is to show the emotions of the relatives and friends.
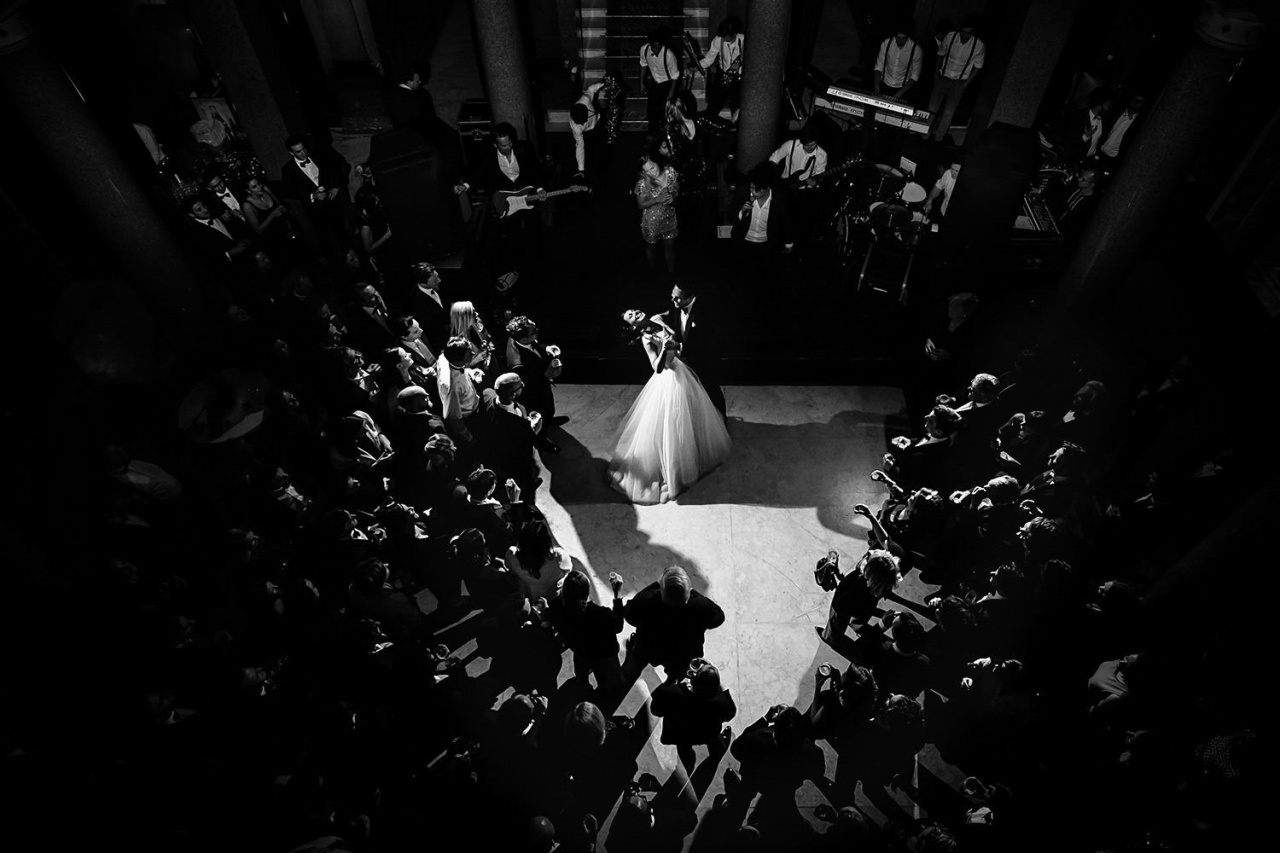
2. Search for Unique Angles during the First and Family Dances
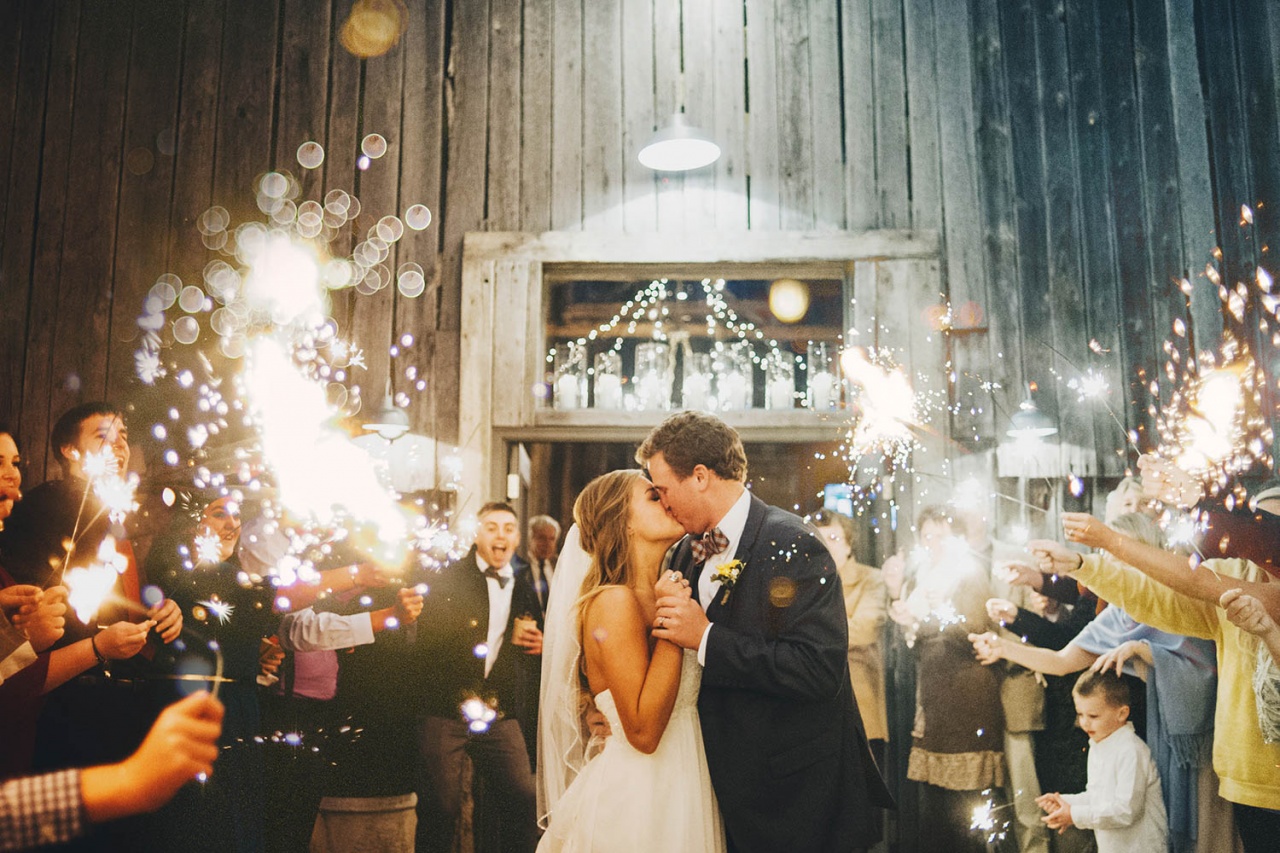
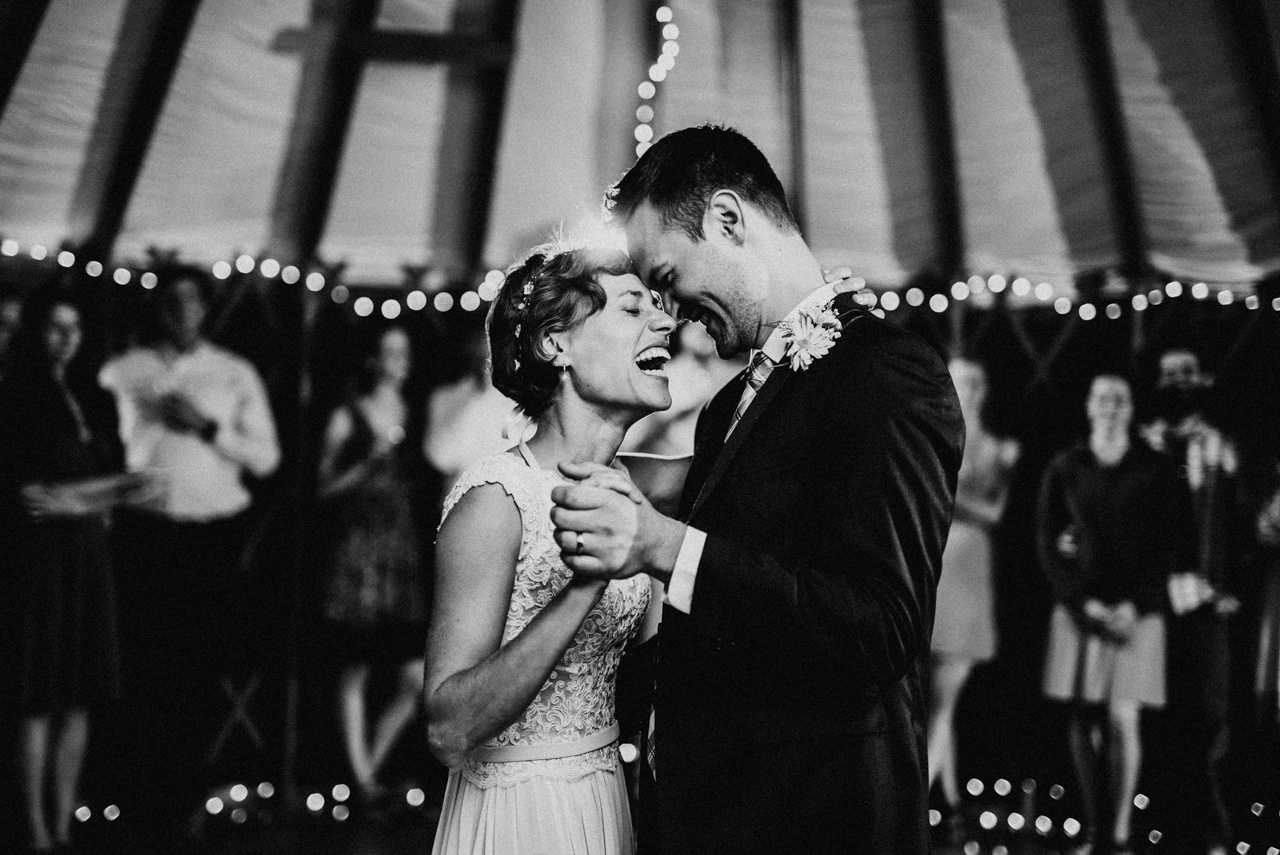
As the newlywed couple swirls around in a loving embrace, take distant and close-up wedding reception photographs to showcase both the environment and the emotions of the bride and the groom. You can also search for objects you can shoot through to make the images more unique. Such objects are also helpful to exclude unwanted details from the frame.
- Receive professional wedding photo retouching services from just $5 per photo.
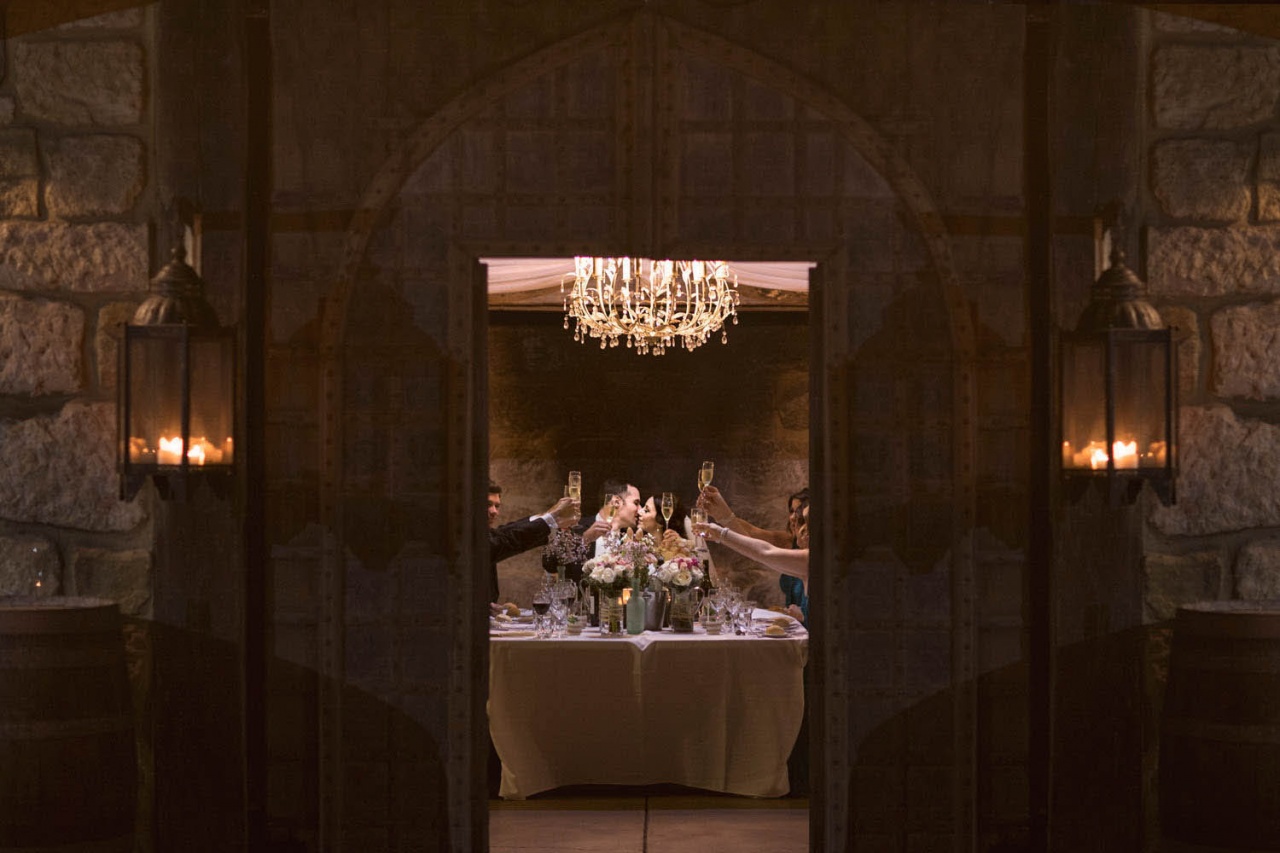
3. Photograph the Reaction of the Newlyweds during Toasts
Even though speeches and wedding toasts aren’t always funny (due to the overabundance of cliché anecdotes), they are almost guaranteed to be emotional. Therefore, it’s vital to take photos of both the couple’s reaction and the guests’ facial expressions as they are giving their speeches and to find a spot where the wedding reception lights give you the best results. This is where a 70-200 mm lens comes in handy as it supports the needed focus range.
4. Choose Your Position for The Cake Cutting Beforehand
Similarly to wedding receptions photos of the first dance and the speeches, the perfect background for the cake-cutting ceremony is the guest party. If you can talk with the coordinator, tell him\her about your shooting preferences.


In case you’re in charge of this process yourself, strive to place the newlyweds between you and the people in the background.
Now, if the groom is taller than the bride, ask him to stand behind her as they approach the cake. Remember to stay alert all time as the cake-cutting can fly by in a few minutes without you even noticing.
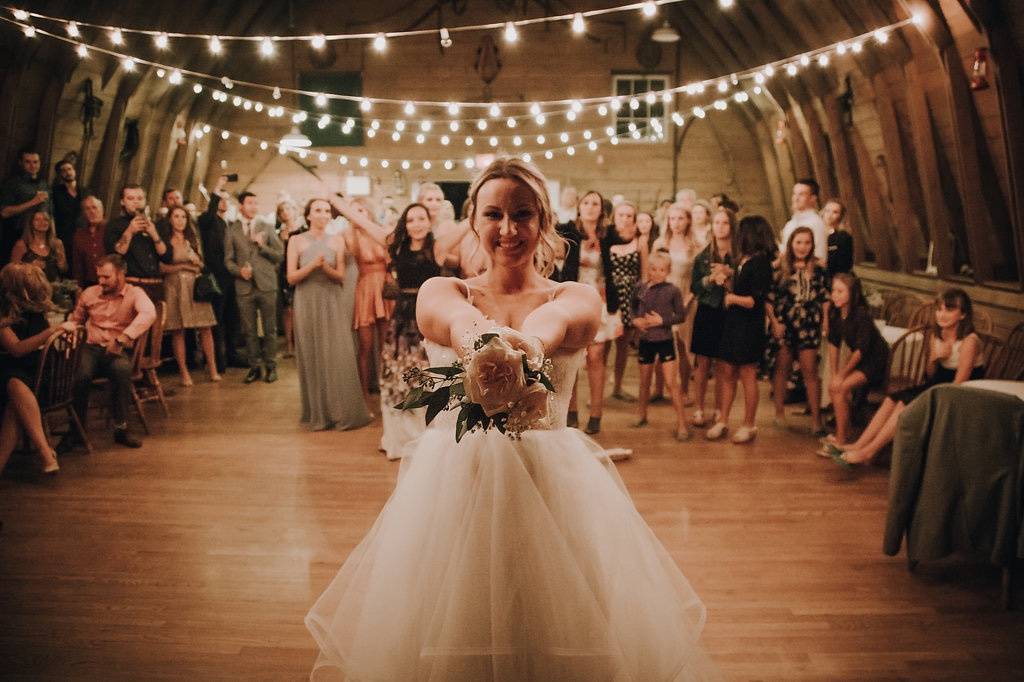
5. Keep the Bride in Focus During the Bouquet Throwing
When you capture the bouquet- and garter-tossing, you have to start off by giving your attention to the bride and groom, only to immediately shoot the emotions of the people wanting to catch the objects. Everything happens very fast and you only have one chance to get it right, so you have to anticipate this moment to position yourself properly near the group.
6. Get Involved - Get on the Dance Floor
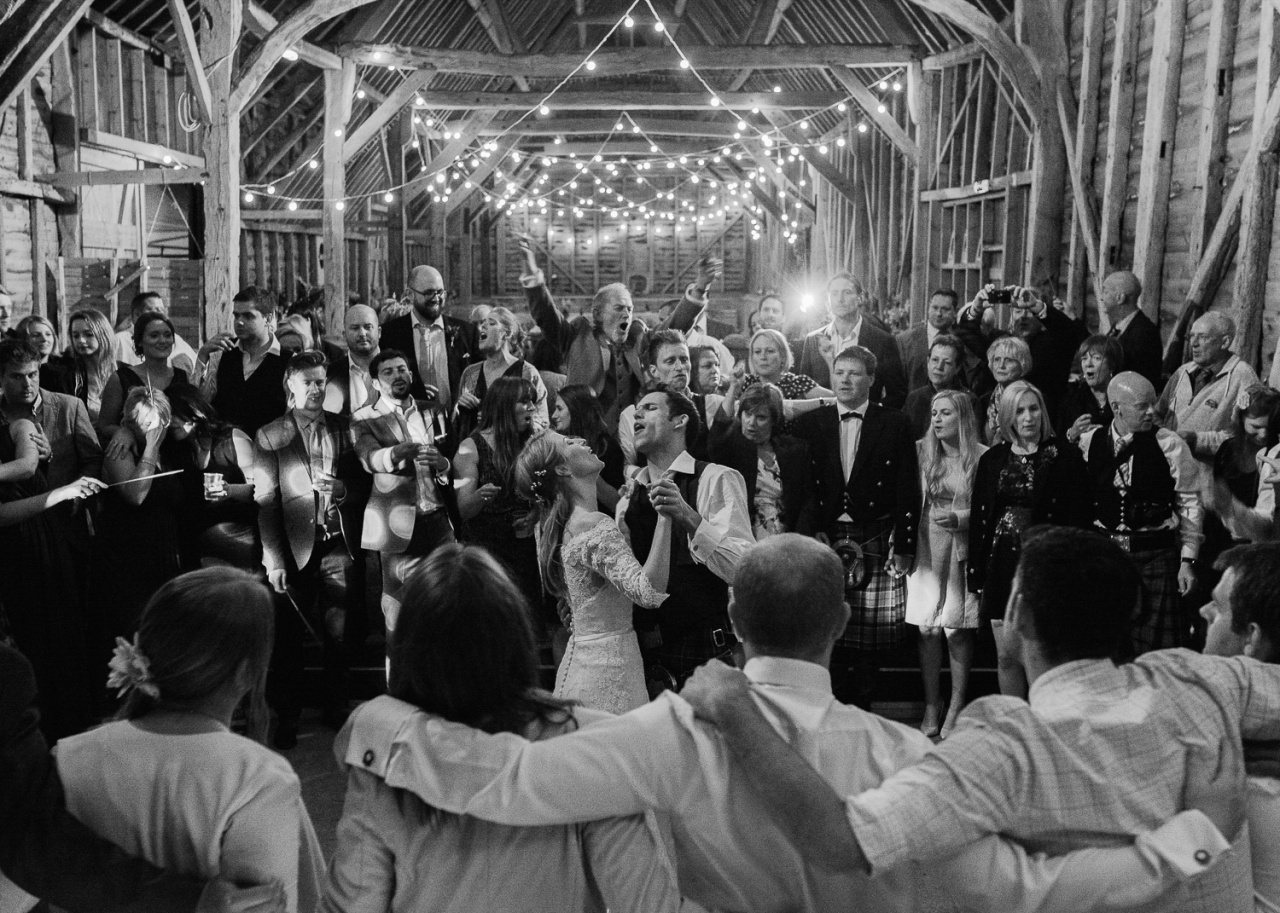
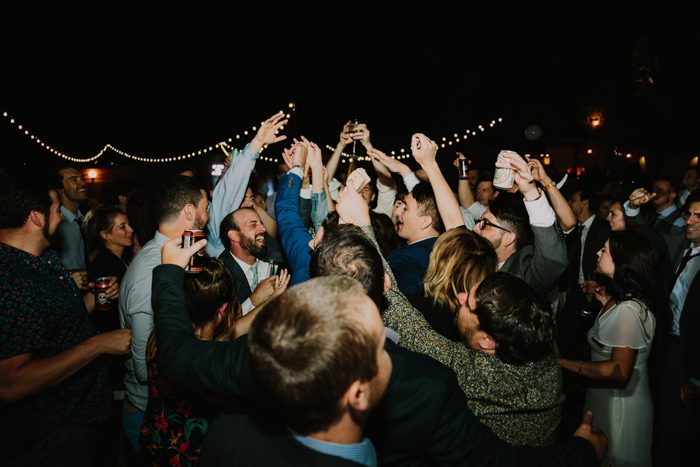
When the guests flock onto the dance floor, make sure to follow them, or better, join them. A zoom lens such as a 24-70mm is a better pickup for these circumstances. As it is effective at various focal lengths, you are able to catch the crowd in both close-up positions and with more people in the frame, adding more space between them and the viewfinder. A wide-angle prime lens would also ensure some creativity. Remember to stick around the epicenter of the dance floor and shoot a lot; this is important if you want to get heartwarming wedding reception photographs. These series illuminate the fun vibes of the party that newlyweds and guests will want to recall later.
7. Think and Plan the Time for a Sneak Away Night Portrait
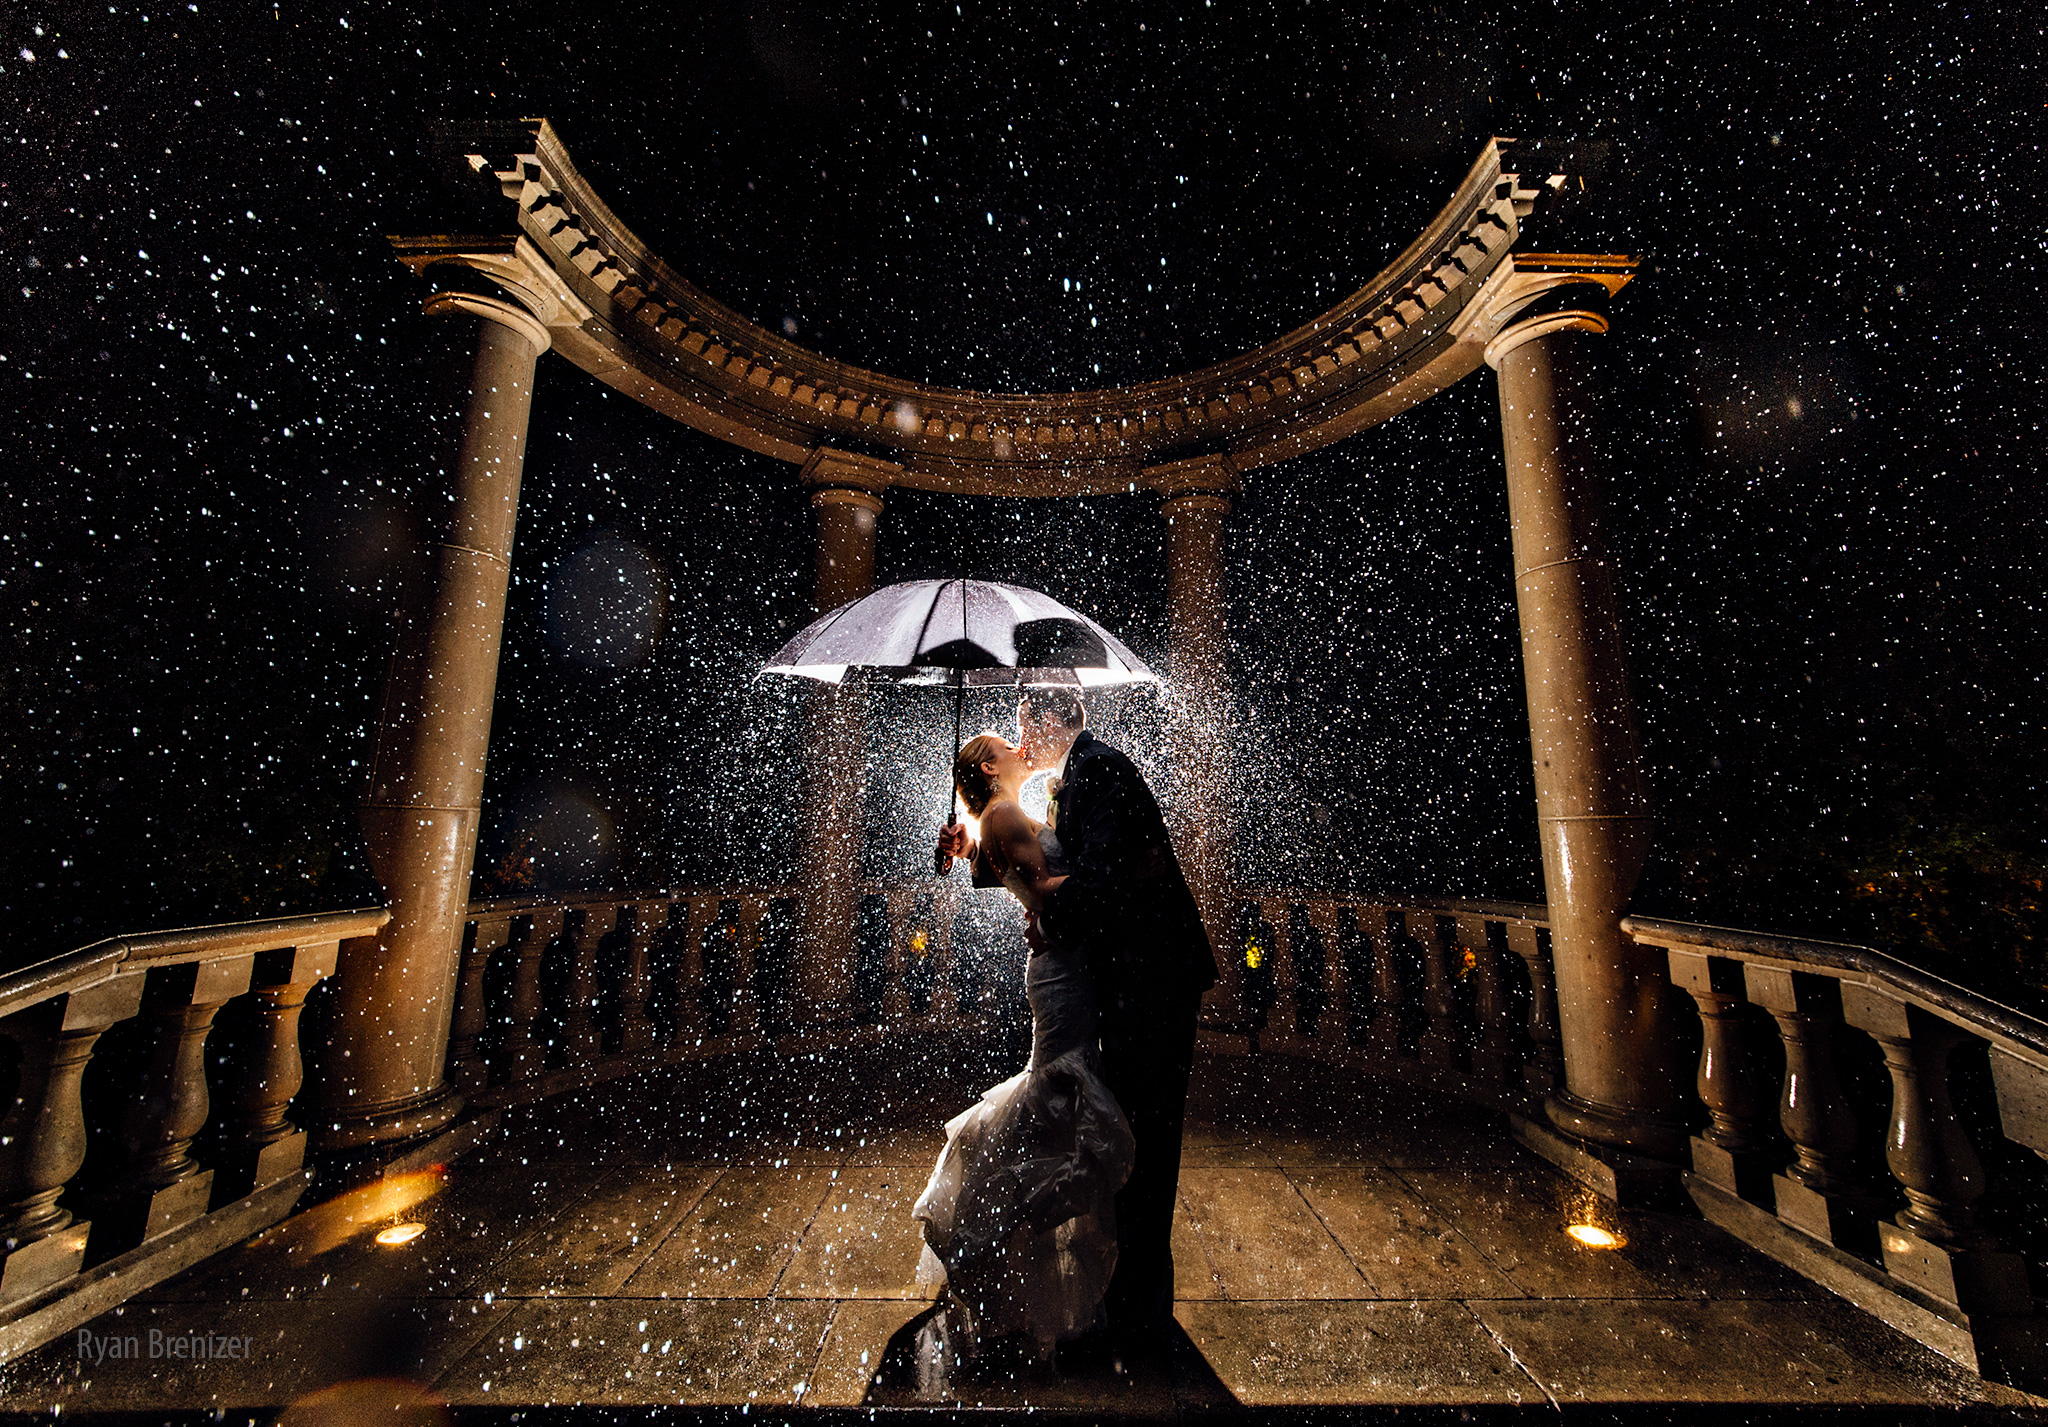
Take some time before the reception to study the location. There are definitely certain reasons why this couple prefers this particular place. Whether it’s the architecture, the landscape, or the art, this location is special for this wedding reception, so take advantage of it to exceed the client’s expectations and make the couple’s “sneak away” session memorable. As this shooting usually happens closer to the final part of the wedding, make sure to choose the right time beforehand and adjust your wedding photography lighting to create a pleasant composition.
8. Make Sufficient Research for the Cultural Nuances
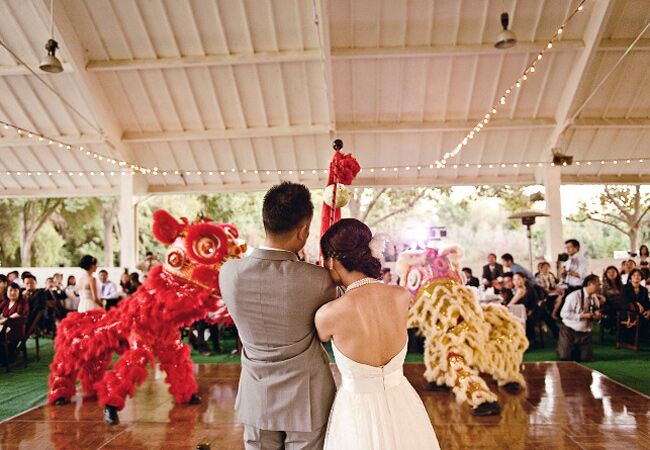
In the era of expats, you should understand that although most wedding traditions resemble each other, it is quite common to face some customs that vary across cultures and are expected to be captured. In most traditions, events like the grand entrance or first dance, speeches and toasts or even cake-cutting are important. At the same time, there some others that are considered to be special; for example, Jewish reception photographs should include the blessing of the challah bread and the hora dance. Chinese weddings never go without a Chinese Lion Dance, and capturing the performance of the professional dancers at Hindu wedding receptions is also a must.
9. Cooperate with the Wedding Planner to Capture the Grand Exit
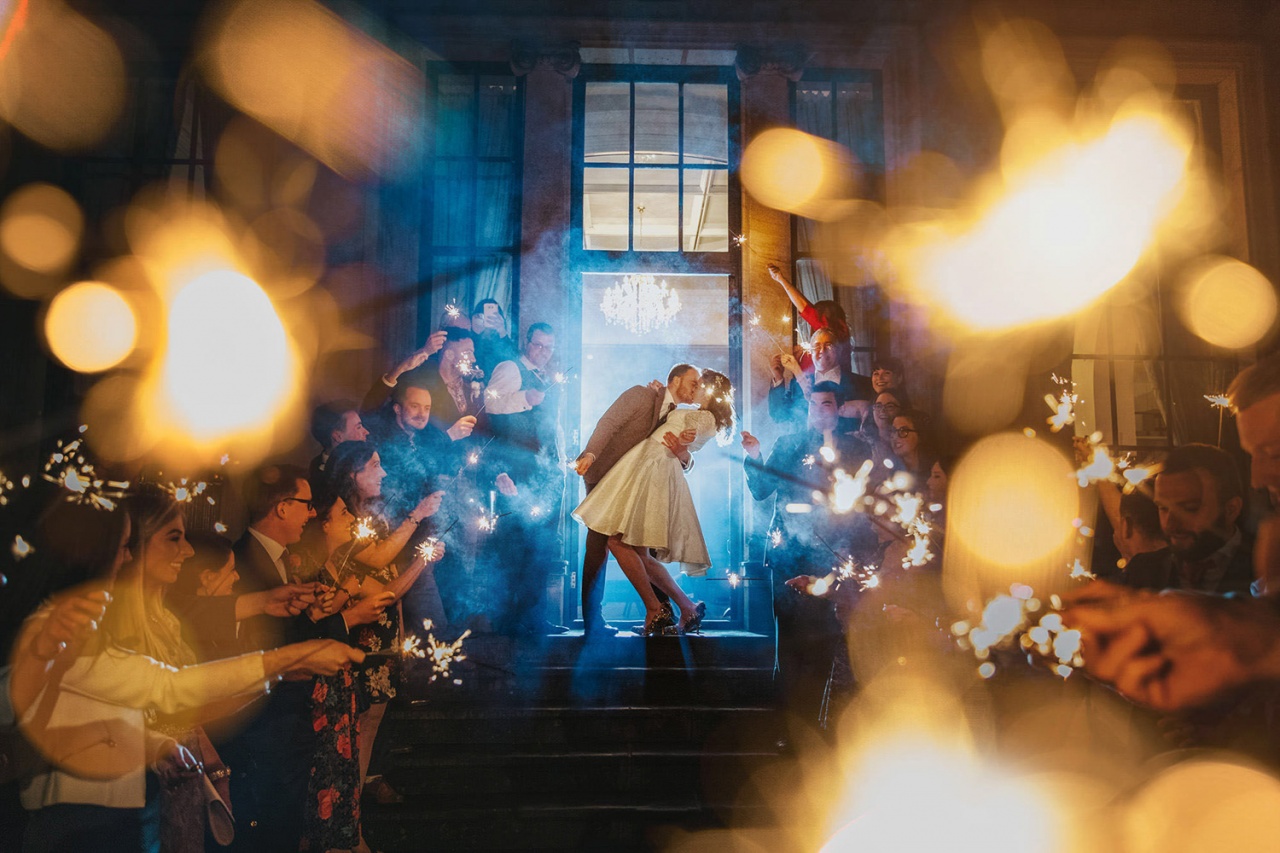
The simplicity of the "grand exit" series is deceptive. There are numerous scenarios for this action; we`d recommend agreeing on the optimal version with the coordinator beforehand. Whether a couple prefers creative options like petal tosses, sparklers, or something more discreet as the type of exit, you must discuss the optimal positions and timing for the newlyweds and guests with the planner long before the wedding reception day. Be ready for the challenge if you happen to take wedding receptions photos with hundreds of guests involved. In this case, profound planning and support from the wedding coordinator will help you succeed.
10. Take All Décor Photos before the Guests’ Arriving
Even though the reception vendors try their best, you usually have a very small timeframe to take wedding reception photographs of the décor before the guests are let into the room and chaos takes over. Thankfully, there’s a way out that allows you to capture the entire venue in an efficient way.
If at least a single table is prepared in the reception room, focus on capturing the smaller objects first: seating cards, silverware, bonbonnieres, etc. As the vendors finish up preparing the venue, you can include wider scenes and take reception photographs of entire sections of the room. If the venue is ready by the time you arrive, begin with broad pictures and finish up with the details on the table. This protects you from being bothered by guests once they enter the room.


Wedding Photography Lighting Tips
11. Adapt to the Situation & Control Your Lights
Prepare yourself for unpredictable situations at seemingly familiar locations. Take responsibility, prepare, and adapt. In general, wedding receptions lighting problems are usually complicated and arise despite all the preparations. Prepare flash stands in standby mode in distant corners of the hall for the backup balance of the light, or use them for the backlight for better performance during shooting. We'd recommend raising them to the six-feet level so that no sharp shadows line around seated guests. Use light zooming, and avoid any light spill.
12. Keep an Eye on the Color Tone of the Light
It is a basic rule to follow the temperature of the light to create natural wedding reception photographs. Messing with this advice leads to dull colors and distorted skin tones in wedding photos, so make sure to match on-camera and off-camera flashes before turning to the actual reception lighting. Follow the temperature of natural light in the room and adjust your Custom Color Temperature camera settings to ensure great results.
13. Take the Most Out of Flash Sets You Use
In most parts of the hall, the main light you’ll have to rely on is your on-camera flash. Use the diffusion effect to avoid overly contrasted light spots on your models and objects. At the same time, remember that you have off-camera flashes in the standby mode prepared in the corners of the hall; use them to create a controlled light stream. Invest a bit more time in gridding the off-camera flashes beforehand in order to get additional support and the optimal guided light balance within each of the wedding reception photo you capture.
14. Balance Your Camera Settings Regularly
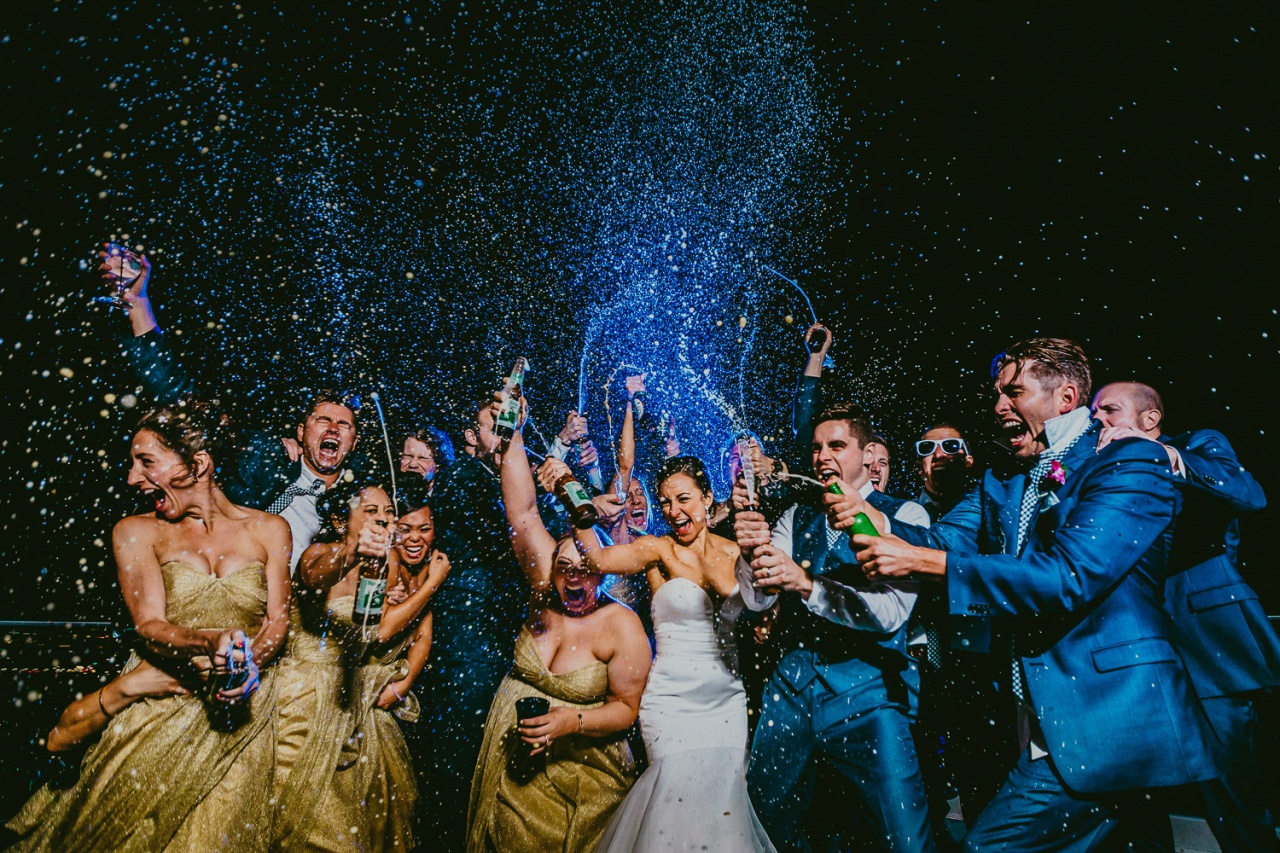
This stage highlights a professional among amateurs. Since the color shades and tones your camera captures depend on the level of in-room natural light, your equipment and skills define the quality your wedding reception photographs will be. Keep an eye on shutter speed and ISO; when the light is low, follow the 1/200th of a second and choose an ISO range like 800–3200. Correlate these according to the lens involved and manage the aperture to let a reasonable amount of light reach the sensor, making sure the aperture receives as much light as possible.
15. Use Ceilings and Walls as a Reflection Surface for the Diffusion Effect
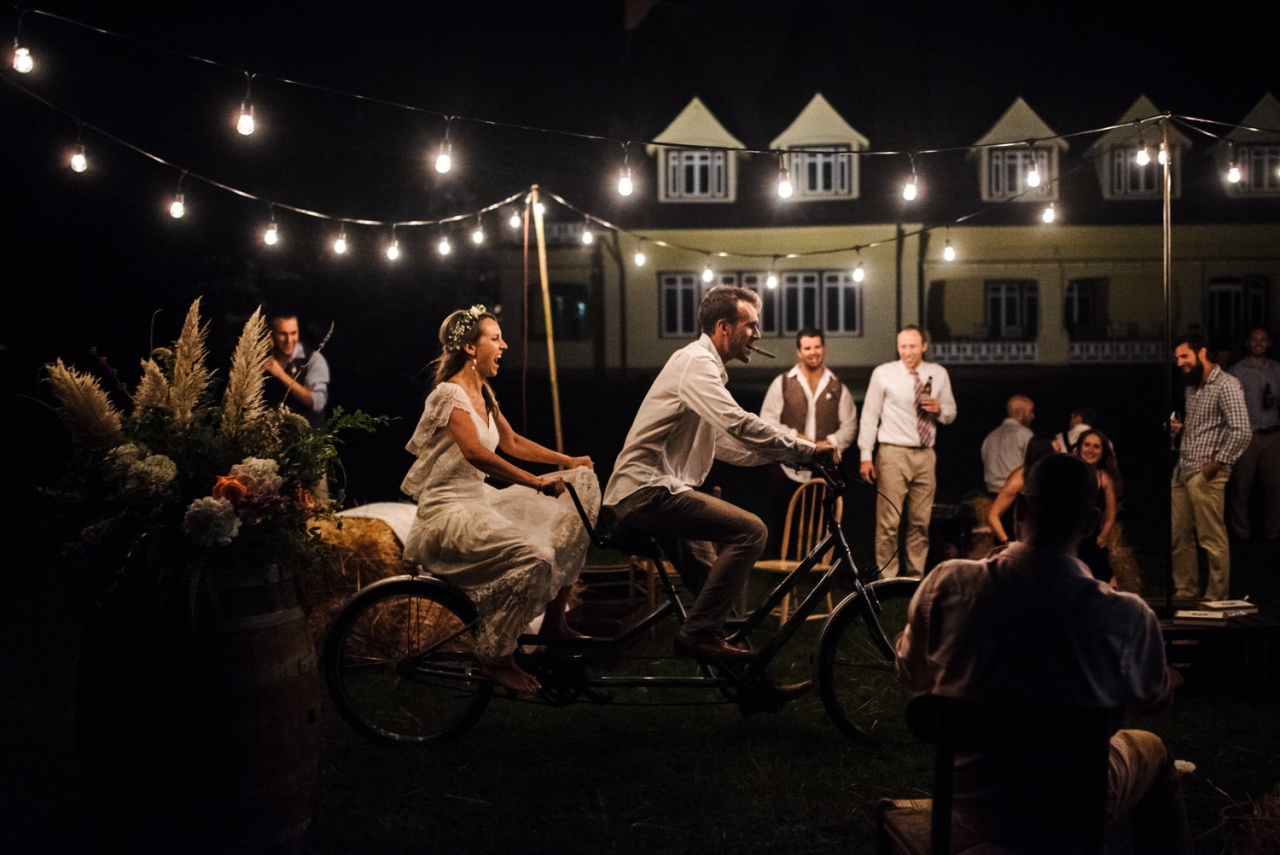
This technique is regularly mentioned among wedding reception photography tips for a good reason. It recommends using light-colored walls and low, light-toned ceilings as a surface for the reflection of the on-camera flash, which results in a soft and spacious effect that gently outlines skin tones. Still, plan and reflect before counting on this as it won’t work in dark and shady interiors; rather, it will only result in light absorption instead of reflection and complex diffusion light effect. However, sometimes this can be used as a creative technique to highlight the interior.
16. Think Through Everything in Detail, Right Up to the Dance Floor Lightings
Remember to control every detail as it is the right way to get the best wedding reception photographs. That’s why it is advisable to collaborate with the DJ as well. He/she is responsible for the music and lights during key events like the grand entrance, first dance, and other significant activities you are to capture. Prepare everything in advance so you don’t have to worry about them while shooting.
17. Identify Position of the Subject
After setting your off-camera flashes, remember to mark the position for your models to get optimal light.

18. Flash Control
A combination of on- and off-camera flashes sets the basic line for the quality of your wedding reception photographs. You can use additional light sources to create the perfect composition.

19. Additional Background Light Effects
Affordable diode light strips can form adjustable bokeh and add romance notes to your shots taken at night.

20. Use Direct Light
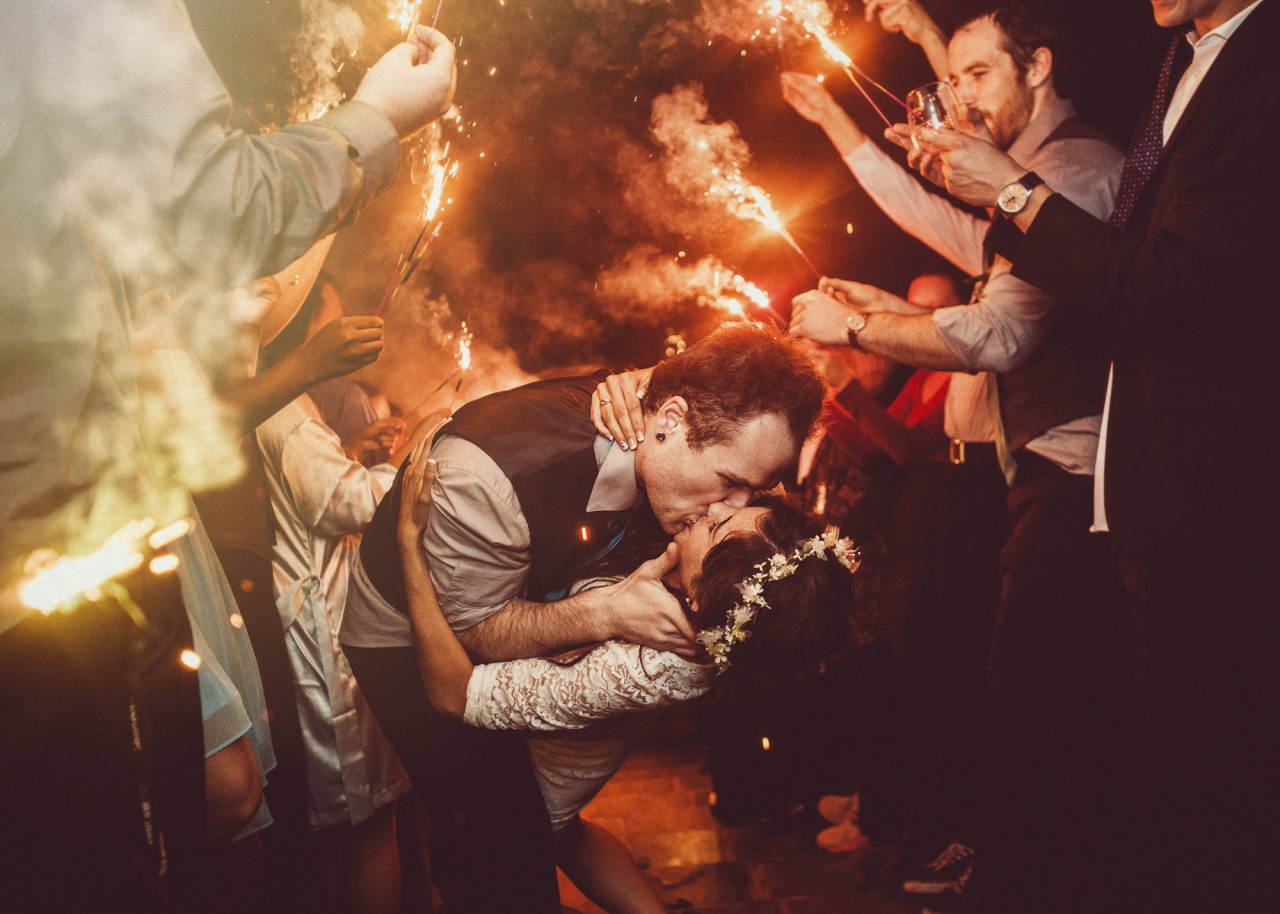
In low-light conditions try the direct flashlight and isolate your models from the blurry background—this technique works great for small groups of people with some sparks in the background.

Most often, the part with the wedding reception photographs is one of the most intense times for the work of the photographer. Follow the tips and ideas that I’ve given you in this article and your photos will be interesting and of high quality. It’ll ensure that your customers will be surprised by the beauty of the images you create.
Must-Have Reception Photographs before the Party is Started
Photo 1. The Full Venue Photo
Any good wedding photography guide will tell you that it’s preferable to take this picture as soon as you have the chance, since once guests start pouring in, you’ll never have a nice, clean shot of the room.
Focusing on Symmetry – In this kind of reception photo, either the dance floor or the newlyweds’ table becomes the central object as I try to capture as much of the room as possible.


Focusing on the Foreground – Alternatively, you can find the focus for a wedding reception photo either on the cake or a floral centerpiece and adapt the rest of the composition accordingly.


The best way to take full venue pictures is to use a tripod while having the lowest ISO setting and shutter speed. This allows blurring out any guests that might be moving around the room. You can use your knowledge of wedding photography lighting as well as adjust the aperture to negate the slow shutter speed.
Photo 2. Seating Cards
You should always take this picture before the guests arrive. If some of them are already missing from the table, use zoom and capture an unmoved part of the arrangement.


Photo 3. Bonbonnieres Photo
Whilst you’re taking wedding reception photographs of the tables, I recommend beginning with little objects before moving onto larger scenes. Try taking a few shots of the small gifts or decorations placed on the plates.

Photo 4. Table Arrangement Photo
Increase the scope to include a larger part of the table’s surface so that you can see the wedding decorations and cutlery. Also, don’t shy away from temporarily taking away objects that decrease the aesthetic value of the photo, such as condiment cups or spice containers.


Photo 5. Full Table Photo
Step away and take a picture of the whole table. Once more, if any unnecessary objects are getting in the way, remove them. Strive to find an angle that adds depth to the image. For instance, you can use the centerpiece as a leading line or take advantage of the wedding receptions lighting.


Photo 6. The Newlyweds’ Table Photo
Use the same technique as with the guests’ tables, beginning with smaller objects on the plates and slowly increasing the frame until it incorporates the whole table. Also, be sure to capture the best wedding reception decorations such as the “Mr. and Mrs.” signs, etc.
Photo 7. The Wedding Cake Photo
Since the cake is usually located in a corner of the venue, it’s safe to place this shot at the end of your wedding reception photographs list. Even if the guests walk all around the room, you can still take a photo of the cake without anyone getting in your way.
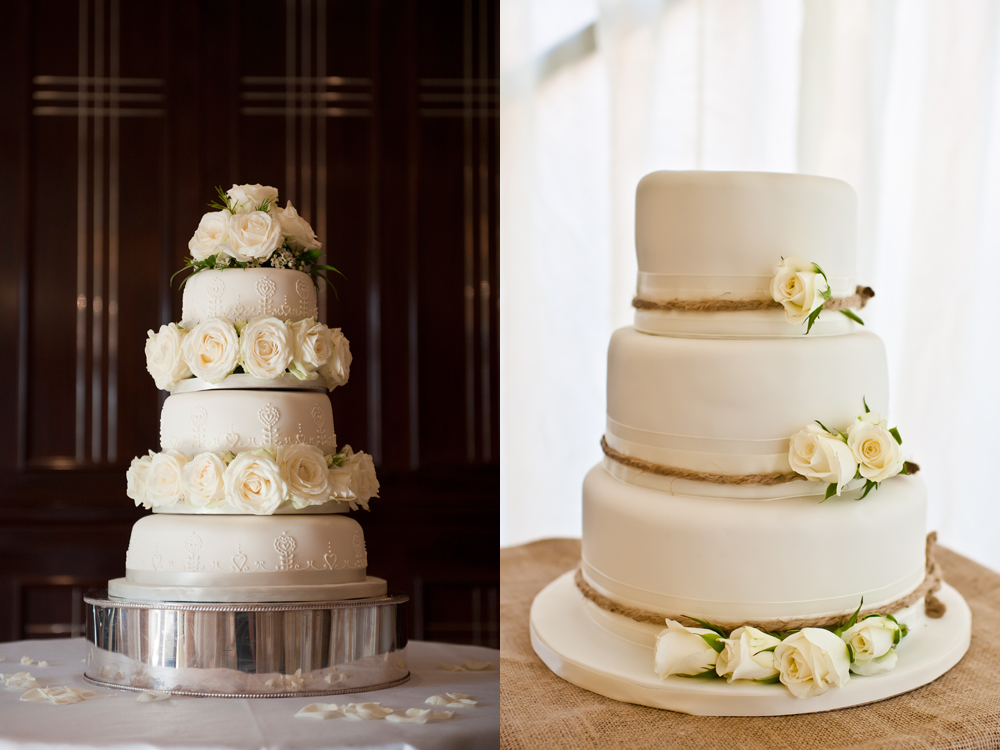
If you want to make the cake photo more creative, find several suitable objects in the venue to shoot through in order to frame the cake. View more creative wedding cake photography ideas.

.jpg)
.jpg)
