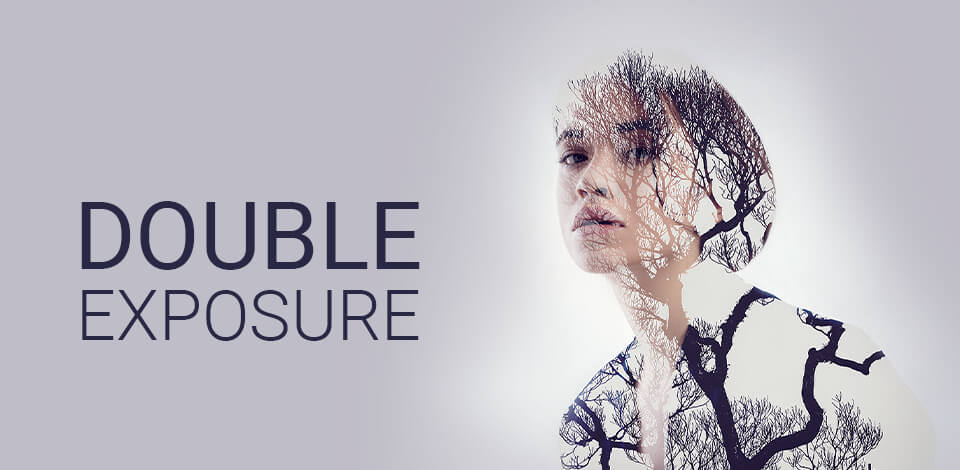
Double exposure in Photoshop is a real piece of cake in photo post production. Furthermore, a tendency to extra ordinary vision of the world and surrealism over whelming artist have its realization in double exposure. Visionary kinds of art such as photography and cinema use this kind of imagery composition in their own way.
New albums of musicians have it lately. The more unusual and extravagant band or a singer is the more breathtaking the image on the cover of a new album appears.
However, it is not only about musicians and their album covers. The whole Internet is blowing up with this idea and everyone who considers him/herself having extraordinary vision of life wants to share such a pic!
Want to receive a beautiful but natural illusion on your photos but can’t achieve desired results after many attempts? Address image manipulation services and realize any crazy idea you have.

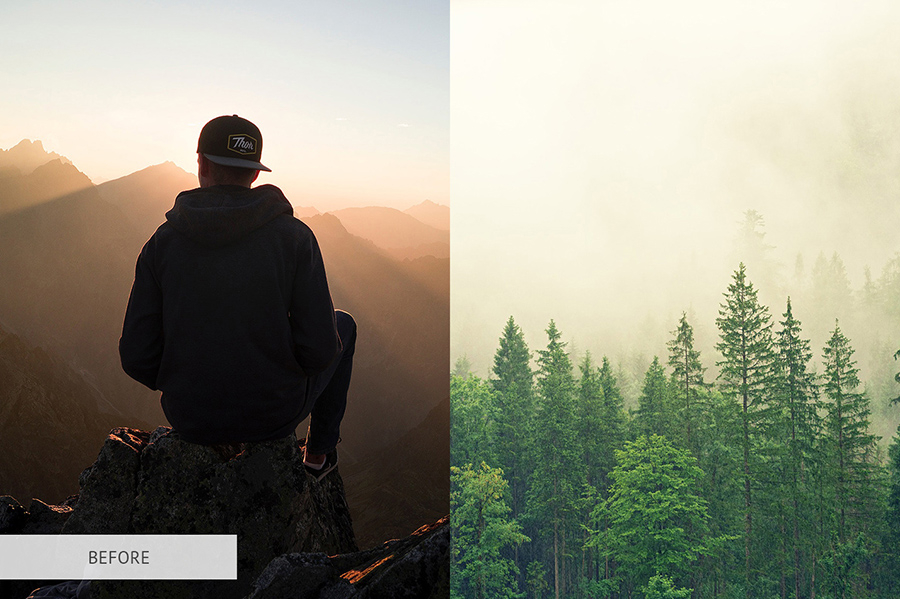
There is plenty of images all over the Internet so you can choose any you like. I have picked up this one on a free photo stock. If you are interested in double exposure photos to make it a cutting edge of your portfolio, you’d better took images from your personal archive. In such a way you will show your own development and skills.
View more Photoshop portrait tutorials to learn editing photos realistically. Now photoshopping portraits will become fast and easy even if you have never used Photoshop before.
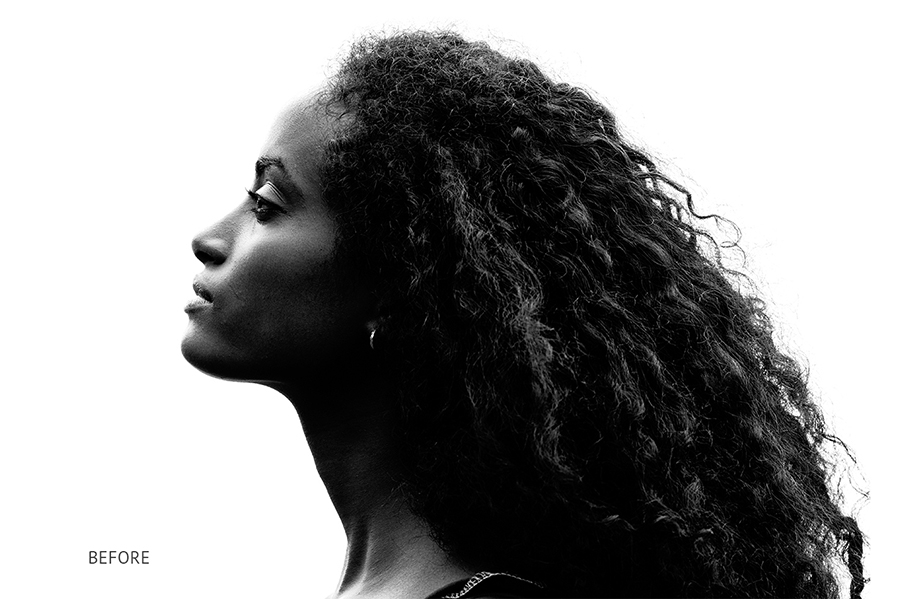
There are some demands that an image should meet in order to be used in this tutorial for example. It is worthwhile mentioning that monochrome background is valuable and more preferable.

There would be less troubles when working with a portrait photo of such kind. Grass or leaves, or any other texture on the background will only complicate the whole process. Consequently, neutral background is better.
After importing the photo to the software, drag the “Background” layer on the New Layer icon.

In the latest Photoshop versions, you can find a tool that allows you to quickly remove the background. To apply it, go to Window > Properties and find the “Remove Background” option.

Right-click on the background to see a black-and-white icon in the Background copy layer. Then select Apply Layer Mask.

Add a new layer between the existing ones by clicking on the “+” icon in the bottom part of the Layers window. It’s important to place the new layer between other layers and not above them.

As it usually happens, I also picked up the second image in a photo stock. There is a tendency to create such an effect in combination of a portrait with landscape (trees, lakes or mountains even city suburbs images are pretty good for creation of surrealistic vision).

Open any landscape photo of your liking in Photoshop and add it above the existing layers.
Press Ctrl (Command) and click on the layer with a cut-out subject without the background. You will see the outline, just like in the example.

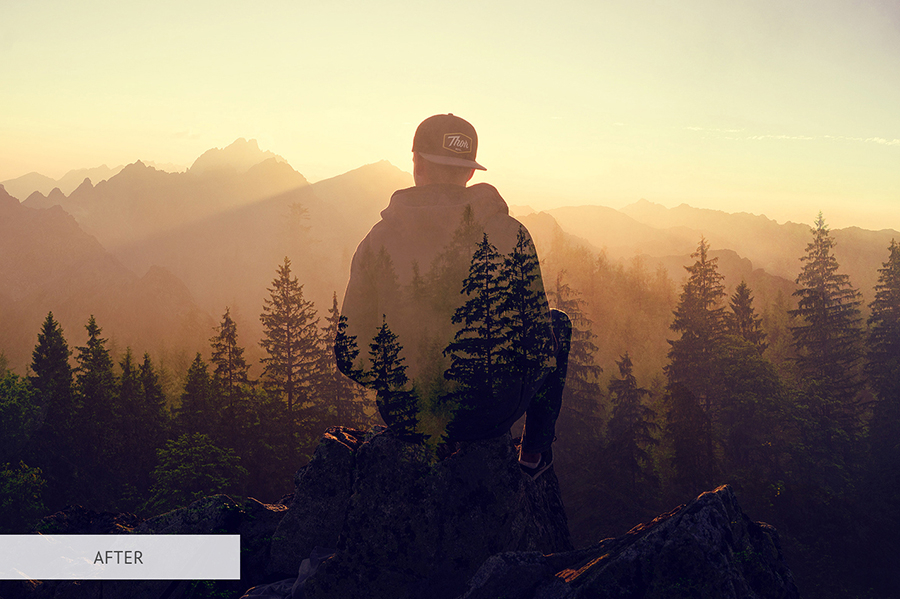
Next, it’s time to create a vector mask. Select the landscape layer and click on the Mask icon (a gray rectangle with a black circle). This way, you can cut out a part of the landscape that was inside the silhouette. The rest of the photo will be deleted since you have no use for it anymore.

After the main job is done, duplicate the layer with a girl to create a “Background copy” and place it over the rest of the layers.

Since the silhouette of the girl is blended with the selected background, you need to select a different blend mode to make the outline more visible. In the Layers window, select Normal and then click on Screen in the drop-out menu.

If you need to raise contrast, go to Adjustment Layer – Levels. You can find the Levels menu by clicking on the black-and-gray icon at the bottom of the Layers window.


I want to make the image more surrealistic. On this purpose, I will edit the head of the portrait. Being armed with brush and Airbrush I start painting white. Do not be nervous because of red color on the image I show to you. It is just because I want you to see where and what I am doing.

For a more eye-catching effect, make sure to use creative brushes instead of regular ones. For instance, you can use a cloud, paint drip brush or any abstract-shape brush.
Enjoy the result! Now, you can freely experiment with this effect since you know how to apply it after reading this detailed tutorial.

Find out how to get Photoshop Elements free to edit photos professionally and fast without a month subscription. This is a limited Photoshop CC version that is good for photo color correction and basic picture editing.

Use these Professional Double Exposure Photoshop Actions to make surreal and magical portraits in several clicks. This is the fastest and easiest way of making a double exposure effect if you've never used Photoshop.
Of course, I do not mean to make you think that my way of double exposure in Photoshop is the only right. Every photographer has his /her own approach to the question how to create double exposure in Photoshop. Check it out yourself! There is plenty of Photoshop tutorials on YouTube.
This is one of video tutorials teaching how to double exposure Photoshop in 4 minutes. It is rather informative. The made image is very much alike to the one I did. Actually, such vision is really wide spread in the world and there is nothing special about it. You may produce extravaganza featuring your own style and vision since every idea has its right to be discussed.
A lot of people are strongly convinced that it is our technological epoch that made it possible. Unfortunately, it is easy to prove that they are mistaken in this issue. This technique has been known already for ages but not in the way we know it right now.
Originally, such effect was achieved if you used the same film a couple of times in your camera but for while capturing different scenes without changing the frame. Yeap, that is pretty hard since you almost cannot control the areas of blending.

However, with modern program software we can easily re-create analogous effect in Adobe Photoshop. As far as we can see now, it is not considerably new thing and has been known for a long time already. It was just reborn and became a real success.
With modern technological advances it is not so complicated as it used to be. Double exposure in Photoshop is a real piece of cake for photo post production services.
Furthermore, a tendency to extra ordinary vision of the world and surrealism over whelming artist have its realisation in double exposure. Visionary kinds of art such as photography and cinema use this kind of imagery composition in their own way.
Try free programs like Photoshop that you can use for basic photo editing and color correction.
There was nothing to think long about and I decided to dedicate the article to double exposure creation. This topic is very interesting and you would not regret if you go through the information I want to share with you.
Quite often digital artists use it to mimic surrealists. Popular example of such is True Detective or Tailor’s Swift music video that can help you to recognize it. Artists like to combine silhouettes of people with sights of nature: trees, mountains or even big city suburbs so that they fill in the silhouette of the portrait.
If you are a beginning Photoshop user or don’t have time to studying this technique on your own, you may download ready-made Double Exposure Photoshop Actions for free.
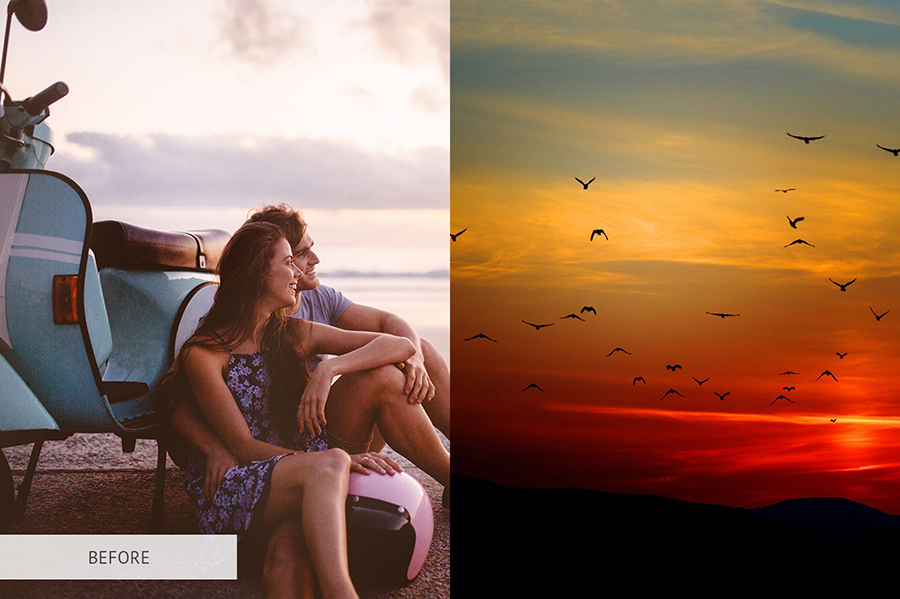
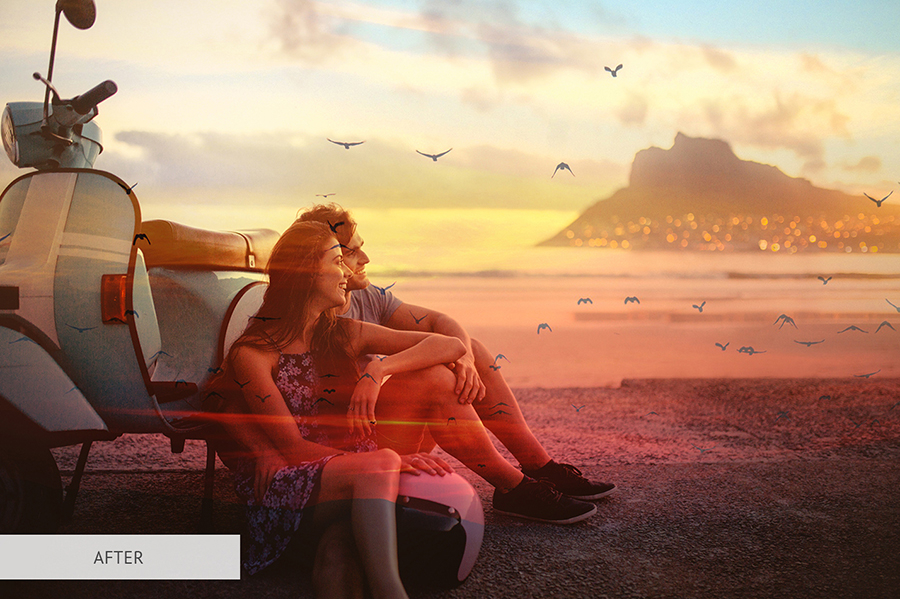
Make your street or travel photos moody and aspiring in several clicks. Realistic results are guaranteed, now you don’t have to spend several hours on creating this kind of double exposure effect. Everything is done in several clicks.

Download this action to make artistic particle dispersion or splatter effect. It will make your photos dynamic. Highly recommended for dramatic portraits or sports photographs.
Combine two or more exposures into a single image to get a creative photo with specific atmosphere. This free Photoshop action will help you create images that look more like paintings than portraits.
Being a member of Fix The Photo Team, I want to lay an accent on the importance of photo color correction services in our life today and on. People subscribe regularly visit our blog since there is plenty of important information about contests and educational programs of our company and others. For instance, Educational pack from Fix the Photo is at your disposal the same as our editors.
Our photo service can boast of before and after retouch. High quality of images that we produce is a key of our success. Professionalism is as much important in our job as air and food in everyday life for you. Surfing the website of our company you can check out that photo editing prices are really low and it would be a challenge for you to find a photo service with still lower prices and more credible reputation that ours.


