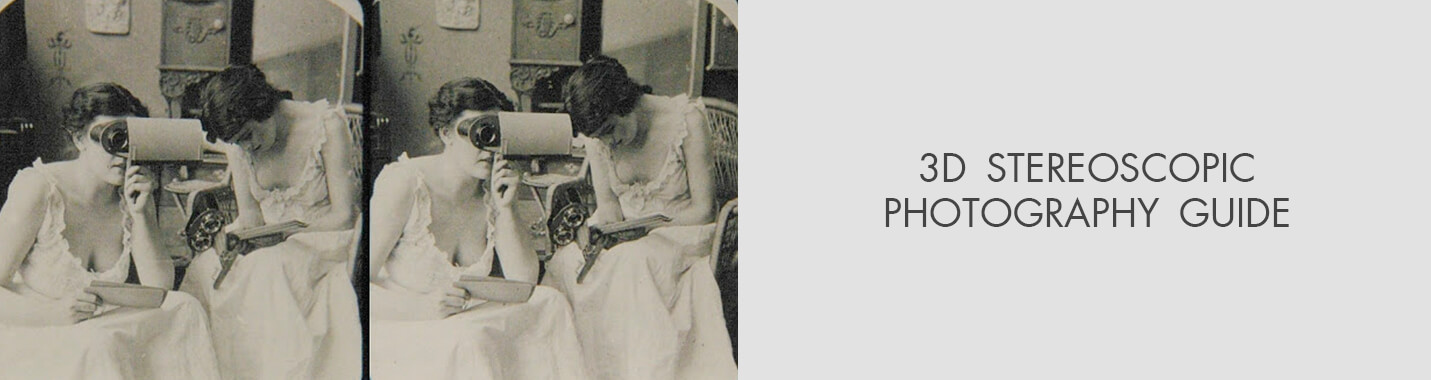
3D Stereoscopic Photography Guide
When you purchase through affiliate links on our site, we may earn a commission. Here’s how it works.
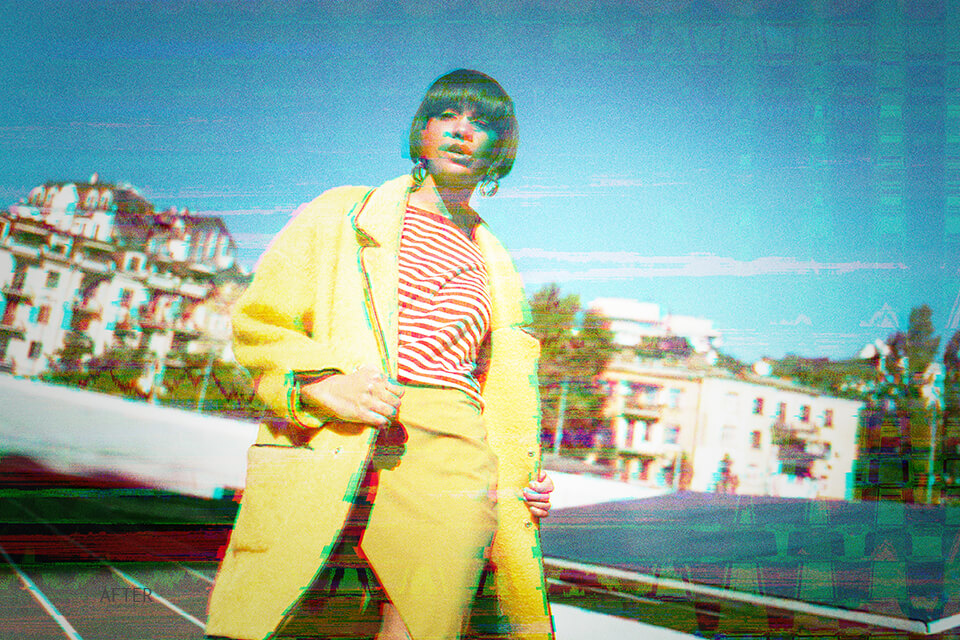
In simple words, stereoscopic photography (3D photography) is when two slightly offset photos are combined into one three dimensional picture.
This effect is created based on the stereopsis principle. Our eyes are situated in different locations and see various pics. As a result, the difference between these images enables us to perceive depth.
Read this article till the end and find out about the basic techniques of taking stereoscopic photos.
History of Stereoscopic Photography
Stereoscopic photography is one of those early deviations when photography was trying to establish itself as an art form. The idea came from solid vision, also called binocular, the one that many animals as well as humans have.
The brain has to perceive the two images with a minor difference in angle from each eye as one, allowing us to feel depth this way. Considering that, a stereoscope first appeared at the dawn of the 19th century and we can just imagine how advanced this technology must have felt then.
The Founder of Stereoscopic Photography

In 1830, a man called Sir Charles Wheatstone created an original binocular-type apparatus that later gave impetus to the appearance of the new photography genre.
The device forced each eye to look at a separate picture which generated a stereoscopic 3D effect. The first version was made with the use of daguerreotypes, but those were too reflective. Then followed calotypes which, solved the previous problem but created a new one due to their low light sensitivity, making the images blurred and hard to see.
Considering these issues, the stereoscopic pictures gained no popularity until much later. About a decade later, Sir David Brewster introduced an improvement that changed the stereoscope a great deal and it was named refracting.
Brewster’s model, built in a small box, had two lenses alongside each other with a gap of 2.5 inches in between. That box had openings on each side to allow some light in and another opening underneath, at the very end, for sliding images in the device with ease.
Another improvement of the new stereoscope was to use frosted glass as the base of the box which both introduced more light in and allowed the mechanism to be used to view transparencies.

The turning point was the Great Exhibition of 1851 when this model was exhibited by Brewster and caught the eye of Queen Victoria who appreciated it much. As it often happened in history, something fancied by the royalty became greatly popular with all the common people. It took three months for the sales to reach a quarter of a million machines and over a million prints.
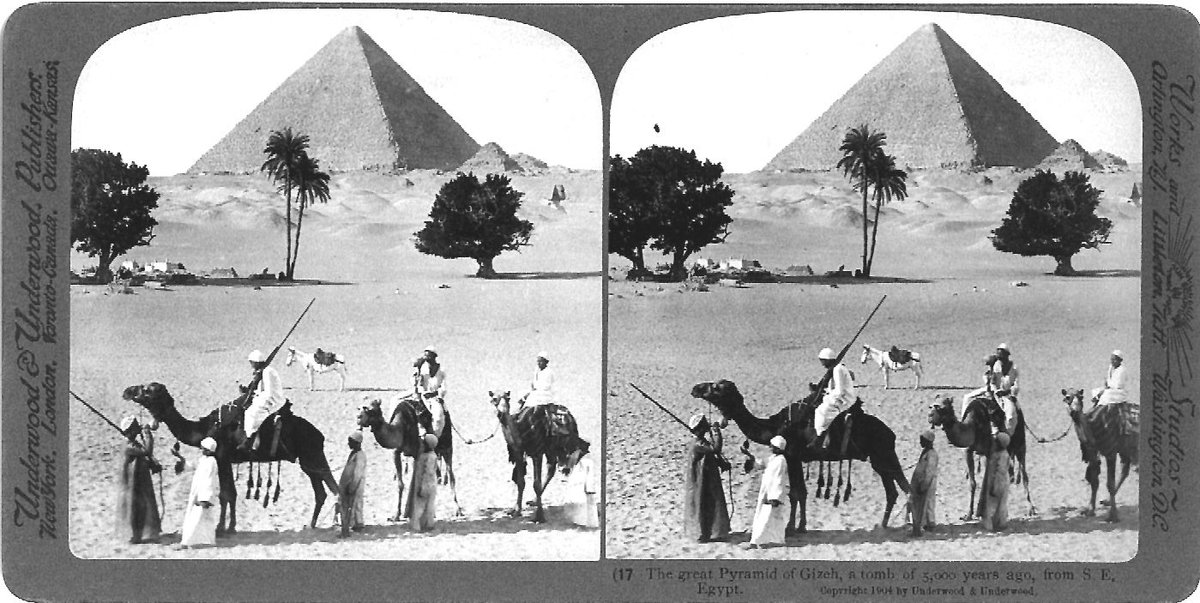
The collodion process was used for stereoscopic photography because images were easily duplicated. By 1856, the London Stereoscopic Company could reach out with its images into most families except the struggling lower-class ones.
Such demand allowed the company to send photographers all over the world to take pictures of new locations which in turn solidified photography as an important educational tool and a great way to record people and places.
Despite such success, many complained that viewing stereo photos caused their head to ache from tension and Oliver Wendell Holmes was among such people. It was indeed challenging for the brain to switch between looking at one image with both eyes and joining two individual pictures into one.
Plus, there were many people who had a deteriorating vision or a form of astigmatism, who often struggled to see the intended effect. Thus Holmes, together with Joseph L. Bates, designed a handheld version for viewing stereoscopic photos.
It allowed a viewer to correct the distance to fit his eyesight and relieved the tension that caused headaches. It was also lighter and cheaper to produce, so, being unpatented, it spread around in the shape of various copies.
- Learn more about the history of photo editing.
Stereoscopic Photography of XX century
As it often happens to modern technologies, conservative people thought that it would be a fleeting attraction with no serious future. In their minds, photography was all about converting our 3-dimensional world into the two dimensions of paper and the idea of recreating that lost dimension was considered a gimmick.
They had no objection to the financial benefit of stereoscopic photography, though, and many photographers were known to take their proper images first and then adding stereoscopic ones to them to be sold as an addition to all the interested.
The fashion for stereoscopes lasted until the 1870s with the following financial crash. Many photographers lost their jobs or had to copy the works of others which was still considered legal back then.
The latter process caused a significant decrease in the quality of the image which further lowered the interest of the public and lead the smaller companies to shut down. The bigger ones stayed afloat and started to control stereo photography dispersing images of a certain character and shaping the visual language. When the depression ended in the 1920s, the Keystone View Company took a turn for educational materials and kept producing their images well into the 60s when color television started to bloom.
Many of us can still recall owning a View Master 3-D, a new stereo photography viewer made of plastic with images turning on a round paper disc. In fact, you can still find those in stores sometimes.
- Learn about Photoshop History.
Modern Stereoscopic Photography
There is one photographer who found a way how to make stereoscopic images with modern digital cameras that doesn’t require using a stereo lens. The photographer named Ignacio Torres works outside NY and often works in Mexico as well. He made a special “Stellar” series based on this technique.
He was inspired by the idea of exposing the grandeur of space and time. His technique requires taking 4 pictures in quick succession and then combining them together, only instead of a stereo photo he gets an animated GIF with a 3D effect.

Online, you can see the same done to old stereograph images, and two are used there. In the case of Torre’s approach, the two additional frames allow smoothening the transition. His series also emphasizes the unusual with the help of some Photoshop highlighting, to “serve as a visual metaphor to the spatial link we share with the stars.”
As opposed to the old-fashioned stereoscopes with their paper images, Torre’s way how to make stereo images can only survive in the digital devices. If printed like they used to be, they won’t create the same effect on paper, so to be exposed anywhere they need to be supplied with digital frames. That makes them a product of our time, not closely related to the old stereographs.
How to Take Stereoscopic 3D Pictures?

The process of taking stereo photos is quite simple. Grab your camera and a tripod and set them on a level surface. Locate your subject in the middle of the frame and take a shot.
Then, move the tripod 2.5 inches to the left or to the right. If you want, you may adjust the camera in such a way that the subject is in the center again. It is recommended for close-up pics. Finally, take the second picture from the new location.
This technique works ideally when the subject does not move. In case you need to take stereoscopic 3D pics of the moving objects, extra accessories are required. If you are lucky to have two cameras ‒ construct a two-camera rig and fix it on the tripod.
This construction will enable you to take pics simultaneously with two cameras located 2.5 inches apart from center to center. Don’t forget to activate both cameras at the same time.
In case shooting with two cameras isn’t an option, you may create a mirror splitter. It is a rig that uses mirrors to split the picture and locate each part at the necessary distance. In such a way, you may take a stereo photo with one camera.
Methods to Display and View 3D Images
Today, it’s not a problem at all to display and view stereoscopic photography. Check out the most popular ways to do it.
3D Viewing Systems with Glasses
These systems work according to the following principle ‒ the right and left views are superimposed on the screen. As a result, these glasses filter the picture in such a way that each eye sees only the appropriate view.
Color-filtering glasses: they display the image in two colors. Such glasses selectively filter out the opposite color image using colored gels. The most popular colors are Blue/Yellow, Red/Cyan and Green/Magenta.
Polarized glasses: such systems apply two sets of polarized light filters. An image is projected through one pair of these filters. There is a different polarity between the right and the left view. The observer wears glasses with another pair of filters.
An image passes through the filter with matching polarity while the opposite polarity is blocked. Polarized systems are better than color-filtering ones because the viewer sees full-color pics.
However, polarized systems still have some disadvantages. They require two projectors (similar to those in movie theatres) or limit the resolution (like interleaved television displays).
Active shutter 3D glasses: the typical feature of such systems is that every other frame, the display is switched between the right and left views. These are wireless glasses synchronized with the display.
They have LCDs and black out the necessary eye when it is required. The displays should run at 48 fps instead of 24 fps. These are one of the best systems in terms of quality, but they are quite expensive.
3D Viewing Systems without Glasses
Wiggle 3D: every 0.10 seconds, the left and right views are instantly switched. It creates a stereophotography effect without glasses. However, this system is not recommended for viewing moving objects. Besides, many customers consider the rate of frame switching to be disorientating.
Mirror Split: here, one or two mirrors are used to virtually overlap pics. As a rule, one view is projected horizontally.
Parallel: this system is characterized by a side-by-side demonstration of two views. It’s easier to view parallel stereoscopic pictures if you have a stereoscope. I will describe this tool in detail below.
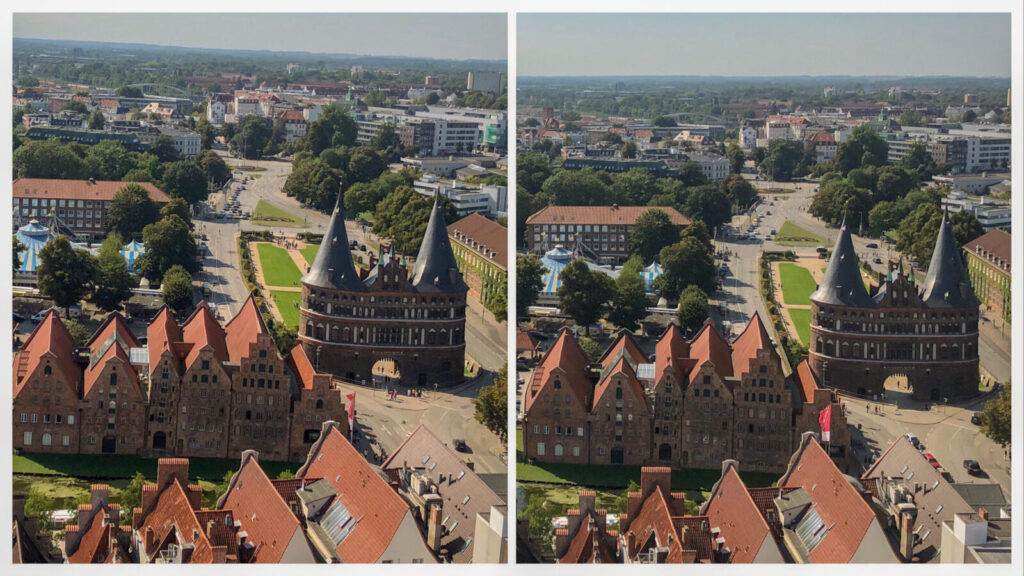
Cross-eyed: this system is similar to a parallel one. However, there is one difference between them. Here, the left view is displayed on the right side while the right one ‒ on the left side. In such a way, the views are seen by crossing the eyes. If you read till the end, you will find more detailed info on the cross-eyed system.
How to View Cross-Eyed 3D Images?
A cross-eyed method is considered to be the easiest way to display and view stereoscopic photos. The most pleasant thing is that you do not need any extra accessories and tools. The image is displayed in the following way ‒ two pictures are placed side by side in such a way that the left view is on the right side and the right view ‒ on the left side. Sometimes, the center of each picture is marked with the dot.
In order to view the pics, you have to locate the images centered in front of you. Then cross your eyes in such a way that the pics appear to overlap each other. In such a way, there will be three images. Put the focus on the central image. When it is in focus, it will turn into a stereo photo. This technique is similar to that used to view Magic Eye puzzles.
However, a lot of people don’t like this method because it is not comfortable when applied for more than a few seconds. If it is about you, read the info about the parallel technique below.
How to View Parallel 3D Images with a Stereoscope?
If you are interested in this method to view stereo photography, you need a stereoscope. It’s a tool that enables one eye to focus on one image using a special lens. Today, you may find various types of stereoscopes on the net.
Probably, one of the most popular ones is the View-Master designed by Fisher-Price. However, antique shops still offer such old-fashioned stereoscopes as Brewster or Holmes.
Speaking about viewing cards (or stereographs), they are also available in those antique shops or you may create them yourself. By the way, it’s not difficult ‒ print several stereo photos which are approximately 2.5-3 inches in width (it depends on the stereoscope style).
Stereoscopes are very user-friendly so you will easily operate them. Put the image card into the holder and look through the lens. In some models, you may adjust the position of the image, therefore, adapting it for various viewers.
How to Make Your Own Simple Stereoscope?
If you decide to make a stereoscope (a simple one), you need a pair of reading glasses and a little machine screw. Speaking about the glasses, they should have high magnifying power (3.0 - 3.5) and temples (earpieces). In addition, they should be wide enough to fit a machine screw through them.
First of all, you have to cut the glasses in the middle so that you have two parts. Then round off the edges with a file or grinder. Your next step is to cut each temple 1/2" past the hinge. Round off the edges again.
After this, take the remaining temple parts and drill a hole in their centers. This hole should be large enough to fit the screw. Locate the eyepieces in such a way that the temples are 1/2 inch apart. After this, screw the machine screw through the temples.
That’s it. Your compact DIY stereoscope is ready to view stereo photos.
In order to look at the stereoscopic photos with your new device, hold the stereoscope up to your face. Locate it in such a way that the lenses are approximately two inches away from your eyes. Take a stereograph card and place it 12 inches away from your face.
If necessary, make some adjustments to improve the viewing process. These adjustments are based on your eyes and the lenses you use. Change the spacing between the eyes, lenses and the card. Moreover, you may change the distance between the lenses.
According to my own experience, the effective distance between the temples may be from 1/4" apart to 1" apart. Choose any spacing comfortable for you.


