By Tata Rossi 22 days ago, Real Estate Photography
Each real estate photographer knows that it’s not that easy to create appealing photos of kitchen. To emphasize the best parts of this room, you should know how to arrange the space, choose a focal point, and what lighting equipment to use.
To take professional kitchen photographs, it’s not enough to set a tripod, adjust your camera, and click a release button. The post below contains helpful tips for each stage of your shoot to highlight the best areas of a kitchen and hide drawbacks.
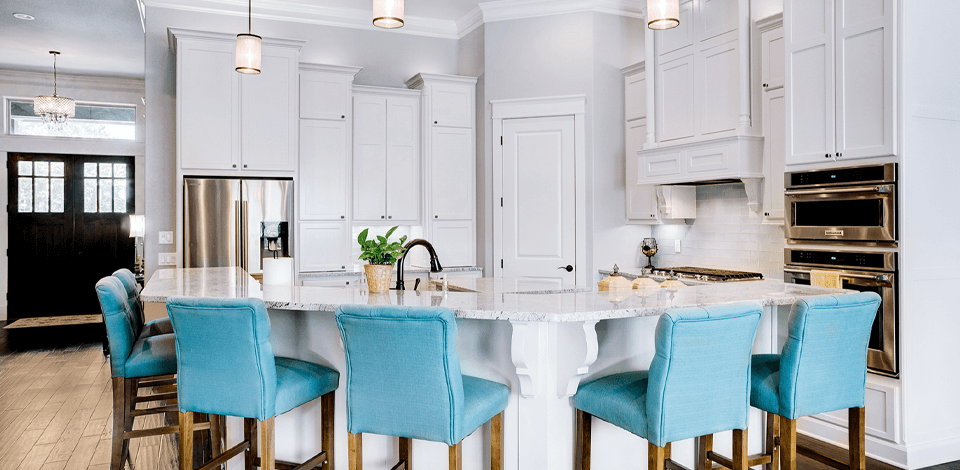
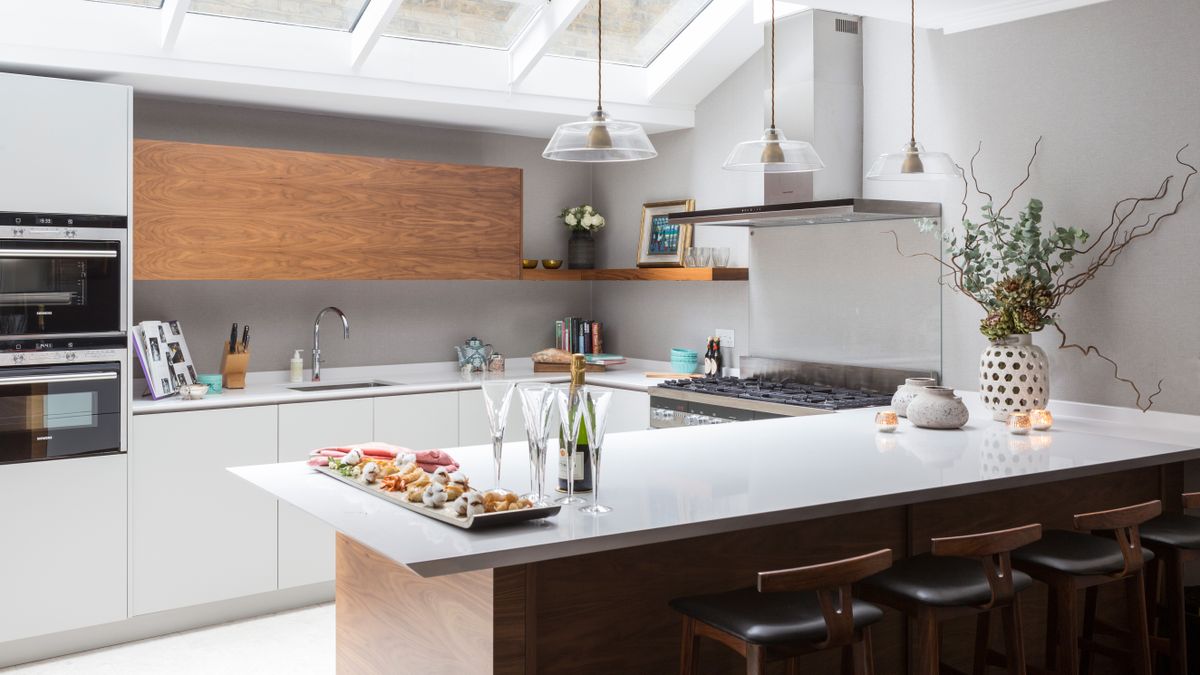
You may mistakenly think that staging is not about kitchen photography. In fact, you should stage the space to create a cozy atmosphere and make viewers think they are at home.
You can just put a bowl of fruit on the table or a cutting board with sliced bread on the tabletop. Experiment with interior photography ideas, use fresh flowers to make a room brighter and more colorful, add different thematic props, etc. However, don’t overdo with staging. Your task is to add several objects to make the kitchen look appealing for clients, not to distract them with unnecessary things.

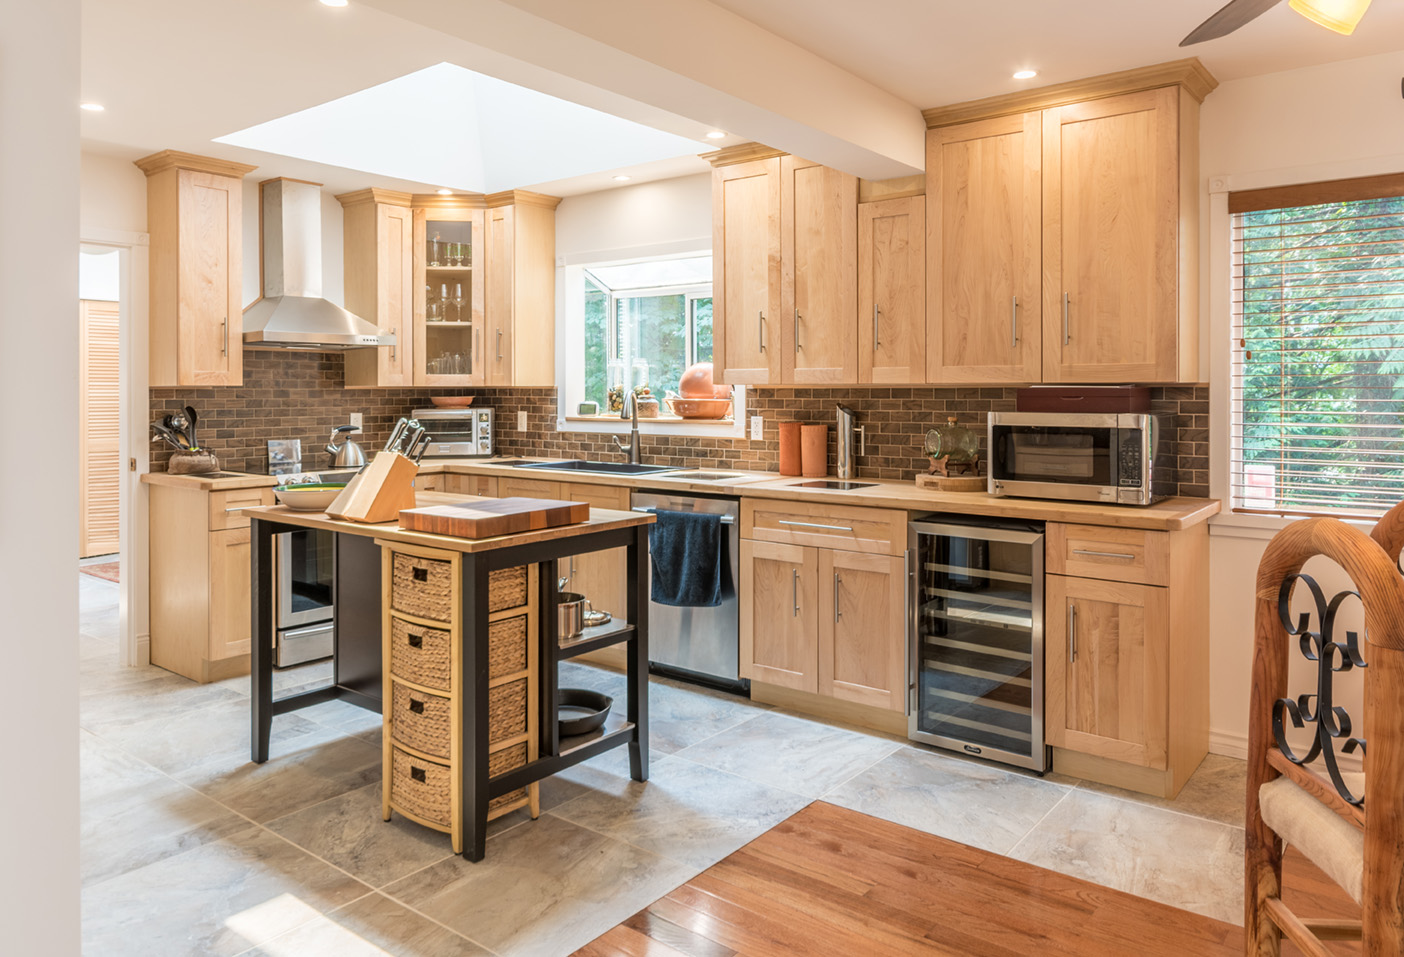
To create an appropriate composition, refresh your knowledge on how to use leading lines. You may check the vertical lines in the kitchen or bathroom photo to better grasp the idea.
Mind that if you tilt your camera up or down, you will get slanted foreground/background lines creating the impression of a room falling over. Of course, you can correct such drawback in Photoshop using the Skew tool. However, remember that it’s easier to take a shot that requires minimum improvements.
Kitchen photography requires shooting from various angles. Buyers want to see a room from different sides so keep this in mind. Try to compose a frame with a camera as straight as possible. This way, you can avoid a tilting effect.

Always remember the correct photography composition. Don’t tilt the camera up or down since lines in the frame will be off-balance. No matter how many shots you have taken and from what angles, you need a straight horizontal photograph covering a room. Thus, viewers can see the whole picture and better evaluate the space.

Real estate photography is the genre that requires all items to be clean in photos. The same applies to kitchen photography. Notify the owners or people in charge of the property that a kitchen should be prepared for photoshoot beforehand.
Plus, it’s recommended to get rid of the small things, like wastebaskets, brooms, brushes, etc. Make sure all lamps and light fixtures work perfectly. You can polish a photograph at the last stage by using RAW photo editors, like Photoshop, but again, it requires additional time.

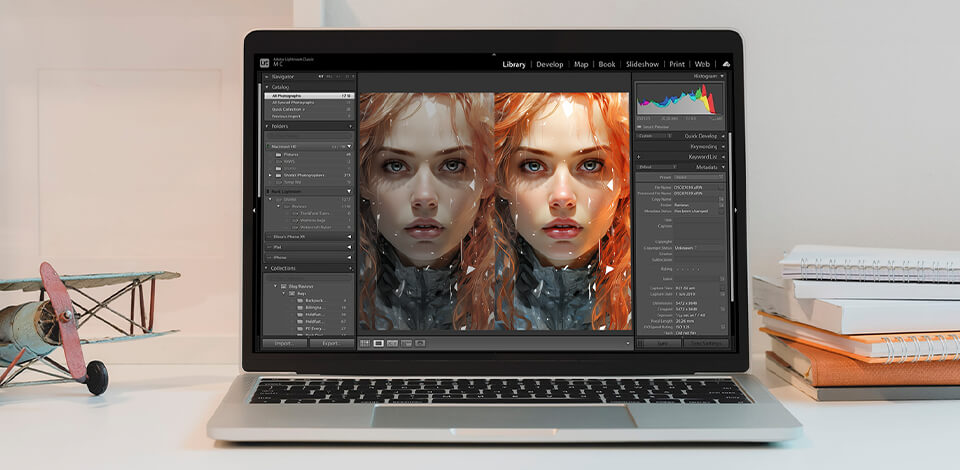
Even experienced professionals make mistakes and it’s almost impossible to get an ideal interior photography result at one stroke. In most cases, you have to correct white balance, lighting, and shadows to get a picture conveying the atmosphere of a kitchen.
This process may seem tiresome and time-consuming. Therefore, you can delegate it to our experts. We are a photo editing team providing services for more than 17 years, so we know what we do. Our retouchers have enhanced thousands of real estate shots, delivering realistic results every time. Photographs have natural surface textures, correct lighting settings, and clear tones.
As a rule, it’s better to take kitchen photographs during daylight hours. It’s not recommenced to photograph at night. Try to do it between 10 a.m. and 3 p.m.

Of course, if circumstances allow, avoid working on a rainy day. Wait for sunny weather. You will get better photos if you have a lot of natural lighting.
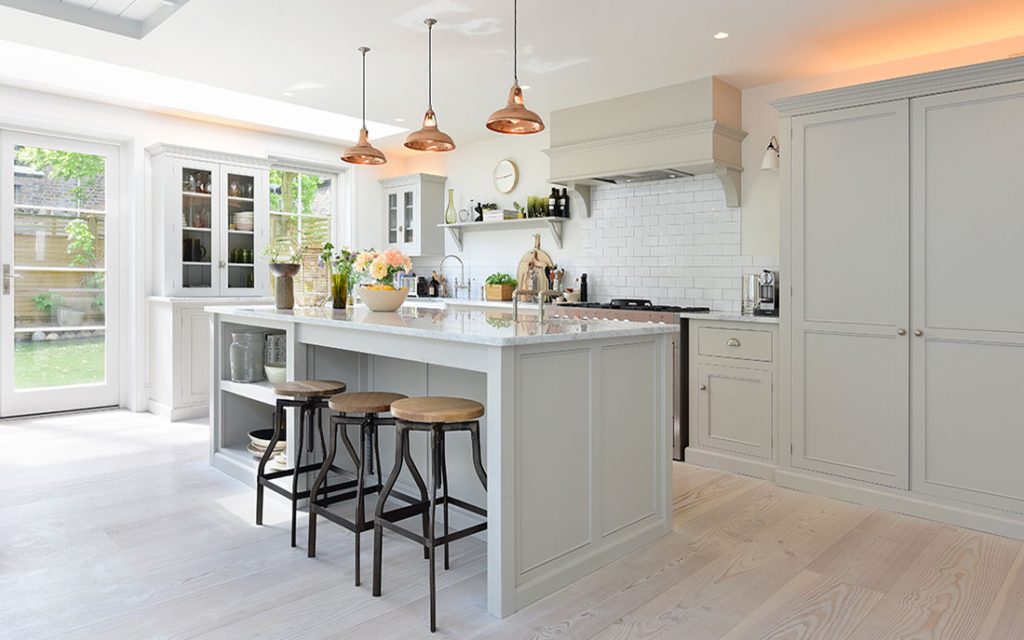
As has been mentioned before, to get high-quality photos of kitchen, you need a lot of natural light. So, you should draw curtains apart and raise window blinds.
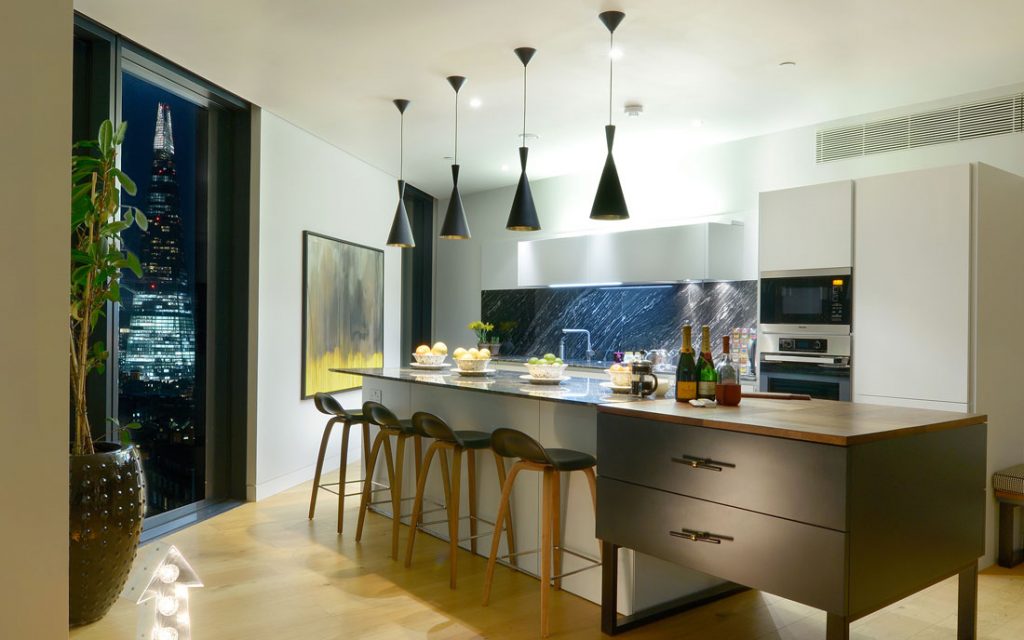
Don’t forget about overhead lights and combine them with natural lighting to get the desired result. However, no matter how many light fixtures the kitchen has, natural lighting is the most effective thing in our case.

Experiment with various types of lighting. You can take several shots with natural lighting and a couple of images with a combination of natural and artificial lighting. Sometimes HDR real estate photography samples look truly impressive. I like the method when the cabinet lighting is combined with the lights over the range or cooktop.
Plus, you should use a balloon, an optimal light sharper for rooms. It’s recommended to locate it facing the ceiling on the left side near the camera. This way you get a softer look in images.
Put a lightstick on the floor for the front part of the table. Take shots with and without it and see what variant is better.

Mind that even kitchens with super big windows may be really dark. The point is that a very wide dynamic range makes windows too bright while the rest of the space is very dark. To fix this problem, you have to bracket the exposures and blend them together. As a result, you will get one professionally exposed picture.
You can perform this operation using the Auto Exposure Bracketing (AEB) feature of your camera. Take several shots at different exposure levels. Besides, you can practice HDR photography in this case not to set up lighting equipment in the kitchen.
What’s more, bracketing photography technique is a budget-friendly method to get qualitative shots without buying additional artificial lighting equipment.

Sometimes, to take photos of kitchen, shooters use the aperture priority mode. It delivers great results since you get full control over the aperture and the ISO. The camera, in its turn, determines a shutter speed providing extra control over the exposure.
In general, this mode is convenient for a photographer since he/she doesn’t have to control all three settings. The best thing about using the aperture priority mode is that you can choose the aperture necessary to get super-sharp pics.
Of course, you shouldn’t forget about the manual camera mode. Manual mode allows adjusting all important settings to get excellent shots.

ISO is one of the most important settings for kitchen photography. If you know how to adjust it, you are bound to get amazing results. ISO is especially important for nighttime photography. It works like this.
If you see that there is not enough brightness, you should set the ISO higher. Set it to 200, then to 400, and so on to get the desired effect. Avoid too high ISO levels not to produce noise.

When taking photos of kitchen, the aperture and depth of field should be F/4 or F/2.8. If you need to wider the aperture, you should select a smaller f-number. Mind that the aperture directly affects the depth of field. For example, small f-numbers minimize the depth of field, while large f-numbers maximize it.
If you want viewers to focus on a particular detail, like a tea-set or cooking device on the countertop, use a smaller f-number to blur the background.

Remember that you shouldn’t photograph with a shutter speed lower than 1/50 second. This parameter should be around 1/60. As a rule, a photographer adjusts the aperture and ISO first. And only then, he/she sets the shutter speed based on the exposure.
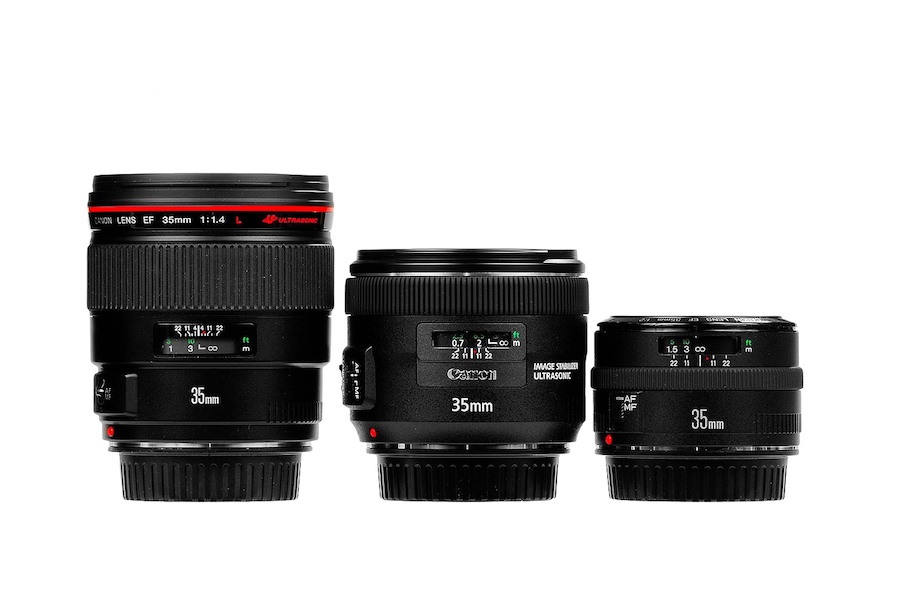
You are completely wrong if you think that you can’t do without wide-angle lenses when dealing with kitchen photography. Wide-angle lenses can create distortion in the frame. Plus, objects located close to the camera seem bigger than they really are, while far-away objects appear tiny. Thus, a standard lens is more suitable for such purposes. Take a step away to capture what you need.
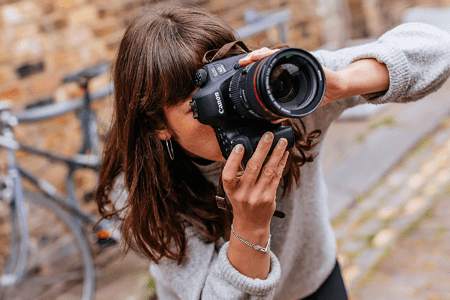
It’s recommended to use a high-quality universal lens for real estate photography. Attach it to a 35mm digital camera with a bubble level and start taking images.

One of the most important components of real estate photography equipment is a tripod. I recommend using a basic camera mount tripod and a remote shutter release to avoid blurriness. With a tripod for real estate photography, you can get truly sharp images. Even if you have super-stable hands like a surgeon, there are no reasons to risk and end up with blurry pics.

If it is possible, connect your camera to a laptop via USB and look through your photos. Check clarity and details. This way you can retake photos in case some of them are spoiled. Besides, zoom in and check each shot before you start shooting from the other angle.
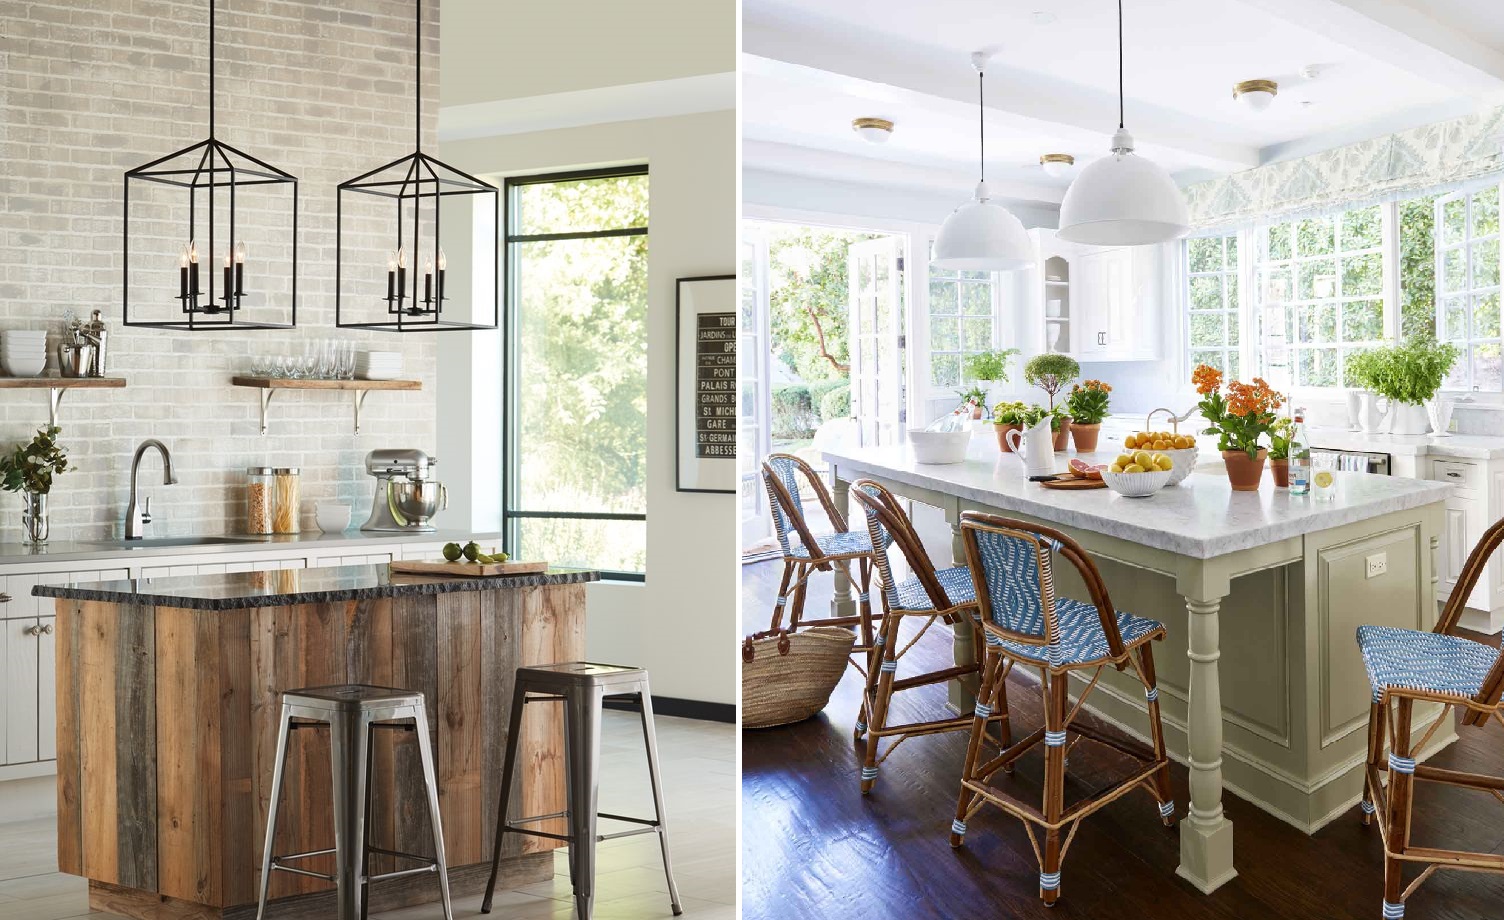
It would be great to get props in one color. Plus, they should be simple. Focus on the materials and textures in the frame. Don’t forget about the architecture. By using props, you can create a welcoming and cozy atmosphere in the kitchen.
However, don’t overdo with them. You photograph the kitchen, not the props. What I mean is that white tulips look better than a bouquet of mixed flowers.
Also, concentrate on the details that make the space look integral, like DIYs, a coffee collection, tea cup storage, etc. Your props should relate various parts of a composition. Viewers’ eyes should move around the kitchen photograph and notice similar colors, shapes, and materials in various items.

If you feel that your photos of kitchen are not perfect, you can use these Lightroom effects to create beautiful images. Such tools speed up the process and make photos truly interesting. These presets are designed to enhance interior shots and are also suitable for other real estate photographs.