Are going to take diamond photography that sparkle and shine but don’t know how to do it right? Here are several photo and lighting tips that will help you to take impressive photos of diamonds and make diamonds sparkle in photos.
I’ve gathered only the most important information about shooting jewelry and my personal steps I usually go through when shoot diamonds. Tips on how to set up your camera, what equipment you to use, and some ideas for inspiration.
First of all, you must photograph only polished and clean stones. Even if you do not see dust and dirt with the naked eye, your digital camera will reveal all the flaws and show them in the detailed image.
Use wet cotton and microfiber cloths to remove dust and make your diamonds shine. To prevent your fingerprints from remaining on the surface, you can wear cotton gloves during the shooting.

I don’t recommend working with the camera in your hands, especially when you use a flash. A tripod will help you keep your framing unchanged. As a result, you will be able to fine-tune the focus. You do not need any special tripod, as you can use a standard budget tripod for convenient work.
A remote control is necessary when you should avoid pressing the shutter button on a camera for photographing artwork and diamonds. Since sometimes you need long shutter speeds, touching the camera can cause vibration that will be noticeable in a picture of diamond.
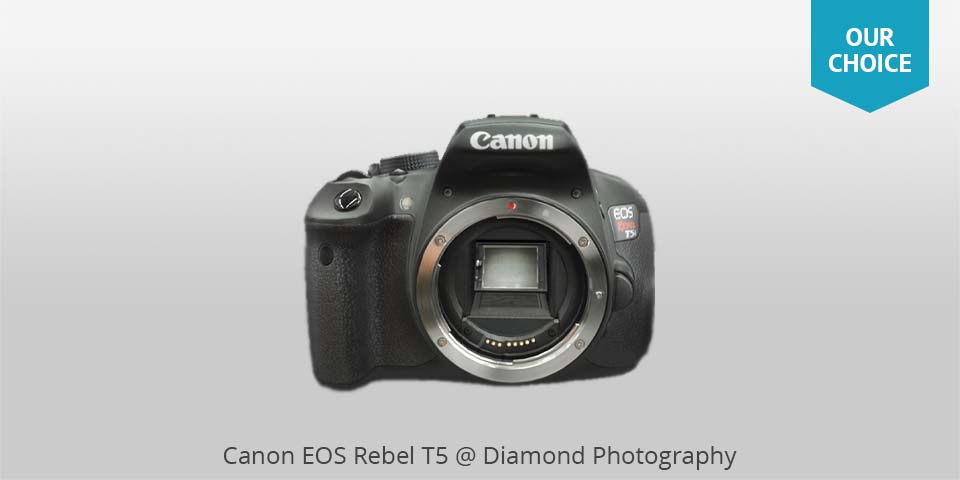
Modern compact cameras usually have a wonderful macro mode due to the small size of the matrix. Therefore, they are an excellent choice for this type of photos if you can manually control the exposure.
Canon EOS Rebel T5 is one of the best camera for jewelry photography. Manual control is rather flexible. In addition, more than sixty removable lenses are available for this model.

A macro lens is one of the most essential pieces of equipment for diamond images photography. Macro lenses compatible with SLR cameras are probably the most expensive. At the same time, they provide stunning jewelry photography beyond life-size.
It is better to buy two macro lenses. First, choose to shoot at close range. It will have a short focal length. You can use it when you need to focus on the fine details of large jewelry. The second lens should be with a longer focal length in order to photograph from a more comfortable distance.
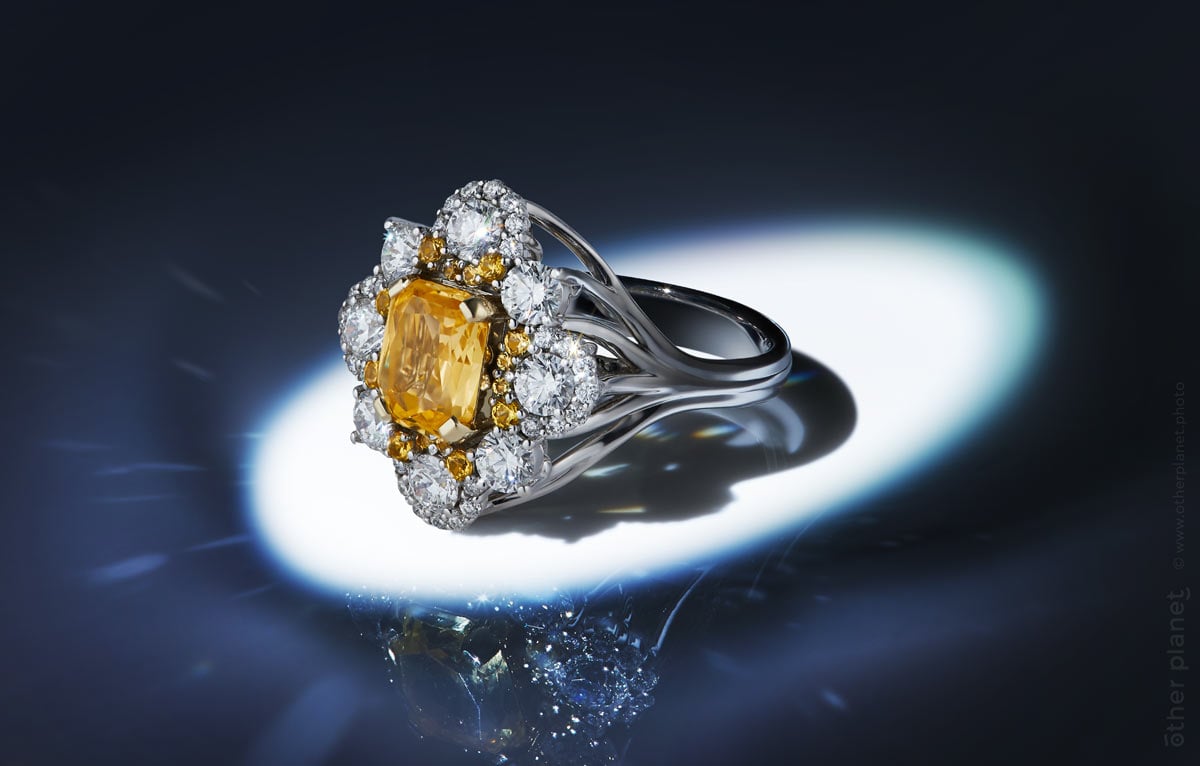
The goal is to create soft light with almost invisible shadows. Working on a black background makes this task a little easier. As you are just starting to master this technique, you should use a reflector to create the effect of lighting from all sides.
You can always invest in jewelry photography light box. It does not cost much. Moreover, it is quite simple to make it yourself. All you need is a few sheets of paper, a box, and a few lamps.
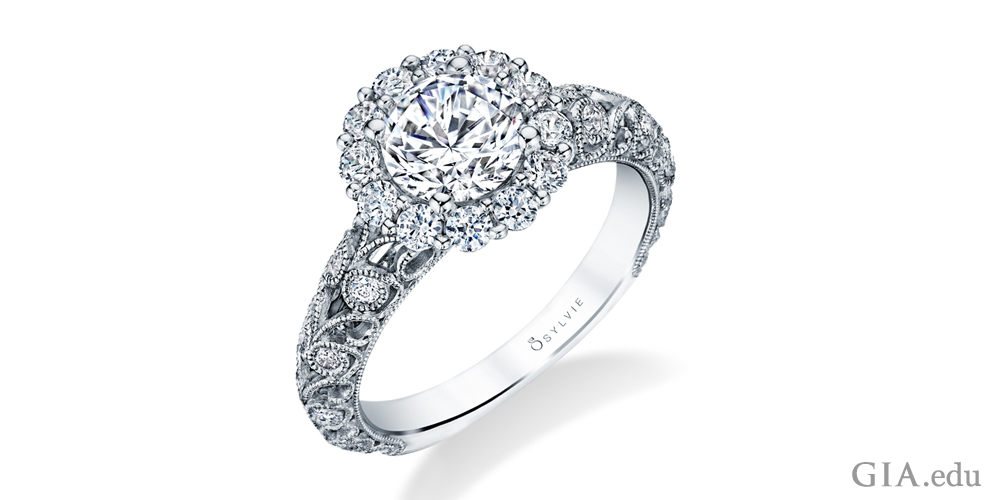
For diamond photography, it is very important to set the focus right. As a rule, when photographing, you focus on the largest diamond in the necklace or the original pendants on the bracelet. However, you need to be very careful, because even when shooting from close range, the focus can be turned off. Zoom in and check that everything is in order with the image.
If you are not satisfied with the accuracy of focusing, then refocus and when you achieve the desired result, lock it. At the final stage of shooting, review the pictures to make sure you have excellent shots of the whole item.
Using the 360 product photography technique, you will have several shots of separate parts of the jewelry with a clear focus. As a result, you can get a photo with every detail in focus.
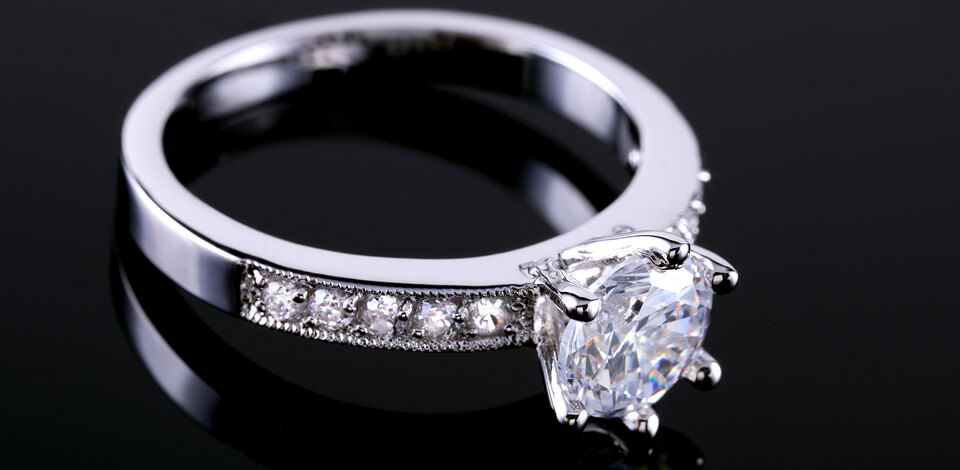
While photographing diamonds, you usually have to use a very short distance, especially if you take images of rings. It means you need to select the aperture correctly. It is recommended to switch to manual control without using automatic settings.
You can get the most precise control over the depth of field only by changing the aperture on your own.
If you use the f/2.8 aperture, you will significantly narrow the focus area. Thanks to this, it is possible to focus viewers’ attention on individual details or elements of jewelry.
Photography can be especially capricious when it comes to taking a picture of diamonds. Such a surface reflects both the flashing of the soft box and the flash, so the light can spoil the shot and you can get ugly jewelry photos.
To avoid unnecessary reflections, try to install your softbox or flash at different angles. You may have to open the aperture fully but you will avoid direct light spots. It is normal when there is some skylight at the edges and sides of the product. But it looks unprofessional when it is reflected directly on the surface. If it’s possible, use a constant light and you can avoid the problems related to the flash.

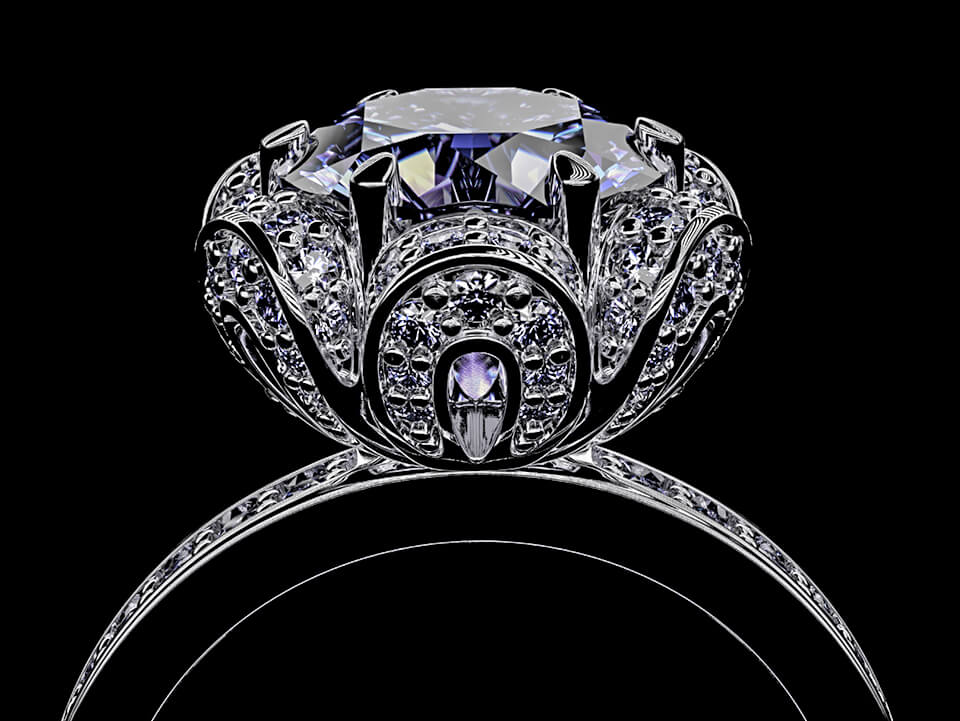
If you are good at product photography camera settings, equipment, and other technical issues, then you are undoubtedly a half way to stunning photos. However, the emotional component of the image is no less important.
You have to perfectly understand what feelings and emotions your picture will cause. As experts say, every gem, every jewel is individual and unique. Therefore, you should capture them in such a way as to show their peculiarity and originality as winning as possible.
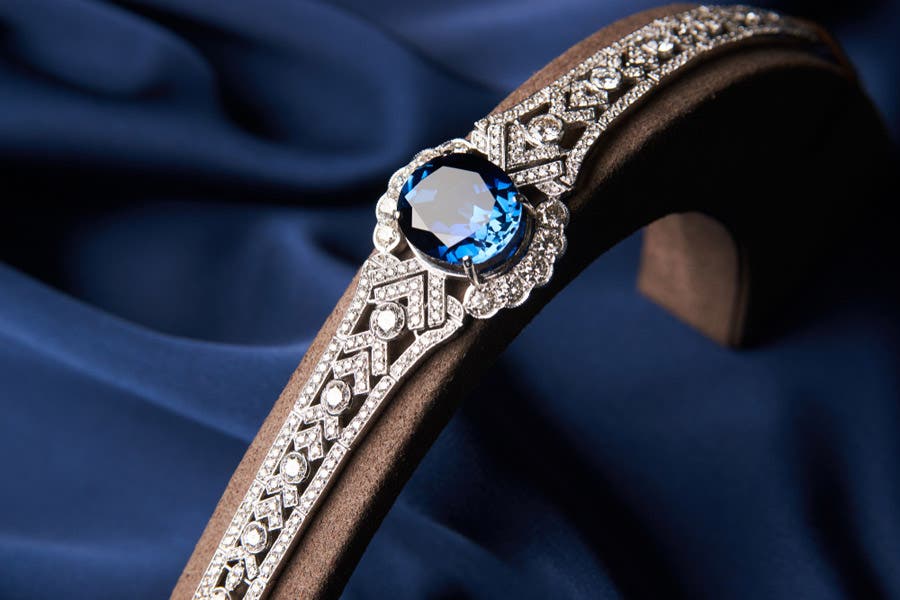
Improper white balance settings can have horrible effects on a diamond photo. If you are photographing for sale or documentation, the images must show true and accurate colors of the items.
If you are shooting for blue diamond photography, then the pink tint of the diamond will look like a complete disaster. You also cannot submit gold rings instead of silver for the online store catalog.
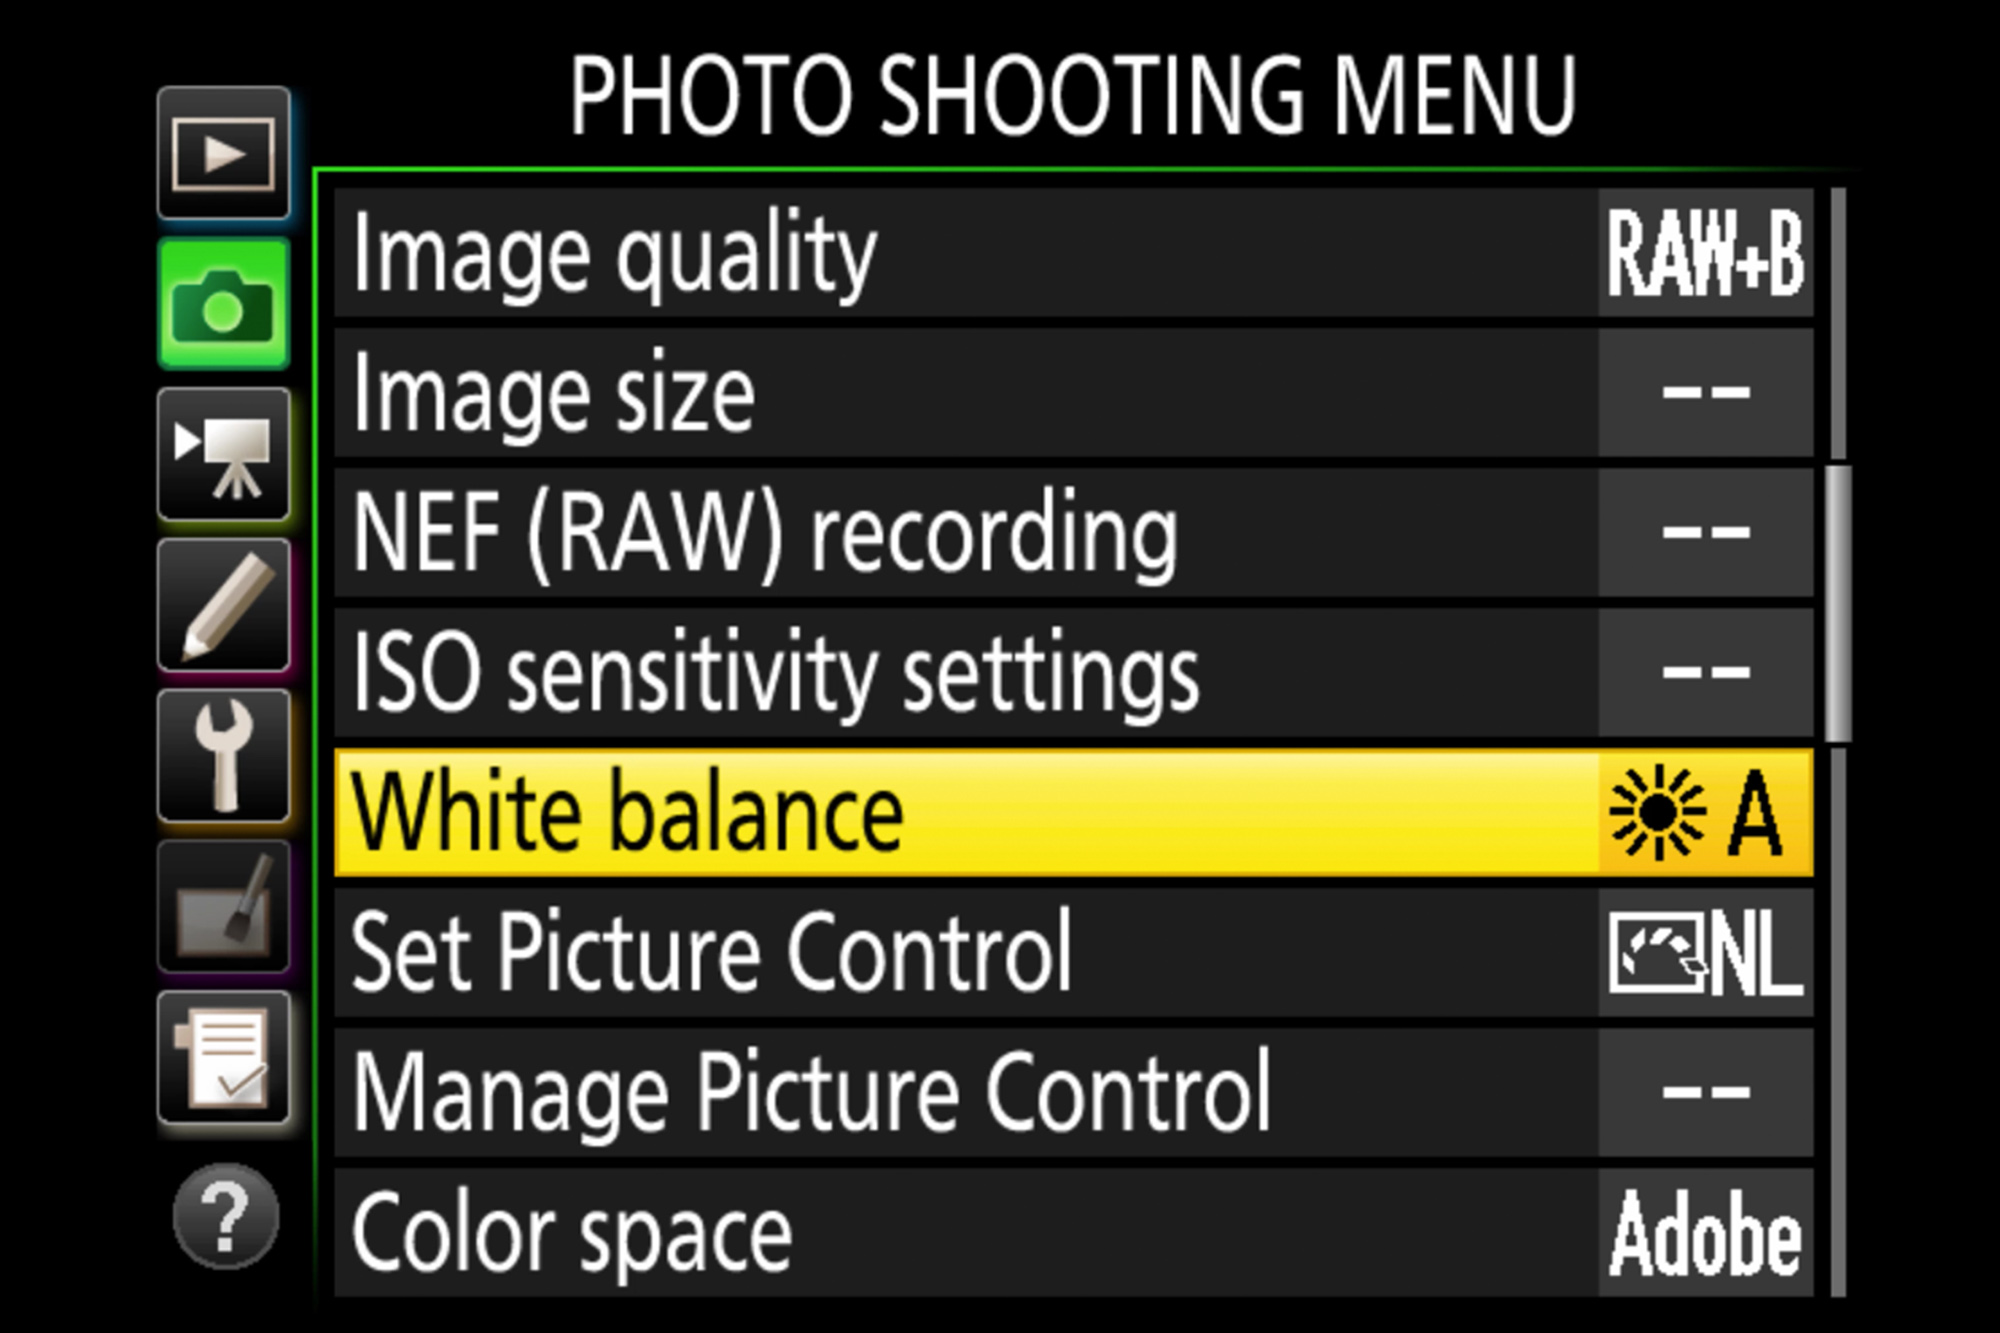
You can avoid such troubles if you adjust the white balance correctly before shooting. In the picture, your jewelry should look exactly the same as in reality.
One option is shooting in a RAW format that allows you to adjust the white balance during post production. In addition, you can use a gray card to adjust the white balance according to the current diamond photography lighting conditions.

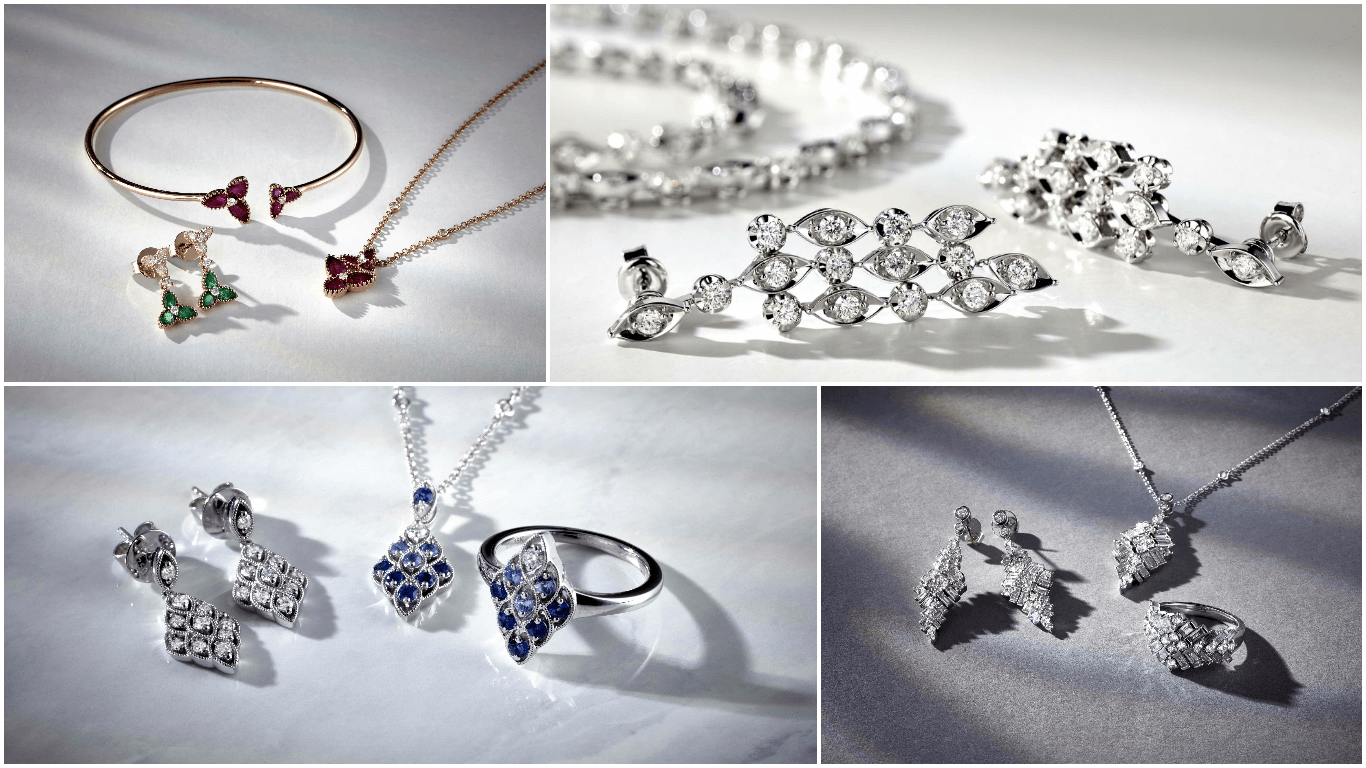
The use of interesting and original surfaces of contrasting colors is one of the most popular techniques used in diamonds photography. You can test a variety of color options ranging from one solid color to several shades.
This approach allows you to demonstrate your jewelry effectively. However, do not overdo it. You should not use too many shades in order not to disperse the viewer's attention and not distract from the main object in the image.
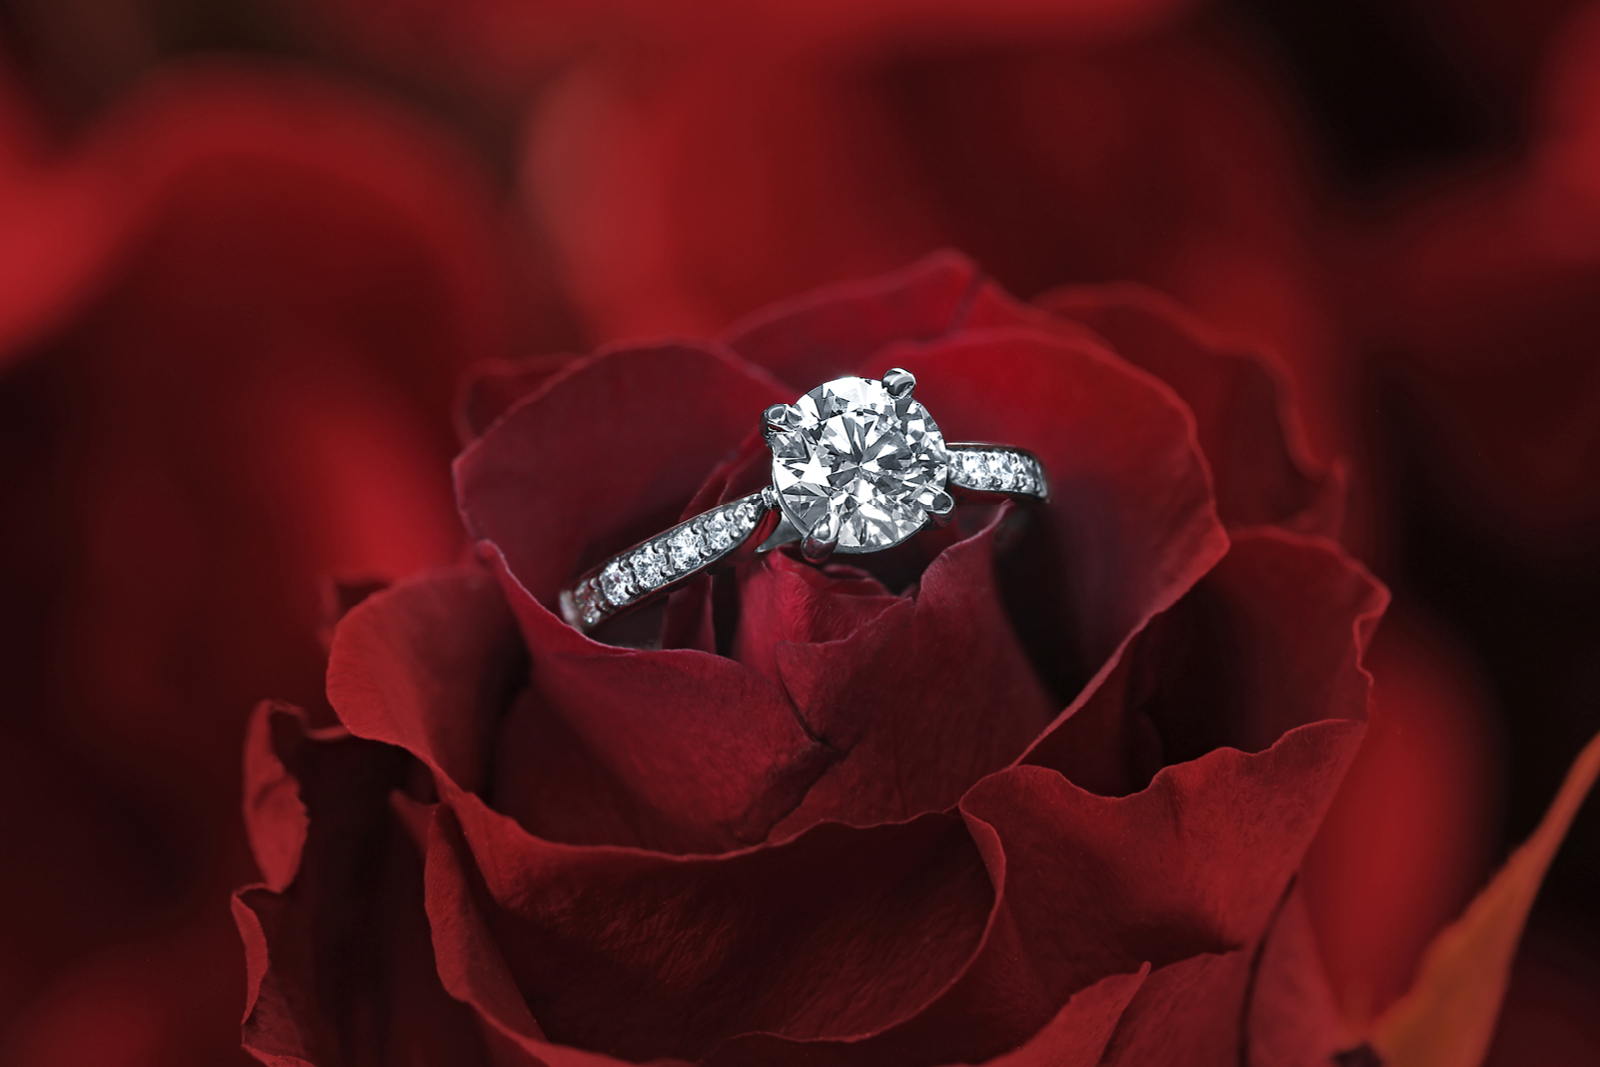
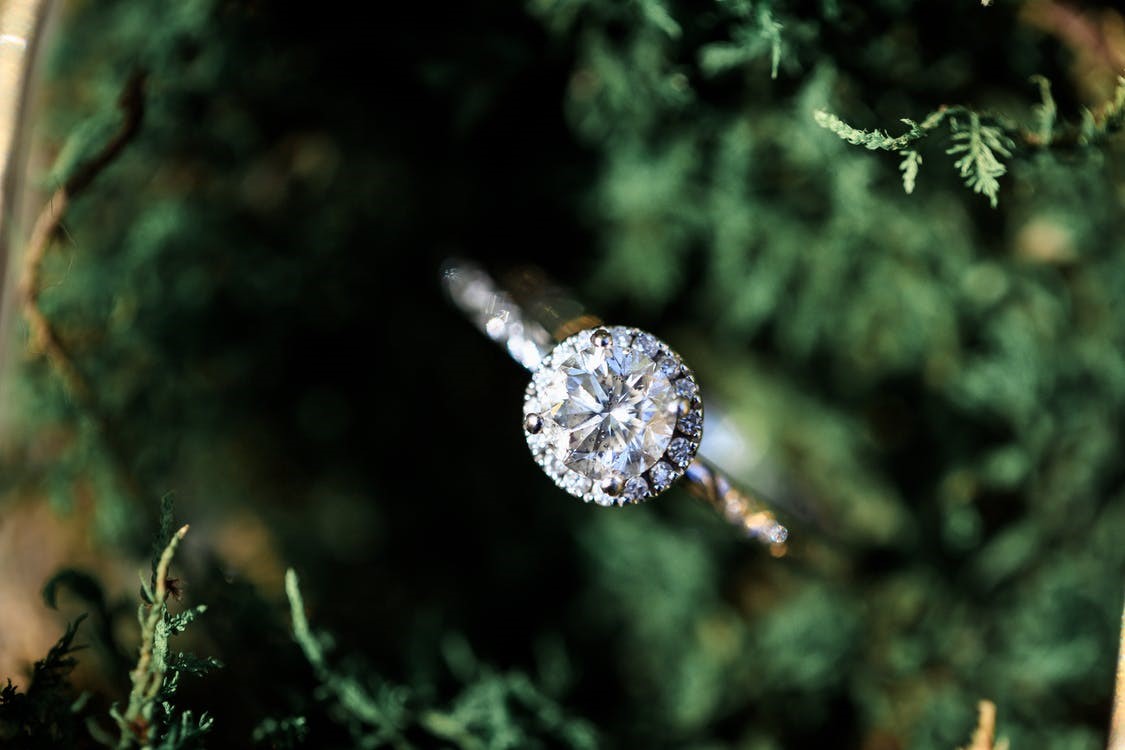
One of the trends of diamond photography is to add pieces of jewelry to flowers and plants of similar colors. The most popular props for eye-catching jewelry still lives are various natural objects.
For example, you can take beautifully folded twigs, snags, and flowers. As an option, you can take pictures of jewelry on the blurred textural background with a strong closing up. In reality, such a background can be everything from skin to leaves.

Taking photos of diamonds do not forget to use your imagination and creativity. Give shoppers the opportunity to see the whole story thanks to your photos. To make your accessories more realistic, you can use the mannequin busts that are sold in most craft shops. Personally, I prefer to use black busts. Diamonds look more elegant and sophisticated on them.

If you do not have a mannequin, then you can make a kind of jewelry clipboard by yourself. All you need is white paper and cardboard. Cover the cardboard with paper and secure the ends of the jewelry at the back. To take better pics of diamonds, you can use different colors and textures.

If you are shooting diamonds for online stores, capture the object on a white background. In addition, you can take photos with a reflection on the mirror surface. If you decide to photograph in the creative manner, you should think about the composition.
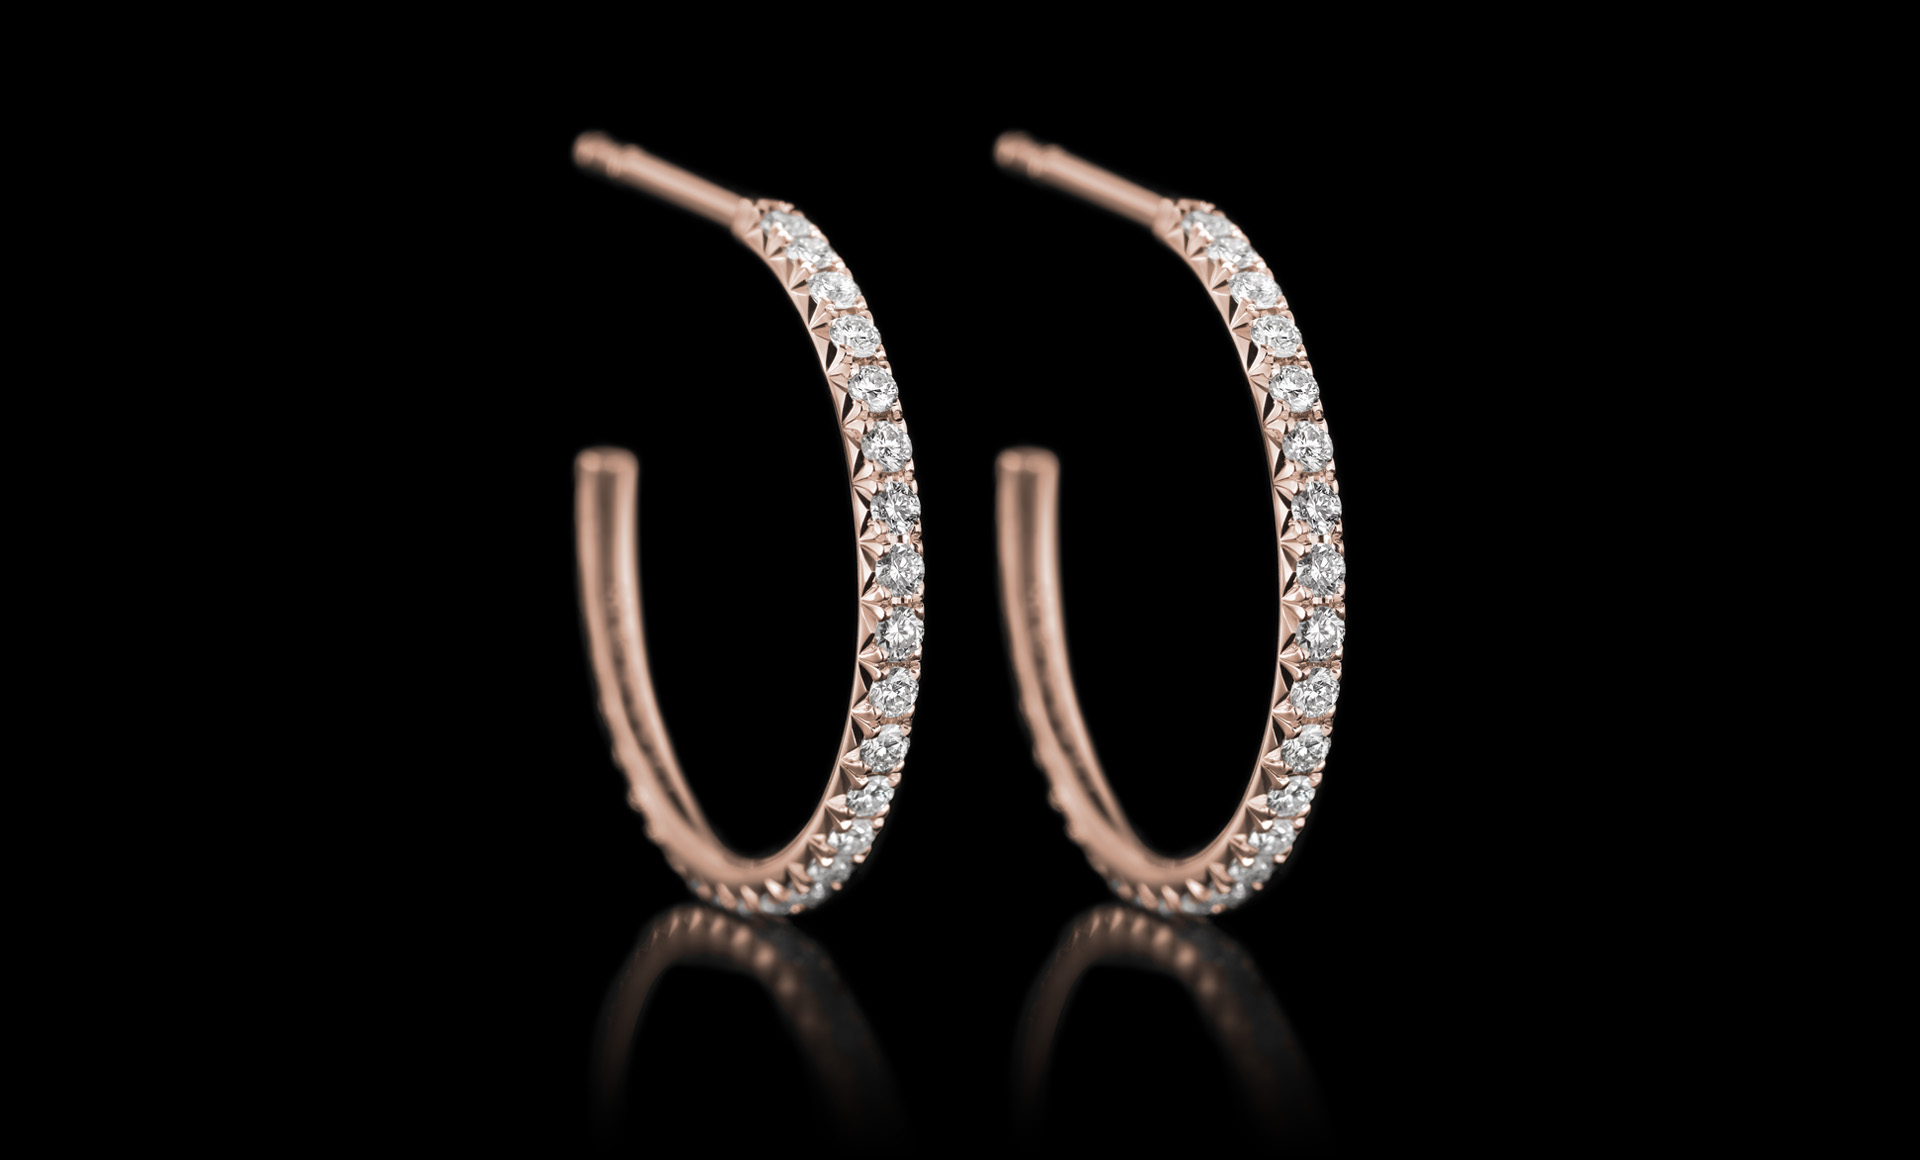
Earrings can be placed on some dark or even better black support. Black color will emphasize small details and allow crystals shine. If you have decorative "holders" for your precious stones, use them. But remember, jewelry photography props should not be aggressive and distract from the main object.
Start by making a list of recommendations and guidelines for your diamond photography and try to follow it step by step. Successful diamond photography is based on the consistent use of the same settings and conditions.
You must record all the camera settings you are using for a particular shooting, the position of objects, the background, lighting conditions, etc. This will be very useful if you have to take photos for several days.
Patience and practice are essential for shooting diamonds. You need to take care of sharpness, but the most important thing is lighting. Soft, uniform light can result in a better image. Remember to charge batteries in the camera and flash.
Turn on lovely music, take a cup of good coffee, and look through the first photos you get. Then make some changes and you will take good shots. Sometimes you may need to use jewelry design software to understand how an item is created and photograph it in an unconventional manner.

To make photos pop and professional, you need to install Lightroom, Gimp, Picasa, Adobe Photoshop, ACDSee, etc. and make realistic editing.
It’s hard to get a perfect shot and take into account all crucial points. With the help of photo editing software, you can control the white balance, light and shadow, make color correction, focus on the right details or eliminate minor defects, smoothen the metal, etc.
However, it takes much time and if you don’t have much experience in it, outsource editing to professional photo editing services.
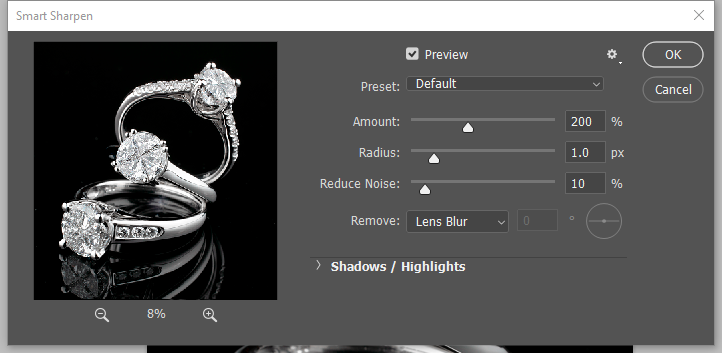
If the jewelry edges look too sharp due to the presence of metals or the stone itself, then I recommend using the mask in Photoshop. To use it, go to the Filter menu and select Sharpness.
You will see three sliders affecting the values of Radius, Threshold and Amount. By moving these three sliders, you can adjust the necessary sharpness. For true professionals in the field of 360 photography, this is an easy task.
This tool is a real finding for those, who are engaged in retouching pictures of loose diamonds and other stones for online catalogs. In such cases, working with the background is one of the main tasks.
You may need to remove and change it. To get the desired result, use one of the methods available in Photoshop. Clipping path is one of them.
This tool allows you to remove the background without affecting the object itself. If you do not want to perform this manipulation yourself, then you can order this service from professionals.

Picture post-processing is no less important than shooting diamonds itself. Using good photo editors you can greatly transform your photos, eliminate flaws, improve the quality of color, contrast, and other settings.


