15 Sun Photography Tips for Beginners – How to Photograph in Full Sun?
When you purchase through affiliate links on our site, we may earn a commission. Here’s how it works.
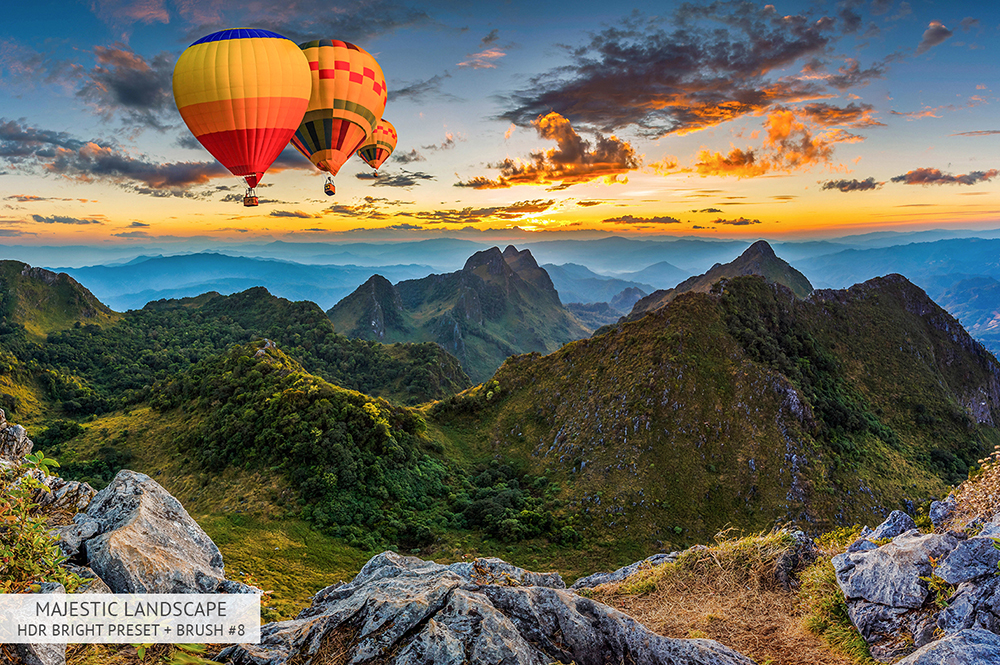
Sun photography and flares make your portfolio look lively and pop. Cameras are aimed to reduce flare, brightness and other things related to sun shooting. Thus, when we talk about sun flares, we break the rules from the very beginning. I would like to present my 15 most useful tips for landscape and portrait solar flare photography.
15 Sun Flare Photography Tips
There is no need to follow the basic photography rules when it comes to sun flares. You can shoot them any time. All you need is to use your imagination and original ideas. With these simple tips, you will be able to experiment and show your creativity. In this article, I’d like to cover the topic of how to take pictures of the sun in detail.
Tip 1. Get to Know What Sun Photography Is
Sun photography is a type of photography where the sun is one of the central components of the composition. This type of photography is often used in landscape photography and a special kind of documentary shooting where it is necessary to capture the flares. These are:
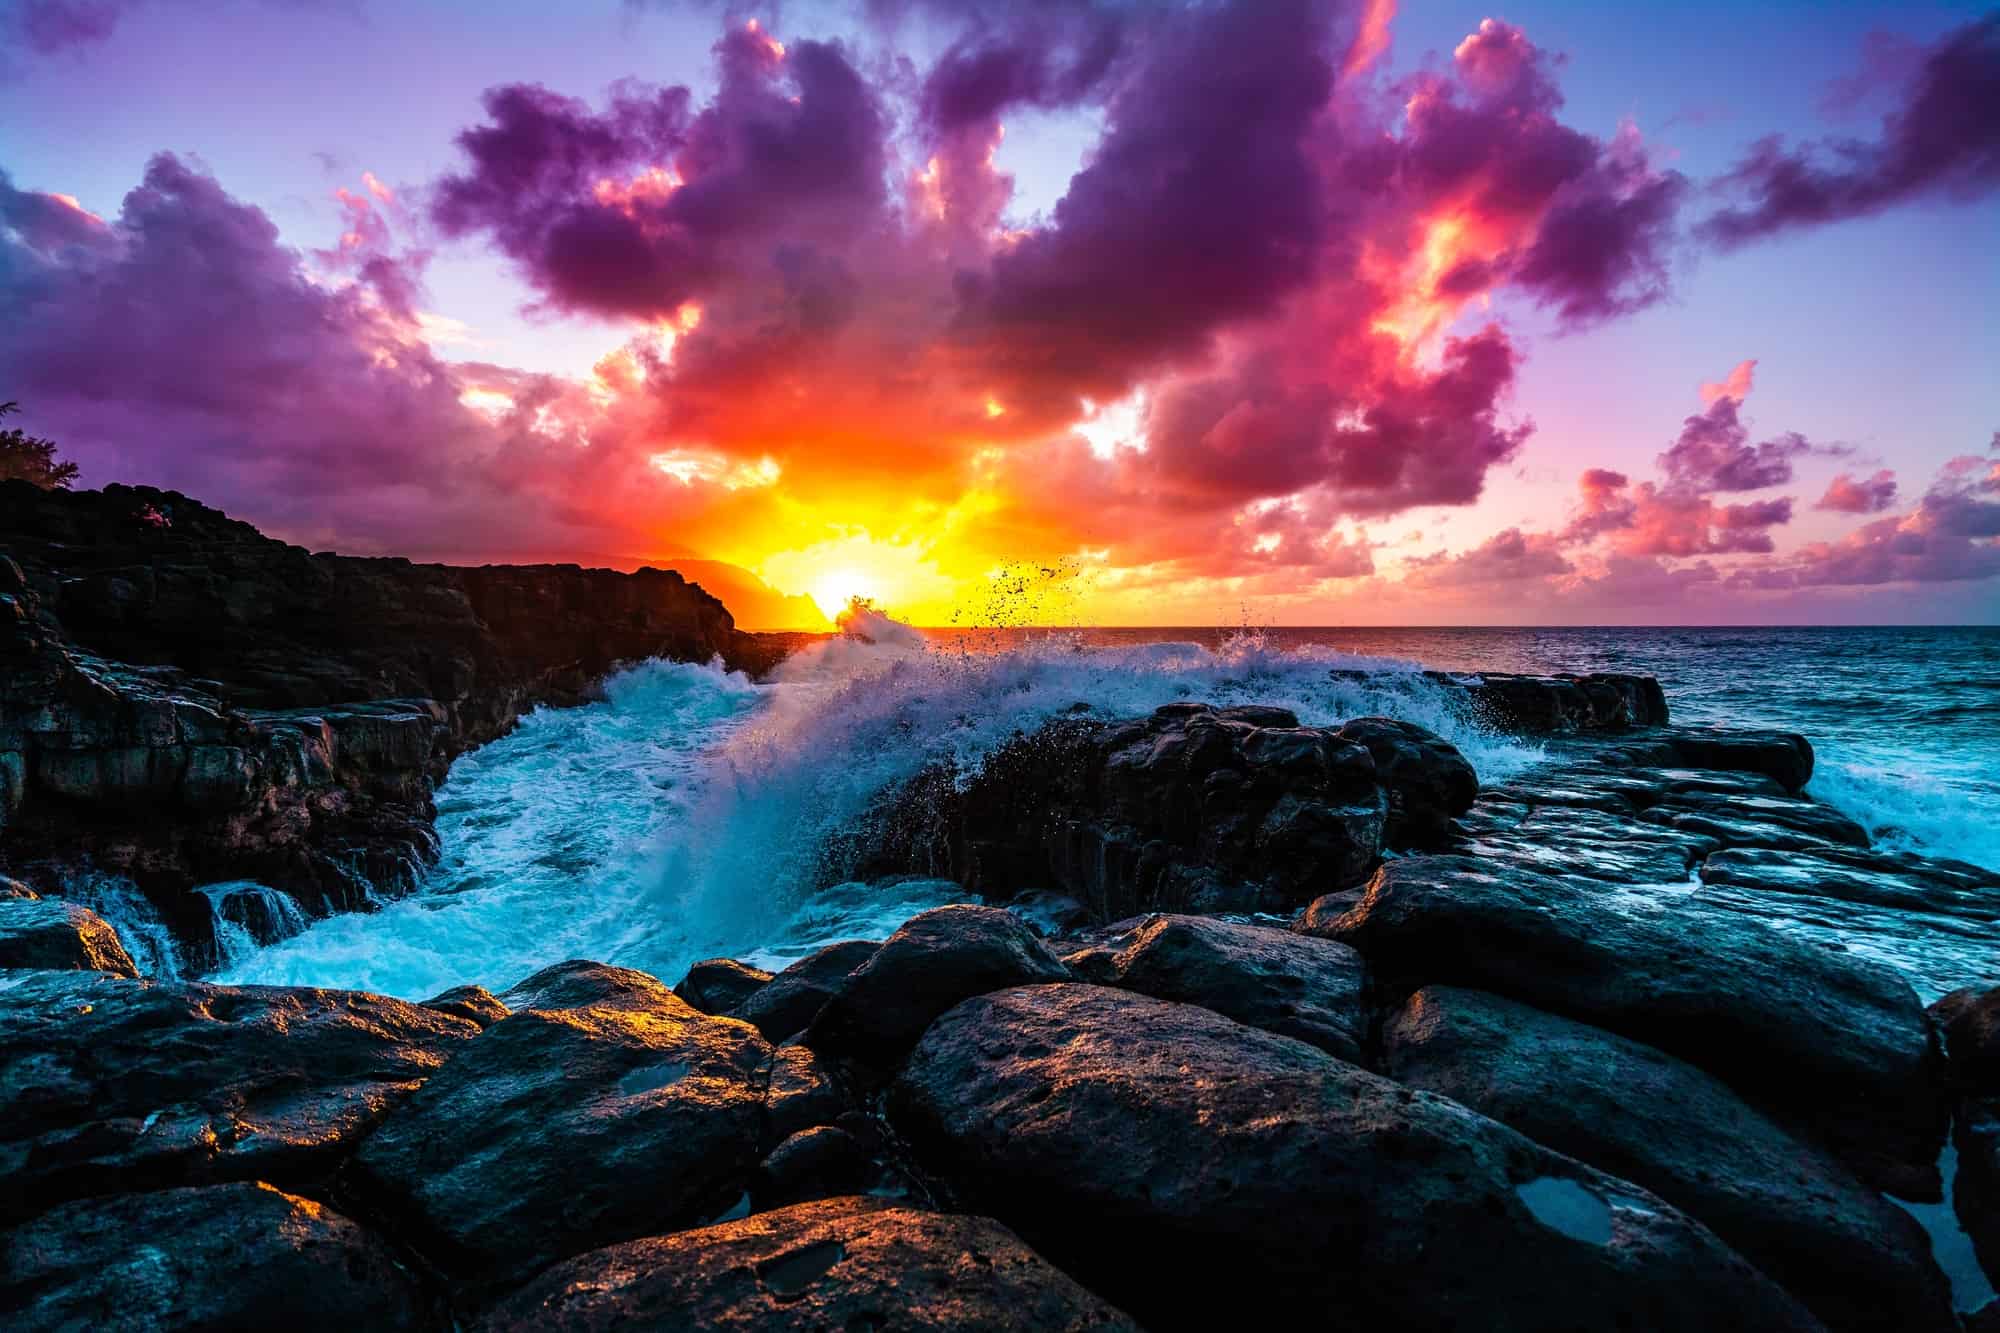
Sun flares photography
Flares makes your images look dramatic and spectacular. So when it comes to taking pictures of the sun, you’ll no doubt be impressed by the warmth and vividness that the flare gives.
Backlit photography

Backlighting is considered to be one of the easiest types of sun photography. With this technique, the main source of light should be behind the subject. That is to say, the main light source is placed opposite the camera. Then it is necessary to place the subject between the light and the camera. You can get a special glow at the edges or behind the subject. Backlighting is usually created using artificial lighting. Though there are also approaches for obtaining effective background illumination by using natural lighting.
- Read more about basic backlit portrait tips for taking high-quality portrait photos with golden and warm sunrays.
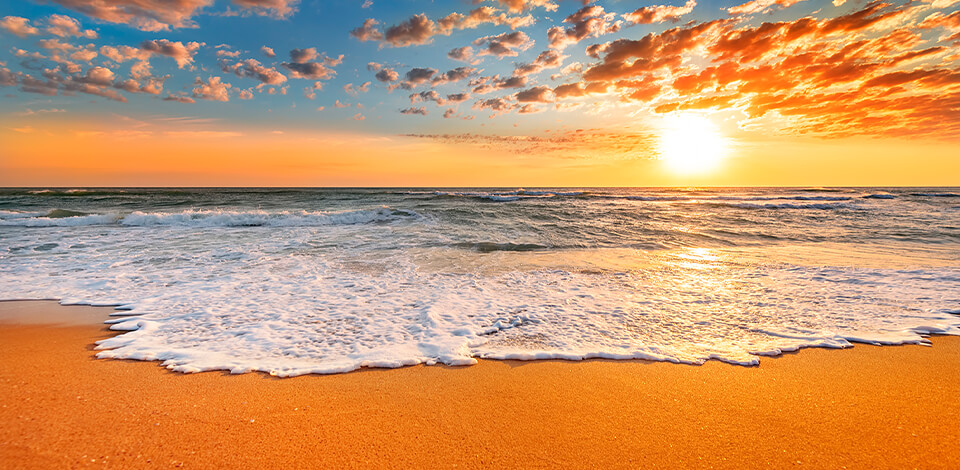
Sunrise or sunset photography
Sunrise and sunset photo sessions are very popular among nature photographers. Though you can find great light at any time of the day, both dusk and dawn have a very inspiring effect. Nevertheless, in spite of the fact that they are beautiful, they are quite difficult to work with.
- Read these twilight photography tips is you are planning to take high-quality real estate and landscape photos at dusk.
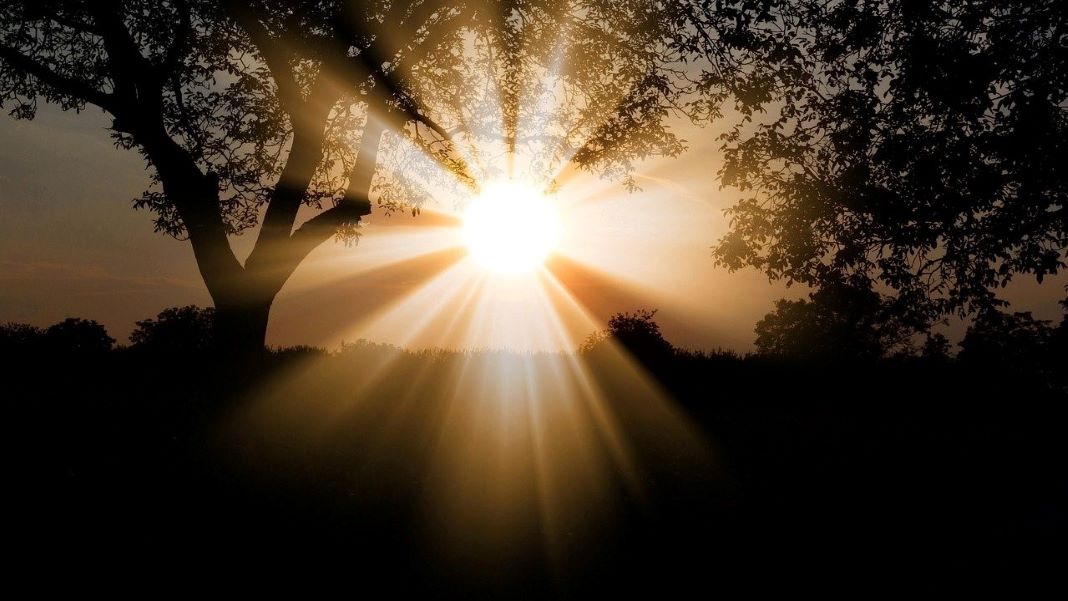
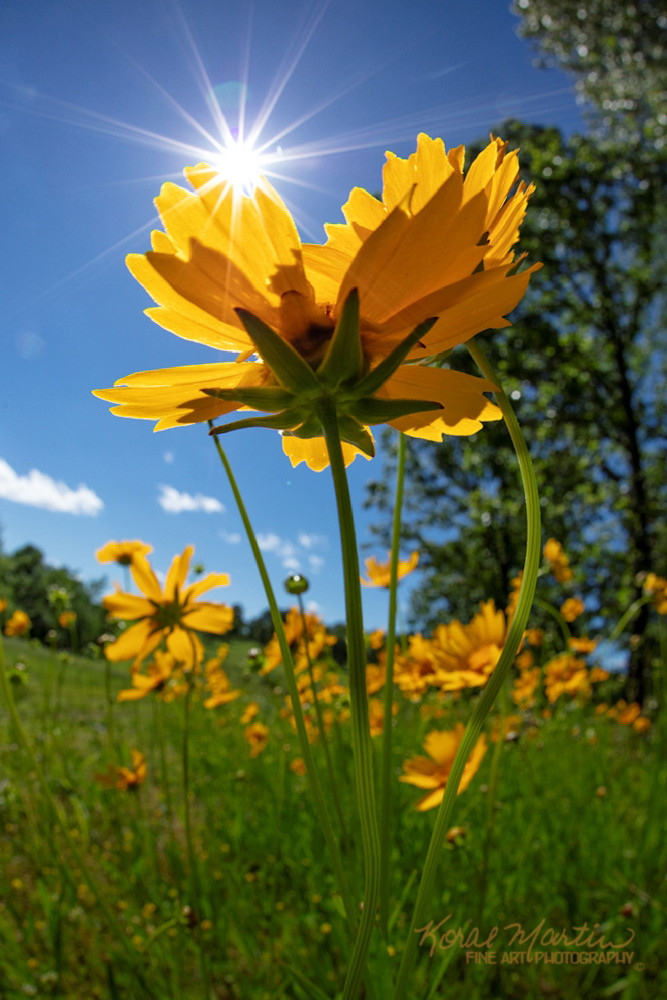
Sunburst photography

When taking the picture, you can see the star-shaped rays that are called “Sunburst” or “Starburst.” I am not used to capturing sunburst in all my landscape photo sessions. But I like to take such pictures on a bright sunny day!
Sun astrophotography

Sun astrophotography is the photography genre that is aimed at taking images of the sun as an astronomical object.
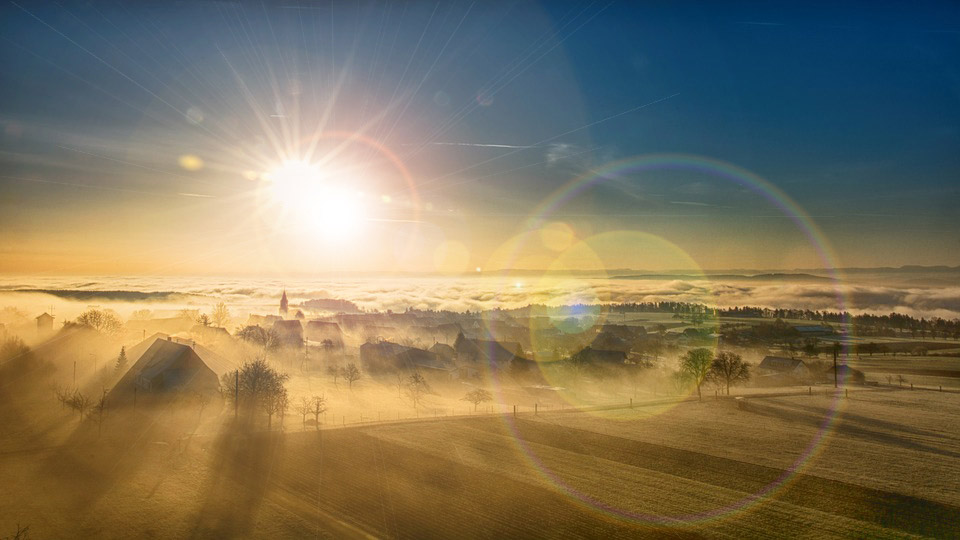
Tip 2. Choose Proper Time of the Day
You can get the most spectacular shots when the sun is low. In this case, the sun emits a soft glow and gives well-balanced lighting. At noon, when the sun is higher in the sky, the light becomes harsh and doesn’t please the eyes. This is usually the situation that most photographers tend to avoid.
Here the best apps you may use to control the sun.
The Photographer's Ephemeris
Photographer's Ephemeris (TPE) has long been one of the most popular scheduling apps, especially for Android users. Specify a location anywhere in the world, put a pin on the aerial map and see how the sun and the moon navigate the landscape on a particular day. TPE is very useful for planning shooting in places you are not familiar with.


Sun Surveyor
Sun Surveyor will help you plan, predict and take photos with the sun. The interface is easy and the app has a great technical support. It has interactive viewing so you can use your phone’s camera. It also allows you to view Google Street View for other places.
Tip 3. Arrange the Sun Properly in the Frame
You never know where it is better to place the sun in your image. Sometimes it looks more attractive in the middle of the frame, sometimes in the edges. You will realize what variant is more beneficial only through the cut-and-test method. When you place the sun in the center of the frame, it enhances the source of light to which your eyes are naturally directed. If I put the sun to the side, this picture will be less balanced.
Landscape Lightroom Presets for Making Photos Sunny

Download these Lightroom presets to make nature photos full of sunrays. It is the easiest way to make photos warm, clear, and pop in several minutes. Now you don’t have to worry about lighting defects on your landscape photos because Lightroom color correction can fix anything.
Tip 4. Stay Away from Capturing Silhouettes

When it comes to sun glare photography, it is better to avoid shooting the silhouettes. Instead of this, pay attention to smooth exposure of your subject’s skin tone. Your camera captures the silhouettes because it tries to show the entire image and not just the subject. Since you can often see a lot of sun and sky in these pictures, it will lead to getting a silhouette. In order to avoid this, it is better to adjust the metering mode to ‘Spot.’
It allows your camera to capture the subject in the middle of the scene. It will probably make your background overexposed. But this is the effect of sun flare photography.
Tip 5. Experiment on Obscuring the Sun

I suppose one of the most effective ways of taking sun flare photos is by partially obscuring the sun. To get a stunning “Sunburst,” it is better to obscure with a narrow aperture.
Natural Light

If you are going to take beautiful landscape or portrait photos against sun flares, read this book to learn how to work with natural light and make the most of every image, no matter what the setting or time of day.
Tip 6. Shoot Some Part of the Sun
To get a softer and more diffused look, you can place the half or a third of the sun in your frame.
Warm light which corresponds to a low color temperature in Kelvin (1500K - 3500K):
- candle flame (1800-2000K);
- incandescent lamps (2600-2800K);
- sunlight during modal time (sunset or sunrise) - 3300-3500K.
Neutral light which correspond to the average values of color temperature in Kelvin (4500-6500K):
- daylight in fair weather (4500 - 5000K);
- daylight at noon, when cumulus clouds (5500K);
- flash (5500-5600K).
Cold light which correspond to the high values of color temperature in Kelvin (6500-20000K):
- daylight on an overcast day, high clouds (6500K-7500K);
- twilight (7500K-8500K);
- clear blue sky in winter - 15000K.
In order to display colors adequately, it is necessary to set proper white balance or make color correction in Lightroom. In digital photography, adjusting this parameter is responsible for the color reproduction of the image
Tip 7. Keep the Sun at Your Subject’s Back

If you want the light from the flare splash around your model, then keep the flare at his/her back. Perhaps you will need to lay down and ask your model to sit or lay down too. It was approximately 3.00 p.m. when the photographer took the picture above.
The higher the sun in the sky is, the lower your camera should be. That allows for placing the flare at the most appropriate level. On the contrary, when the sun is lower, the photo session is more comfortable for both a photographer and model.
Tip 8. Focus on the Subject by Covering the Sun with Your Hand
It might be quite challenging to focus when taking sun flare photos. There's so much light that it will be difficult for your camera to capture the necessary subject. If you face such a problem, you need to raise your hand to conceal the sun and half-press the shutter-release button. As soon as your camera has focused, lower your hand and press the shutter all the way.
Tip 9. Shoot at a Low Angle
Even though you can create a glare at any hour of the day, it is more effective to take photos at sunrise or sunset. The sun is low during the golden hour and it will be much easier to pose the subject. Watch Landscape & Travel Photography Series, New Zealand course by Trey Ratcliff to understand how to take incredible and breathtaking nature photos.
Tip 10. Experiment with the Surroundings
Now that you’ve found one of the best methods of how to photograph the sun, it’s time to experiment with the surrounding. Find an object that can shine brightly. Ask your model to move so that they can work in tandem. This is a great opportunity to enhance the composition of the photo.
Tip 11. Use Additional Photography Equipment
If you plan on taking sun photography, then for these purposes, you should use the solar filter for the cam and lens. Some online guides on how to photograph the sun suggest using one, or very often several types of special filters with a neutral density. I would advise everyone to apply a correct solar filter. Why? The fact is that this particular type of filter, which is used for such a shooting, can perfectly convey the effect of darkening. Moreover, taking advantage of such a tool also provides eyes protection and safety from ultraviolet harm. Besides, do not try to cut down the expenses and use home-style filtration while shooting sun flare photos.
Moreover, when talking about sun photography, there are special ND filters. When selecting such a tool, the minimal power you need is sixteen stops, and this applies to any brand.
Solar Filters
I would like to warn you not to combine ND filters with an optical viewfinder! Their packaging features a fine-print, so use them properly along with Live View mode.
Recommended:
Cokin Graduated ND Filter Kit P Series
The NDFs themselves are neutral, so this does not affect the color rendition. Moreover, the result may be cumulative.
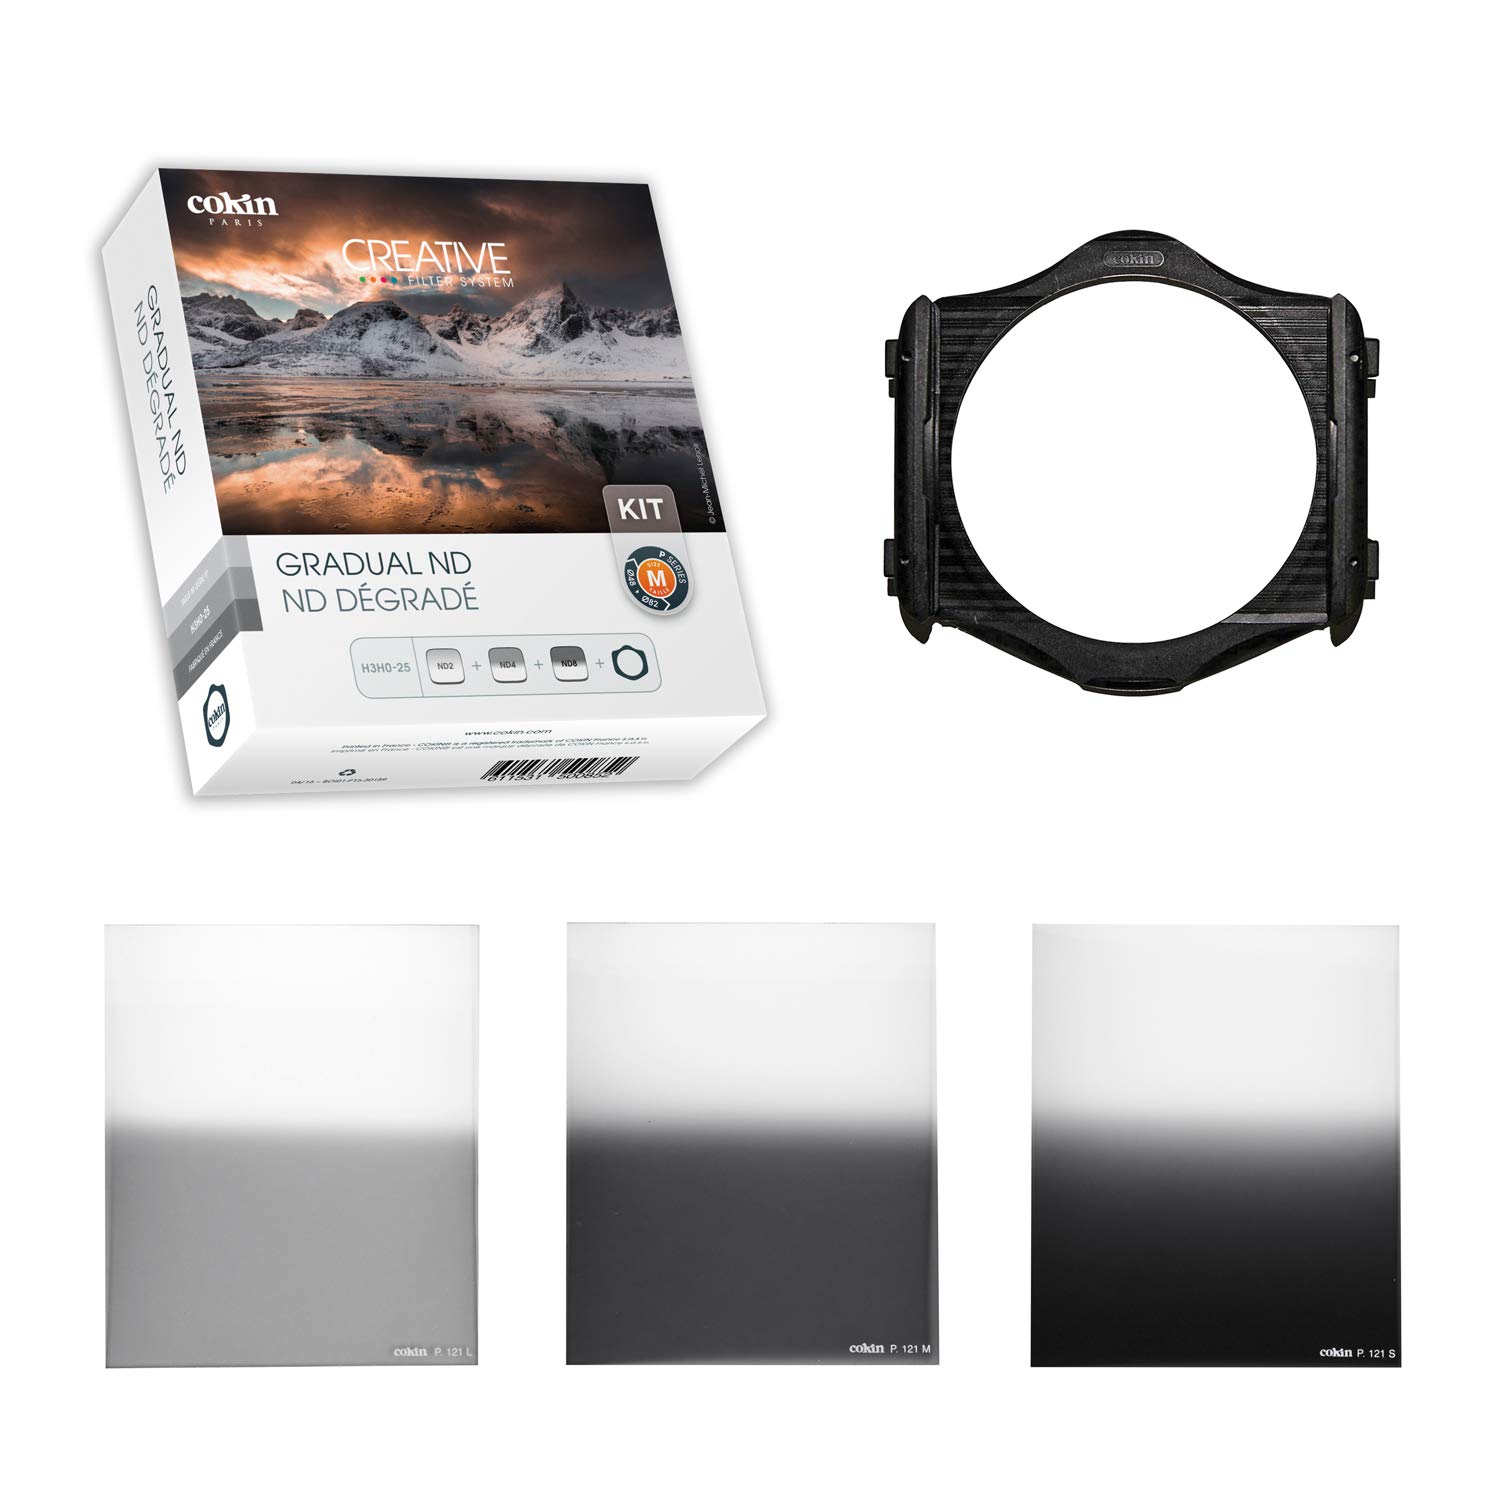
Solar filters could be applied in several ways. The first variant is to attach the NDF to the front filter, and the other one is to attach it between the cam and an interchangeable lens.
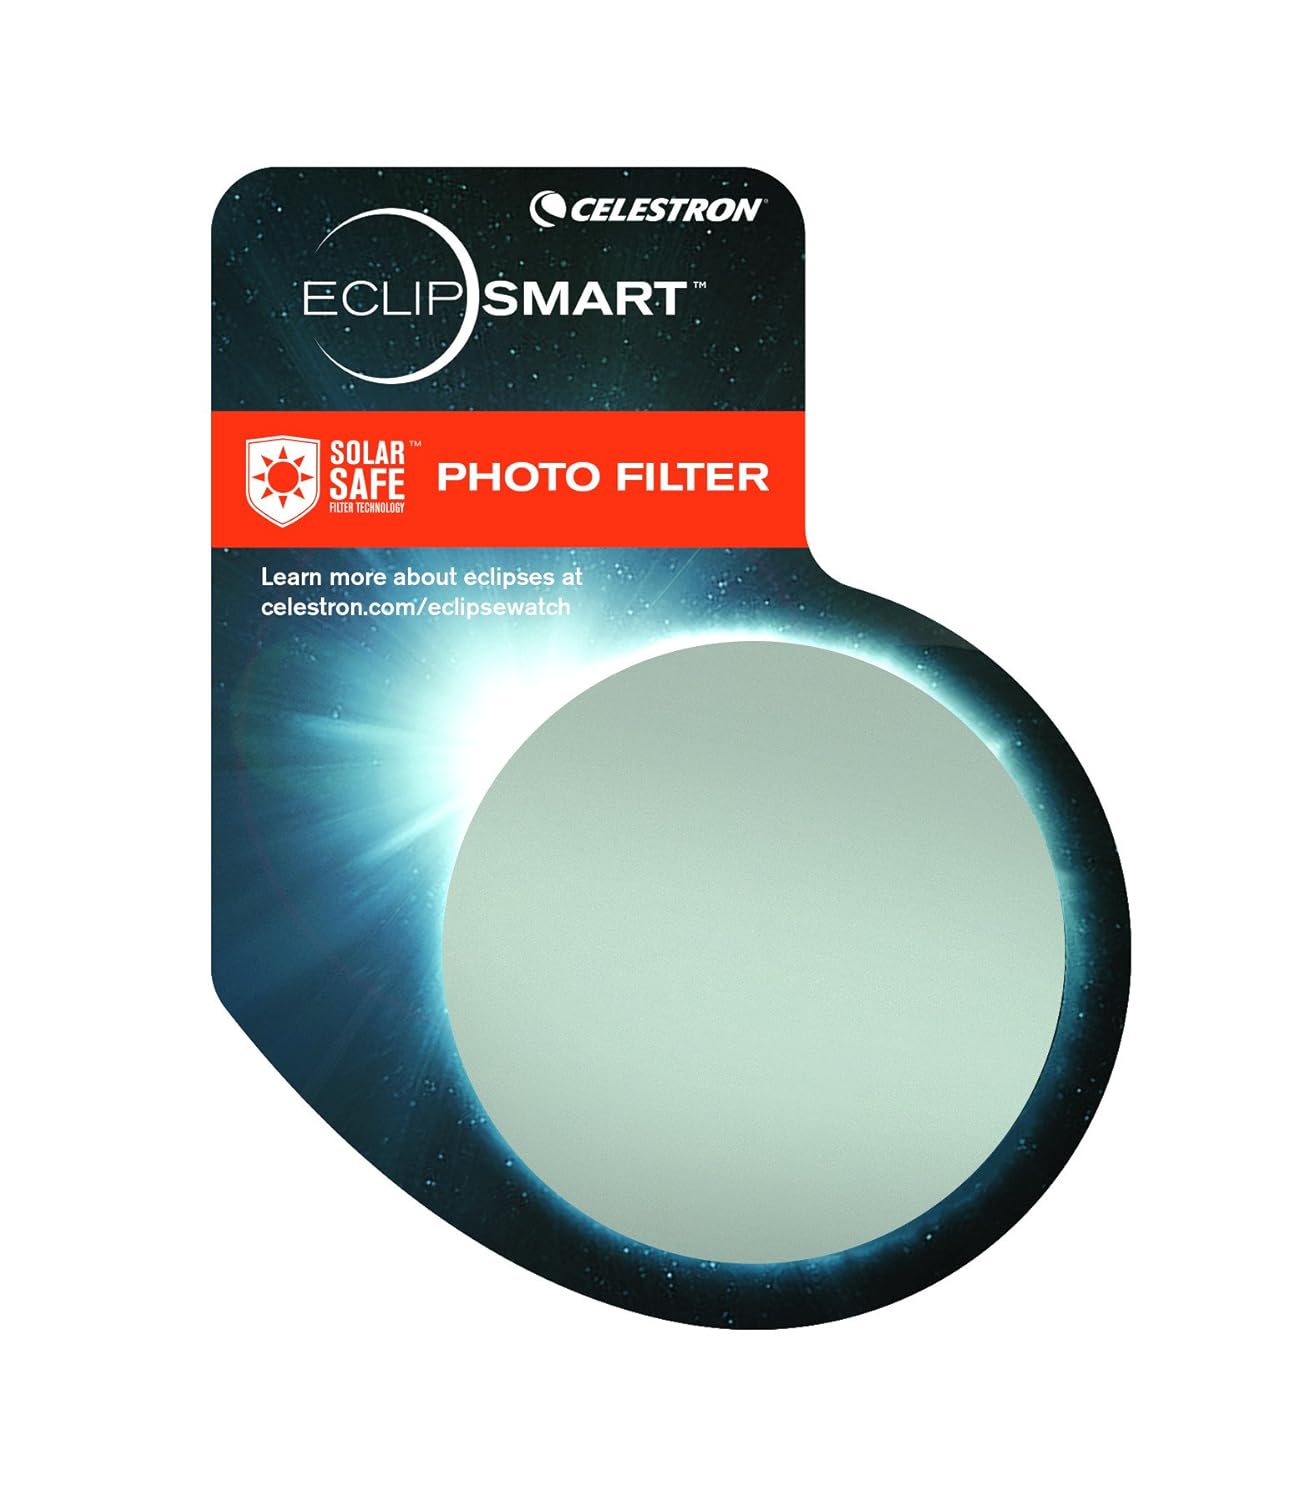
Filter Sheet
Please note that there exist various White Light filters for solar flare photography. Few of them are made roundly and feature special holes for attaching them to the cam. Very often, experienced photographers, for example, apply Sheets of # 14 Welder’s Glass, either connected to the device itself or just held in front of it. This tool could improve the photography basics at once.
Recommended:
Celestron EclipSmart Deluxe Solar Observing & Imaging Kit
Top-level rigid frame sunglasses are made using sunlight filtration technology according to ISO 12312-2 standards. These glasses are guaranteed to let you observe the sun safely.
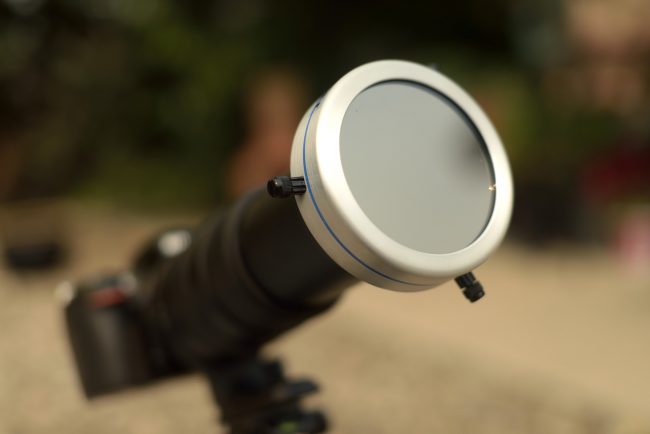
Screw-On Filter
Photographers attach this white-light filter to the lens, though you should keep in mind that it is not configured to observe the sun directly. Speaking of composing materials, I should note that it could be Mylar located inside the ring of a filter. Sometimes, the material for the production might be optical glass. Please pay high attention to the small text on the package, where some manufacturers write that the NDF can harm your eyes. That is why, for a sun glare photography, they can only be used with electronic viewfinders and LCD screens. Depending on the type of a chosen white-light solar filter, the color of the sun in the shots might vary. Aluminized filters produce blue sun, black polymer and metal-coated glass – an orange or yellow tone.
Recommended:
Nikon 52mm Screw-on NC Filter
It is used for the majority of auto-focus and auto-exposure SLR cameras. Also, the model is appropriate for a greater part of 52mm diameter thread lenses. Moreover, it protects the lens from crashes, scrapes and dirt.

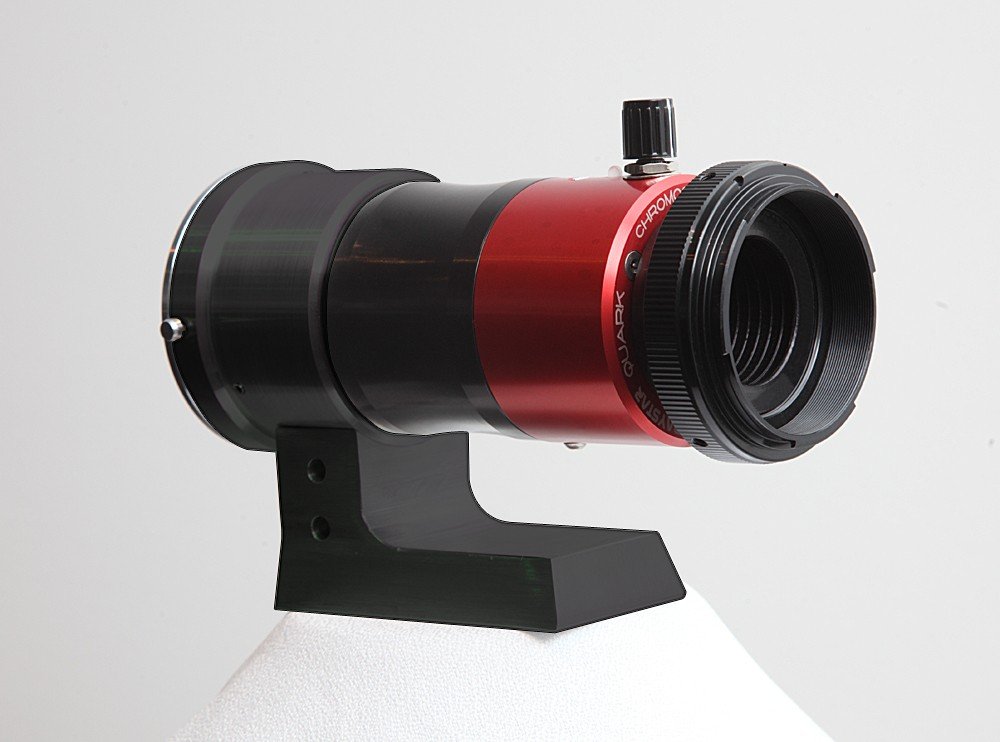
Intermediate Filter
It works perfectly if you are shooting sun photography. They are relatively easy to attach between a mount lens from Nikon or Canon and a cam. Such a piece of equipment allows for filtering solar waves of various lengths as well as looking at the texture of the sun, unlike the usual white filters.
Recommended:
Daystar Camera QUARK Hydrogen Alpha lens filter for CANON
It is used along with a Quark cam, eyepiece and other accessories for telescopes. You can use the camera’s zoom functions to view full and large images. Changing the settings or telescope configuration is not required.
No matter what filter you apply, make sure that it is well attached so that it won’t fall off while taking sun photography.
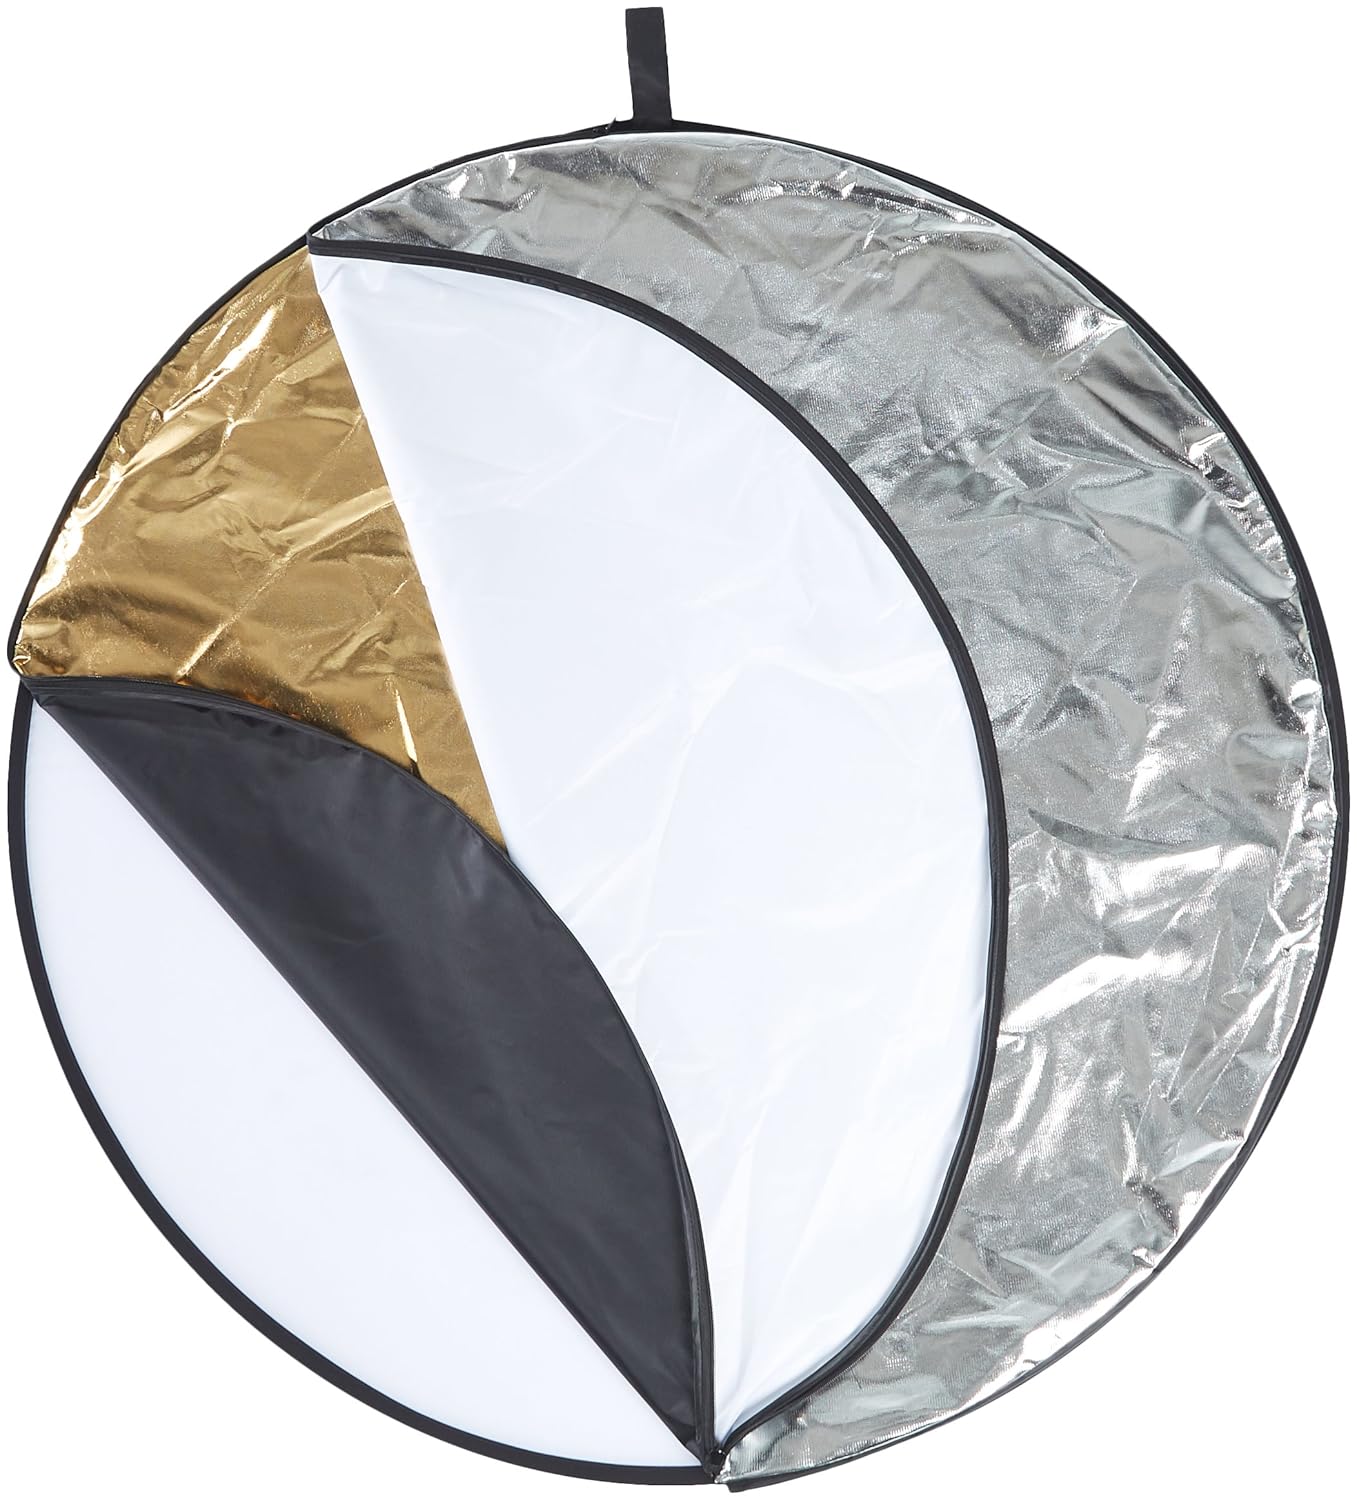
Tip 12. Don’t Forget about Reflectors
Actually, the primary purpose of the reflector is to reflect light on the subject. Usually, they are composed of white, silver or gold fabric. According to the configuration, they might be manual, suspended or ground attached. It is especially important to bring a reflector if your model is placed in the shade. This will help make a face look more beautiful, and the photo itself will turn out even more outstanding.
Recommended:
AmazonBasics 43-Inch 5-1 Collapsible Multi-Disc Light Reflector with Bag
Shoot even more captivating photos using a multi-disc light reflector from AmazonBasics. This is an indispensable tool, great for portrait photography regardless of the type of lighting in the studio.
Tip 13. Set Proper Camera Settings
Additionally, a few conditions affect a cam and an exposure while shooting in sunlight. These things influence the effect of sun photography significantly. Among them are filter peculiarities and its capacity, focal length, sunlight glare (depends on the weather) and season.
- Read more to find the best low light camera for affordable price to take incredible landscape and city photos with pleasant sun flares.
ISO
First off, make sure that your device has initial ISO settings that support sun photography. The standard values of different brands and models are considered to be ISO 100 or ISO 200. Try finding such information about the ISO settings on the internet. Sometimes, if you have to increase the ISO further to reduce motion in the frame, there will be an increase in digital noise. Therefore, speaking of sun flare photography tips, my advice is to avoid such additional configurations.
Shutter Speed
Our planet is at a considerable distance from the sun, though it is continually moving every second. Here, a question occurs: “How to take pictures of the sun in this case?” While shooting solar flare photography, it is obvious that you need to catch a moment and avoid blurring while moving. In such a case, the shutter speed should be at a minimum and a super-telephoto lens attached to a tripod should be used.
Aperture
After setting the ISO, as well as defining the speed of the shutter, try to adjust the aperture to manage the exposure. Most likely, while you practice using a solar filter, you can observe only the sun. Therefore, try to take advantage of spot metering as well as keeping the sun in the middle of the frame, and the lens diaphragm in a more suitable place. This is an essential sun photography tip I’m using myself.
Tip 14. Always Remember about Focus
When you are taking pictures of the sun, it will be almost impossible for the camera to concentrate on an object, even if you set the camera focus points by yourself. For my part, I’d like to give some professional photography tips here, namely, use manual center locking. To complete this process, make sure to move the lens towards the subject that is blocking the sun so that you receive automatic focus. After that, you can start shooting again.
As for wide aperture, keep in mind that even barely noticeable movement may completely ruin the focus due to the shallow depth of field.
Tip 15. Resort to Spot Metering
To adjust the bright light, you must employ Spot Metering. So, if your device supports this function, be sure to practice with it. However, if there is no such function, you can use Partial Metering. While taking sun flare photos, I often use autofocus, trying to adjust it to the subject’s center.
Image Editing FREEBIES for Sun Glare Photography
To edit sun flare photography, some special technique has to be used. To speed up this process, I offer you free photography editing materials for fast image editing.
Sunrise Preset Lightroom "Sunny Day"


Applying the free Lightroom preset Sunrise is an excellent opportunity to edit more professionally, specifically with regards to the saturation of colors. This preset is universal and can be used for both portrait and nature photography. It is worth noting that the results with nature photography look more efficient, as shown in the example below.
Sunrise Lightroom Preset "Vibrancy"


Using this Lightroom preset, Sunrise, ultimately, the picture will acquire warmer shades rather than dramatic ones. Professional photographers and retouchers use it if color correction is the primary part of their image post-production process. The plugin is also great for saturation tone, which results in a more natural-looking image. By the way, it is most effectively used for editing landscapes.
Sunset Lightroom Preset "Film"


One of the most widespread Lightroom presets that may be applied no matter what is captured (people, nature or objects). This filter contributes to the appearance of deeper tones that cause unforgettable feelings.
Sunset Preset Lightroom "Cool"


Incredibly useful sunset Lightroom preset, which is perfect for shots taken at a later time of the day and without flash. Using this preset for photo face editing, you can get a great cool shade of blue. Furthermore, it also perfectly fulfills its function when editing transport, architecture and even reportage photos.
Adobe Lightroom Preset "SunShine"


It has the function of reducing the image clarity and helps improve the shadows and shades of black. Also, this preset can enhance vibrancy and red tone if necessary. Remember that even bright photos, with its help, will look more soft and balanced. Moreover, it can modify absolutely all colors. The preset is essential to apply to shots taken in the summer in bright light. In this case, the photos will look like they were snapped in Fiji.
Glow Lr Preset Free "Warm"


This preset is most often used for modeling chrome film, adjusting main colors, reducing brightness and removing diverting shadows. This Lightroom preset also increases clarity and temperature.
Sun Rays Overlay Photoshop "A Touch of Bronze"


This PS overlay can give photos a shade of bronze and as a result, turns a picture into a genuinely luxurious one. That is why the overlay looks like a treasure for shooters involved in portrait photography using bright natural light. This is another excellent example of how to make photos look professional in Photoshop.
PS Action "Hard Contrast"


If you know how to balance contrast, then you probably manage to take great photos. The contrast adjustment tool itself is most often used to pull people’s attention to their idea. In case you haven’t mastered this tool, the given action will add more contrast to make the picture look more professional.
Bear in mind that all kinds of experiments with sun photography are always welcomed. Just don’t be afraid to play around with settings and compositions, it might lead to unexpected but pleasing results. Of course, it is impossible to achieve a flawless sun flare shot on the first try, but you will get there with time.


