10 Nature Photography Tips for Beginners – How to Improve Your Skills?
When you purchase through affiliate links on our site, we may earn a commission. Here’s how it works.
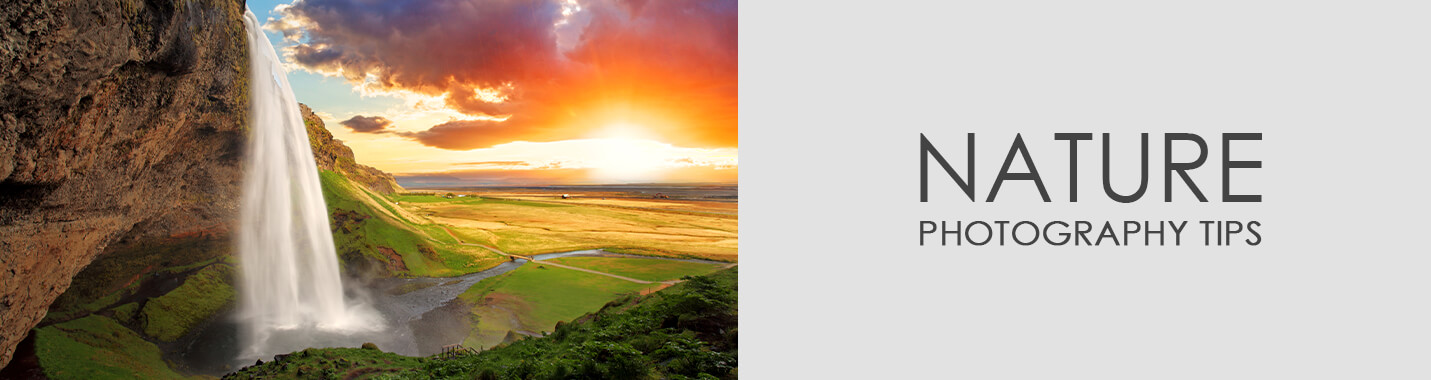
We are blessed to live in a vast and beautiful world. We are surrounded by nature – it is a true miracle. We have everything – mountain ranges, immense forests, deep lakes, winding rivers, and rolling valleys. Furthermore, we can admire millions of plant, flower and tree species, each with their own colors and design. In addition to this, the world is packed full of intriguing wildlife species.
If you love nature and photography, our planet can provide an inexhaustible supply of stunning compositions. You can travel anywhere with your camera and take shots of natural wonders. From the golden colors of the Wadi Rum desert to the immense icebergs of Antarctica and Greenland. The possibilities are endless.
But how can you take high-quality wildlife and nature photographs? This can be a difficult task. In the paragraphs below, however, we have shared our wisdom. We have presented a myriad of awesome nature photography tips for your benefit.
General Nature Photography Tips
First, you must consider your surroundings and the world you are interacting with. You can't simply head out into the countryside and start taking nature photos – you must have some consideration and care:
1. Make Minimal Environmental Impact
This is the most important tip we can give. Forget about composition and camera settings. You must first and foremost respect the environment and the natural habitat that you are invading. This is so important!
To take natural shots of wildlife and nature as you see it, you must be careful and avoid causing any disruption. Move carefully – try and tread on as little as possible. Don’t cut anything, or move any items – leave everything as you found it. Firstly, this will help you maintain the integrity of the environment. Secondly, this should also provide better quality photos. You can interact with the natural world in a safe and positive manner; this should result in authentic pictures that provide a fair representation of what you have actually seen.
2. Remain Inconspicuous and out of Sight
This tip mainly applies to capture wildlife as opposed to landscape and nature shots. Nature can encompass any number of things, therefore, this tip is still important. When photographing wildlife, you must remain out of sight if possible.
If you are visible and make a cavalcade of noise, you will disrupt the animal you are trying to capture. This can cause unnatural behavior and you will not get the best photo possible. Furthermore, if you make a noise and are visible, the wildlife could simply disappear and you could miss the photo completely. We are not advising that you wear full camo gear and army clothing. We are suggesting you try and find a secluded spot that offers fantastic views but is also well concealed.
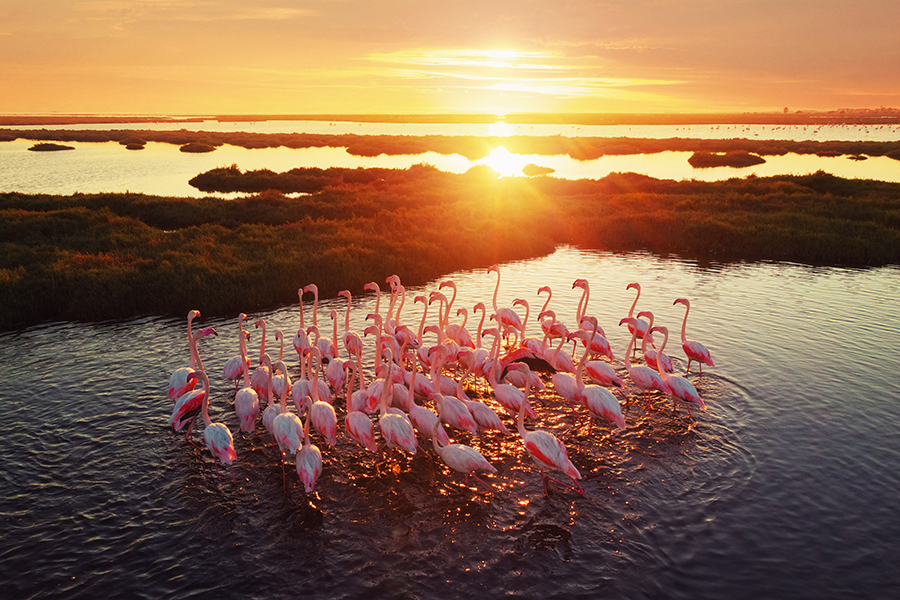
3. Don’t Disturb the Wildlife
This applies mainly to smaller animals and insects that you could physically interact with. For example, let's say you found a beautiful butterfly or a rare species of frog. Some people could be tempted to pick them up and move them to a more desirable location – never do this!
You must allow the wildlife to remain as they are undisturbed. We have no comprehension of what a simple action such as picking up a butterfly could cause for example – you could damage its wings, or upset its behavioral patterns. This is where patience is key – you must simply wait for the right shot to present itself and allow nature to act naturally!
Composition and Shooting Technique Tips
Secondly, we can look at the actual composition and shooting techniques. When taking nature and wildlife photos, there are certain techniques you can use to improve the quality of your shots:
4. Ensure You Have the Correct Equipment
The list of equipment for nature photography is luckily not extensive. You must be prepared however in order to maximize the potential and quality of your photos. If you don't know what to put in your bag, contact Dave Pritchard for lessons that include a short overview of how DSLR cameras work, followed by several hours of photographing in a location of your choice. The following is some equipment you should consider investing in:
Nature Photography Gear
- DSLR Camera
- Wide angle lens for landscape shots: ideally less than 50mm
- Zoom lens for close-ups: something such as a 70mm-200mm
- To use a tripod for stability and sharp photos
- Remote shutter release to improve stability and sharpness
- Spare batteries and SD cards
As you can see, you don't need much – you should, in fact, have most of this equipment already! The backpacking tripod is particularly important so that you can create sharp and clear photos.
- Read more if you are looking for a good lens and camera for landscape photography that will be inexpensive, high-quality, and recommended by professionals.
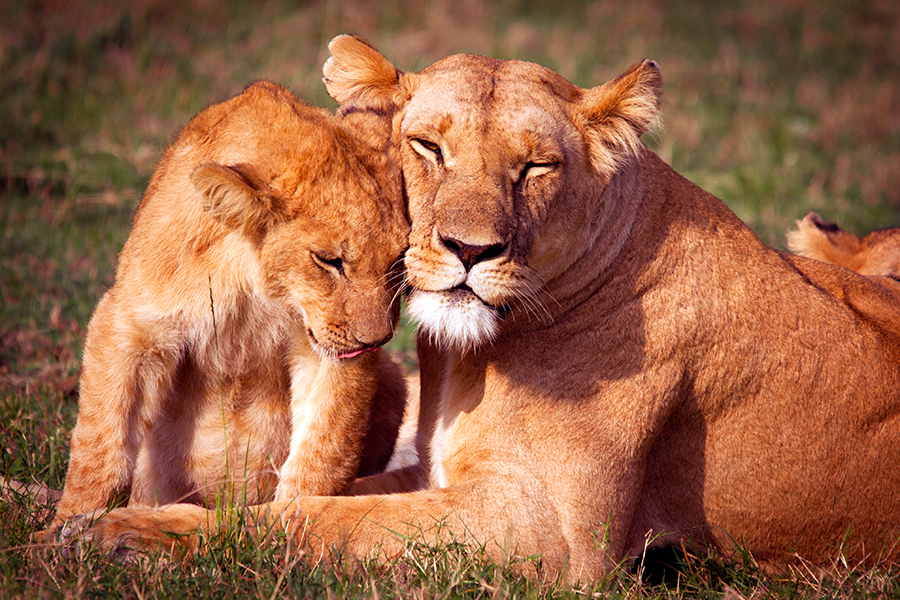
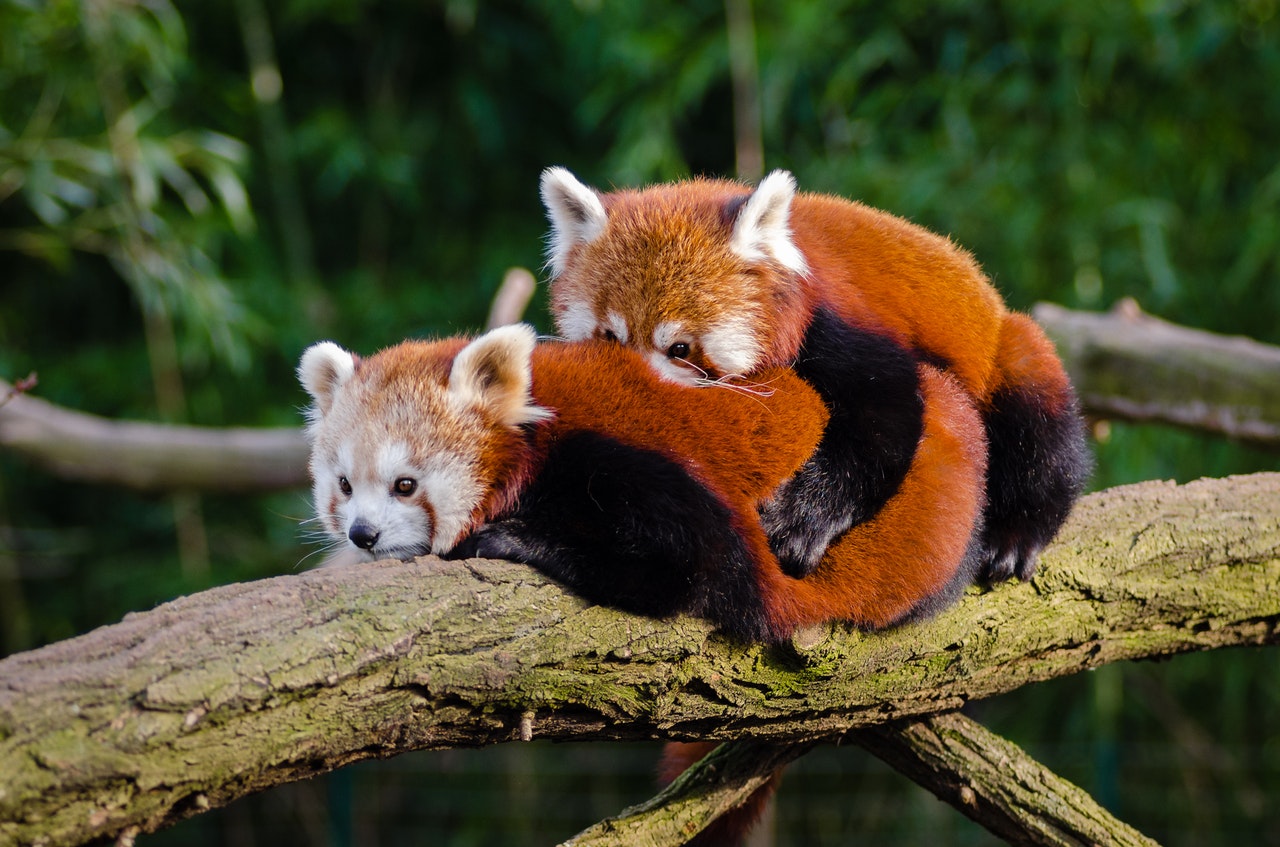
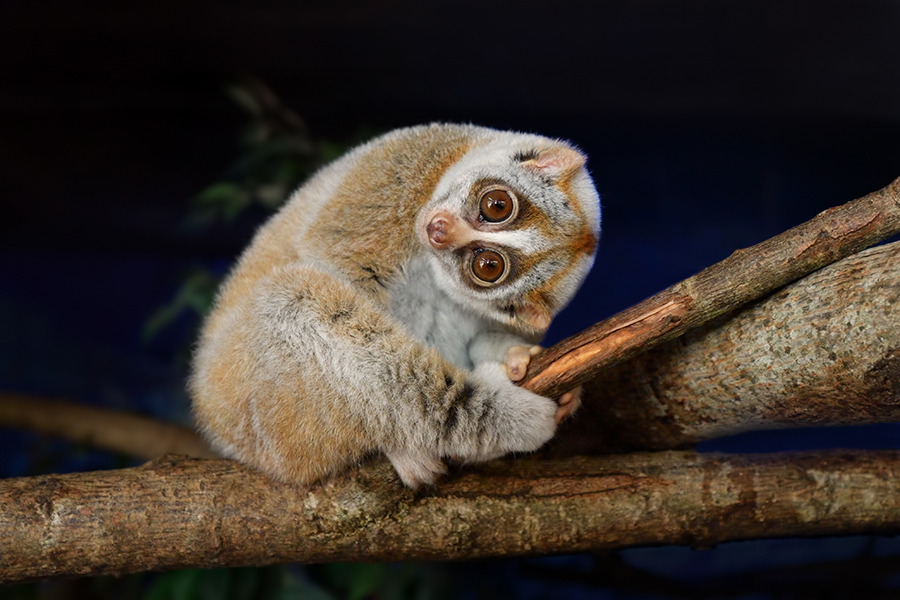
5. Capture Natural Actions and Behaviors
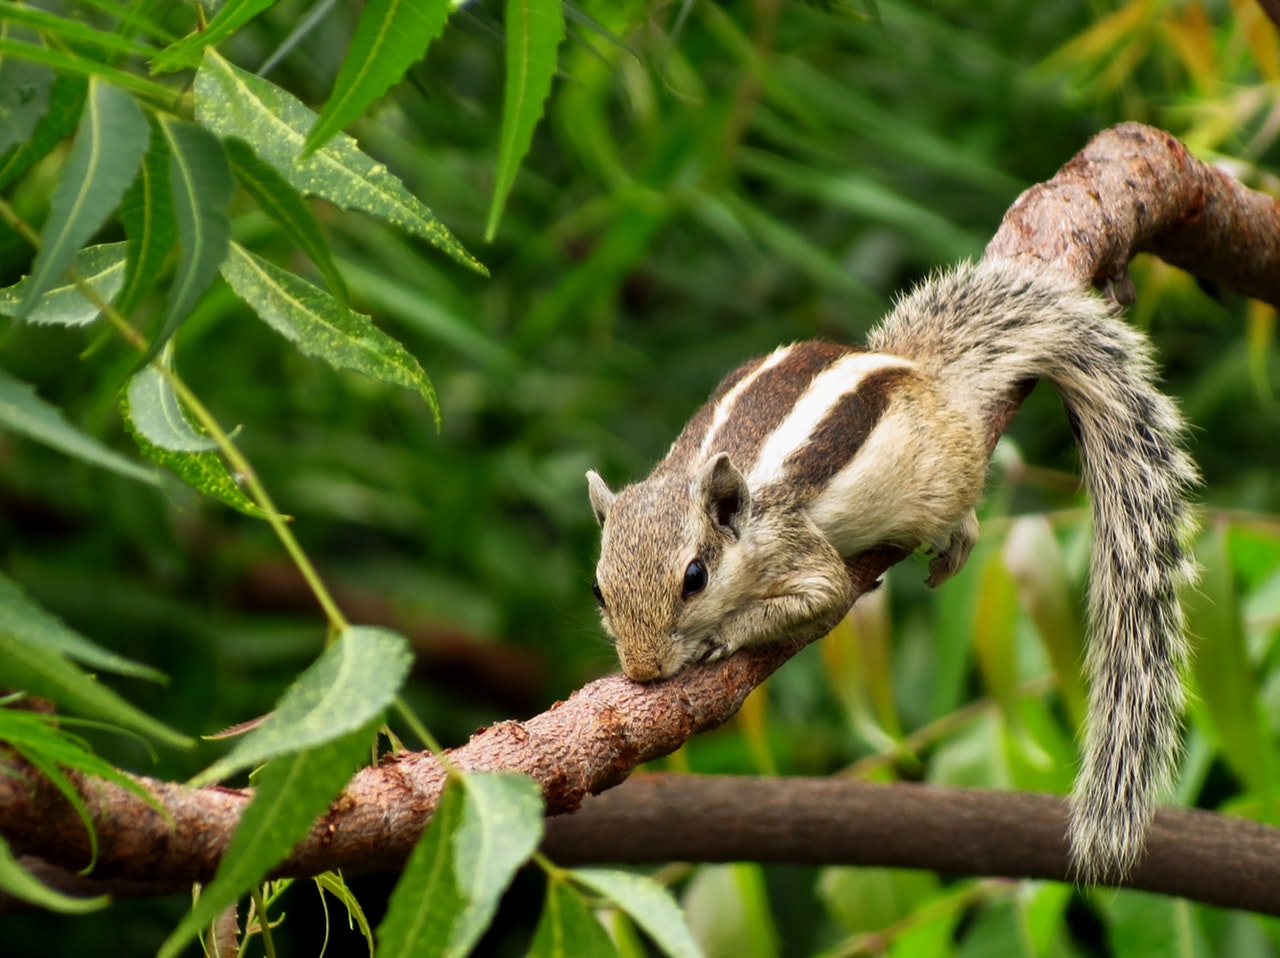
When shooting wildlife, you want them to act naturally. For example, you want to take a photo of a squirrel in a tree. This combines nature together with wildlife. Wouldn't the photo be fantastic if you could capture the squirrel climbing the tree, or maybe eating some food? Look for natural actions and behaviors and use them to create sublime and realistic shots.
6. Research Locations and Behaviors Beforehand
Researching your locations beforehand can help save much time and effort. You can look where car parks are, and footpaths, and interesting areas that are easily accessed for example. Furthermore, you can gain an idea of the types of photos you wish to shoot.
Concerning wildlife, you may want to research behaviors and typical habitats. This can help ensure that you find the animals you wish to photograph. It can also ensure that you capture them acting naturally. Knowledge is power and this holds true for nature photography. Photokiakotos is one of the most reliable resources to look for such information.
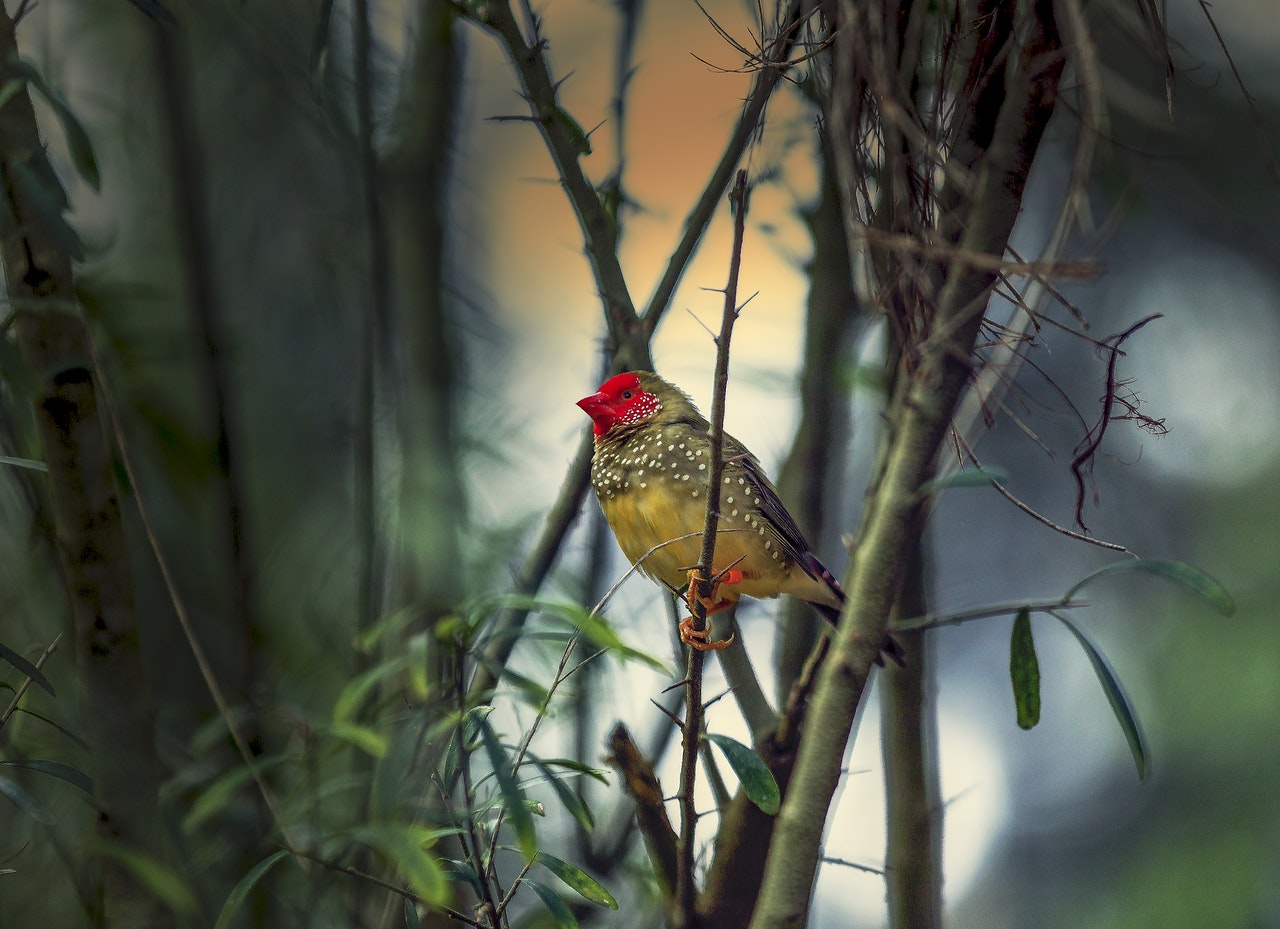
7. Use a Mixture of Landscape Shots

Nature is varied. This means that your shots should also be varied. Try to use a combination of sweeping landscape shots, combined with close-up zoom shots. Wide-angle shots are preferable when you are photographic huge natural landscapes. By using a wide angle shot, you can easily convey the scale of the landscape and its size.
Alternatively, when taking photos of single objects, a zoom or portrait shot is preferable. Let’s say you are trying flower photography for example. You could zoom in on the flower to capture the detail and color of its petals and buds.
Camera Settings and Post Processing
Finally, we have a handful of tips relating to your camera settings and editing. You can utilize a myriad of different shooting techniques. Furthermore, post-processing software can really make a difference in the quality of your shots:
8. Shoot in RAW Mode
If you have a DSLR camera you should be able to shoot in RAW mode. RAW files are uncompressed and retain all the original details of the photo. This file format gives you the greatest quality. It also provides the highest degree of control when editing.
JPEG photos, for example, are already compressed. If you try and edit a JPEG photo, you do not have the same degree of control – you will not be able to edit the pic in as much detail. By shooting in RAW mode, your nature shots will have the highest resolution and can be turned into masterpieces.
9. Use a Variety of Camera Modes
Your DSLR camera should have several different shooting modes – mainly Aperture priority, Shutter priority, and full manual. Each of these modes offers a different level of control. Moreover, each shooting method is better suited for certain nature situations.
Aperture priority – Using this mode you control the aperture. This controls how much of your photo is in focus. A large aperture such as f/2.8, for example, will only have a small area of focus – the surrounding background will be out of focus. A smaller aperture such as f/8, on the other hand, will have much more in focus. For macro shots and single object shots, a larger aperture is preferable. Alternatively, for landscape nature shots, a smaller aperture is desirable to get more in focus.
Shutter priority – This mode allows you to control how fast the shutter clicks. This mode is preferable when shooting moving wildlife. You can then set the fast shutter speed to capture the movement in sharp detail.
Manual mode – Using manual mode you can control every aspect of the photo. If you need to tweak several of the camera settings, manual mode is advised.
10. Use Post Processing to Improve Photo Quality

What you see through your camera lens, and what appears on your SD memory card is not always the same. Inevitably, your nature photos can benefit from nature photo editing. This is the process of editing your photos to remove any impurities.
Moreover, you can alter features such as the crop, rotation, colors, and clarity of your pics. Using photo editing software such as Luminar and Aurora HDR you can vastly improve the quality of your nature shots. This is why shooting in RAW mode is important – editing RAW photos gives you the best end results. There is a myriad of editing tutorials and guides on the web you can follow. Once you understand the basics you really can turn your RAW shots into works of art.
- Download free Lightroom landscape presets or landscape Photoshop actions to make nature photo editing and color correction faster.
Nature photography really can be rewarding. Furthermore, you can create some stunning photos. Capturing the beauty and uniqueness of our world can bring so much joy and pleasure. The above tips should really help take your nature photography to the next level. You can go out into the great outdoors with confidence and develop some masterful shots!
Max Therry is an amateur photographer and blogger who runs a photography blog where he likes to write about photo editing, modern photo trends, and inspiration. Reach him by photogeekymax@gmail.com for any questions.


